

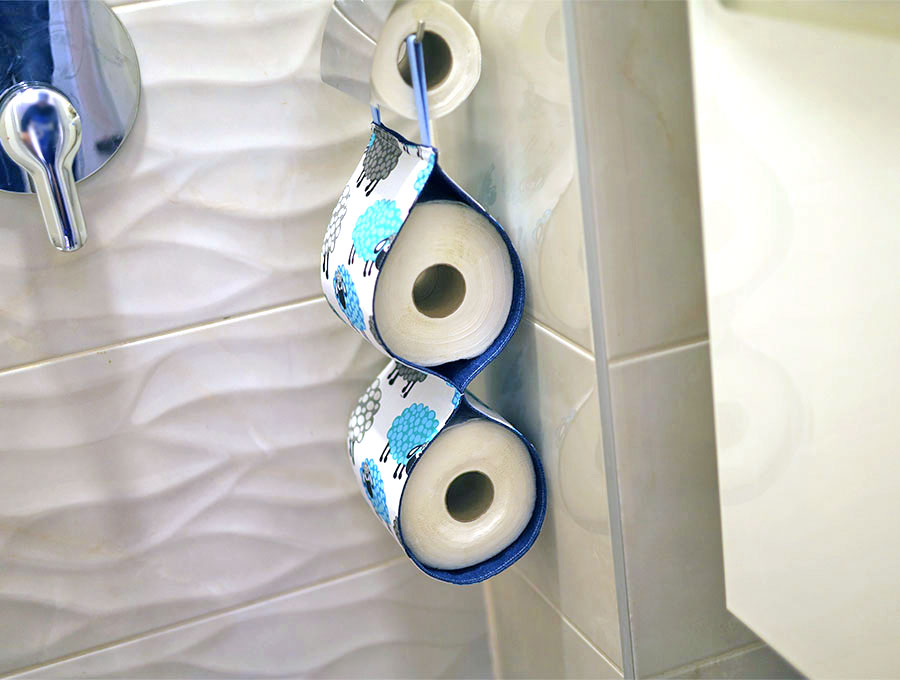
2 roll Toilet Paper Roll Holder
Keep the DIY two-roll toilet paper holder full and you will hopefully never have a bellow from a partner, or a plaintive cry from a child, that there’s no toilet paper as they sit, garments around the ankles, waiting for you to bring the magic stuff. This upcycled toilet paper holder conveniently stores those couple of extra rolls, plus you can customize the holder to store a pack of wet wipes if you add extra length and make a second stitch line.
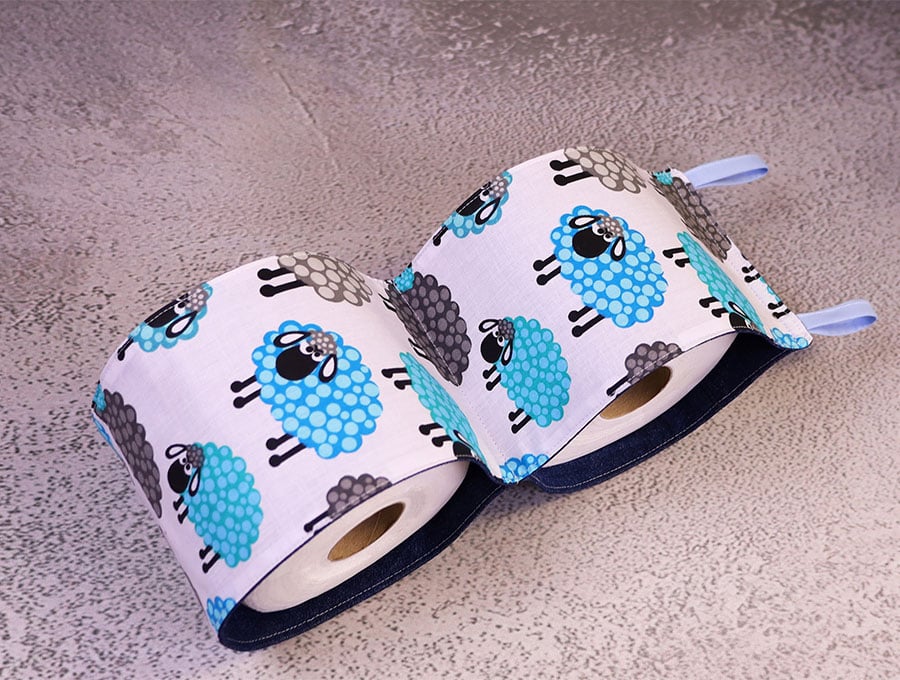
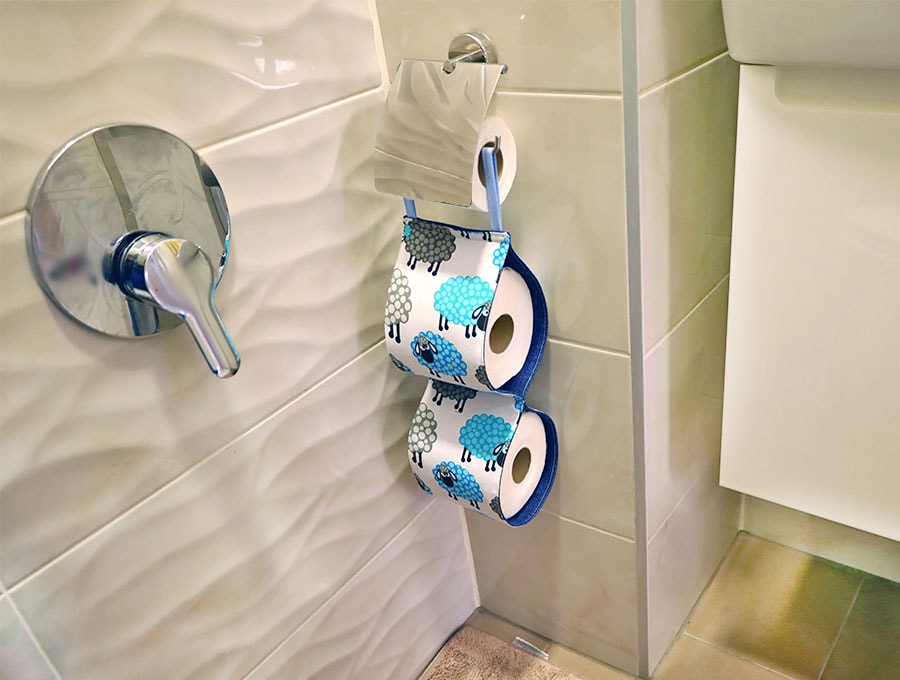
We give you two alternative methods of attaching the loops to hang the holder. You may want it to slip on just below the toilet roll. Now if your holder is a narrow metal bar that the toilet roll slips onto without having to pop any piece out, you can use the loop method made with the fabric pieces and slip them over the metal bar. If you have a toilet roll holder with a piece of plastic that pops out to change the toilet roll this is usually wider, so the ribbon method allows for extra length. Also the ribbon method allows for you to tie a bow on each end of the toilet roll holder to keep it in position, or to attach it to a separate hook on the wall in the bathroom.
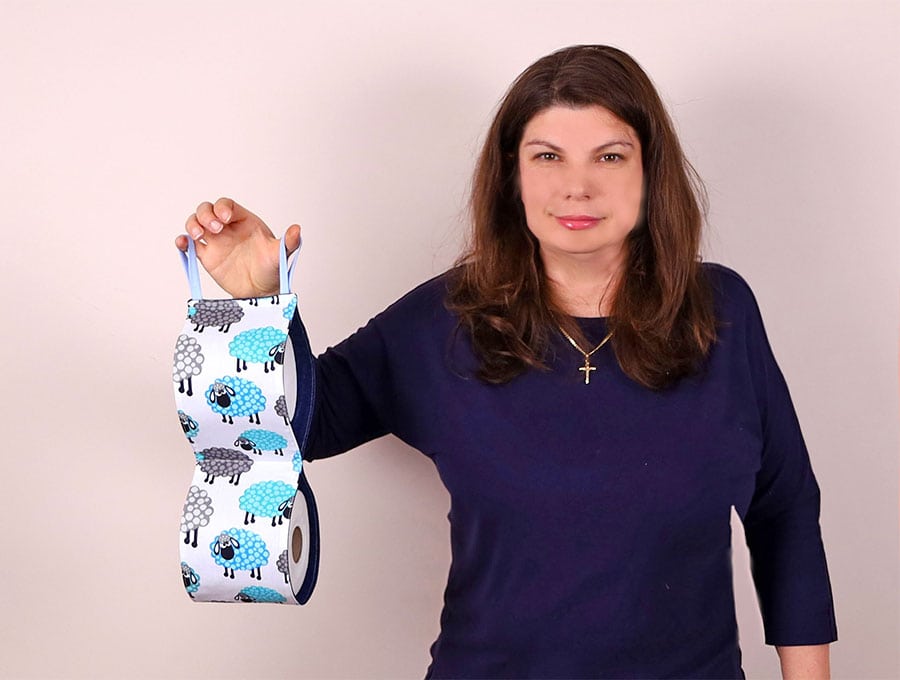
Why this is a great project:
- You can use fabric from clothes that would otherwise be going into landfill, ticking the box for sustainability!
- Customize it to a personal style to suit the bathroom user – you can use denim to create likeable monsters based on the kids favorite movie characters, using bits of felt and stick-on eyes, or go sophisticated in muted tones, or full on country charm with floral or nature-based designer prints.
- It’s a creative outlet with a practical purpose when you want to play with fabrics and patterns.
- It saves on buying something plastic to hold extra rolls, instead working with fabric you already have.
Below you will find my step by step written tutorial with VIDEO instructions for all the visual learners.
We occasionally link to goods offered by vendors to help the reader find relevant products. Some of the links may be affiliate meaning we earn a small commission if an item is purchased.
How to make Toilet Paper Roll Holder
Supplies and tools
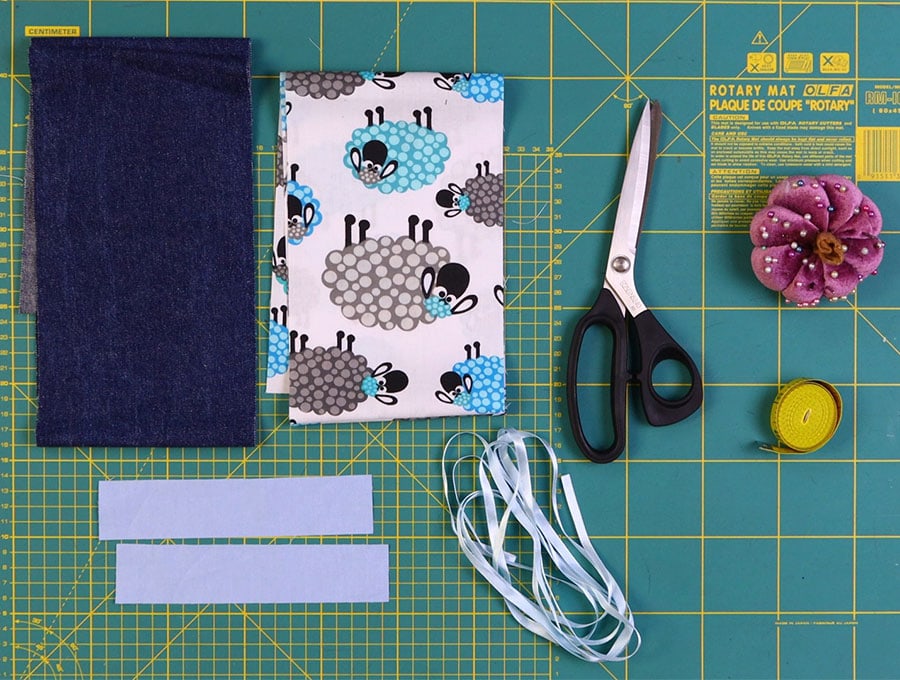
- cotton fabric – one main, one lining
- handles: either cotton fabric for fabric loops or 1/4″wide ribbon for ties
- matching thread
- scissors (or rotary cutter and a cutting mat)
- ruler or measuring tape
- iron and ironing board
- sewing clips or pins
- Sewing machine
Follow us for free patterns & tutorials! [easy-profiles]
How to Sew the Toilet Paper Roll Holder
Watch my Toilet Paper Roll Holder video first and then follow the written step by step instructions below.
Please enjoy and don’t forget to Like and SUBSCRIBE over on YouTube to be kept up to date with new videos as they come out.
2 roll toilet paper holder VIDEO TUTORIAL
MATERIALS:
- 1 x printed or plain fabric 5.5 x 35.5 inches (14 x 90 cm)
- 1 x lining 5.5 x 35.5 inches (14 x 90 cm)
- handles: either 2 x fabric 1.5 x 7 inches (4 x 18 cm) or ribbon ¼ inch x 25 inches (6 mm x 64 cm)
INSTRUCTIONS:
STEP 1:
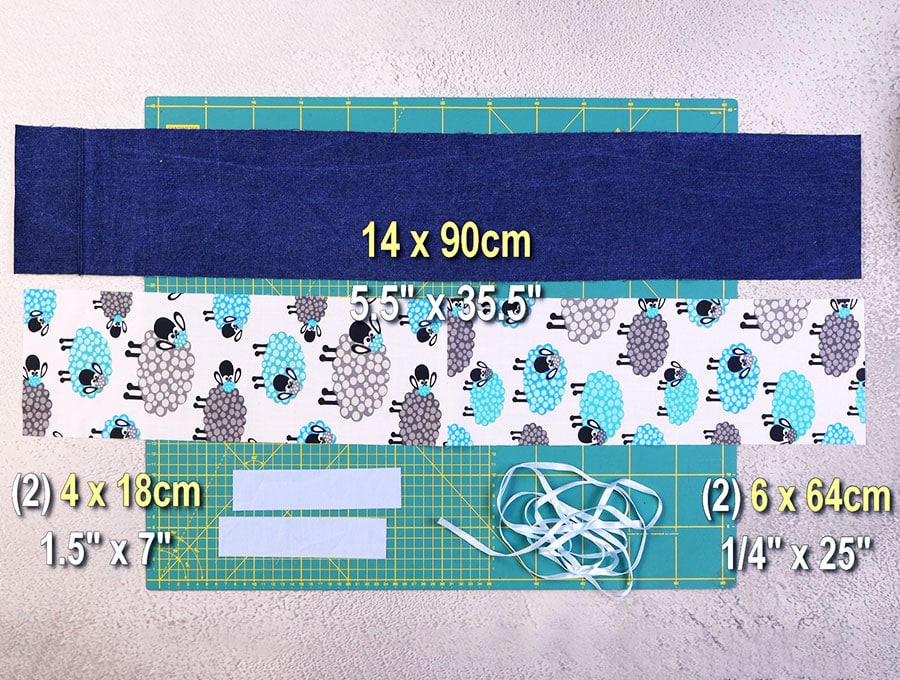
Cut out the fabric pieces according to the pattern or the measurements given
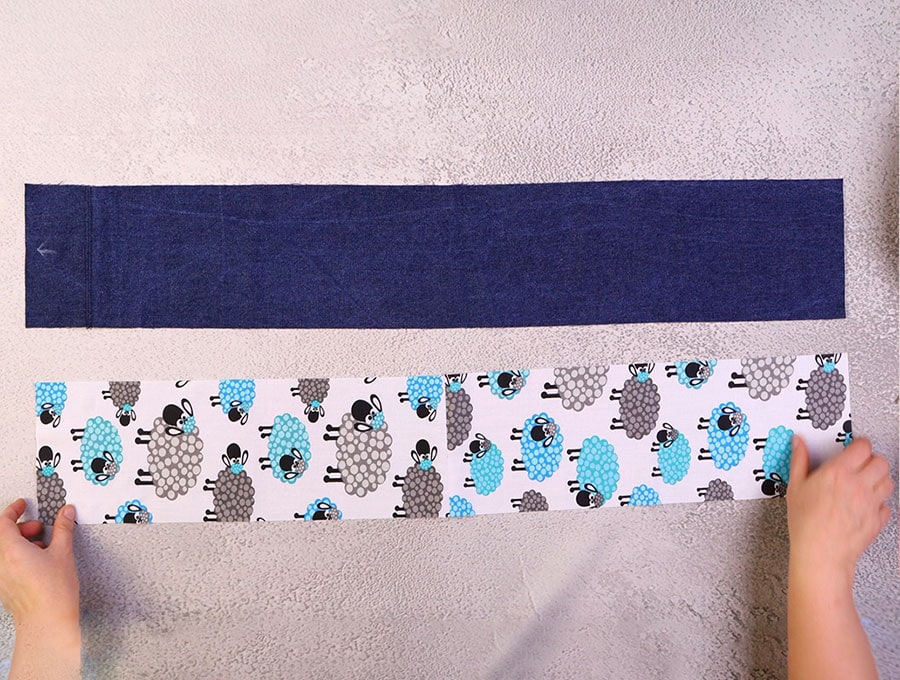
Place the outer fabric and the lining fabric with right sides facing each other, then pin or clip together.
Note: If using directional fabric mark the bottom side of the direction on the wrong side of the lining fabric.
STEP 2:
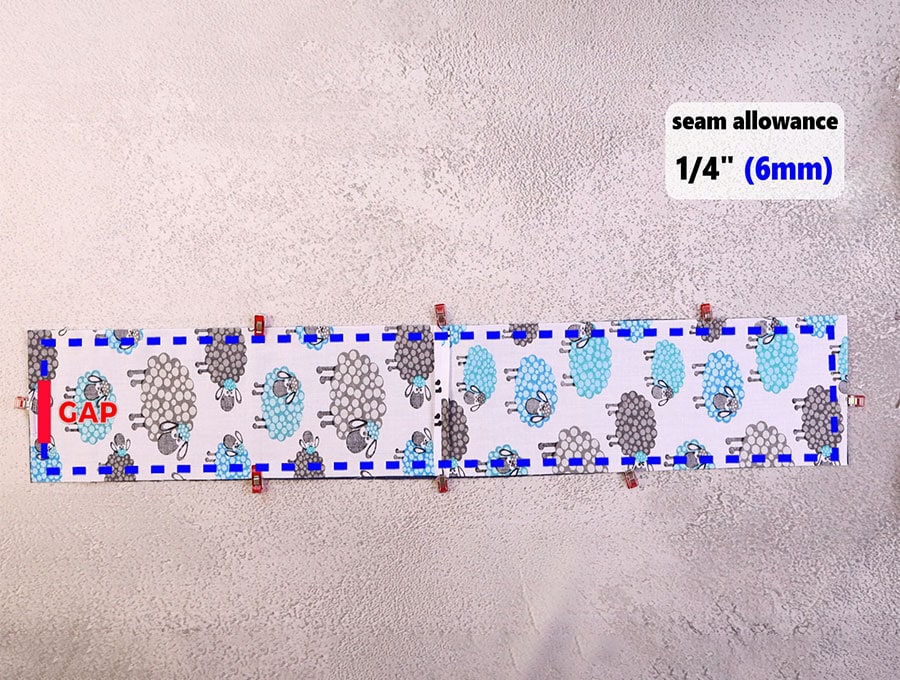
On the outer fabric mark a turning gap of around 2.5 inches (7.5cm) on one short end if using non-directional fabric, but if using directional fabric make it on the end nearest where you marked.
STEP 3:
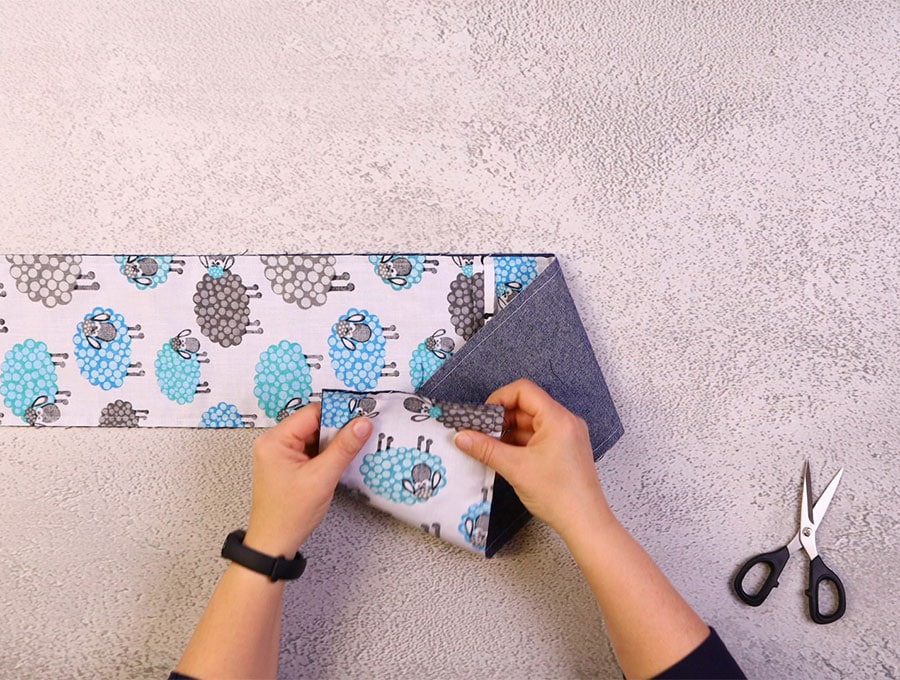
Stitch all around the fabric, except for the gap ¼ of an inch (6 mm) from the edge. To obtain a neat turn at the corners leave the needle in the fabric, lift the presser foot and swing the fabric 90 degrees, then depress the presser foot and keep on sewing.
STEP 4:
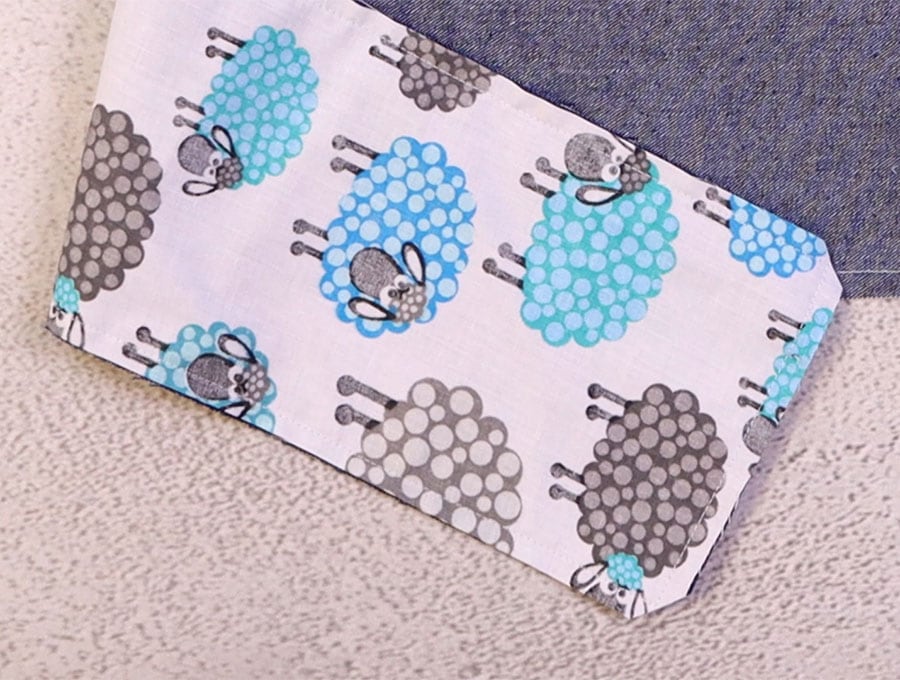
Snip off the corners of the fabric to make it less bulky when turned.
STEP 5:
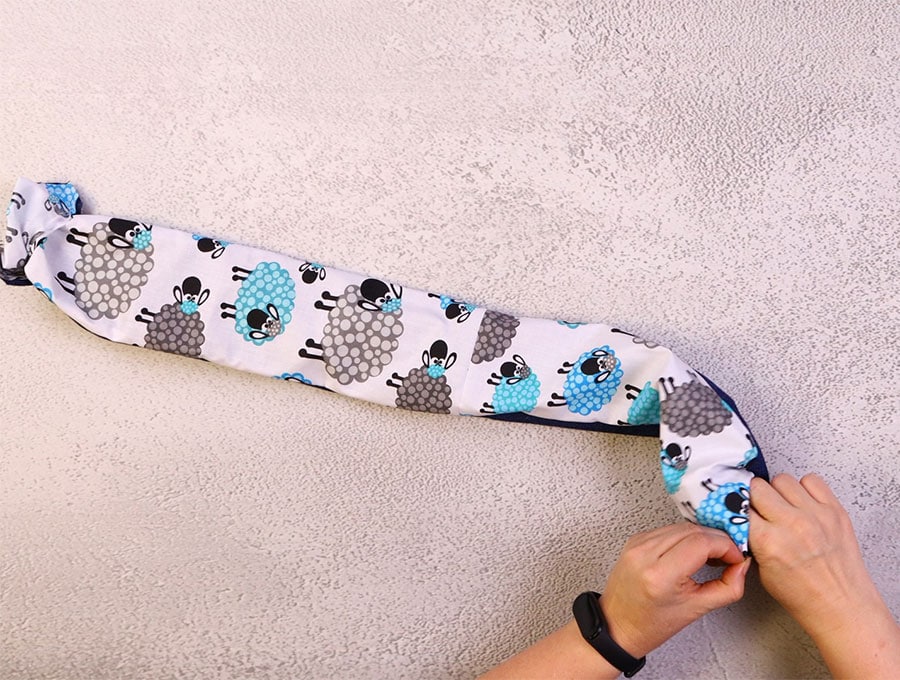
Turn the toilet roll holder the right way out, pressing out the corners and sides neatly with a turning tool.
STEP 6:
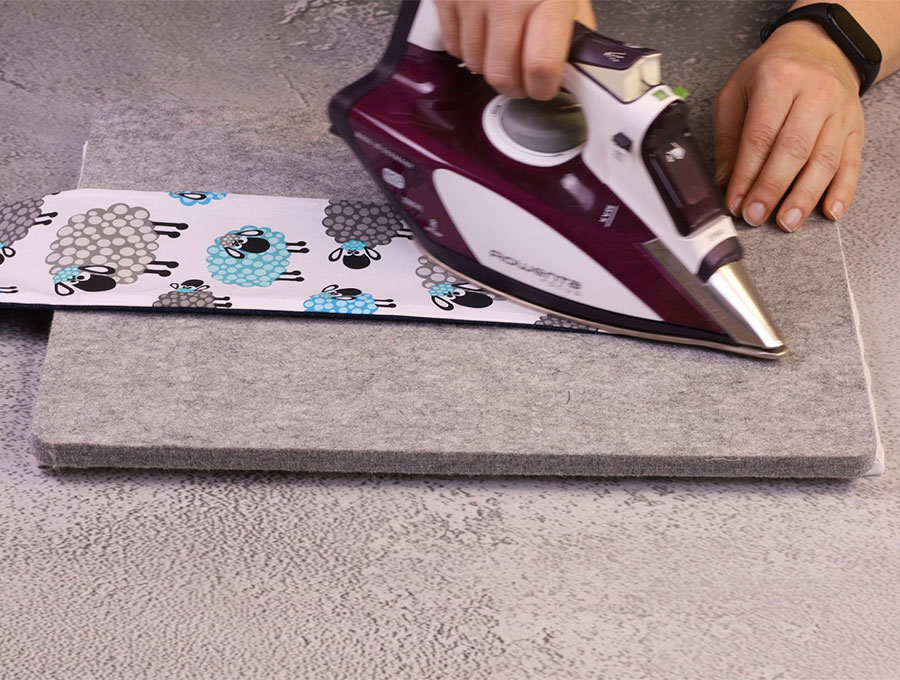
Turn in the edge of the gap in line with the rest of the fabric and press the whole piece.
STEP 7:
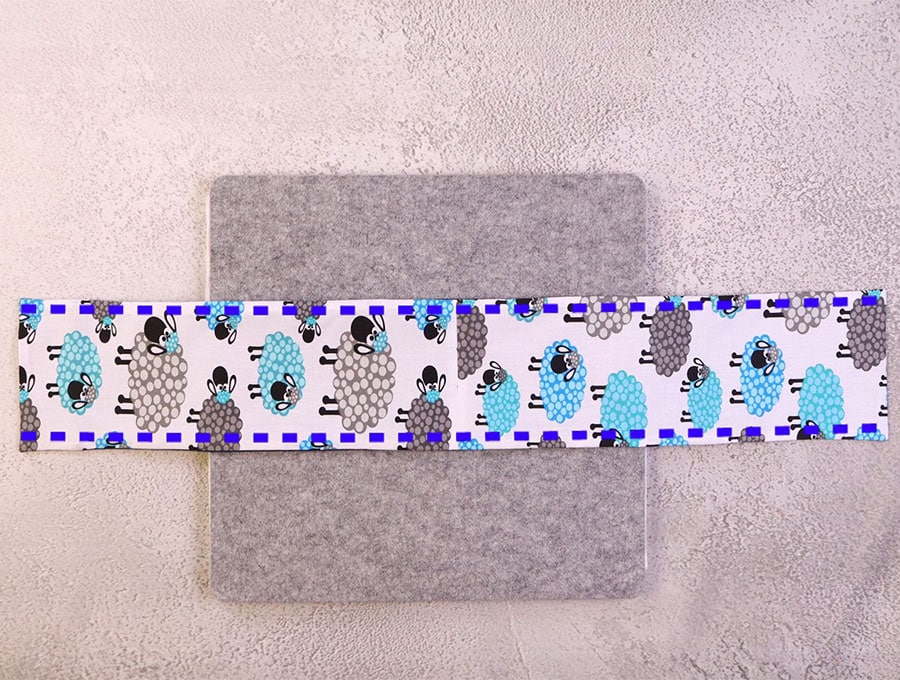
Top stitch around the piece as close to the edge as possible, including over the gap to seal the edges.
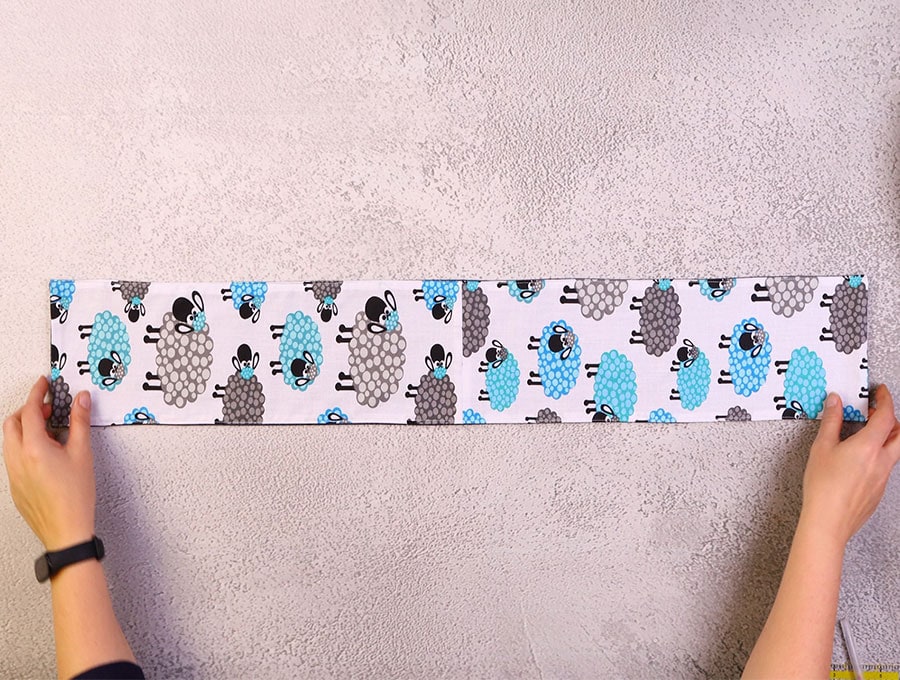
STEP 8:
The handles can be either:
- 2 fabric loop handles
- 1 fabric loop handle
- ribbon ties
If making the loops from ribbon, skip steps 8 to 10. If using fabric, read on.
To make the loops to hang the toilet roll holder take the pieces of fabric measuring 1.5 x 7 inches (4 x 18 cm), fold in half along the length, wrong sides facing each other, and press to create a fold line on each of them.
STEP 9:
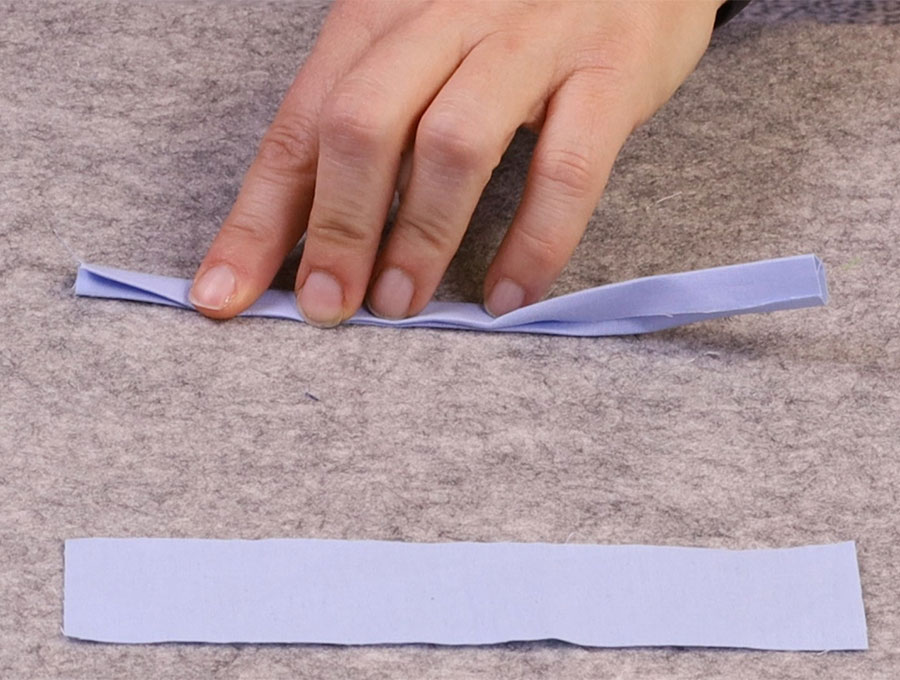
Open the fabric and fold each edge in to the center fold and press, before folding folded edge to folded edge and pressing once more.
STEP 10:
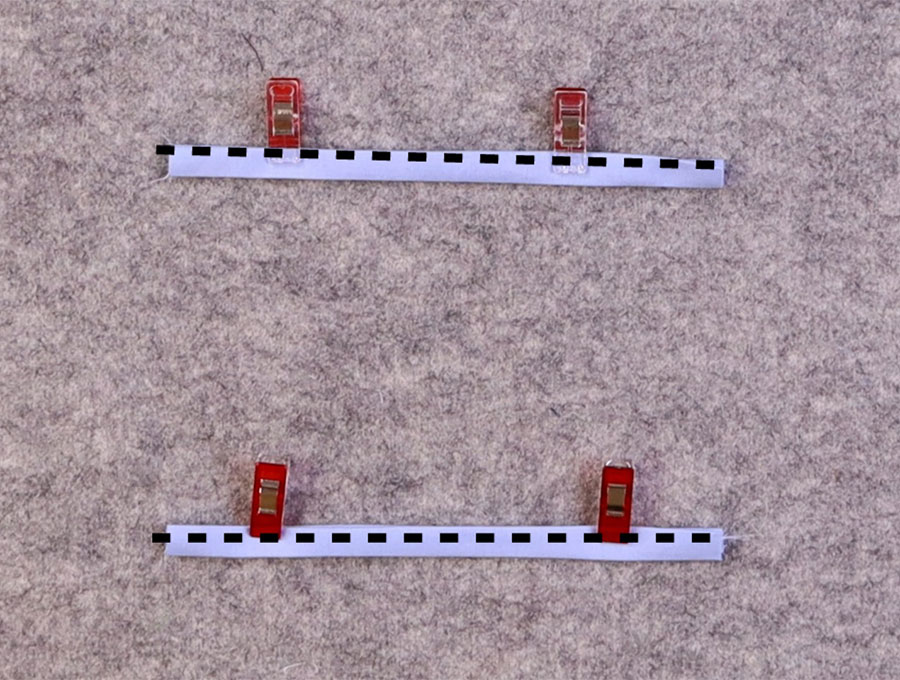
Stitch along each long side 1/8 of an inch (3 mm) from the edge.
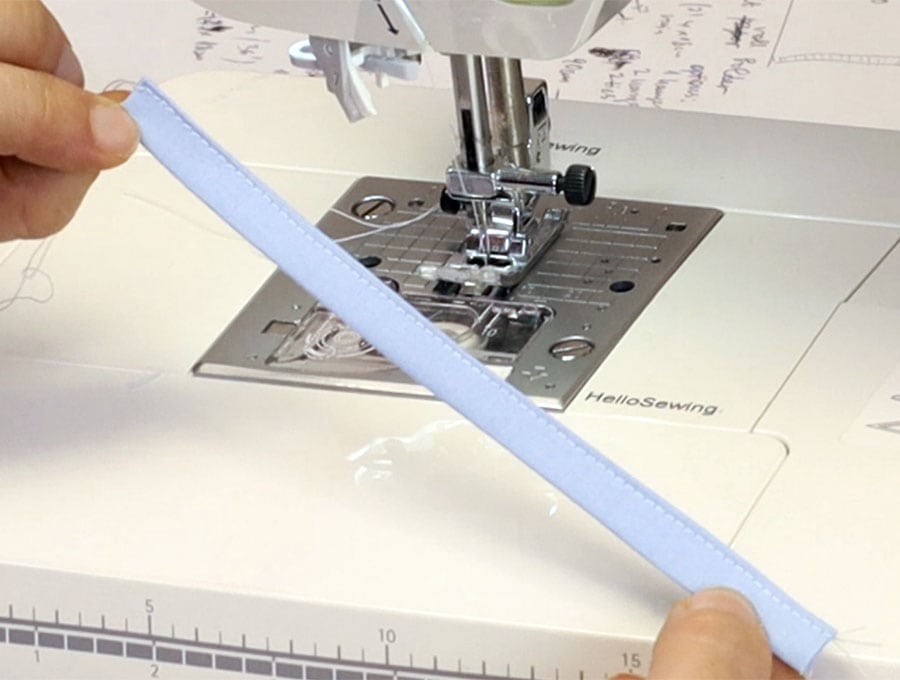
STEP 11:
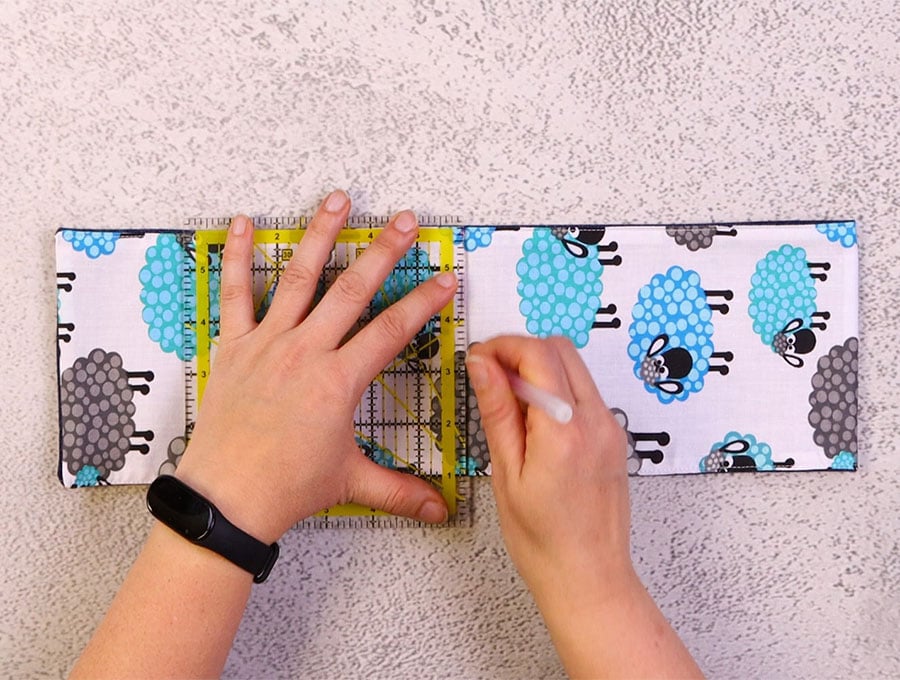
Take the main fabric piece and fold in half, then fold in half again, marking the central point on the sides, then joining the marks.
STEP 12:
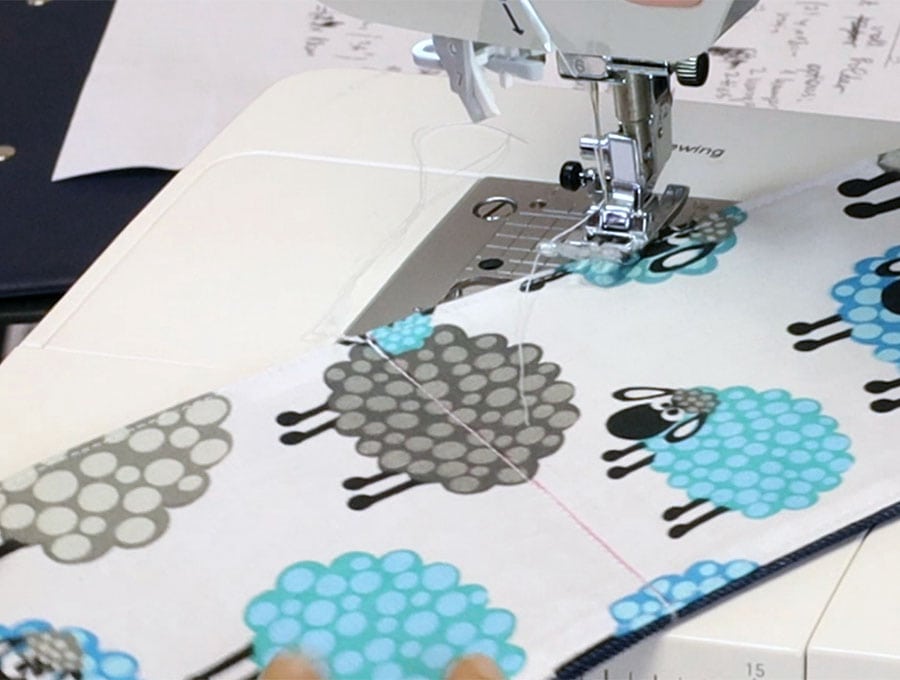
Stitch along the marked line, backtacking at the start and finish.
STEP 13:
IF USING FABRIC LOOPS: At the open end place the loops you stitched in position, the raw edges facing the inside of the lining fabric and the folded loop sticking out. Pin in position, then flip the other end of the toilet roll holder down to cover the raw edges.
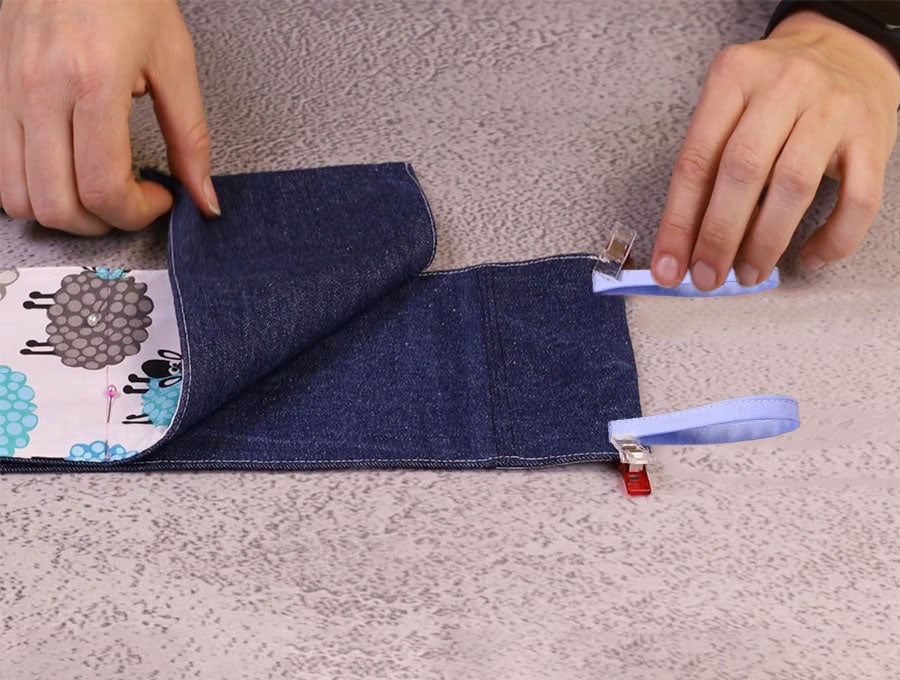
IF USING RIBBON TIES: If you are using ribbon ties – you need to place the fold of the ribbon ties facing inside of the lining fabric and the cut edges sticking out
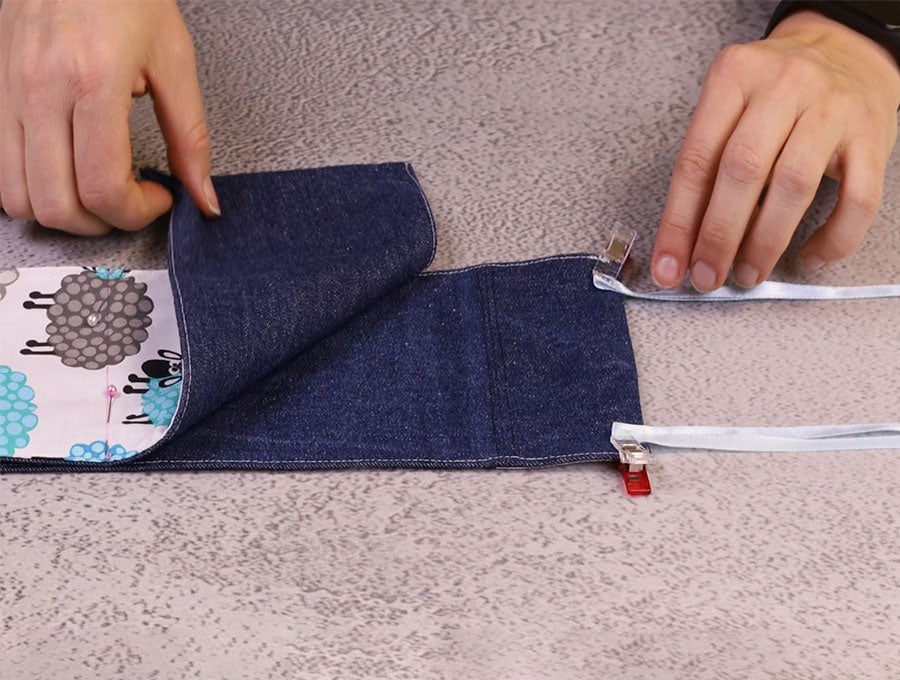
Pin in position, then flip the other end of the toilet roll holder down to cover the raw edges.
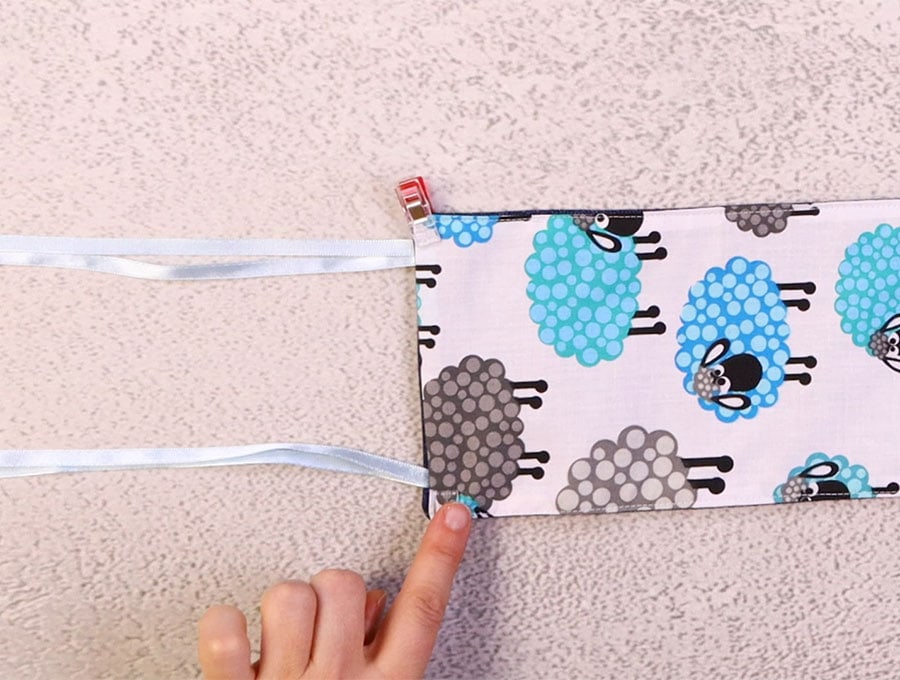
STEP 14:
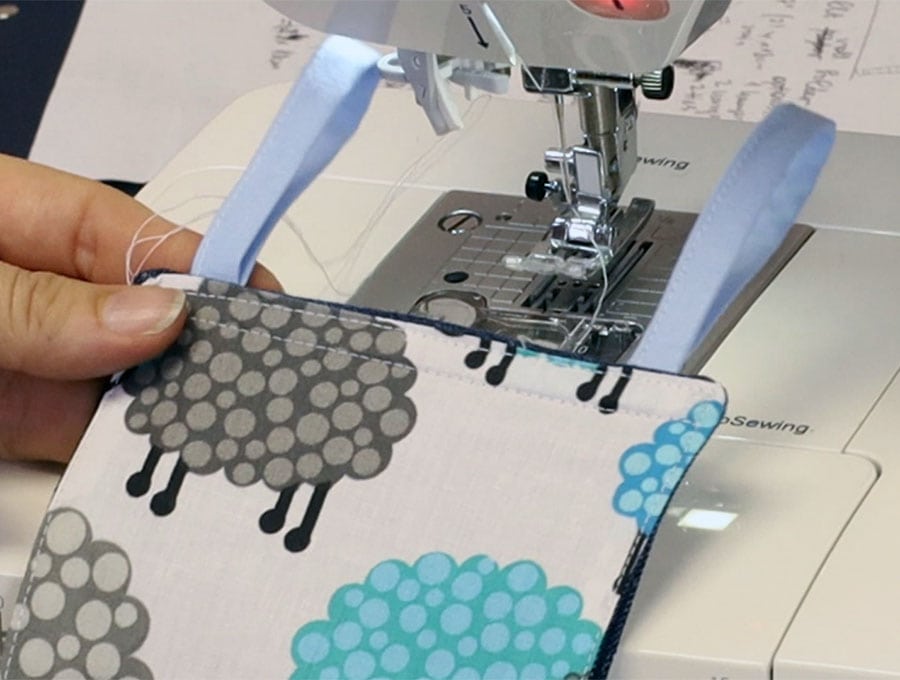
Stitch in place ¼ of an inch (6 mm) from the edge, along the length of the short side, backtacking at the start and finish and over the area where the loops attach.
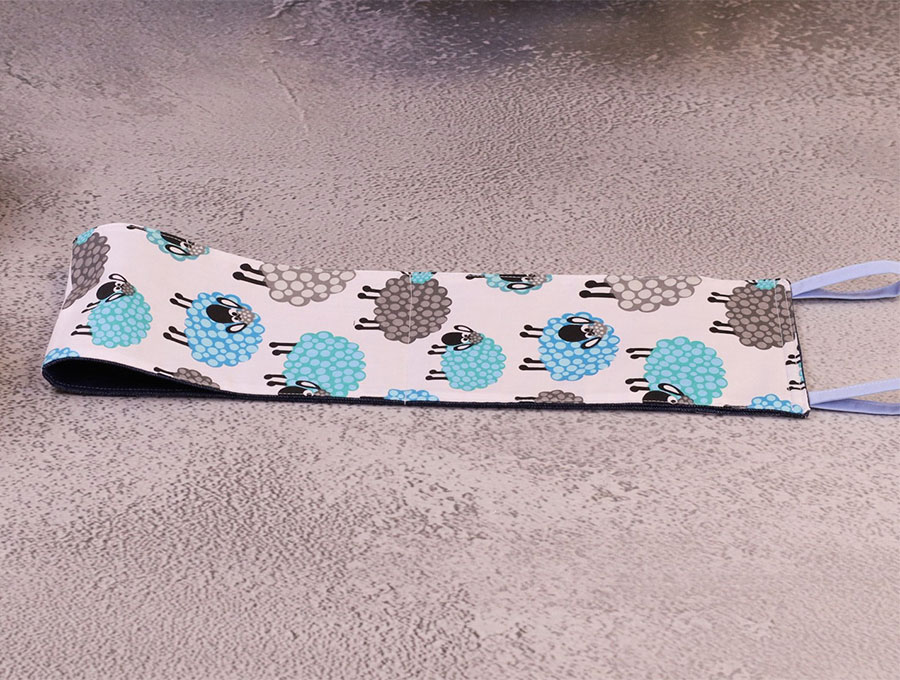
Insert two paper rolls – one in each opening and hand in your bathroom:
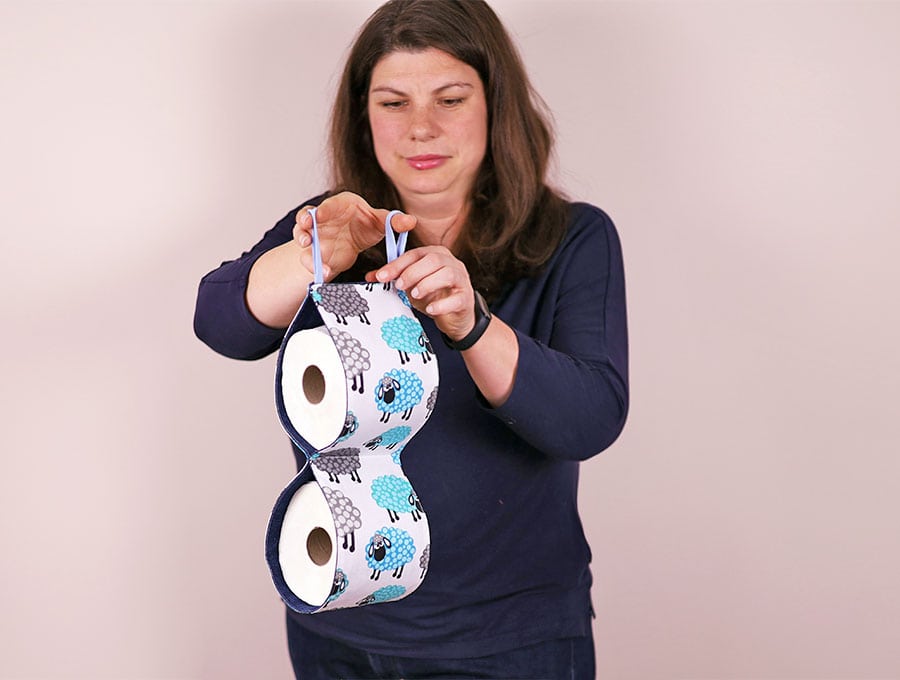
Alternative method if using ribbon. Place the folded end of the ribbon on each side of the open short edge and pin in position. Flip the other end over and stitch in position. You can singe the ends of the ribbon to prevent fraying. This method allows you to attach the holder to an immovable metal bar by tying a bow in each side of the ribbon to attach to the holder.
If using a plain outer fabric have some fun and create toilet paper monsters – use glue-on googly eyes, and embroider, or use felt, to create a mouth and nose.
With the extra toilet roll holder now stocked and ready for use, hopefully you will never be summoned to the bathroom by a panic-stricken cry of, “There’s no TOILET PAPER!”
Like and subscribe for more fun and useful projects.
Do you like this? Pin for later:
Wanna be friends? Click HERE and follow me on Pinterest
RELATED: