

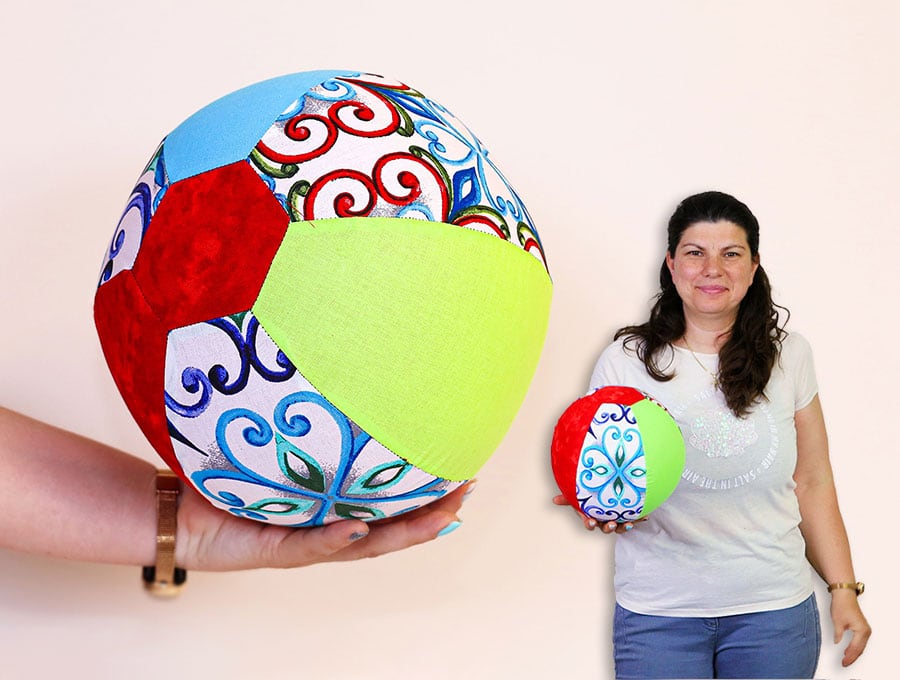
DIY Balloon Ball Cover // Balloon Cover Sewing Pattern in 2 Sizes
Want a toy that’s bouncy, colorful, and won’t break the lamps? Let’s sew a Balloon Ball Cover! This genius project turns a standard balloon into a durable, lightweight fabric ball that is safe for indoor play. This is the ultimate portable toy—it fits in your pocket when deflated but turns into a bouncy, lightweight ball in seconds.
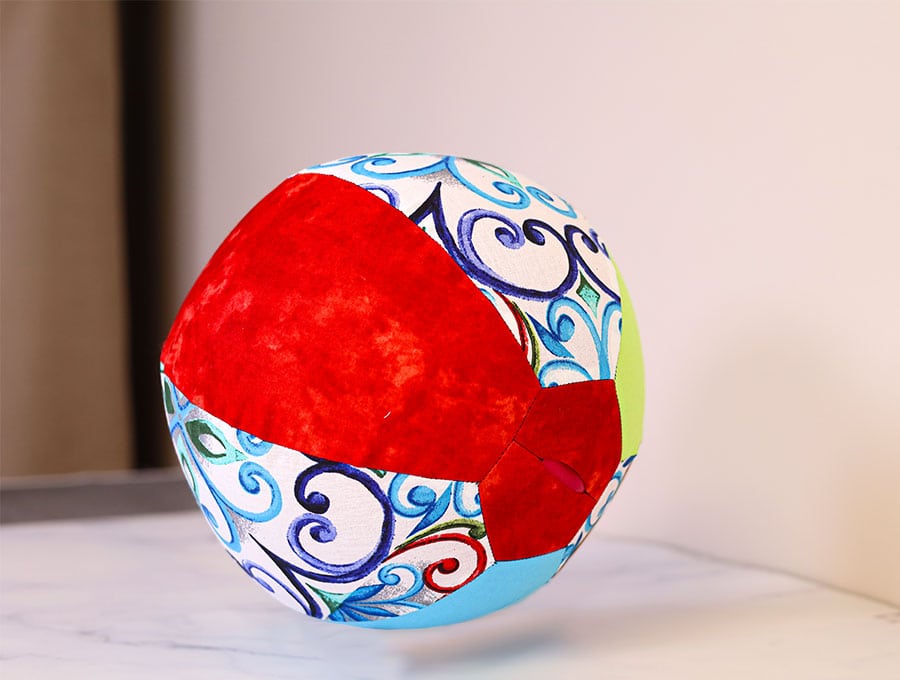
Simply stitch the cover, insert a balloon, blow it up, and tuck in the tail. It’s that easy to create a “magic” ball that kids (and parents!) will love.
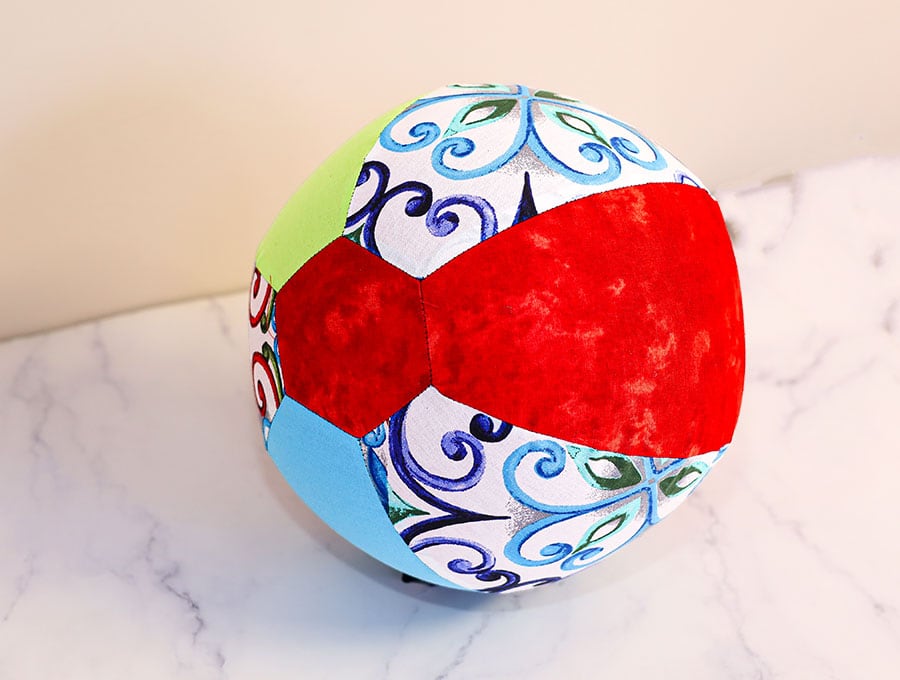
The balloon cover sewing pattern is in 2 sizes to fit either a 10 inch balloon or a 12 inch ballon.
Below you will find my step by step written tutorial with VIDEO instructions for all the visual learners.
We occasionally link to goods offered by vendors to help the reader find relevant products. Some of the links may be affiliate meaning we earn a small commission if an item is purchased.
How to make the Balloon Ball Cover
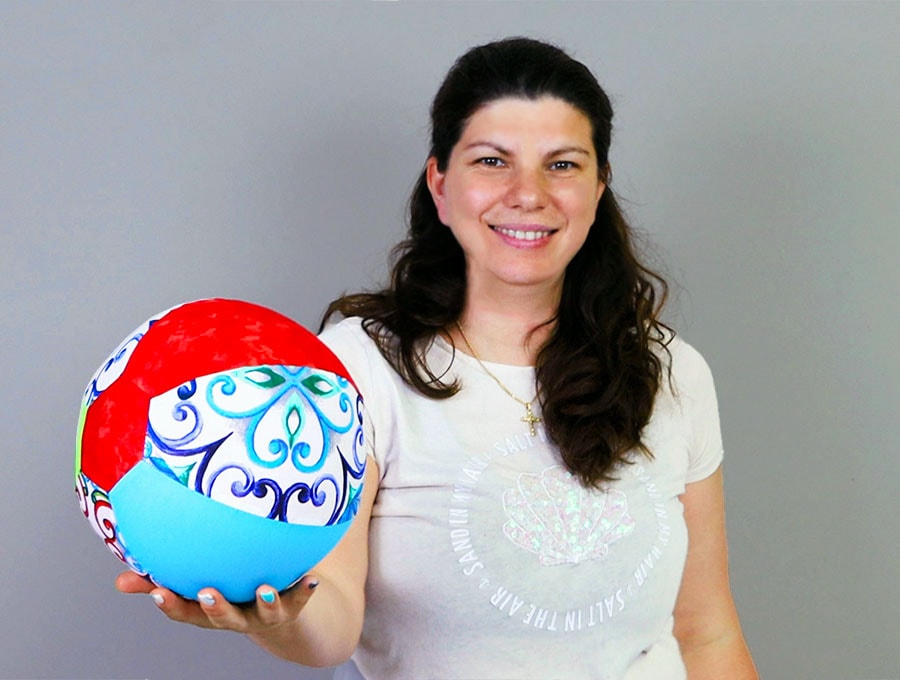
Supplies and tools
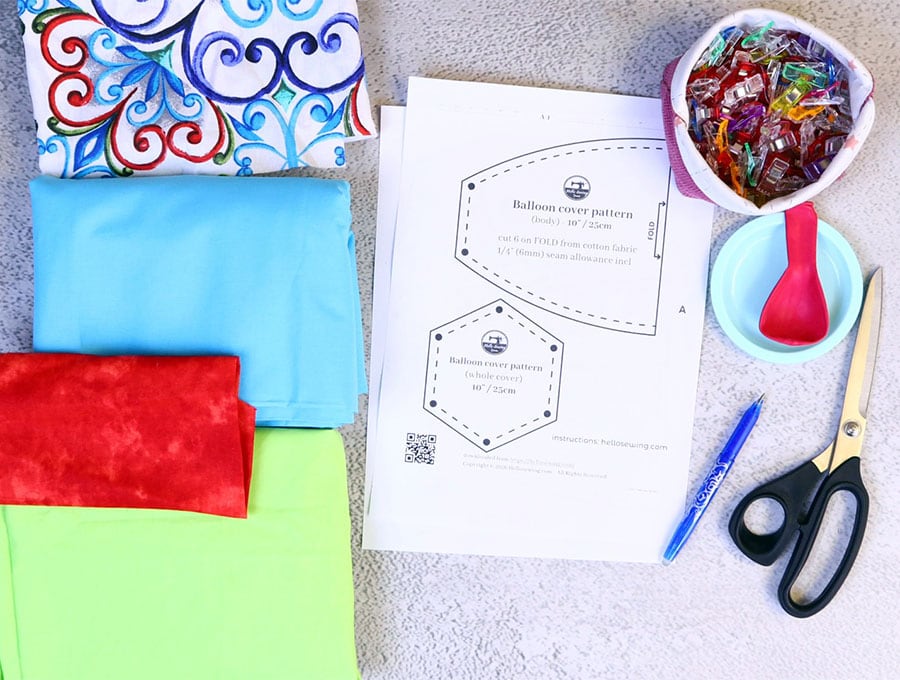
- fabric – 2 pieces of 100% tightly woven cotton (one main, one lining)
- matching thread
- scissors (or rotary cutter and a cutting mat)
- ruler or measuring tape
- iron and ironing board
- sewing clips or pins
DOWNLOAD: Balloon Ball Cover pattern [Free pdf file]
Follow us for free patterns & tutorials! [easy-profiles]
How to Sew a Balloon Cover
Watch the diy Balloon Cover video first and then follow the written step by step instructions below.
Please enjoy and don’t forget to Like and SUBSCRIBE over on YouTube to be kept up to date with new videos as they come out.
Balloon Ball Cover VIDEO TUTORIAL
Why sew a balloon cover?
Well, babies and toddlers are fascinated by the balloons that older kids play with but they are not safe. When the balloon bursts there’s a risk of choking on a small piece. Why do they burst? Think accidental claw from a dog or cat, too vigorous play, and sometimes balloons spontaneously self-destruct! The result is little bits that can be choking hazard to babies – who test everything by putting it in their mouths; and pets who might snuffle bits up with some party treats dropped by kids. With our balloon cover the balloon inside will last longer and provide hours of fun play for little ones, plus the clean-up is easier with the contents, once the balloon pops, easily disposed of safely.
Tapping or kicking a balloon is good for baby’s stretching, rolling and tummy-time effort to build stable core muscles. Playing with a balloon safely is really good for a baby or toddler’s coordination. Balloons move slower than balls, giving time for the youngster to visually track the movement and plan their reaction. This visual tracking helps later when a child starts to read.
The bright colors and slow movement attract attention, so choose the most appealing fabric bits from your stash.
INSTRUCTIONS:
STEP 1:
Head over to HelloSewing.com to download the free printable pattern. You have a choice of two sizes – a 30 cm or a 25 cm balloon cover – print out one or both, then cut along the cutting line – each size has just two pieces – the panel for the sides and the hexagon for the top and bottom.
STEP 2:
Choose your fabrics – cotton is great as it is eco-friendly and safe. You don’t want your baby sucking on fabric that is likely to shed microplastics into their system. I prefer to wash fabric before use for young children to remove the sizing- that’s the starch or resin-based coating that makes fabric a bit stiffer. You need 6 pieces for the sides – patterns and plains alternating, or a combination of your choice, and 3 pieces for the top and bottom.
STEP 3:
Place the side pattern piece on the fold of your fabric, pin in place, and cut. Repeat until you have 6 pieces, 3 plain and 3 patterned. Then place the hexagon piece on your cotton, pin and cut 3 – that is not a typo – you need 3 not 2 for the top and bottom.
STEP 4:
Place two hexagonal pieces of fabric with the right sides facing each other. Fold the hexagonal pattern piece in half and mark the center line, then the two marks on the pattern to indicate a stitch line.
STEP 5:
Stitch down the center line to the mark indicated from each end, and backtack to start and finish.
STEP 6:
Fold open the pieces so that the right sides are outside and you have a gap in the center line.
STEP 7:
Take the hexagonal pattern piece and transfer the six dots on the pattern to the fabric for the top and bottom of the balloon cover, by either making a tiny hole where the dots are in the paper, and marking through the holes, or marking the pattern back with pencil and pressing on the front of the dots to transfer the marks to the fabric. These are to indicate where the sides will join the hexagonal pieces for the top and bottom.
STEP 8:
Take the pattern piece for the side panel and transfer the dots on the pattern to each of the side pieces.
STEP 9:
Arrange the side panels as you want them to appear on the balloon cover – one plain piece next to a patterned piece. Clip one pair together at the end, right sides inside.
STEP 10:
Stitch the two pieces on one side ¼” (6 mm) from the edge, starting and finishing with a backtack.
STEP 11:
Add on each piece, in the order you laid them out, stitching each one ¼” (6 mm) from the edge, as in Step 10, until you have all six pieces joined together.
STEP 12:
To complete the circle, clip the remaining two sides together and stitch as in Step 11, but this time leave a gap in the middle of the side through which to pull the fabric later. Remember to backtack on each side of the gap.
STEP 13:
Fold back the raw edges of the gap in line with the seam and finger press. Take scissors and make small nicks along each set of panels to ease the fabric when it is later turned the right way out. Take care not to nick too close to the stitch line.
STEP 14:
With the balloon cover still inside out, pin the single hexagonal piece to the panels, right side facing right side of panels. Matchup the dots and ensure the point of each hexagonal side matches up with the seam.
STEP 15:
Stitch around the edge ¼” (6 mm) from the edge. There is no need to leave a gap.
STEP 16:
Repeat Steps 14 and 15 with the other hexagon that is double and has the gap in it. This piece has two right sides.
STEP 17:
Clip small slits close to the top and base of the balloon cover where the panels meet the hexagons – this helps keep the cover from pulling skew when turned the right way out.
STEP 18:
Turn the cover the right way out by pulling the fabric gently through the gap in the panel that you created in Step 12.
STEP 19:
Fold the raw edge of the gap in line with the seam and pin, then slip stitch the gap closed with a matching cotton, so the stitches are almost invisible.
STEP 20:
Insert a balloon into the gap in the top of the balloon cover, hold the top of the balloon securely and blow it up before tying a knot in the balloon and easing the fabric back over it to make a ball.
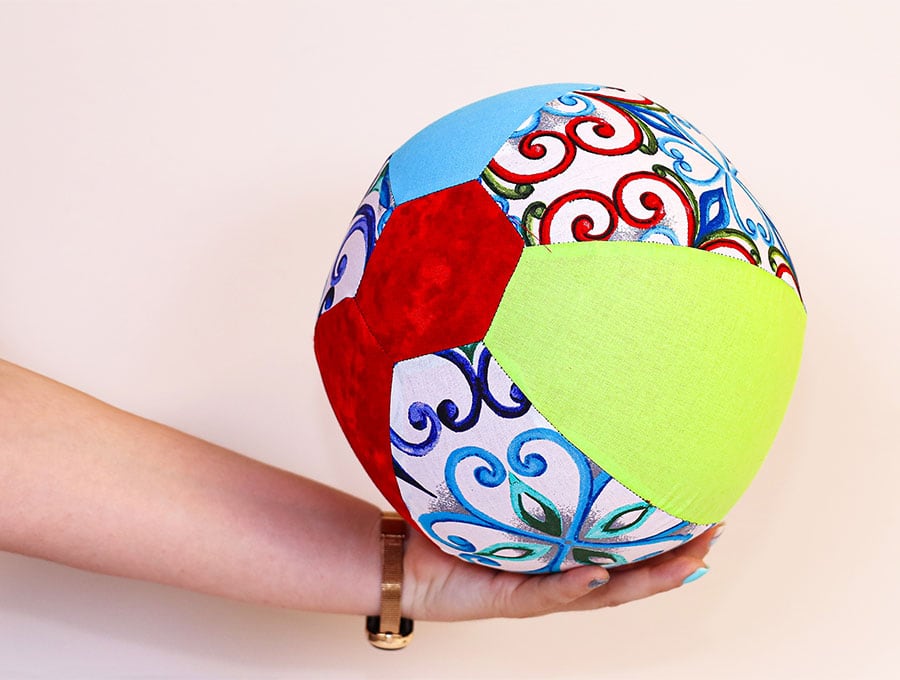
Transform a simple balloon into a sturdy, bouncy ball with this fun sewing project! Our Balloon Ball Cover is a game-changer for playrooms. It’s lightweight, safe, and super easy to make. Just stitch the fabric balloon cover, blow up a balloon inside, tuck in the tail, and you’re ready for a colorful game of catch!
If using the balloons for décor you can attach a string just below the knot in the balloon and tie them in the areas you want to decorate. If using helium to fill the balloons make sure they have weights to stop them floating away. To remove the balloon, simply snip near the top while holding and pull out of the holder. If the balloon accidentally pops inside the cover, remove by shaking, or using tweezers, to get the balloon bits out and dispose of safely where kids or animals can’t accidentally inhale them.
The balloon cover is a lovely project to make use of scrap pieces of fabric. Create this educational toy for babies, toddlers and young children who will benefit from the eye-hand coordination that playing with a slow-moving, yet light, ball provides. Besides, it’s a great deal of safe fun because the cover prevents pieces of balloon scattering across a garden where wildlife can eat them, or around the house where pets and toddlers can accidentally ingest them. It will take you just a few minutes to make… so, let’s start making it the prettiest, brightest colors you can find.
Do you like this? Pin for later:
Wanna be friends? Click HERE and follow me on Pinterest
RELATED: