
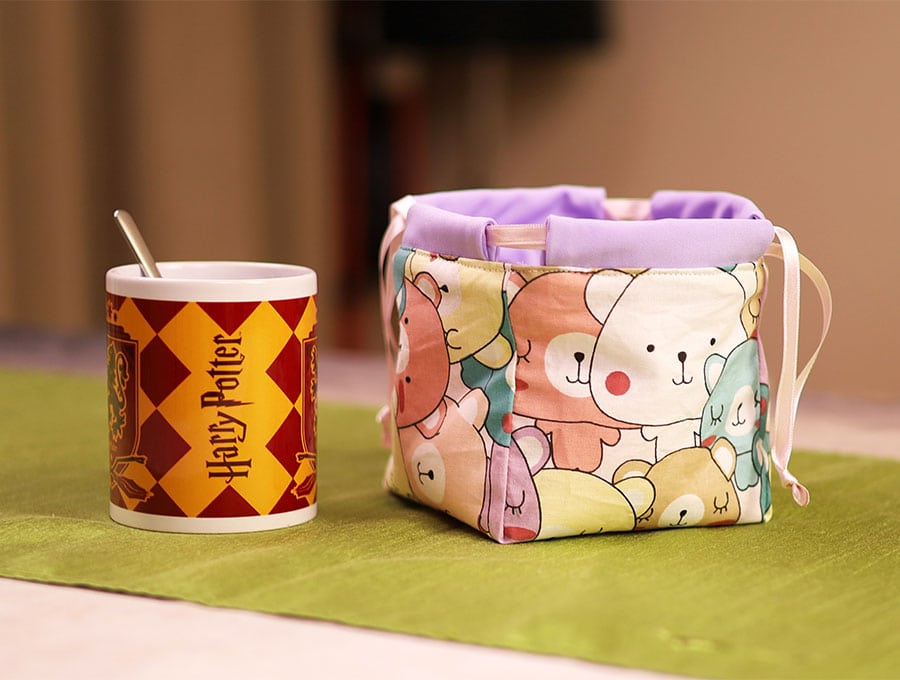
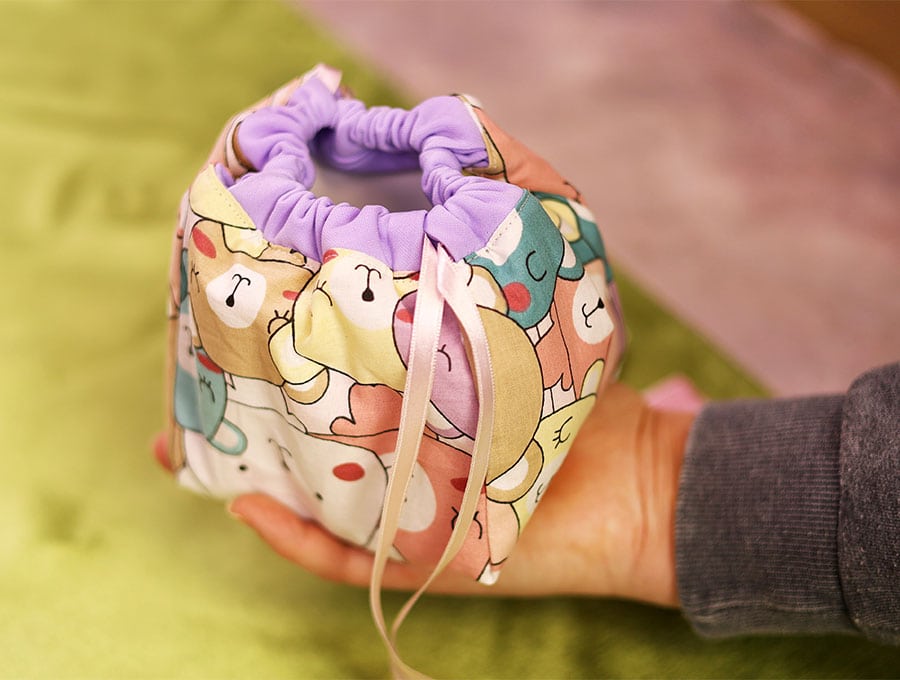
DIY Mug Carrier Bag
The mug carrier makes a great gift for someone who goes camping because it protects the mug, keeps the beverage warm and stores all the essentials together. Make sure to include a mug with a lid for campers to keep out insects and leaves, and that won’t spill in the mug carrier. People tend to use the carrier with the warm beverage inside as a hand warmer too in chilly weather. It will use just one piece of printed fabric from your stash, batting and some lining fabric
It makes a great gift for someone on the move as you can pack the handy carrier bag with supplies, like special teas, sweetener and creamer, together with a mug and spoon for a week at the office, a camping trip or a few days visiting friends.
Below you will find my step by step written tutorial with VIDEO instructions for all the visual learners.
We occasionally link to goods offered by vendors to help the reader find relevant products. Some of the links may be affiliate meaning we earn a small commission if an item is purchased.
Table of Contents
- 1 How to make DIY Mug Carrier Bag
- 2 Supplies and tools
- 3 How to Sew DIY Mug Carrier Bag
- 3.1 DIY Mug Carrier Bag VIDEO TUTORIAL
- 3.2 INSTRUCTIONS:
- 3.3 STEP 1:
- 3.4 STEP 2:
- 3.5 STEP 3:
- 3.6 STEP 4:
- 3.7 STEP 5:
- 3.8 STEP 6:
- 3.9 STEP 7:
- 3.10 STEP 8:
- 3.11 STEP 9:
- 3.12 STEP 10:
- 3.13 STEP 11:
- 3.14 STEP 12:
- 3.15 STEP 13:
- 3.16 STEP 14:
- 3.17 STEP 15:
- 3.18 STEP 16:
- 3.19 STEP 17:
- 3.20 STEP 18:
- 3.21 STEP 19:
- 3.22 STEP 20:
- 3.23 STEP 21:
- 3.24 STEP 22:
- 3.25 STEP 23:
How to make DIY Mug Carrier Bag
Supplies and tools

- Printed cotton fabric 14 x 14 inch (36 x 36 cm)
- Cotton lining fabric 14 x 14 inch (36 x 36 cm)
- Batting 14 x 14 inch (36 x 36 cm)
- Ribbon or tape 27 x ¼ inch (68 x 6mm)
- matching thread
- scissors (or rotary cutter and a cutting mat)
- ruler or measuring tape
- iron and ironing board
- sewing clips or pins
- plastic snaps (you will need a sewing awl and snap pliers
- press studs
- hook and loop dots/tape
DOWNLOAD: [Free pdf file]
Follow us for free patterns & tutorials! [easy-profiles]
How to Sew DIY Mug Carrier Bag
Watch the diy DIY Mug Carrier Bag video first and then follow the written step by step instructions below.
Please enjoy and don’t forget to Like and SUBSCRIBE over on YouTube to be kept up to date with new videos as they come out.
DIY Mug Carrier Bag VIDEO TUTORIAL
INSTRUCTIONS:
STEP 1:
On your layered square, use a fabric marking pen to mark a square 4 3/8 x 4 3/8 of an inch (11 x 11 cm) in from each corner using a quilting ruler to get straight lines.
STEP 2:
On your layered square, use a fabric marking pen to mark a square 4 3/8 x 4 3/8 of an inch (11 x 11 cm) in from each corner using a quilting ruler to get straight lines.
STEP 3:
Cut out the four corners out and separate the layers of the corner pieces you cut out.
STEP 4:
Grab the four lining pieces and fold each one in half, right sides inward and clip on the long edge of each one.
STEP 5:
Stitch down the short sides of each piece ¼ of an inch (6mm) from the edge.
STEP 6:
Turn the right way out and press.
STEP 7:
Take the cross shape of the printed fabric and unclip it from the batting and lining layers, then mark the midpoints of each arm of the cross and lay the fabric out on the worktop right side up.
STEP 8:
Take the four lining pieces you stitched, fold in half, and mark the mid points on the raw edge side.
STEP 9:
Place the folded edge of each lining piece in line with the raw edge of each arm of the cross. Fold up the rest of the lining piece to the folded edge so you have a double layer and clip the layers on each end. This creates the casing for the drawstring on the mug carrier.
STEP 10:
Stitch along each arm of the cross to fasten the double layer in place ¼ of an inch (6mm) from the edge, backtacking at the start and finish of each arm.
STEP 11:
Fold the cross up into a rectangle by bringing the edges of each arm together and clipping in place.
STEP 12:
Stitch ¼ of an inch (6mm) from the edge of each side, backtacking at the start and finish.
STEP 13:
Place the cross shaped batting on your worktop and over it lay the cross shaped lining right side up. Bring the arms of the cross of lining and batting up into a rectangle and clip in place.
STEP 14:
Stitch the sides ¼ of an inch (6mm) from the edge, leaving a gap in the middle of one side of about 3 inches (7.5 cm) to turn the mug carrier the right way out. Backtack at the start and finish of each seam.
STEP 15:
Trim the extra batting from the seams to reduce bulk then turn so the lining is outside.
STEP 16:
Slip the lining with attached batting inside the outer fabric carrier making sure the right sides of the outer fabric and lining are facing each other.
STEP 17:
Line up the four corners and clip together, ensuring seams are open to reduce bulk when sewing.
STEP 18:
Stitch around the top of the carrier bag ¼ of an inch (6mm) from the edge.
STEP 19:
Pull the bag the right way out through the gap, then turn in the raw edges of lining and batting and slip stitch closed by hand, or if using your sewing machine stitch 1/8 of an inch (3mm) from the folded edges to close the gap.
STEP 20:
Seat the lining into the outer cover of the bag and top stitch around the top of the bag on the right side, 1/8 of an inch (3mm) from the edge.
STEP 21:
Cut two pieces of 27 x ¼ inch (68 x 6mm) wide ribbon or tape. Use a lighter to quickly seal the cut ends to prevent them from fraying.
STEP 22:
Thread the ribbon through the casing you created using a safety pin or threading tool. Once the ribbon is threaded through all four casings, adjust the ends of the ribbon so they are even and tie a knot at the end.
STEP 23:
Starting at the corner diagonally opposite where the first ribbon you inserted is knotted, work your way round the four sides of the top. Adjust the ends and tie a knot. Now you can pull the knots and tighten the top of the mug carrier. You have sufficient length of ribbon to tie a bow to keep everything in the mug carrier secure.
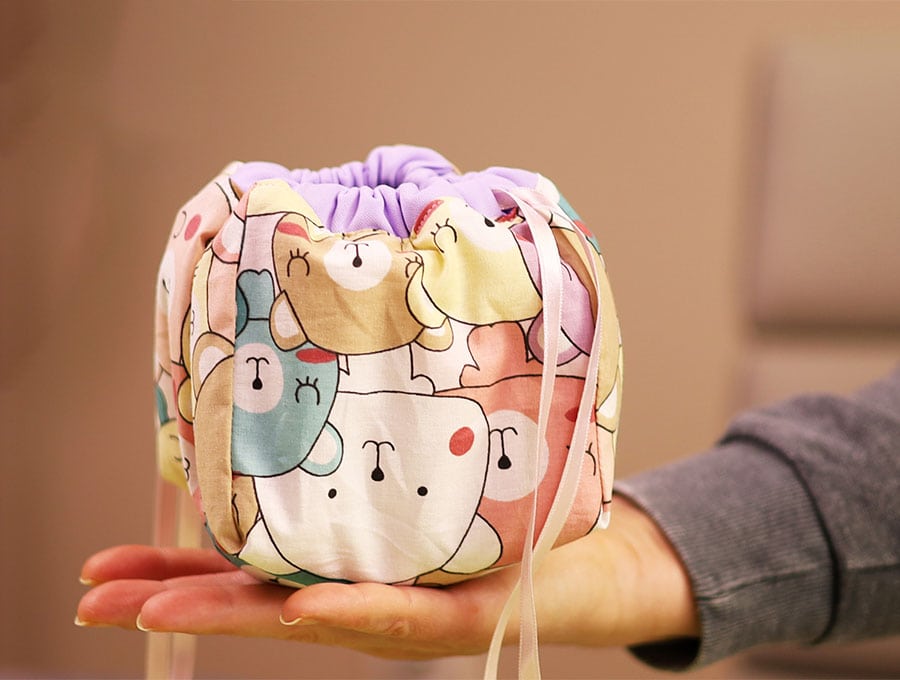
After you have created the mug carrier load the essentials – mug, spoon, coffee sachets, creamer and sweeteners, a card with an affirmation for the day, and it is ready to gift. The recipient may not always use it as a mug carrier but may use it for other items that can sit conveniently on a desk or dressing table and taken along on trips when needed. If you enjoyed creating our DIY Mug Carrier Bag then give HelloSewing a like and subscribe for more sewing tutorials accompanied by visuals so you can get right into creating with the fabrics in your stash. Also, don’t fotget to share this with a friend who enjoys sewing.
Do you like this? Pin for later:
Wanna be friends? Click HERE and follow me on Pinterest
RELATED: