
DIY Zipper Wristlet or Cosmetic Bag Pouch // How to sew a Travel Makeup Bag
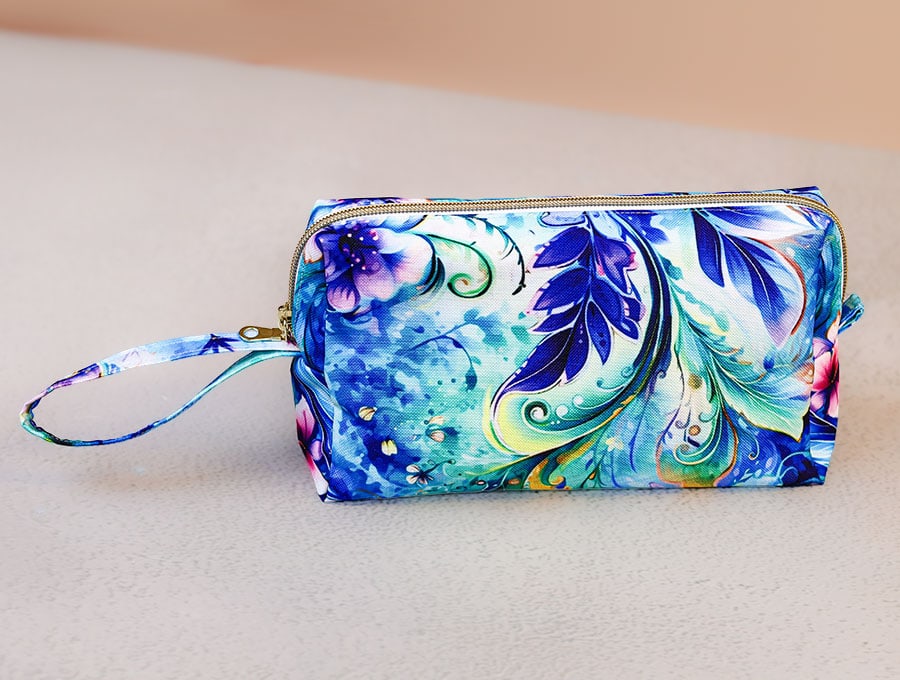
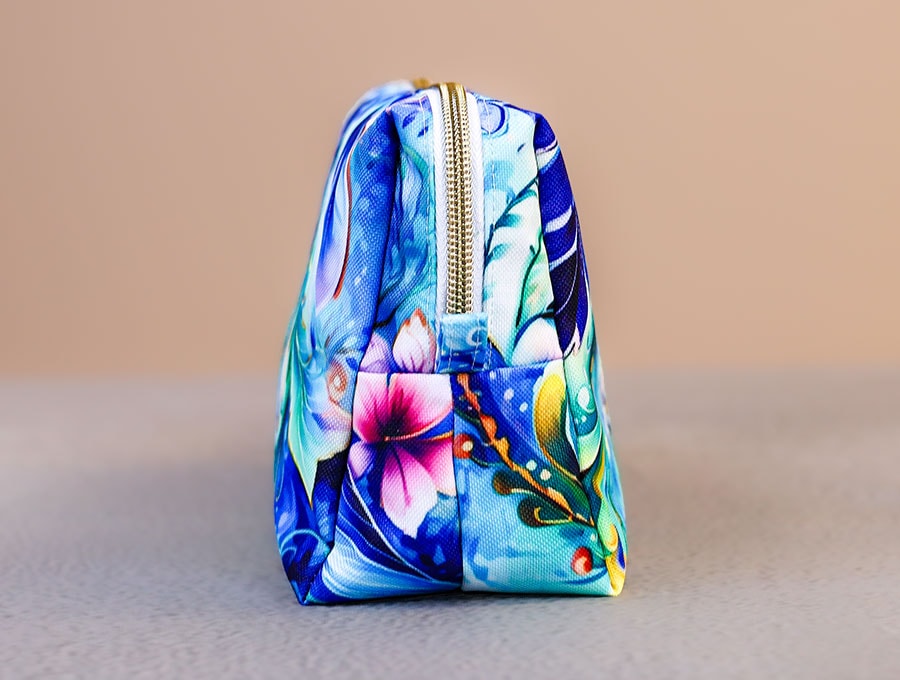
Let’s make this adorable and useful Zipper Wristlet or Cosmetic Bag Pouch. If your makeup drawer is overflowing and your bathroom counter doesn’t have much space, this project is for you. A handmade zippered cosmetic bag is one of those satisfying sews that takes under an hour, uses up your fabric scraps, and gives you something genuinely useful at the end of it. 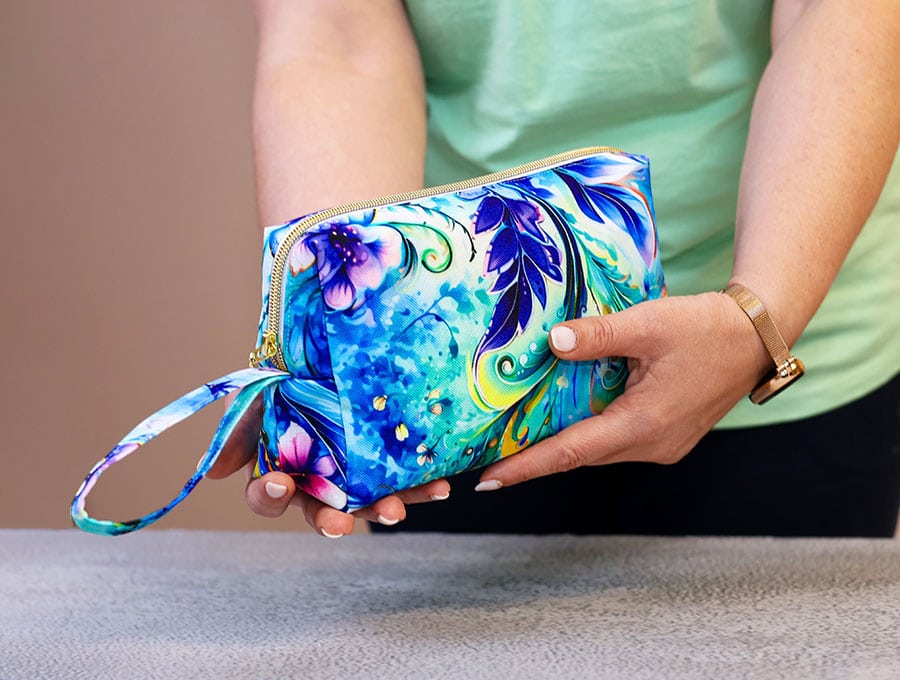
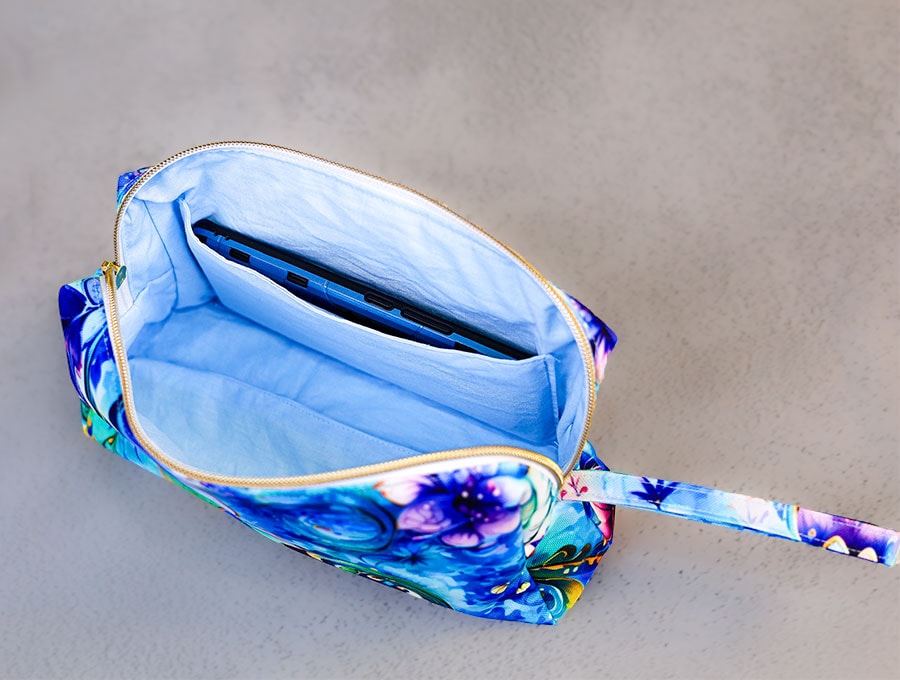
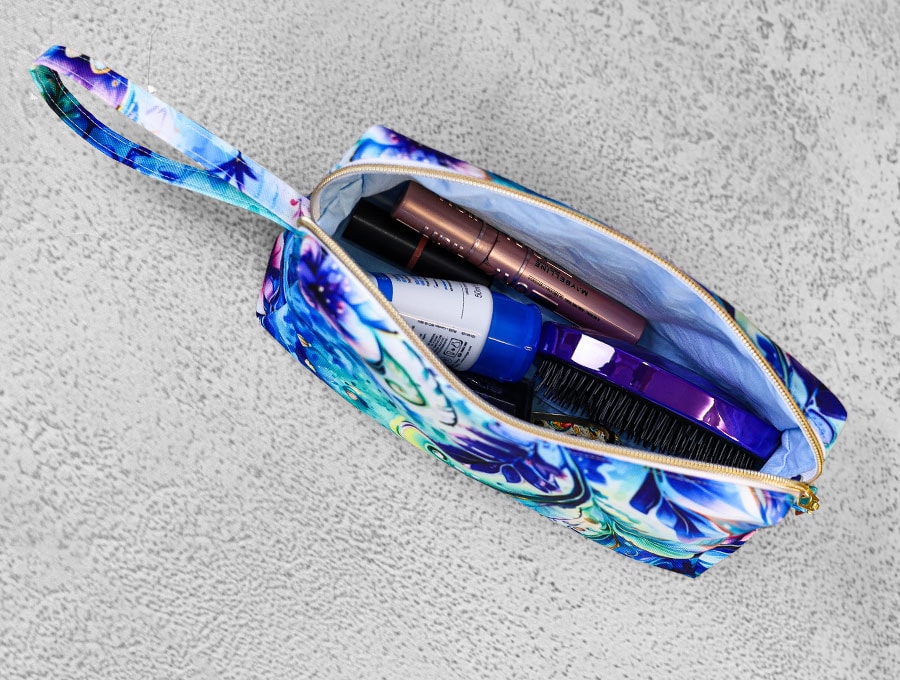
It has a handy pocket inside, for stashing the things you need to grab in a hurry, like your lip balm or a hair tie. It is big enough to fit even a large smartphone. Proof:
The best part? You don’t need to go hunting for a pattern. We’ve included a free printable one right here. Just print, cut, and you’re ready to get started.
Whether you’re a beginner who’s just got the hang of a straight stitch or an experienced sewist looking for a quick weekend make, this bag is easy and endlessly customisable. Choose a bold quilting cotton, a sturdy canvas, or even a novelty print — the simple design lets your fabric do the talking. We’ll walk you through every step, from cutting your pieces to inserting the zip with confidence.
Below you will find my step by step written tutorial with VIDEO instructions for all the visual learners.
We occasionally link to goods offered by vendors to help the reader find relevant products. Some of the links may be affiliate meaning we earn a small commission if an item is purchased.
Table of Contents
- 1 How to make the zipper wristlet
- 2 Supplies and tools
- 3 How to Sew a zipper wristlet
- 3.1 Cosmetic Bag Pouch VIDEO TUTORIAL
- 3.2 INSTRUCTIONS:
- 3.3 STEP 1:
- 3.4 STEP 2:
- 3.5 STEP 3:
- 3.6 STEP 4:
- 3.7 STEP 5:
- 3.8 STEP 6:
- 3.9 STEP 7:
- 3.10 STEP 8:
- 3.11 STEP 9:
- 3.12 STEP 10:
- 3.13 STEP 11:
- 3.14 STEP 12:
- 3.15 STEP 13:
- 3.16 STEP 14:
- 3.17 STEP 15:
- 3.18 STEP 16:
- 3.19 STEP 17:
- 3.20 STEP 18:
- 3.21 STEP 19:
- 3.22 STEP 20:
- 3.23 STEP 21:
- 3.24 STEP 22:
- 3.25 STEP 23:
- 3.26 STEP 24:
- 3.27 STEP 25:
- 3.28 STEP 26:
- 3.29 STEP 27:
- 3.30 STEP 28:
- 3.31 STEP 29:
- 3.32 STEP 30:
- 3.33 STEP 31:
- 3.34 STEP 32:
- 3.35 STEP 33:
- 3.36 STEP 34:
- 3.37
How to make the zipper wristlet
Supplies and tools
- fabric – Home decor fabric for the outside and quilting cotton for the lining OR 2 pieces of quilting cotton (one main, one lining)
- fusible batting
- matching thread
- scissors (or rotary cutter and a cutting mat)
- ruler or measuring tape
- iron and ironing board
- sewing clips or pins
- plastic snaps (you will need a sewing awl and snap pliers
- hook and loop dots/tape
DOWNLOAD: Zipper Wristlet / Cosmetic Bag Pouch Pattern [Free pdf file]
Follow us for free patterns & tutorials! [easy-profiles]
How to Sew a zipper wristlet
Watch the diy cosmetic bag pouch video first and then follow the written step by step instructions below.
Please enjoy and don’t forget to Like and SUBSCRIBE over on YouTube to be kept up to date with new videos as they come out.
Cosmetic Bag Pouch VIDEO TUTORIAL
INSTRUCTIONS:
STEP 1:
Download the printable pdf pattern, print at 100% (no scaling) and trim the excess paper.
STEP 2:
Place the outer and the lining fabric wrong sides facing each other and over the 2 fabrics place the main pattern piece, pin in place and cut out on the solid cutting line.
Cut 2 of the outer and lining pieces.
STEP 3:
Take the pattern piece marked 5 and cut along the dotted sewing line to get the right size for the batting – it’s always cut a bit smaller to reduce bulk at the seams. TIP: if you are making a few of these bags print out 2 of the main pattern piece so you can keep one as a pattern for the outer fabric and one trimmed down pattern piece for the batting. Cut 2 of the batting.
STEP 4:
Place the pocket pattern piece on a piece of folded lining fabric, aligning the fold mark on the pattern with the fold on the fabric – clip or pin in place and then cut out.
The pocket size will be 8 x 9” (20 x 22 cm)
STEP 5:
Cut the wristlet strap 12 x 2 3/8” (30 x 6 cm) from the outer fabric.
STEP 6:
Cut the tab 2 3/8 x 1 ½” (6 x 4 cm)
STEP 7:
Turn the 2 outer fabric pieces for the main bag (pattern piece 5) wrong side up on your ironing pad and over each one place a piece of the fusible batting, sticky side down. Iron to fuse according to the manufacturer’s instructions.
STEP 8:
Take the tab piece and fold in half, wrong sides inside along the 6 cm side. Press.
Open out and place right side down on your ironing pad, then press in each side to meet the center fold. Fold again so the folded edges line up and press, then clip.
STEP 9:
Repeat STEP 8 with the wristlet piece, again folding along the long edge.
STEP 10:
Stitch down each side of the tab and the wristlet strap as close to the edge as possible.
STEP 11:
Take the pocket piece and fold so the shorter sides line up, wrong sides outwards and clip together.
STEP 12:
Mark a gap in the middle of the short sides, then stitch around the edge of the. pocket piece using a ¼ “ (6 mm) seam allowance, backtacking on each side of the gap where you start and finish. Do not stitch across the fold.
STEP 13:
Fold the raw edge of the gap in line with the seam and finger press, then clip off the corners to reduce bulk when turning.
STEP 14:
Turn the pocket piece the right way out, using a turning tool to press out the seams and corners so they lie flat. Make sure the raw edges of the gap are turned in, in line with the seam, and give the pocket piece a press.
STEP 15:
Stitch along the side with the gap 1/8” (3 mm) from the edge.
STEP 16:
Fold the pocket piece in half, short edge to short edge, and press.
STEP 17:
Take the lining piece and first mark the position of the top of the pocket piece, by transferring the mark from the folded pattern piece to the fabric, then fold the lining in half, wrong sides outwards and press.
STEP 18:
Open out the lining piece, and place right side up on your worktop. Over the pressed fold line up the pocket piece fold, with the stitched edge in line with the mark for the top of the pocket. Pin in place.
STEP 19:
Stitch around the sides and bottom of the pocket, using a seam allowance of 1/8” (3 mm) and backtacking at the start and finish.
STEP 20:
Attach zipper to the narrow sides of the main fabric pieces. First split the zipper in half, Then place each side, right side of zipper facing the right side of the fabric, with the teeth facing to the main body of the bag. Over this place the lining, right side down and clip in place.
STEP 21:
Use the zipper foot to stitch as close to the teeth of the zipper as possible along each side.
STEP 22:
Open out the fabric so the right sides are outside and the zipper teeth are exposed. Give each side of the bag a press.
STEP 23:
Topstitch along each side of the zipper 1/8” (3 mm) from the zipper teeth.
STEP 24:
Join the zipper sides by placing the zipper slide onto the middle tine of a fork, the zipper pull facing the front of the fork and the back towards you on the bulge of the fork, then tape the fork to a cup to hold it upright. Now it is relatively easy to slide the two sides of the zipper onto the fork – lining sides facing you.
STEP 25:
Take the tab and the wristlet strap, fold each in half and clip. Close the zipper fully – pulling the slider off the top of the zipper then reiserting at the base. Then clip the tab at the base of the zipper and the wristlet piece at the top of the zipper, raw edges of the fold facing the raw edges of the fabric, the folded piece facing towards the zipper.
STEP 26:
Carefully stitch across the top end of the zipper back and forth three times to attach the wristlet, then do the same at the base to attach the tab.
STEP 27:
Open out the fabrics and clip the outer to the outer, right sides inwards and the lining to the lining, right sides inwards.
STEP 28:
Mark a gap of around 3” (7.5 cm) roughly in the middle of the lining edge through which to pull the fabric when turning the right way out.
STEP 29:
Stitch along each long edge 3/8” (1 cm) from the edge, avoiding the area where you marked the gap, but backtacking on each side of the gap and at the start and finish of the seam.
STEP 30:
Finger press the edges of the gap in line with the seam.
STEP 31:
Join the ends with the zipper to the corresponding end of the lining fabric, clip in place, and stitch using a 3/8” (1 cm) seam allowance.
STEP 32:
Box the corners by opening out and clipping the lining to the outer fabric. Stitch across each side with a 3/8” (1 cm) seam allowance.
STEP 33:
Pull the fabric gently through the gap until the cosmetic bag is the right way out.
STEP 34:
The last thing to do is pull the lining upwards so you can stitch the gap closed on your sewing machine, stitching as cose to the turned in edges as possible.
The pouch is now ready to be put to use. Have fun sorting and organizing your cosmetics.
There is little to beat the accomplished feeling of being organized! Instead of scratching around for the lipstick and mascara in your purse use our free printable pattern to create a wristlet cosmetic bag. You will soon have your touch up kit in our cosmetic purse ready to go, with everything you need for a long day out going into the evening, or a weekend away. Even at home these cosmetic bags are great to keep similar things together, like your nail care items in one and hair accessories in another.
I like to have one just for nail care and nail polishes, one for hair accessories and one for make up on the go. Please remember to like and subscribe. We would love to see your photos of the cosmetic bags you have made – you can post them in our comments section for subscribers.

Do you like this? Pin for later:
Wanna be friends? Click HERE and follow me on Pinterest
RELATED: