

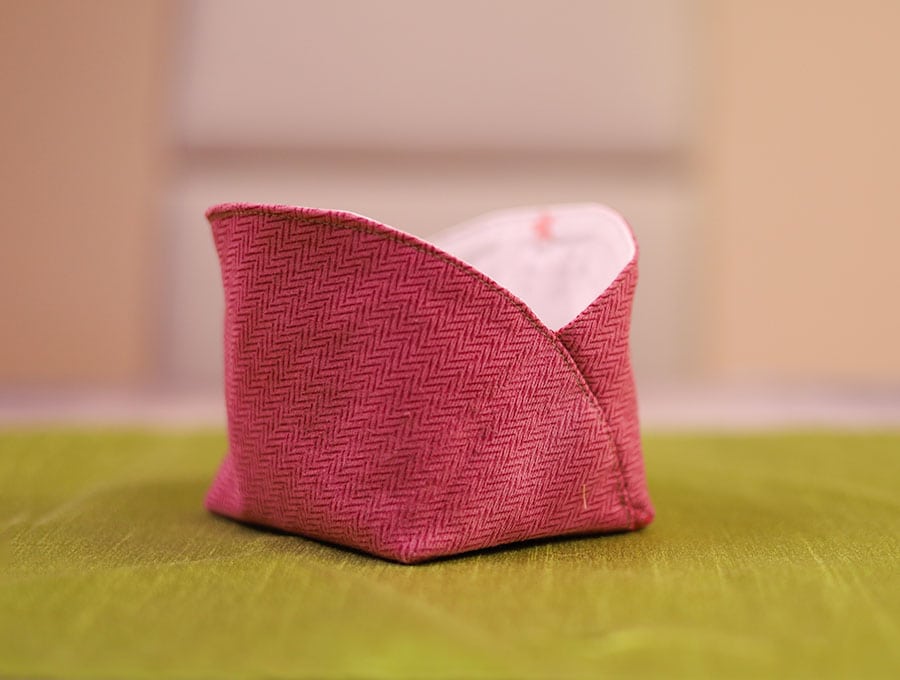
DIY Multi-purpose Tulip Basket // How to Sew a Tulip Bin
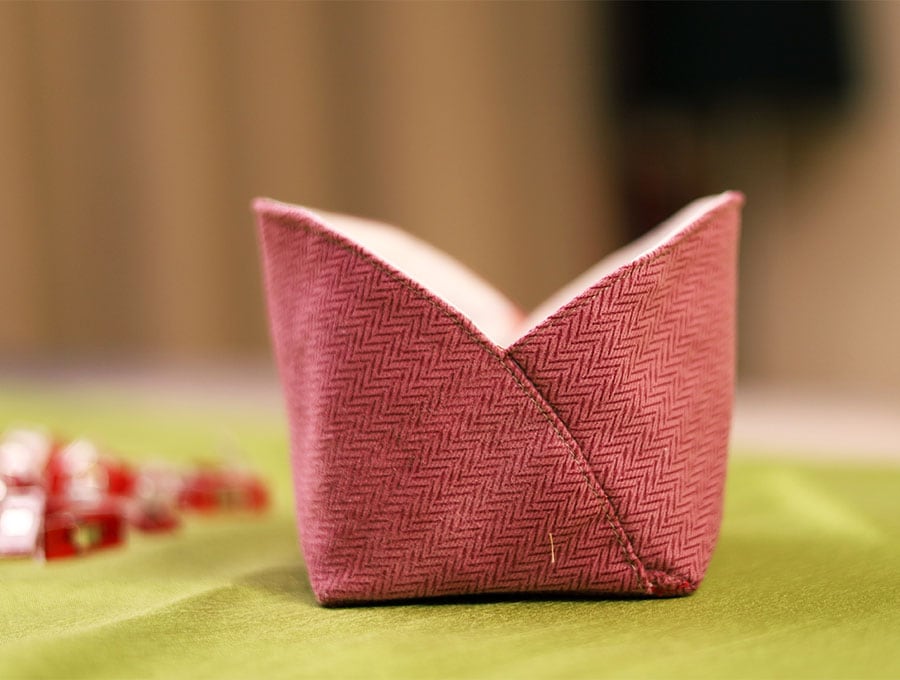
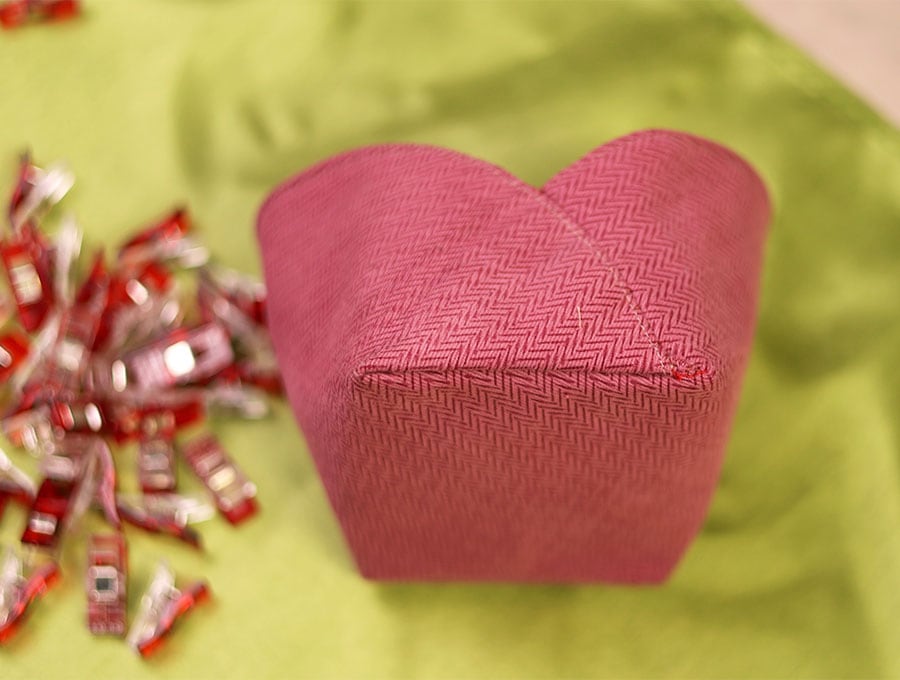
The tulip basket is an elegant piece to add to your desk, sewing worktop, bedroom or bathroom vanity to keep supplies handy. It’s open so you can reach in and grab what you need in a hurry.
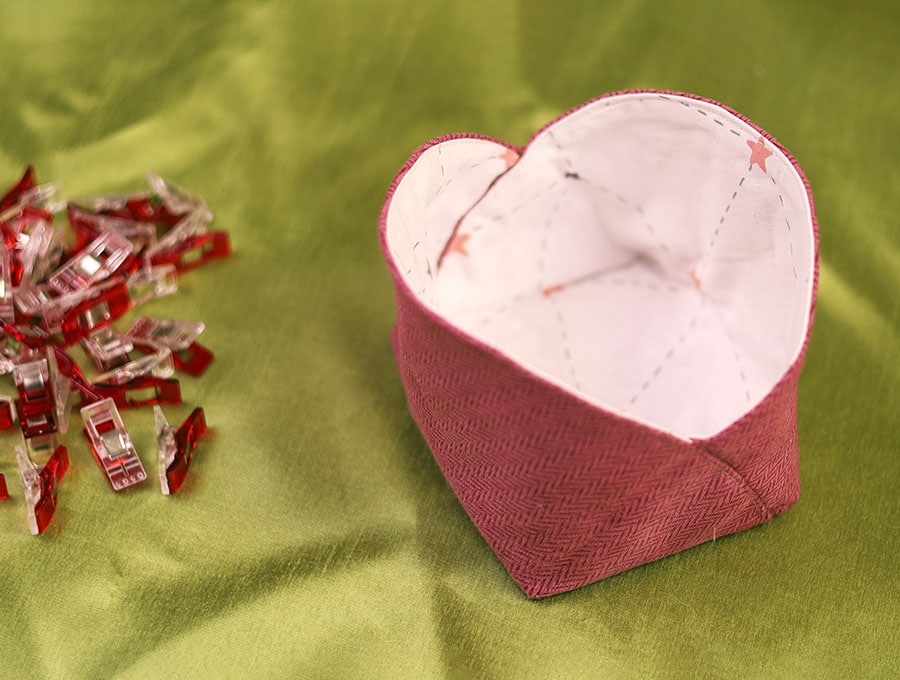
The best part is that all you need is a 12-inch (30cm) square piece of fabric, lining and batting and you’re ready to start. It makes a perfect container for a gift of wrapped candies or homemade cookies too, and for Easter eggs too.
Below you will find my step by step written tutorial with VIDEO instructions for all the visual learners.
We occasionally link to goods offered by vendors to help the reader find relevant products. Some of the links may be affiliate meaning we earn a small commission if an item is purchased.
How to make Multi-purpose tulip basket
Supplies and tools
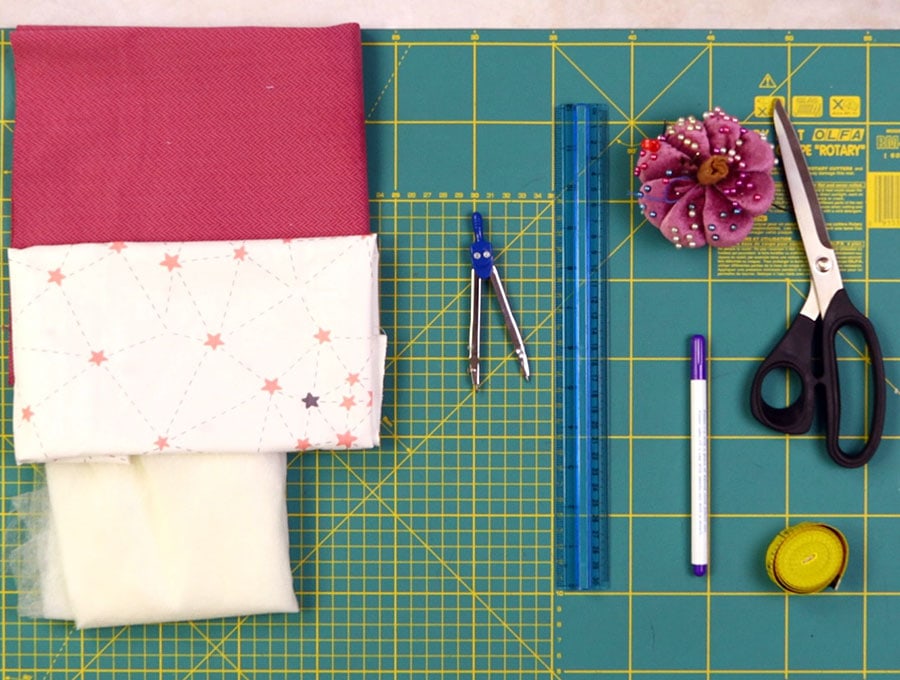
- Plain cotton fabric or very tiny print in your favorite tulip color cut to a circle of 6 inch (15cm) radius.
- Lining fabric cut to a circle of 6 inch (15cm) radius
- matching thread
- scissors (or rotary cutter and a cutting mat)
- ruler or measuring tape
- iron and ironing board
- sewing clips or pins
Follow us for free patterns & tutorials! [easy-profiles]
How to Sew a Multi-purpose tulip basket
Watch the diy Multi-purpose tulip basket video first and then follow the written step by step instructions below.
Please enjoy and don’t forget to Like and SUBSCRIBE over on YouTube to be kept up to date with new videos as they come out.
Multi-purpose tulip basket VIDEO TUTORIAL
INSTRUCTIONS:
STEP 1:
Lay out fabric, wrong side facing up, on your worktop, and set your compass to a 6-inch (15 cm) radius and draw a circle. The line will be fairly faint so go over it with a fabric marking pen, marking points around the circle then joining them
STEP 2:
Cut a piece of lining fabric to the same size and the fusible interfacing to ½ an inch smaller.
STEP 3:
Lay the lining wrong side upon your iron board and over it place the fusible interfacing, sticky side down then press to attach
STEP 4:
Lay the outer circle right side up on your worktop, and over it place the lining with attached interfacing right side down, and pin or clip together
STEP 5:
Stitch around the edge of the circle 1/4 inch from the edge (6mm), leaving a gap of 2 ½ inches (7.5 cm) to enable you to turn the fabric the right way out.
STEP 6:
Fold in the seam allowance of the gap in line with the seam. Clip around the edge to ease the fabric when it is turned – be careful not to clip too close to the stitching, then turn the circle the right way out using a turning tool to push out the seams so they lie flat.
STEP 7:
Press the circle of fabric, making sure the raw edges of the gap are neatly tucked in and in line with the rest of the circle.
STEP 8:
Top stitch all the way around the edge of the circle 1/8 of an inch (3mm) from the edge, backtacking at the start and finish.
STEP 9:
Fold the circle in half, the right sides outward, and clip. Then using a quilting ruler and fabric marking pen mark 3 inches (8 cm) in from the right folded edge and 1.5 inches (4cm) up and draw the rectangle. Repeat on the left hand side folded edge.
STEP 10:
Cut away the marked rectangles and lay the circle lining side up on your worktop with the cutaway sections facing the top and bottom.
STEP 11:
Pin or clip as follows:
- Fold the right hand raw edge to meet the mid-section you cut. Clip in place.
Flip the fabric so the right side is upwards and the clipped section is facing the top of your worktop. - Fold over the left hand raw edge to meet the already folded clipped section and clip the three layers in place.
- Fold the left hand raw edge to meet the mid-section you cut. Clip in place.
- Flip the fabric so the right side is facing up and fold over the last section over the two clipped layers and clip all three together.
STEP 12:
Stitch along the clip edges, backtacking at the start and finish ¼ of an inch (6mm) from the edge, then trim the corners.
STEP 13:
Turn the basket the right way out, and line up the ‘petal’ ends of the basket and clip.
STEP 14:
Hand stitch the ends using a slip stitch so the stitches are not visible, and be careful to tuck in any raw edge visible at the bottom of the basket where you start stitching
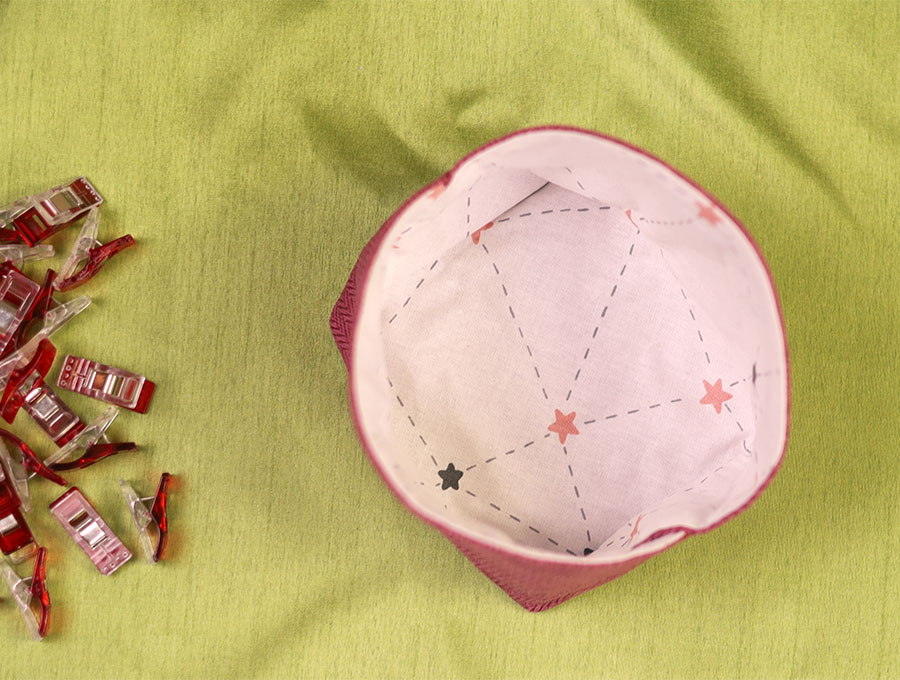
The little tulip basket is now ready to use for all you odds and ends – you can have a garden of tulip baskets in bright colors to make finding your sewing supplies easy or for storing various makeup and facial products so they are ready to use. Drop us a like and subscribe for more tutorials with visuals and step-by-step instructions to keep you inspired with sewing projects for all seasons and occasions.
Do you like this? Pin for later:
Wanna be friends? Click HERE and follow me on Pinterest
RELATED: