

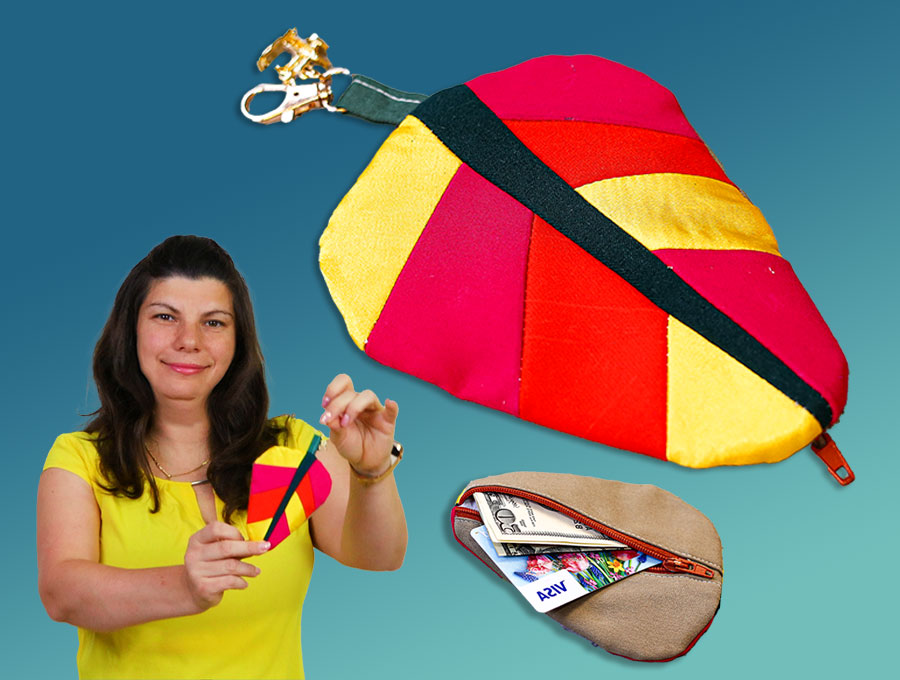
DIY Autumn Leaf Pouch // How to Sew Mini Autumn zipper pouch
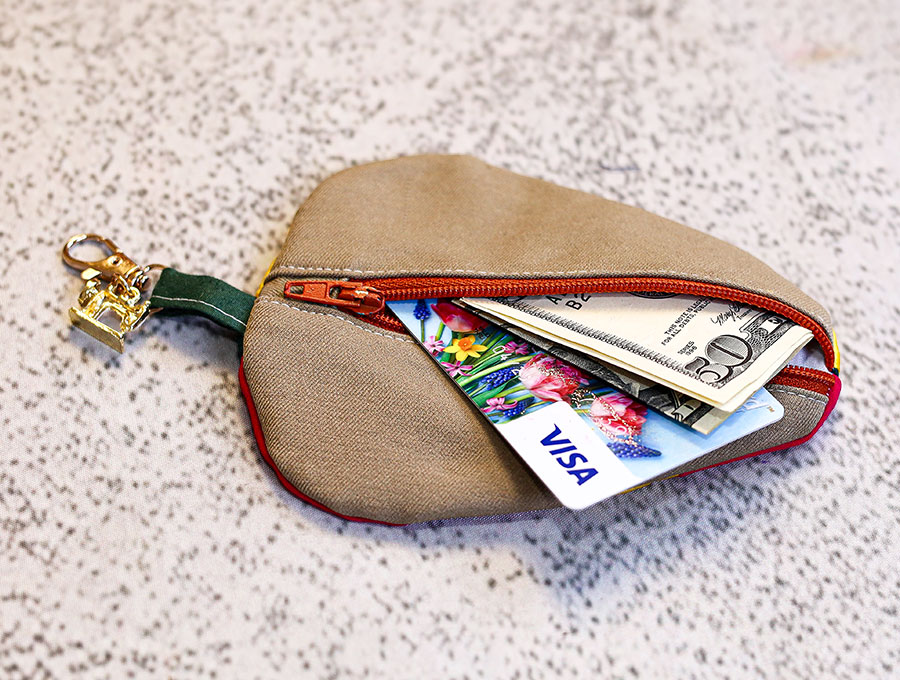
Make a stunning autumn leaf pouch. The Autumn Leaf Pouch doesn’t necessarily have to be made in autumn colors – whatever takes your fancy among the fabrics in your stash can be used. A blue leaf, a green leaf or neutral tones are all fine. I love this pouch as it looks more like a decoration than a pouch with a credit card and some cash zipped inside. Clipped to a backpack, then slipped inside one of the compartments it provides security from pickpockets, yet leaves (no pun intended) the leaf pouch easily accessible.
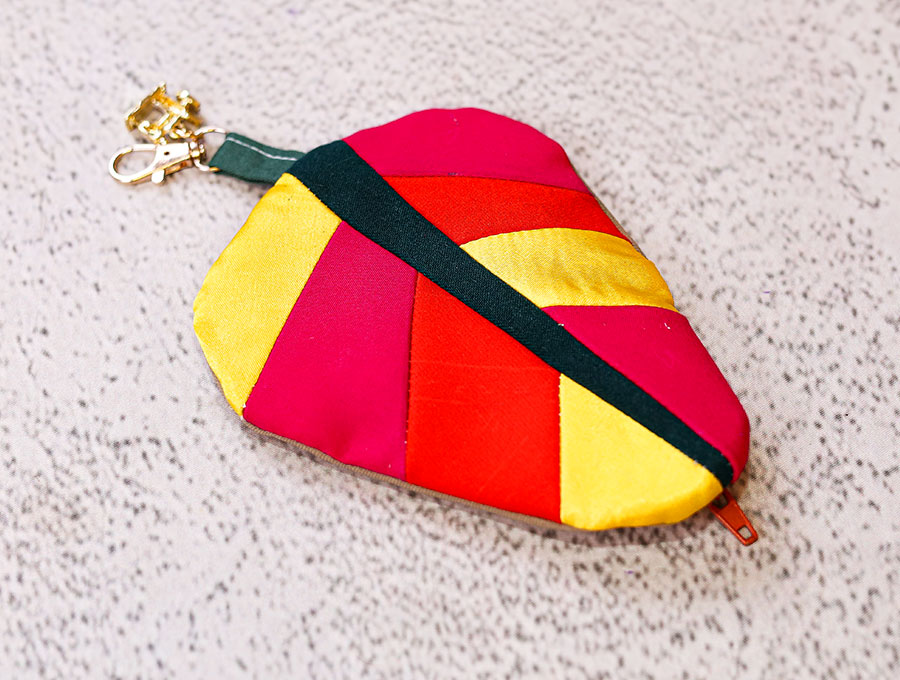
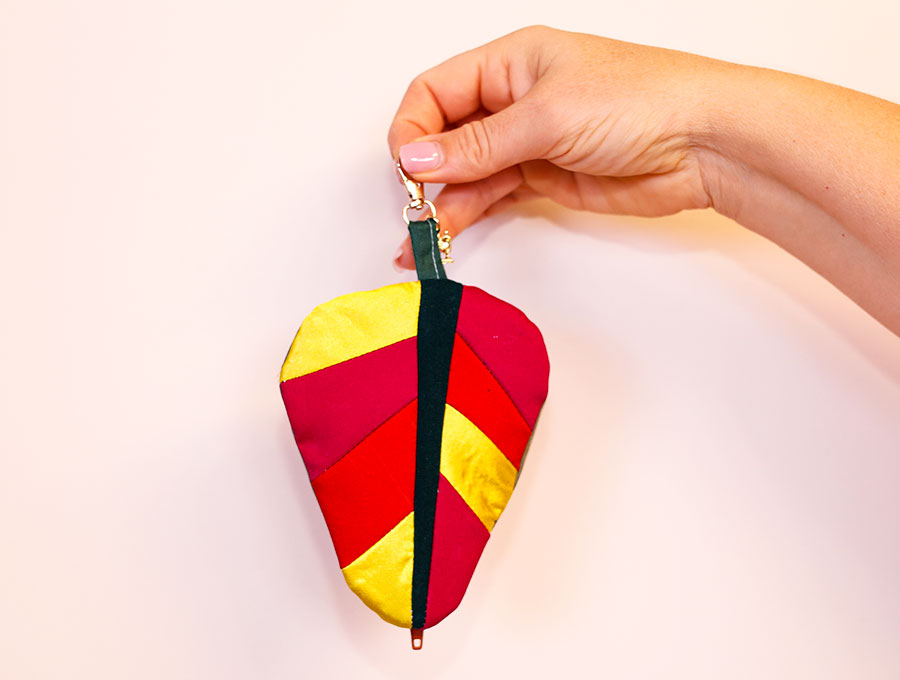
These mini fall zipper pouches are small but they can fit a lot of essentials inside. Get the free pattern from HelloSewing.com and let’s start sewing. If the idea of patchworking the leaf doesn’t appeal you can make this in a matter of minutes. Just cut the outer cover from ONE piece of autumn printed fabric according to the pattern!
Below you will find my step by step written tutorial with VIDEO instructions for all the visual learners.
We occasionally link to goods offered by vendors to help the reader find relevant products. Some of the links may be affiliate meaning we earn a small commission if an item is purchased.
How to make the Autumn Leaf Pouch
Supplies and tools
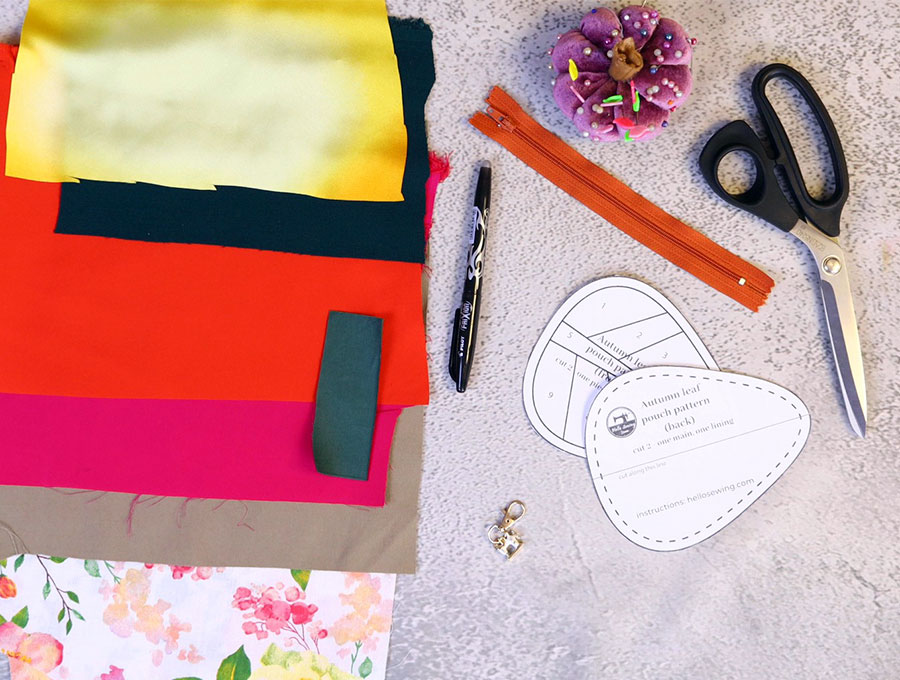
- fabric – 4 pieces of woven cotton for the pieced front, 1 for the lining and 1 for the back
- matching thread
- scissors (or rotary cutter and a cutting mat)
- ruler or measuring tape
- iron and ironing board
- sewing clips or pins
- zipper
DOWNLOAD: Autumn Leaf Pouch pattern [Free pdf file]
Follow us for free patterns & tutorials! [easy-profiles]
How to Sew an Autumn Leaf Zipper Pouch
Watch the diy fall leaf pouch video first and then follow the written step by step instructions below.
Please enjoy and don’t forget to Like and SUBSCRIBE over on YouTube to be kept up to date with new videos as they come out.
Autumn Zip pouch VIDEO TUTORIAL
INSTRUCTIONS:
STEP 1:
Download and print out the pattern piece, then using marker pens roughly color in the various pieces according to the colors named on the pattern – I find color coding them this way just makes it that much quicker to sort later. Cut up the pattern pieces for the front of the pouch.
STEP 2:
Choose your colors and place the pattern pieces on the matching fabric pieces and mark around them using a fabric marking pen. I find this way you can use up some the tiniest scraps in your stash! Then cut them out allowing an extra ¼” (6 mm) seam allowance around each piece. Use a marking pen to write the number of the pattern piece on the back of each bit of fabric as you cut to make assembling the leaf easy.
STEP 3:
Arrange the pattern pieces back together, then assemble the fabric bits into the leaf shape guided by the pattern.
STEP 4:
Place a pin at each end of any two pieces to be joined, then start stitching the pieces together, backtacking at the start and finish, to assemble the two halves of the leaf shape.
STEP 5:
Turn the 2 leaf halves wrong side up on your ironing pad and press each seam open, then give a final press on the front.
STEP 6:
Pin the leaf vein piece to one side and stitch, then stitch the other half of the leaf to the other side of the vein. Trim away any excess fabric.
STEP 7:
Press the seams alongside the vein open, then press the front.
STEP 8:
Take the pouch pattern piece marked BACK and place over ONE piece of plain fabric and TWO of lining right sides facing, pin and then cut.
STEP 9:
Take one piece of lining and set aside to use much later.
Fold the pattern in half along the dotted line and mark the center with a fabric marking pen, on the outer and lining before cutting in half.
STEP 10:
Take a scrap of the outer fabric and cut the tab for the zipper end 1 ½ x 2 ½” (6.5 x 4 cm).
STEP 11:
Place the tab piece wrong side up on your ironing pad and fold down the top short side and the bottom short side up by ¼” (6 mm) and press.
STEP 12:
Place the zipper end over the fold, bring the bottom fold up and line them up over the zipper end and pin, then stitch 1/8” (3 mm) from the edge backtacking at the start and finish.
STEP 13:
Trim off the extra tab fabric on each side of the zipper.
STEP 14:
Place one half of the back outer fabric, right side up, on your worktop. Over it lay the zipper with tab, right side down, tab end lined up to the widest part of the leaf, edge of zipper tape to the edge of the fabric and teeth facing inward to the main part of the fabric. Over it lay the lining fabric right side down and clip in place.
STEP 15:
Swap to a zipper foot and stitch close to the edge of the zipper teeth.
STEP 16:
Flip the fabric open so the right sides are showing and press.
STEP 17:
Repeat Steps 14 to 16 to attach the fabric and lining to the other side of the zipper.
STEP 18:
Top stitch down each side of the zipper, backtacking at the start and finish.
STEP 19:
Take the piece of fabric for the tab, lay wrong side up on your ironing pad, turn each long side in to the middle and press, then fold again so no raw edges on the long sides show and press.
STEP 20:
Stitch down the open long side 1/8” (3 mm) from the edge.
STEP 21:
Pull the tab through the bar on the swivel clip. Pin to the base on the right side of the front of the autumn leaf, raw ends of tab lined up with the edge of the fabric, the swivel clip facing the middle of the leaf.
STEP 22:
Stitch across the ends of the tab 1/8” (3 mm) from the edge, backtacking to secure in position.
STEP 23:
Place the extra lining piece right side up on your worktop, then take the outer and lining with the zipper and place outer side up, over this place the patchworked leaf, right side down. Line up the edges and clip in place after opening the zipper half way.
STEP 24:
Leave a gap on the one side of the leaf, then stitch around the item ¼” (6 mm) from the edge.
STEP 25:
Trim off the extra tape on the zipper and finger press the edges of the gap in line with the seam.
STEP 26:
Turn the Autumn Leaf Pouch the right way out by pulling the fabric gently through the gap. Use a turning tool to press out the seams neatly then give the item a final press.
STEP 27:
Using a hand sewing needle and matching thread slip stitch the gap closed.
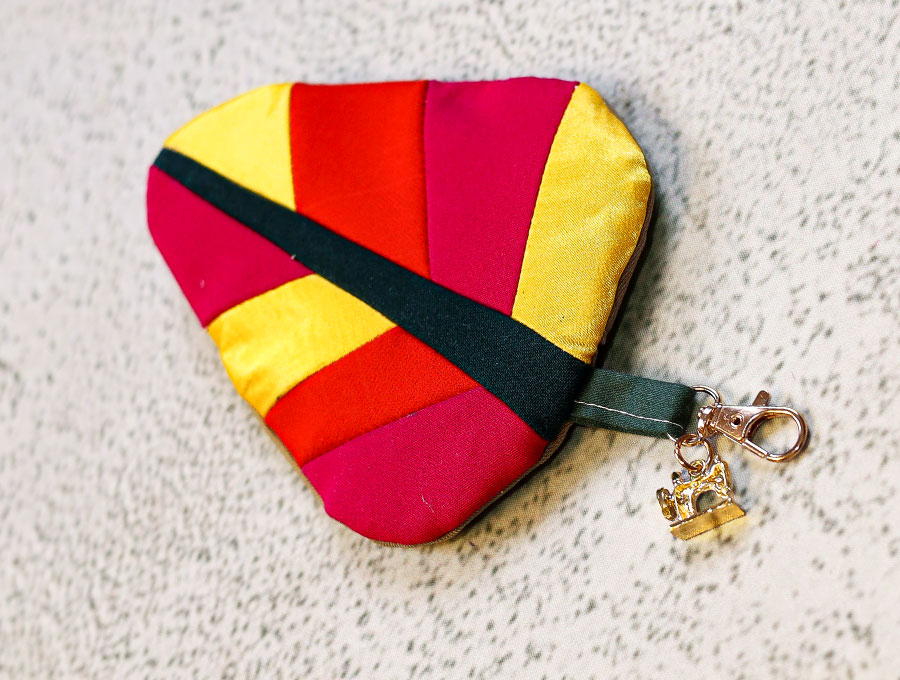
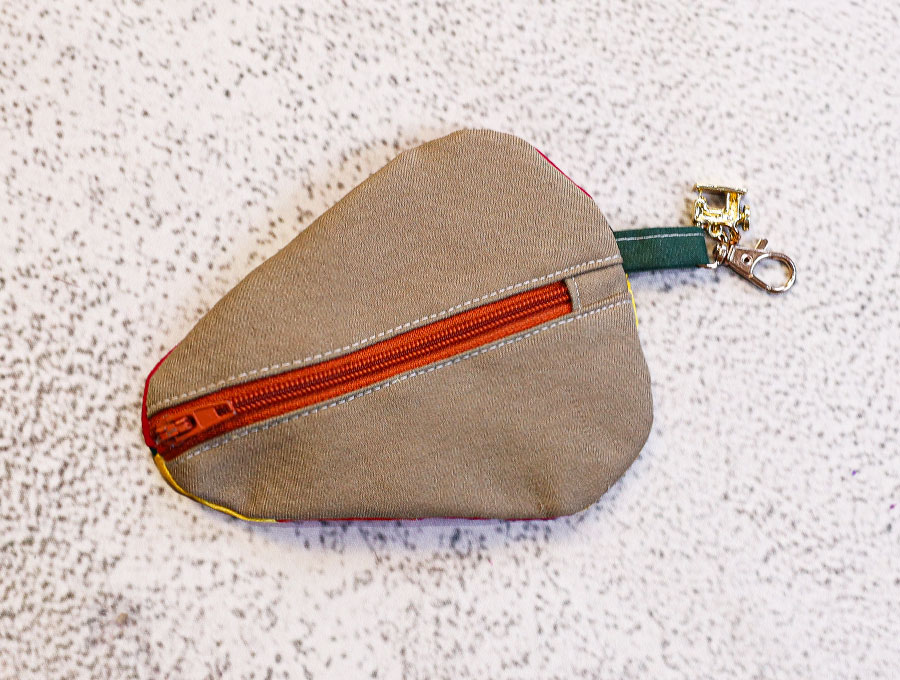
The Autumn Leaf Pouch is now ready to load with a card and some cash, clip inside a larger purse or backpack and you are ready to roll.
What’s to love about the Autumn Leaf Pouch? There are a few reasons – the free printable pattern, the chance to use tiny pieces of autumn colored fabric to create the patchwork leaf, and a finished pouch that looks like an ornament but thanks to the zipper is a great place to keep a credit card and cash. With the handy swivel clip it can be clipped to a backpack or larger purse and securely tucked inside to keep it safe from thieves, yet easily available when you need to pay. You can even clip it to a belt loop and keep it in your pocket
Like and subscribe for more of our projects with free printable patterns and full step-by-step instructions so you don’t have to keep pausing the video. Watch once, then follow the instructions to complete your project.
coming soon
Do you like this? Pin for later:
Wanna be friends? Click HERE and follow me on Pinterest
RELATED: