

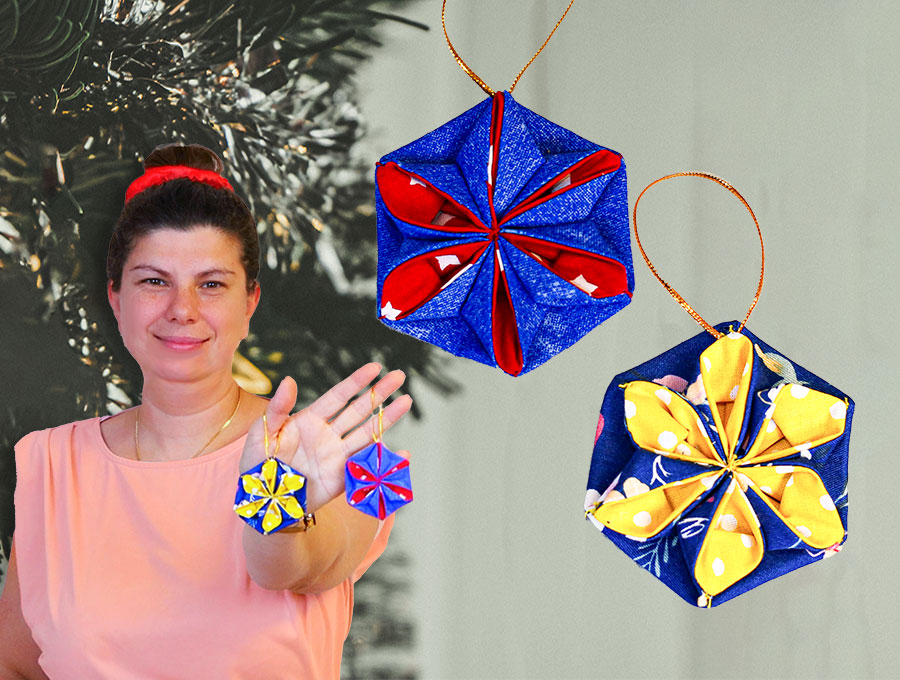
DIY Hexagon Flower Christmas Ornament (VIDEO + Sewing Pattern)
Sew something pretty for your Christmas tree. Even if you don’t have a sewing machine, you can make these Hexagon flower ornaments entirely by hand. You don’t have to sew much – they come together quickly
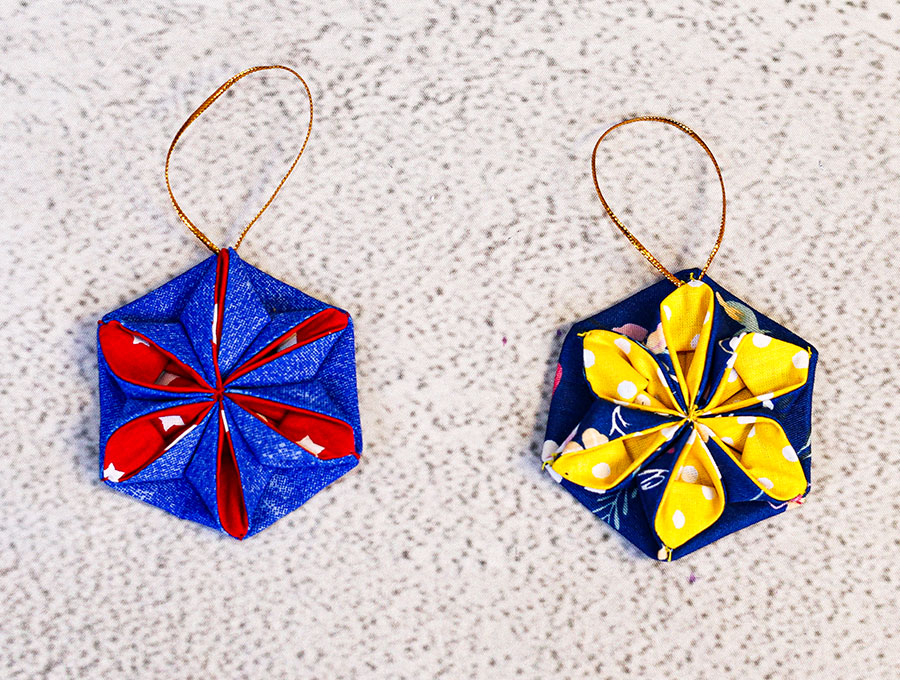
And they look stunning
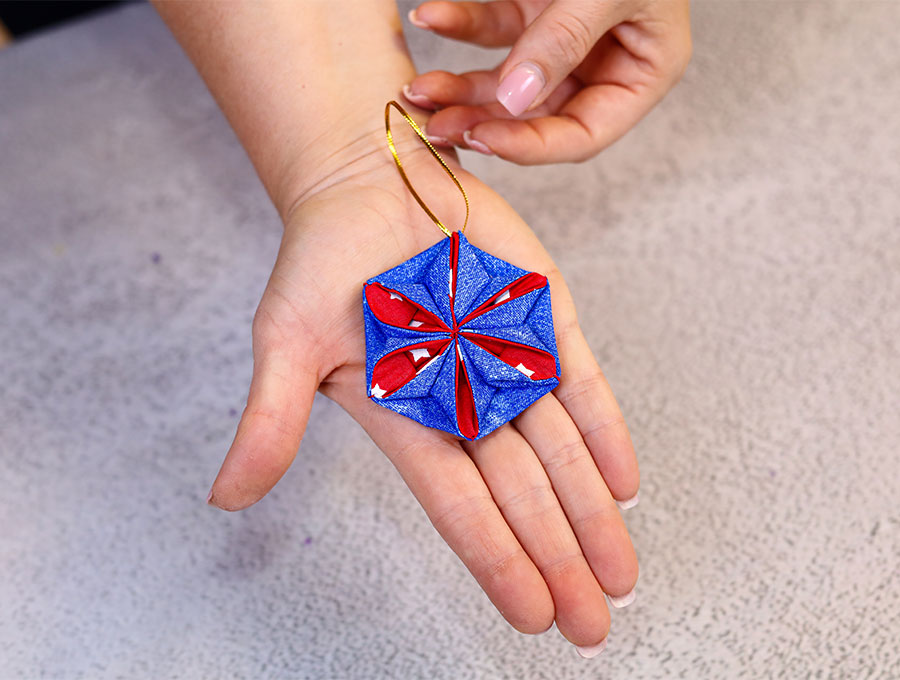
Below you will find my step by step written tutorial with VIDEO instructions for all the visual learners.
We occasionally link to goods offered by vendors to help the reader find relevant products. Some of the links may be affiliate meaning we earn a small commission if an item is purchased.
How to make the Hexagon Christmas Ornament
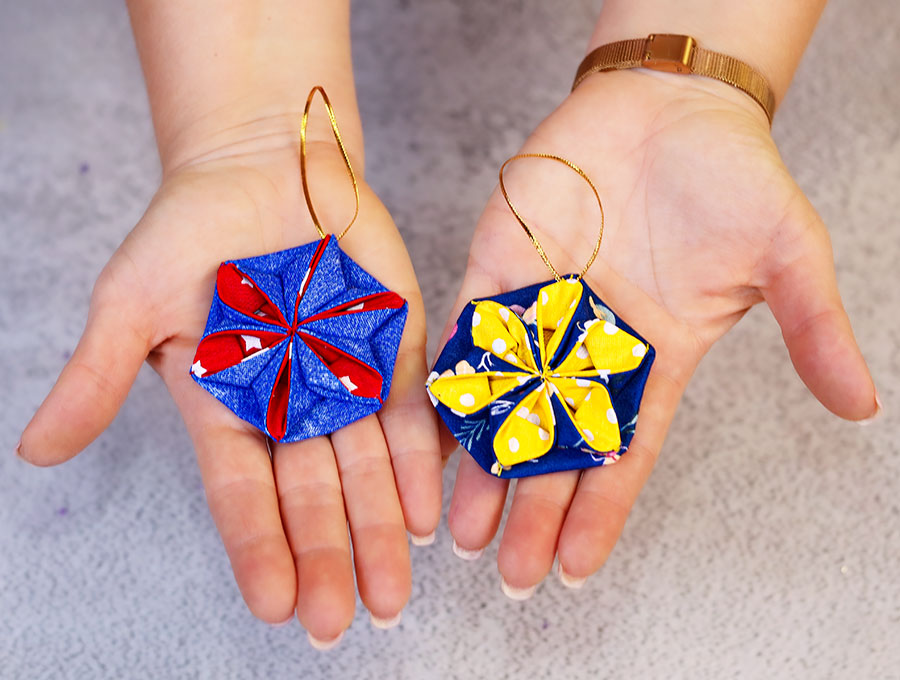
Supplies and tools
- fabric – 2 pieces of woven cotton (one main, one lining)
- handsewing needle and thread to match the back fabric
- a piece of gold cording for the hanging loop
- matching thread
- scissors (or rotary cutter and a cutting mat)
- ruler or measuring tape
DOWNLOAD: Hexagon Christmas Ornament pattern [Free pdf file]
Follow us for free patterns & tutorials! [easy-profiles]
How to Sew a Hexagon Christmas Tree Ornament
Watch the diy hexagon flower ornament video first and then follow the written step by step instructions below.
Please enjoy and don’t forget to Like and SUBSCRIBE over on YouTube to be kept up to date with new videos as they come out.
Hexagon Christmas Ornament VIDEO TUTORIAL
INSTRUCTIONS:
STEP 1:
Print out the hexagon pattern piece at 100% (no scaling), then cut out on the solid line.
STEP 2:
Choose your fabric for one side of the ornament and another for the other side.
Place them with right sides facing on your worktop.
STEP 3:
Take the pattern piece and fold back to the dashed line on five sides, Leave the 6th side unfolded.
STEP 4:
Place the pattern piece over the two layer of fabric and draw around the edge of the dashed line to create the hexagon, except for the 6th side where you will draw along the solid line. Pin the pieces together inside the lines. Do not cut out yet.
STEP 5:
Fold the 6th side where there is extra fabric back in line with the rest of the hexagon shape and finger press – you may need to trim this side so the turnback is ¼” (6 mm)
STEP 6:
Stitch around 5 sides, starting from the side next to the folded back section and finishing on the other side.
STEP 7:
Cut out the hexagon shape just under ¼” (6 mm) from the edges.
STEP 8:
Turn the shape the right way out by pulling the fabric gently through the open side. Use a turning tool to press out the corners neatly, then give the item a press.
STEP 9:
Take a hand sewing needle and matching cotton to slip stitch the gap closed, inserting the needle slightly to the inside of the folded edges so stitch are virtually invisible.
STEP 10:
Take each side and fold in half to find the middle and finger press. Then use an erasable fabric marking pen to mark the midpoint of each side.
STEP 11:
With your needle and thread now join each midpoint to the next one with a huge stitch – do not pull the thread tight until you have stitched into each of the six sides.
STEP 12:
Pull the thread tight, then, stitch across the top of the middle, then move sections and stitch so each section is securely fastened. Our video shows this clearly.
STEP 13:
Take one section and stitch the folded point to the edge of the side behind it, opening out the fold slightly, so it looks like the petal of a flower. Work your way around the hexagon stitching each folded point to the fabric behind it. When you stitch each point make sure to end off neatly and securely with a double knot.
STEP 14:
To make the hanging loop cut a length of thin gold or silver cord, sufficiently long to hang on your tree. Thread it through one section where the petal is stitched to the fabric, pull so the ends are even and tie a knot. Move the knot around so it is hidden behind the petal and you have a loop ready to hang the ornament.
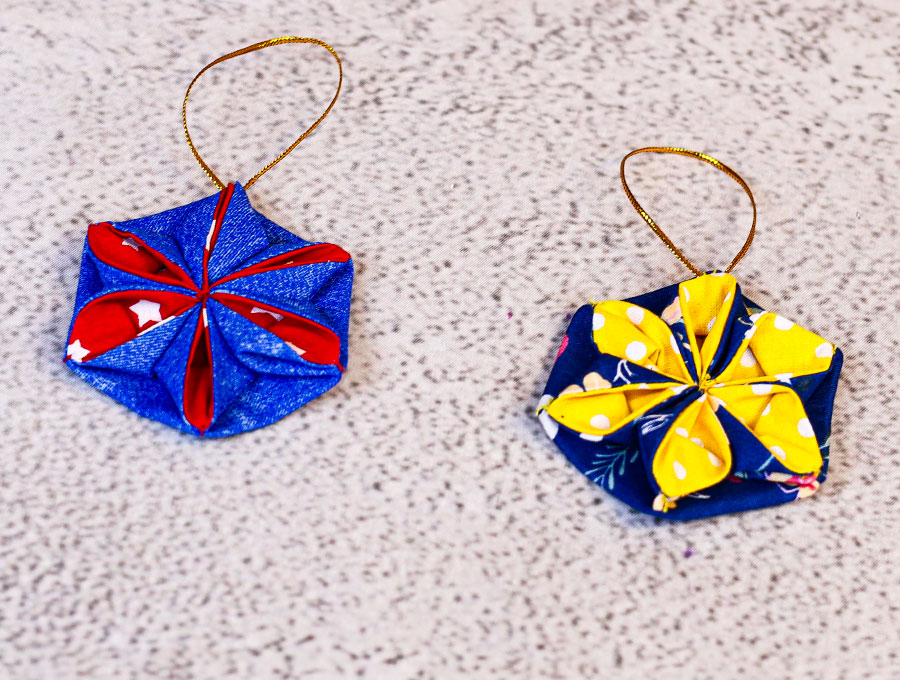
These are great fun to create with kids and they will learn the basics of hand stitching and creating a knot to start and finish off. It’s an easy and quick project for young kids as you can machine stitch all the hexagons first, then give kids the chance to create the star/petal shape by hand-stitching, while having a great time listening to festive music and chatting.

Get our free printable pattern for this hexagon ornament from HelloSewing.com. The season is all about sparkle and magic so select colors in pretty satins or other glittery fabrics to reflect light, and add extra sparkle to the Christmas tree. The project is super quick and you can make up a whole batch of them in an afternoon. It’s perfect family project to get kids learning to sew by hand, and create something within a very short span of time – you know – concentration spans of little ones are around 15 to 20 minutes before you need a new activity. Once they have made their ornament they get to hang it on the tree – then enjoy cookies and milk and dance to some happy tunes.
Like and subscribe, and please share photos of what you as a family or a group of friends have created by posting the photos in the comments section.
Do you like this? Pin for later:
Wanna be friends? Click HERE and follow me on Pinterest
RELATED: