

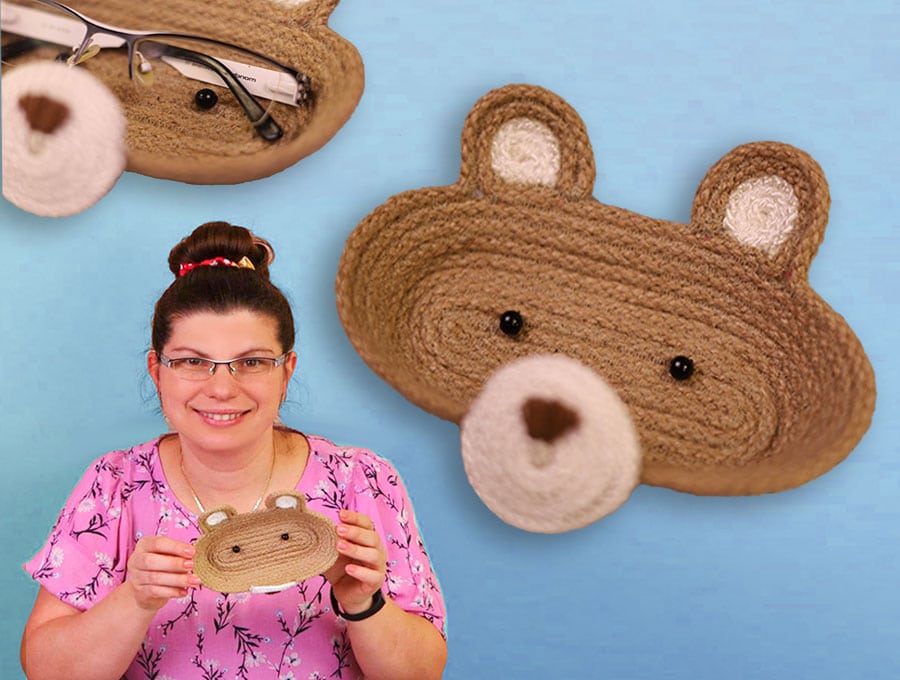
DIY Rope Bear Glasses Holder | Cute Eyeglass Basket to Sew
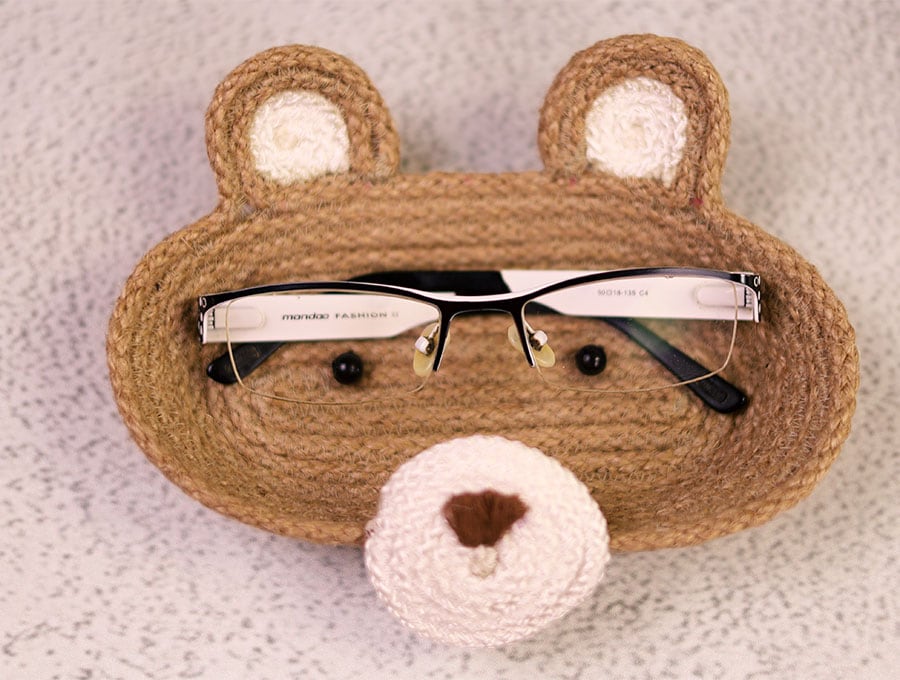
This is such a cute little project that takes a few minutes made from jute rope and is the perfect place to deposit your eyeglasses in a hurry and grab them up again without having to fiddle with an eyeglasses case – especially when you are working on something and frequently putting on and taking off your eyeglasses. With the Bear basket eyeglasses holder on your desk or worktop you won’t be searching for your glasses – or risk damaging them.
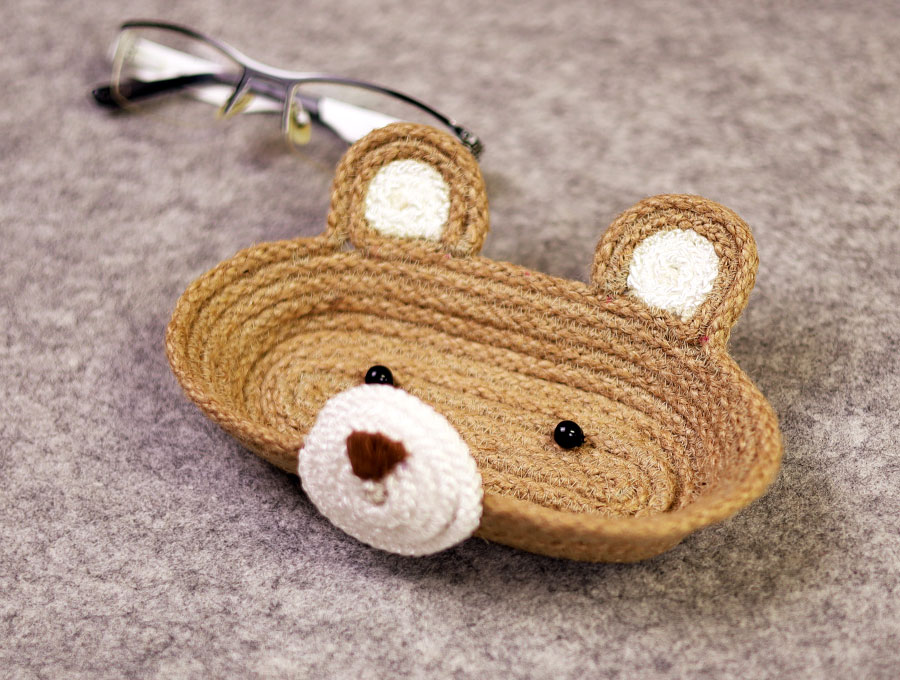
You’ll never misplace your eyeglasses if you have this cute little bear eyeglasses holder in your office, room or your sewing room to pop them in between uses. Made in a matter of minutes, the bear basket eyeglass holder means you won’t be digging under piles of paper or fabric to find where you left them!
Below you will find my step by step written tutorial with VIDEO instructions for all the visual learners.
We occasionally link to goods offered by vendors to help the reader find relevant products. Some of the links may be affiliate meaning we earn a small commission if an item is purchased.
How to make the Bear Glasses Holder
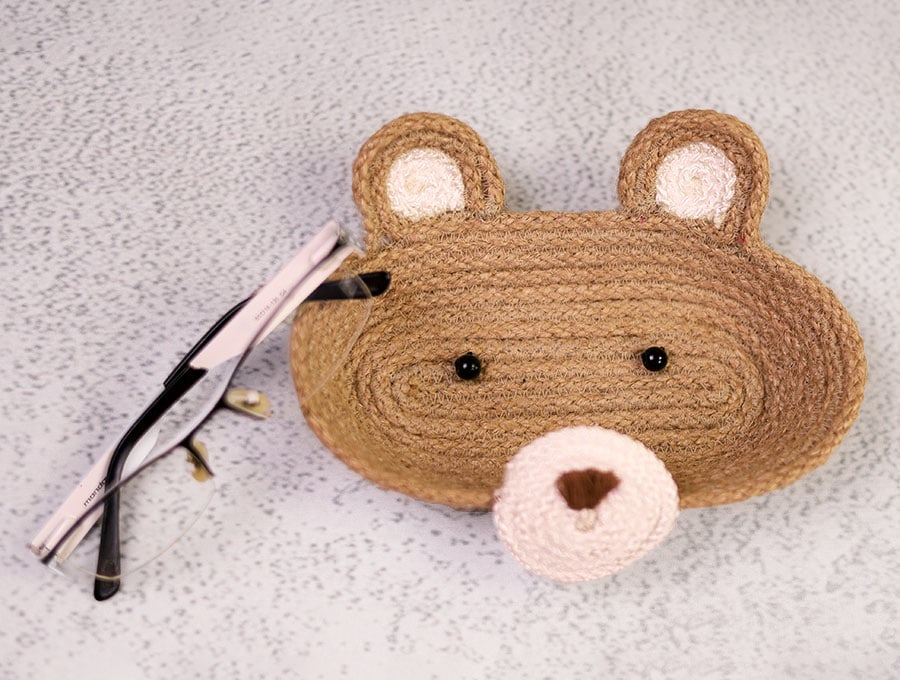
Supplies and tools
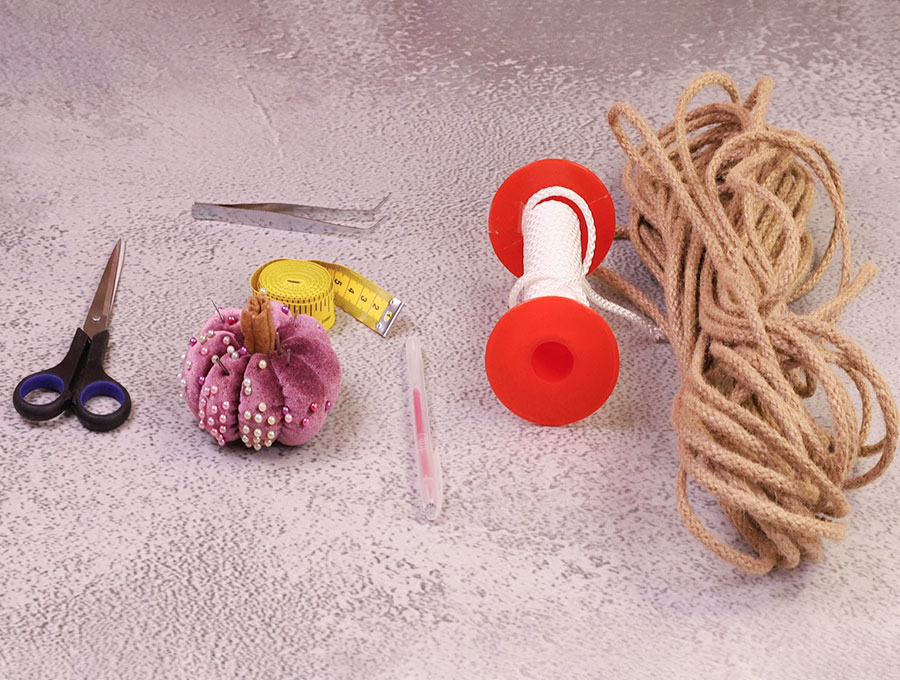
- ¼ inch width (6mm) roll of jute rope
- 1 meter of ¼ inch width (6 mm) white nylon rope
- Thick brown cotton or wool to create nose of bear (optional)
- Two beads for eyes (optional)
- matching thread in natural and white
- scissors
- ruler or measuring tape
- pins
- tweezers
- fabric marking pen
Follow us for free patterns & tutorials! [easy-profiles]
How to Sew the Bear Glasses Holder
Watch the diy Bear Glasses Holder video first and then follow the written step by step instructions below.
Please enjoy and don’t forget to Like and SUBSCRIBE over on YouTube to be kept up to date with new videos as they come out.
Bear Glasses Holder VIDEO TUTORIAL
INSTRUCTIONS:
STEP 1:
To start fold 4 inches (10 cm) of the natural color jute rope back on itself and insert pins from the side of the rope to keep the two pieces together.
STEP 2:
Set your machine to a wide zig-zag stitch and stitch the two pieces together. When you get to the end, curve the length of rope around and keep stitching to join. You started off with a 4-inch length so keep stitching around until the length is 6 inches (15 cm). If you larger glasses to accommodate in the Bear Glass Holder then keep going until you have the required length for the base.
STEP 3:
To make the sides all you do is raise the base as you continue stitching so that you form the walls of the sides – you will do five rows of jute rope for the sides. Check that each side has the same number of rows, then on the start of the 6th row proceed to Step 4.
STEP 4:
To make the bear ears at the start of one of the long sides measure 7 inches (18 cm) to form a loop for the left ear, then pin against where the loop started, measure 4 inches (10 cm) and pin to the previous row stitched, then make the next 7-inch (18 cm) loop for the right ear and pin.
STEP 5:
Stitch along the row, not along the loops though, and at the front of the basket end off by cutting the rope towards the end of the row and back tacking to end.
STEP 6:
Bend the loop for the left ear towards the right and pin, then bend the right ear loop to the left and pin. The inner distance between the ears should be 2 inches (5 cm).
STEP 7:
Stitch the two strands of the loop together with the machine still set on the zigzag stitch – you will need to unpin the ear loop, stitch, then push it back into place and stitch across the point where it joins the main part of the basket a couple of times to make sure it is securely fastened. Repeat with the other ear.
STEP 8:
To make the bear’s muzzle cut a piece of white nylon cord 20 inches (50 cm) long, use a pin to fix the end to an ironing pad, then wind around tightly, using a pin to secure from the side towards the end. Set aside while you create the ear inners.
STEP 9:
Pin the basket by the ear part to your iron pad, then using the same technique as in Step 8 make two smaller coils to fit inside the spaces for the ears, pin and set aside.
STEP 10:
Change your cotton from natural to white and alter your sewing machine setting to a straight stitch. Take the coiled muzzle piece and sew a line vertically down the circle and one horizontally across to secure the coiled rope in position. Do the same for each of the ear inners.
STEP 11:
Fit the inner ear pieces into their spaces, switch to a zig-zag stitch and stitch into position.
STEP 12:
For the muzzle you need to hand stitch to the front of the basket at a mid-point between the ears behind. Use a strong brown cotton or piece of wool to attach the muzzle to the edge of the basket, so half sticks up above the front of the basket. After attaching embroider the bear’s nose in a triangular shape. End off securely.
STEP 13:
Using black or natural thread stitch the two little black beads in position for the eyes after marking where they should be placed – roughly below the center of each ear and on the second loop above the first loop you stitched on the base.
The cute little eyeglasses holder is now ready to use or gift. If you enjoyed making the Bear eyeglass holder then like and subscribe. We continually update and add new content to keep you up to date with the latest trends, revive vintage sewing projects and introduce new ideas.
Do you like this? Pin for later:
Wanna be friends? Click HERE and follow me on Pinterest
RELATED: