

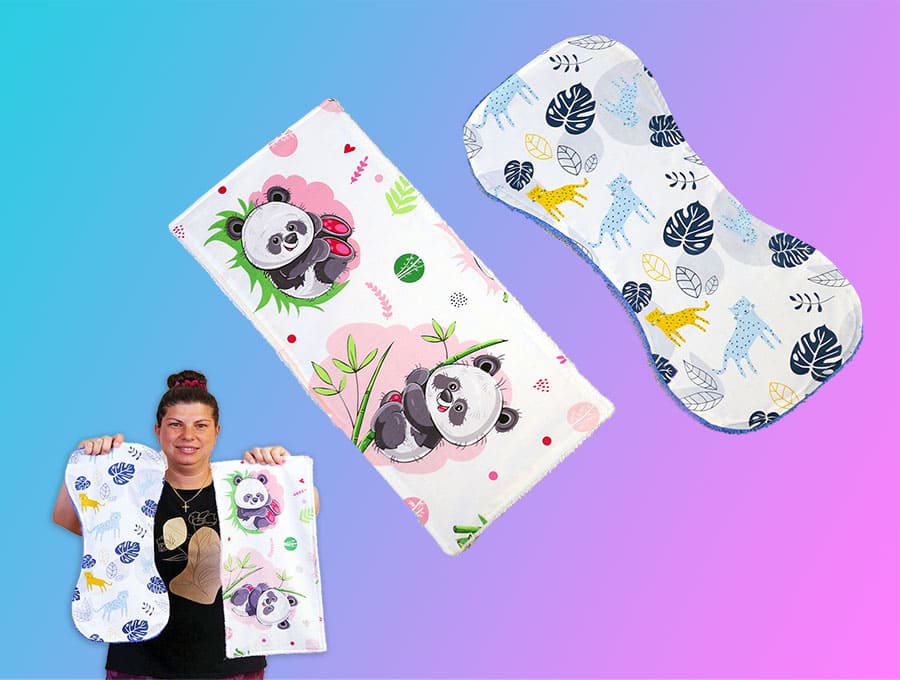
DIY Baby Burp Cloth with Pattern in 2 Shapes – Rectangle or Contoured
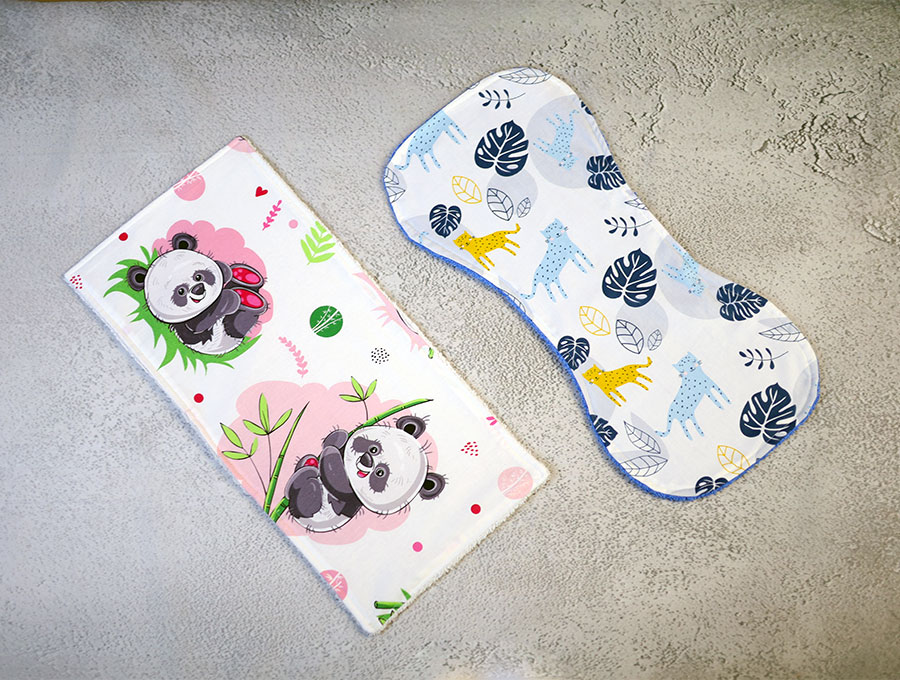
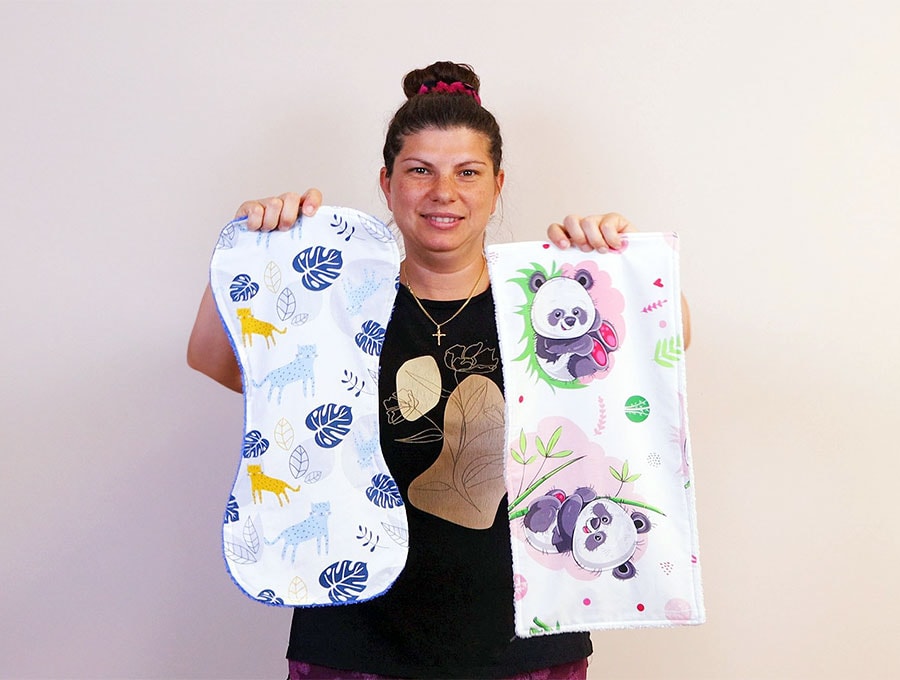
Today I’ll show you how to sew this super simple and super useful baby burp cloth. It’s a great gift for the wee ones and sews up in as little as 15 minutes. Choose from one of the two shapes – rectangle or contoured.
Below you will find my step by step written tutorial with VIDEO instructions for all the visual learners.
We occasionally link to goods offered by vendors to help the reader find relevant products. Some of the links may be affiliate meaning we earn a small commission if an item is purchased.
How to make the a baby burp cloth
Supplies and tools
- fabric – towel or terry cloth
- fabric – woven cotton
- matching thread
- scissors (or rotary cutter and a cutting mat)
- ruler or measuring tape
- iron and ironing board
- sewing clips or pins
DOWNLOAD: baby burp cloth pattern[Free pdf file]
Follow us for free patterns & tutorials! [easy-profiles]
How to Sew a Baby Burp Cloth
Watch the diy baby burp cloth video first and then follow the written step by step instructions below.
Please enjoy and don’t forget to Like and SUBSCRIBE over on YouTube to be kept up to date with new videos as they come out.
Baby Burp Cloth VIDEO TUTORIAL
INSTRUCTIONS:
OPTION 1: Rectangluar Burp cloth
STEP 1:
Download and print the pattern at 100% (no scaling). Cut out the rectangular burp cloth pattern
STEP 2:
Use the paper pattern to cut out 1 piece of cotton fabric for the front and one piece of towelling for the lining.
STEP 3:
place the toweling on top of your worktop with right side facing up. On top of it place the cotton fabric, right side facing DOWN.
STEP 4:
Mark a 10 cm (4 inch) gap in the middle of one long side and pin all around the burp cloth
STEP 5:
Sew all around using 1cm (3/8″) seam allowance. Backstitch at the beginning and the end of the seam and leave the gap unsewn.
STEP 6:
Trim the corners to reduce the bulk.
STEP 7:
Press in the raw edges of the gap along the seam allowance.
STEP 8:
Turn the rectangular burp cloth right side out and push out all corners using a blunt tool like a chopstick or a turning tool. Roll the fabric between your fingers to push out the seams.
STEP 9:
Turn in the raw edge of the gap and pin
STEP 10:
Press the burp cloth
STEP 11:
Stitch all around using a 6mm (1/4″), give it another quick press and your burp cloth is finished!
OPTION 2: Contoured Burp cloth
STEP 1:
Download and print the pattern at 100% (no scaling). Cut out the contoured burp cloth pattern.
STEP 2:
You will need at 2 pieces of fabric – one cotton and one towelling measuring at least 25 x 50cm (10 x 20 inches)
STEP 3:
Use the contoured burp cloth template to cut one piece of cotton and one piece of towelling.
STEP 4:
Place the fabrics right sides together and pin all around
STEP 5:
Stitch all around using 1cm (3/8″) seam allowance, leaving a 10 cm (4″) gap in the middle of one long side. Backstitch at the beginning and end of the seam
STEP 6:
Fold the raw edges of the gap along the seam allowance.
STEP 7:
Make small v-notches all the curves to allow the fabric lay flat when you turn it right side out. Do not make notches on the gap.
STEP 8:
Turn the contoured burp cloth around and use your fingers or a blunt tool like a chopstick to push out the seams.
STEP 9:
Turn in the raw edges of the gap and pin in place
STEP 10:
Iron the burp cloth
STEP 11:
Stitch all around using a 6mm (1/4″), give it another quick press and your contoured burp cloth is finished!
Do you like this? Pin for later:
Wanna be friends? Click HERE and follow me on Pinterest
RELATED: