
DIY Dust Cover for Clothes Hanger / How to Sew Dust Guards with Gussets- Keep dust away from clothes
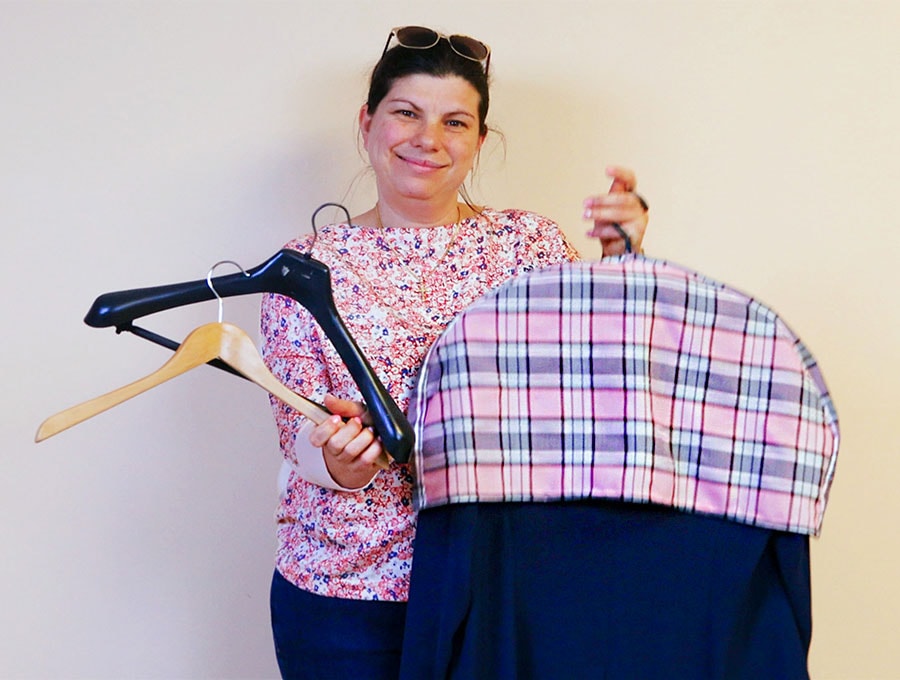
Learn how to sew a breathable DIY dust guard to protect your clothes from gathering dust. If you have a wardrobe with sliding doors this one is just for you. The shoulder dust cover with a 2″ (5cm) gusset is just the right size to keep your suits, coats, jackets or even 2-3 clothes hangers from gathering dust. Grab my free dust protector pattern and some cotton fabric and let’s get sewing
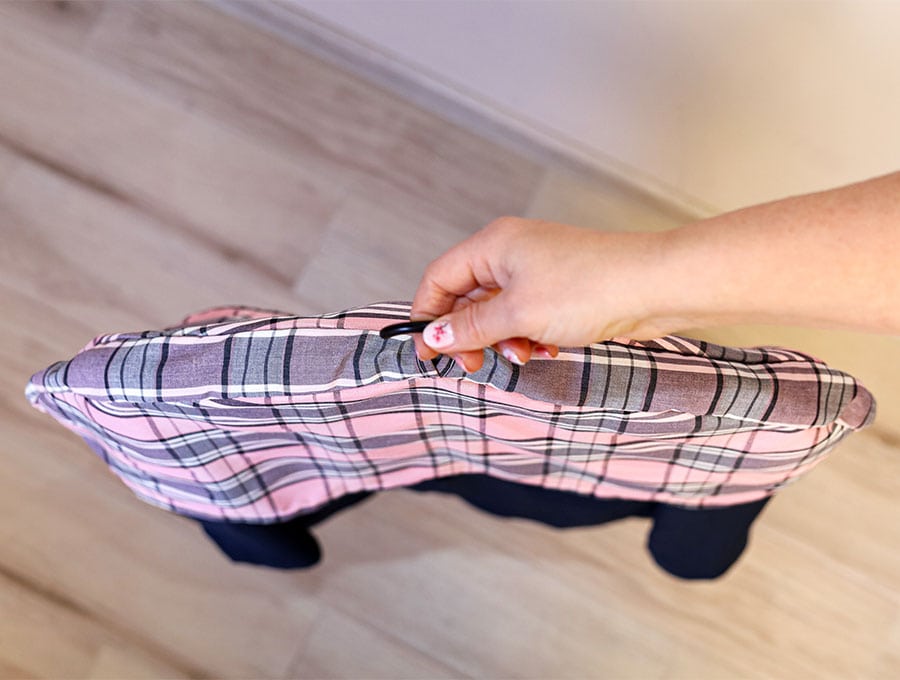
The finished size of the DIY Dust guard is approximately 60 cm x 30 cm x 5cm or 24 x 12 x 2 inches
The gusset is 5 cm (2 inches) you can make it a bit larger if you need it to accomodate larger clothes.
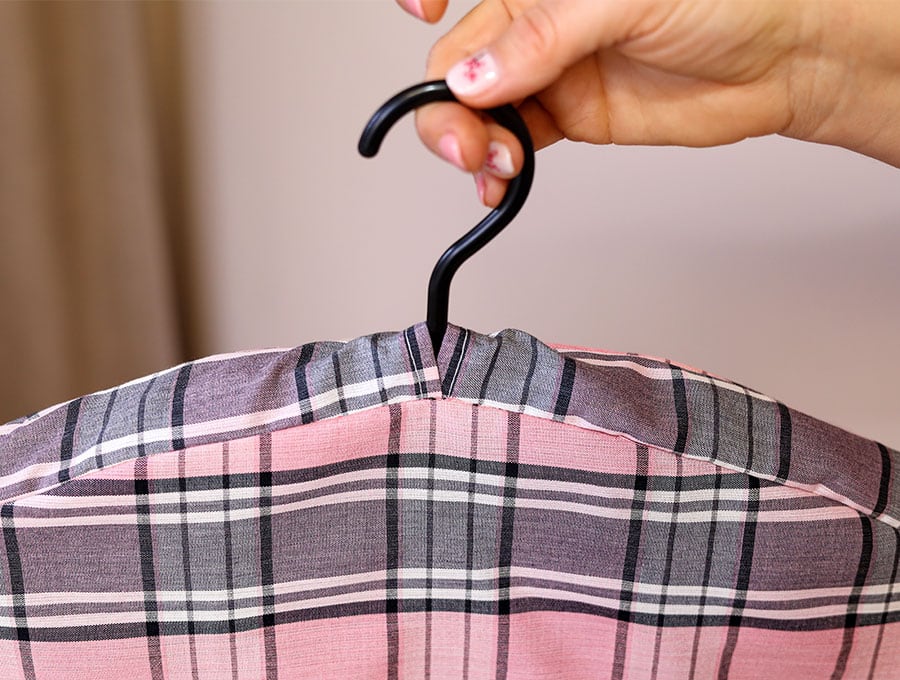
It fits most standard clothes hangers.
Below you will find my step by step written tutorial with VIDEO instructions for all the visual learners.
We occasionally link to goods offered by vendors to help the reader find relevant products. Some of the links may be affiliate meaning we earn a small commission if an item is purchased.
Table of Contents
How to make the gusseted shoulder dust cover
Supplies and tools
- fabric – woven cotton
- matching thread
- scissors (or rotary cutter and a cutting mat)
- ruler or measuring tape
- iron and ironing board
- sewing clips or pins
DOWNLOAD: Gusseted dust cover pattern [Free pdf file]
Follow us for free patterns & tutorials! [easy-profiles]
How to Sew a Dust Cover for Clothes Hangers
Watch the diy shoulder dust guard video first and then follow the written step by step instructions below.
Please enjoy and don’t forget to Like and SUBSCRIBE over on YouTube to be kept up to date with new videos as they come out.
Dust cover for clothes VIDEO TUTORIAL
INSTRUCTIONS:
Note on the materials: pick tightly woven cotton fabric – you may reuse old bed sheets. We want breathable fabric that does not have a loose weave. Loose weave might still allow accumulation of dust on your fabric and this is exactly what we don’t want to happen.
STEP 1:
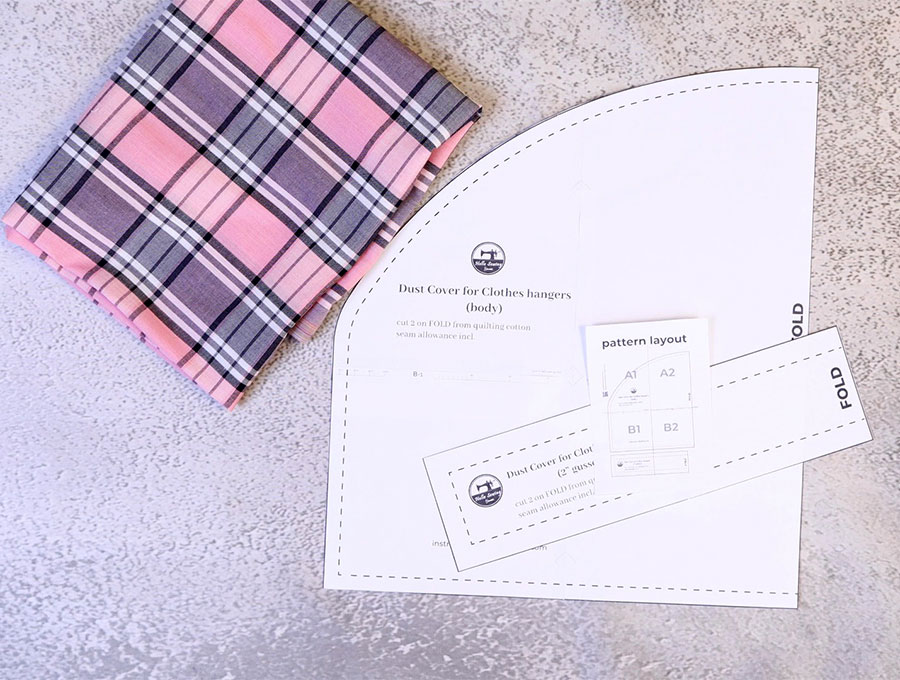
Download the shoulder dust cover pattern, print at 100% (no scaling) on A4 or US letter paper. Trim the exess paper. You will have 2 pattern pieces – the dust cover body and the gusset.
STEP 2:
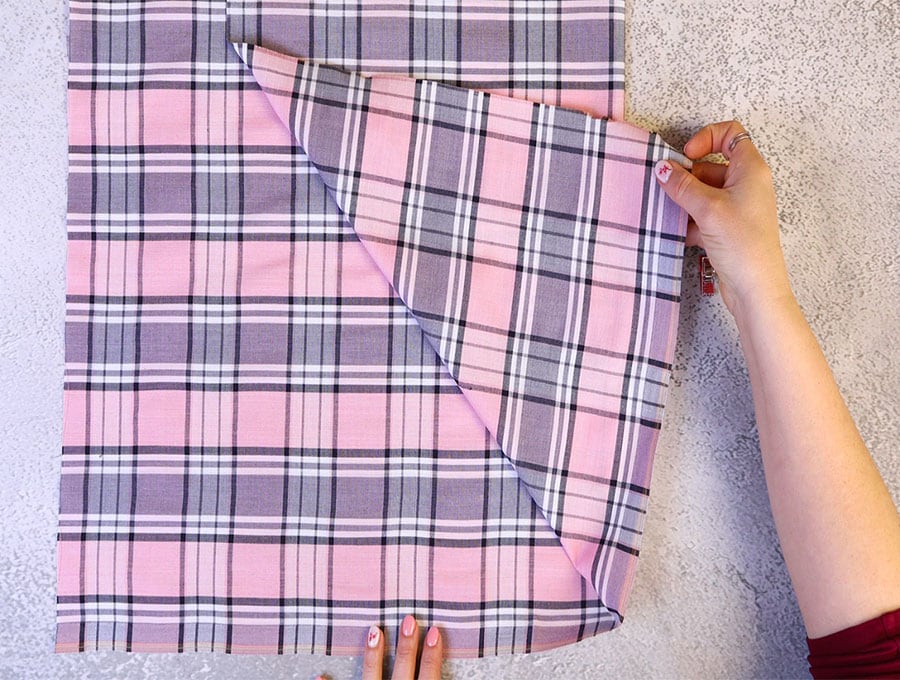
Place your fabric on your worktop and fold it in half right sides together so the fold is on the right side.
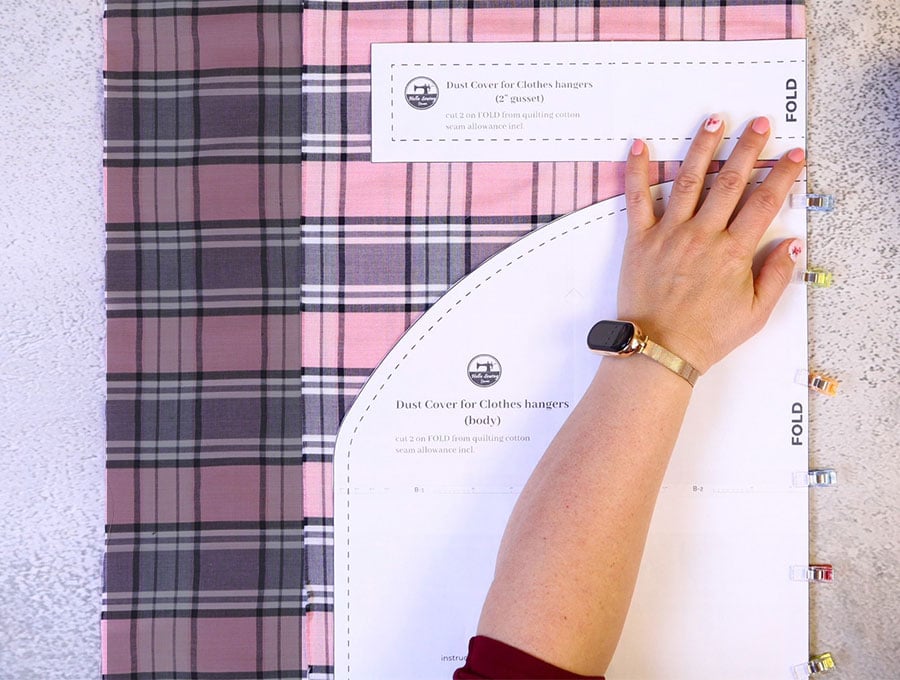
Pin both pattern pieces on the fold as indicated on the pattern.
Cut out the fabric.
Repeat to cut out another set of fabrics.
STEP 3:
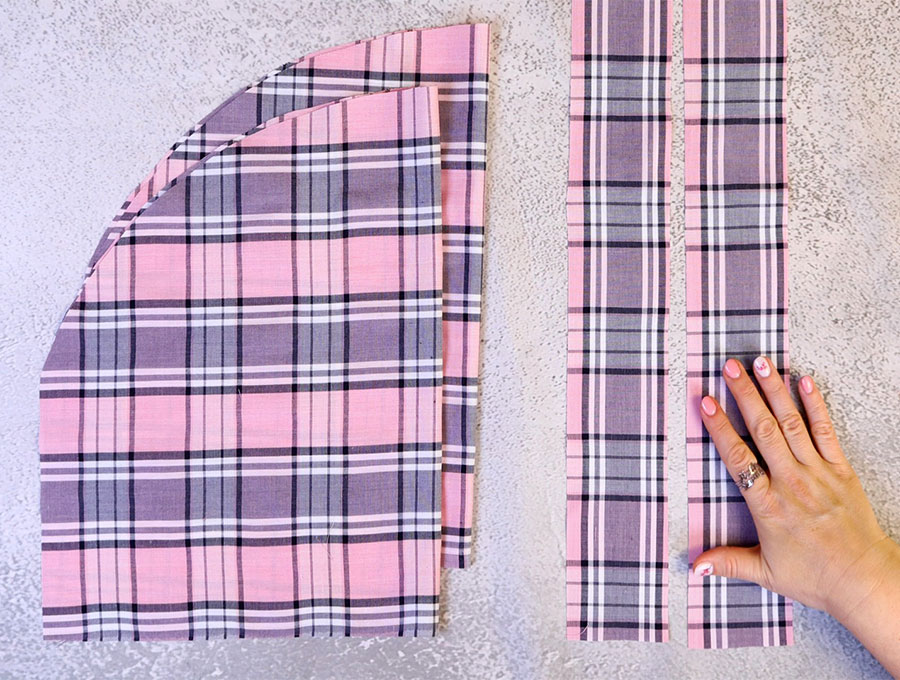
You will have a total of 4 fabric pieces – 2 gusset pieces and 2 body pieces.
STEP 4:
Prepare the gusset pieces. Place both gusset pieces on your ironing board, wrong side up.
Fold one of the short sides 6mm (1/4″) towards the wrong side and press. Fold another 6mm (1/4″), press and pin in place.
Do that for both gusset pieces.
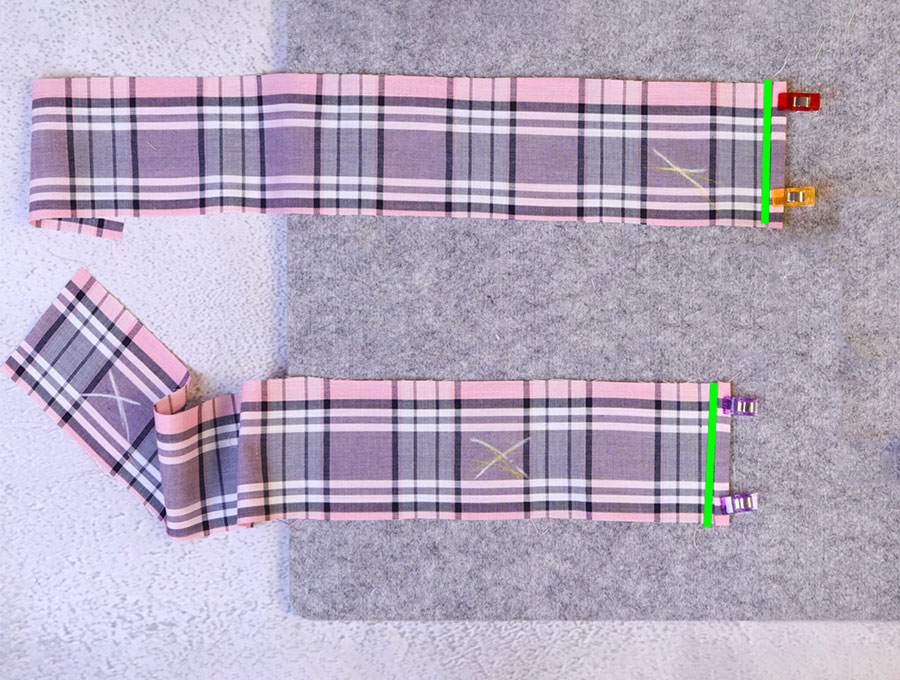
STEP 5:
Stitch down the folded side of both gusset pieces.
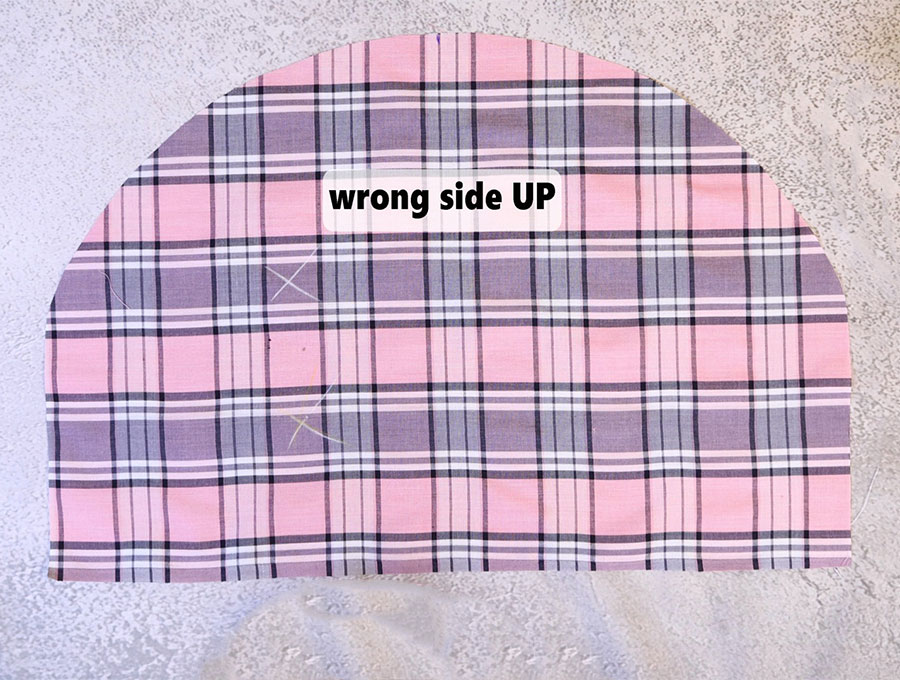
STEP 6:
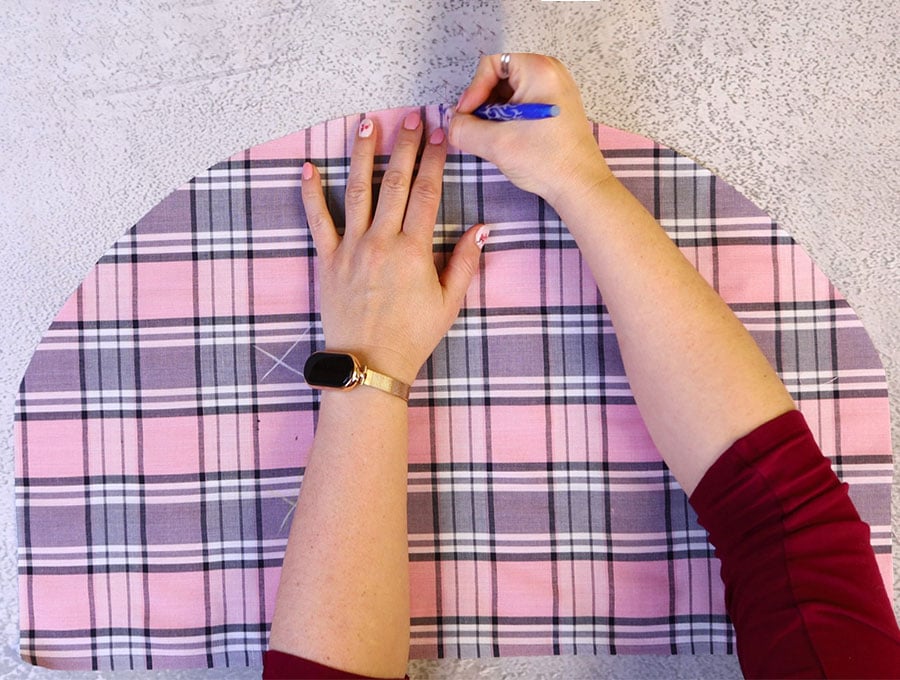
Place one of the dust cover body pieces on your work top with the WRONG side up and the curved side on top. Fold it in half from right to left, right sides together. Mark the middle of the top curve with a fabric marker.
Repeat for the other body piece and place the second piece aside.
STEP 7:
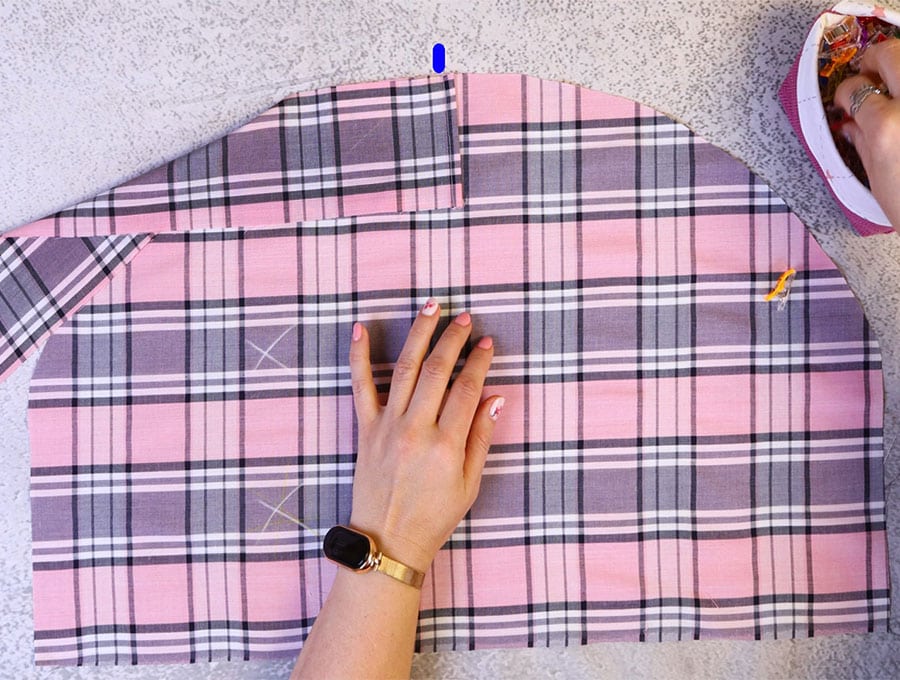
Take one of the gusset pieces and place it WRONG side down on top of the dust cover body piece. Place the stitched short edge over the mark on the body so the seam is right at the mark .
Pin or clip the gusset piece to the left side of the body piece.
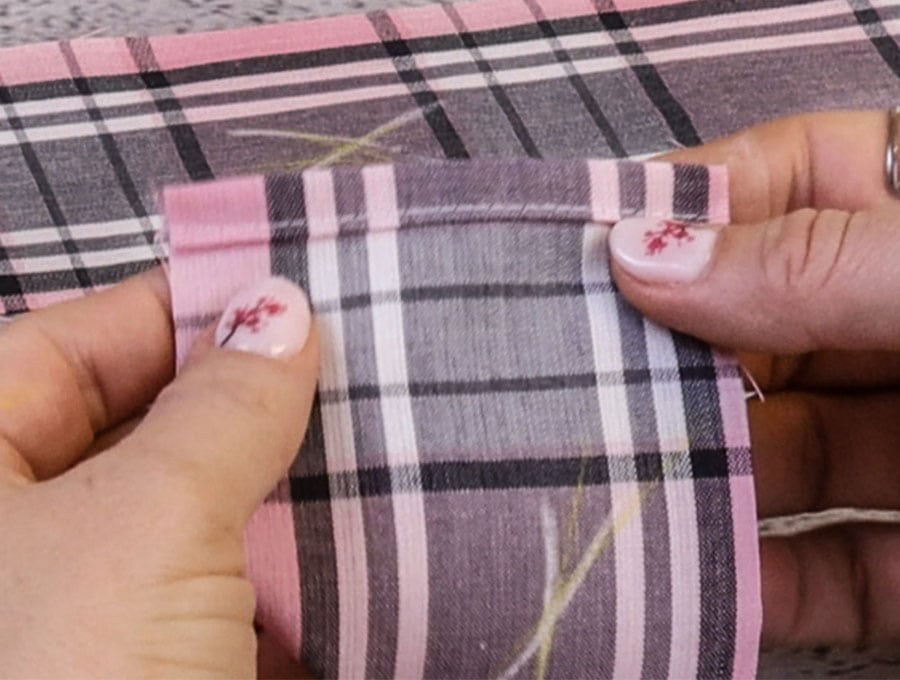
STEP 8:
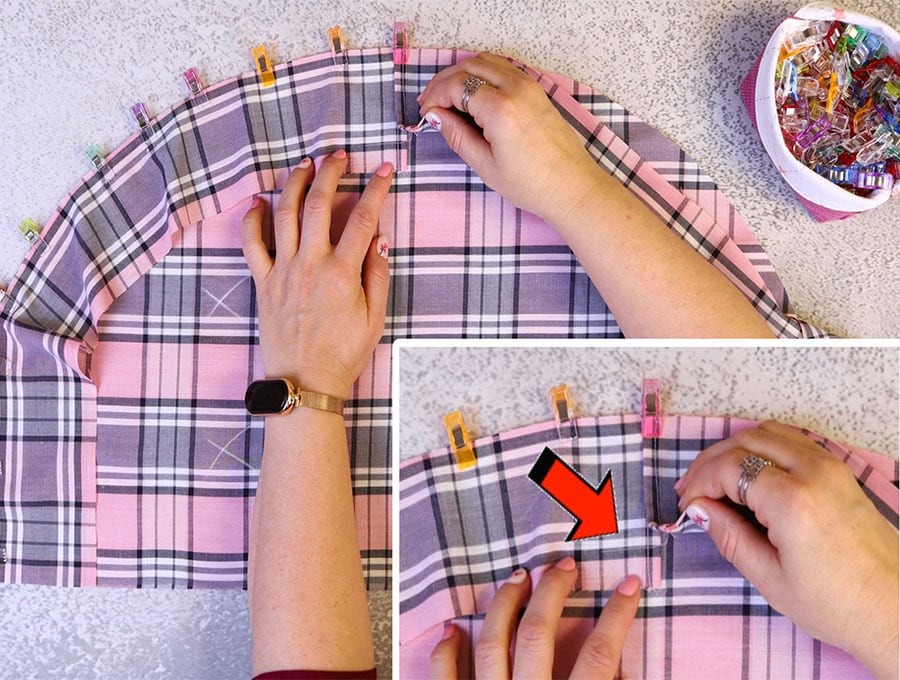
Take the second body piece and place the seam of the fold over the mark on the body. This makes sure the folds on both gusset pieces overlap slightly by about 6mm (1/4″).

Pin the gusset to the other side of the body piece.
STEP 9:
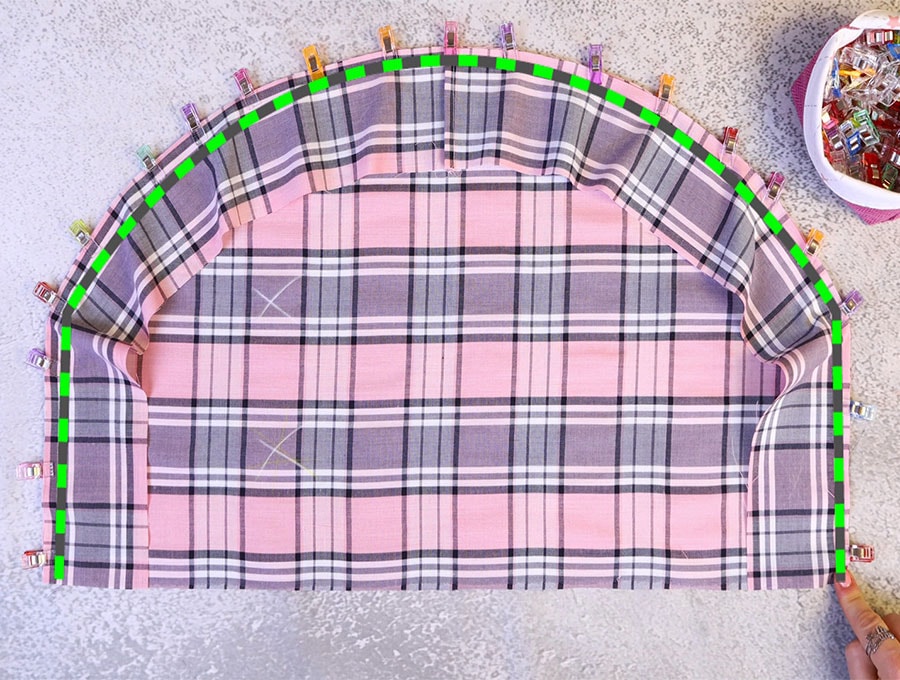
Stitch the gussets to the body piece with a 6mm (1/4″) seam alowance. Backstitch at the beginning and end of the seam.
Please note that we are stitching WRONG sides together as we will be sewing a sturdy french seam.
STEP 10:
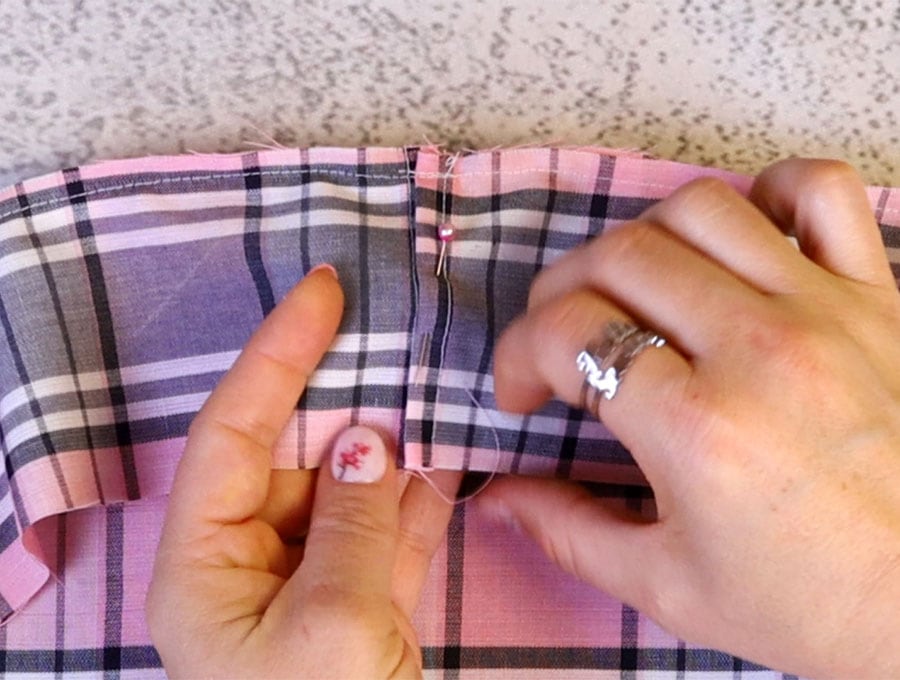
Pin the folds of the gusset pieces together to keep them straight during sewing.
STEP 11:
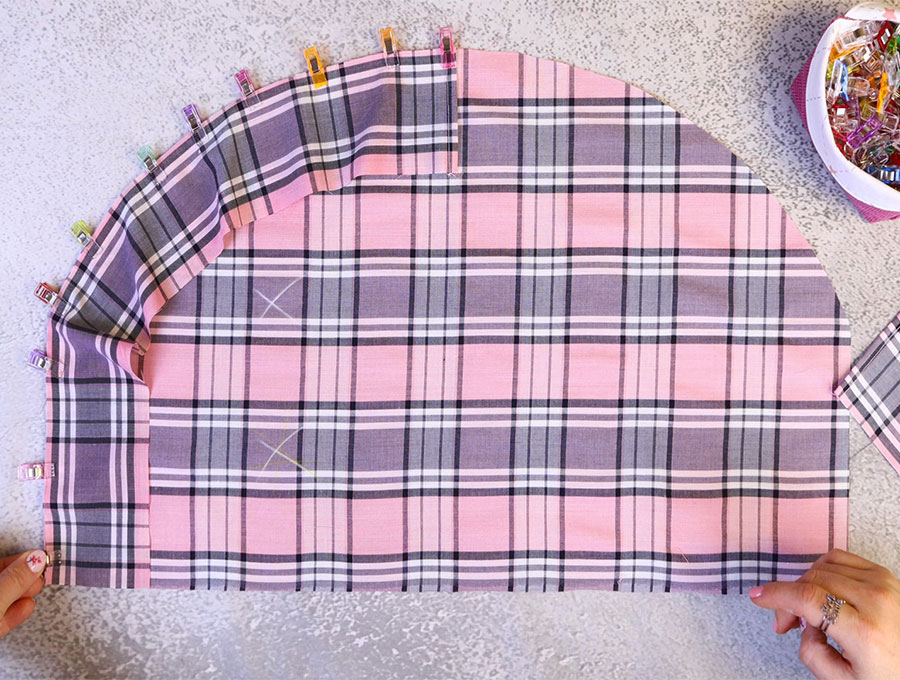
Take the other body piece and place it WRONG side up on your worktop.
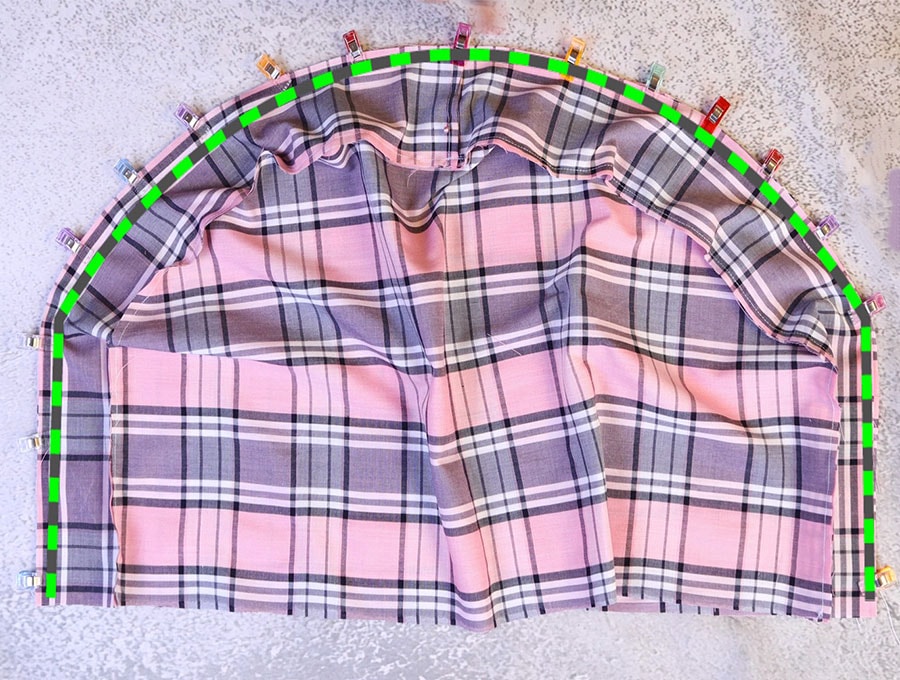
Take the body piece with the attached gusset and place it WRONG side down on the first body piece. Align the raw edges of the gussets with the wrong edge of the body piece and clip or pin together.
STEP 12:
Stitch together with a 6mm (1/4″) seam alowance. Again, we are stitching WRONG sides together (french seam). Backstitch at the beginning and end of the seam.
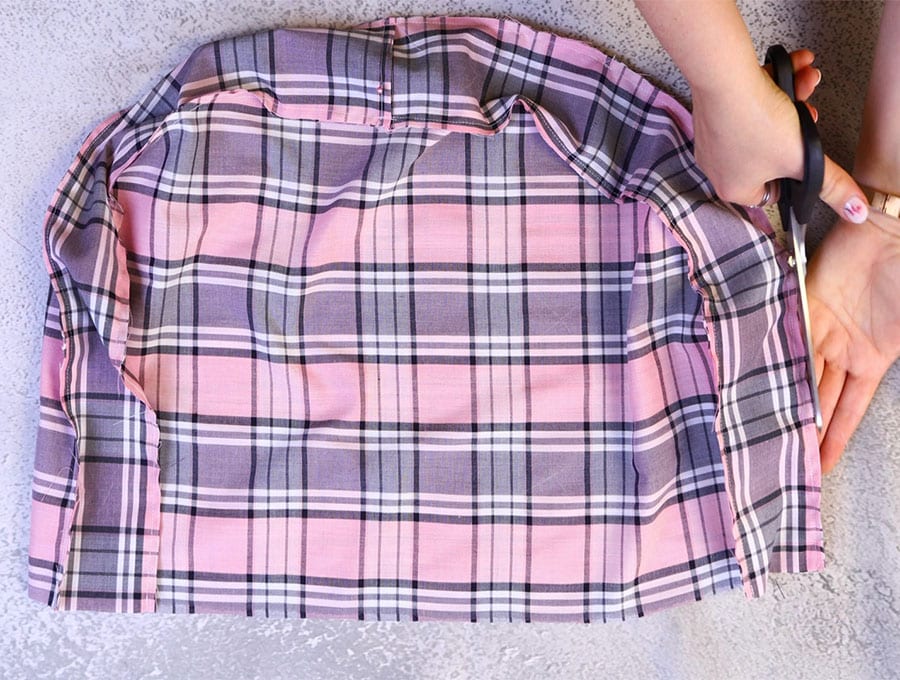
Trim down any excess fabric or threads.
STEP 13:
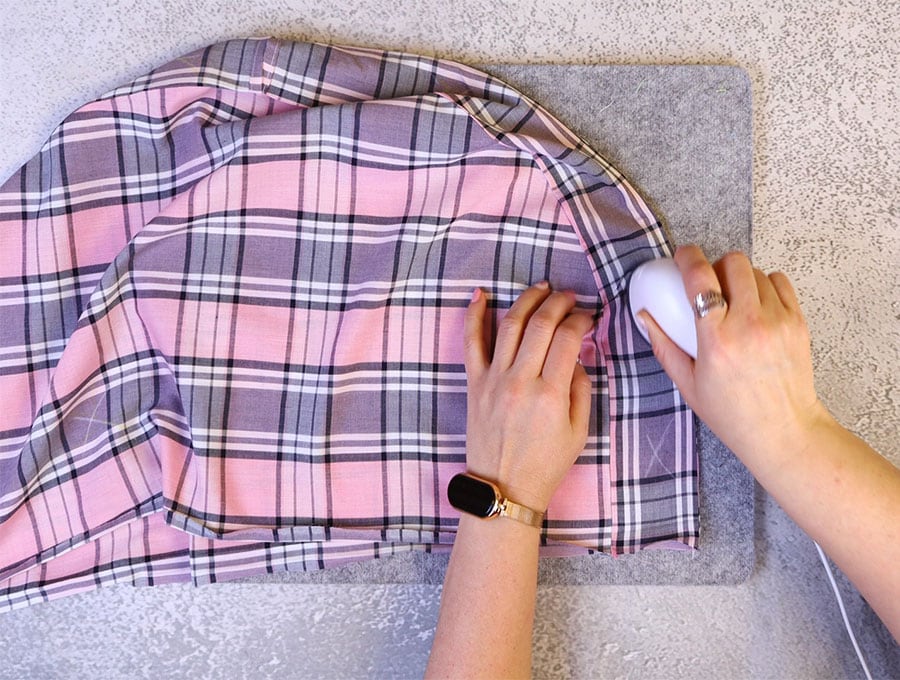
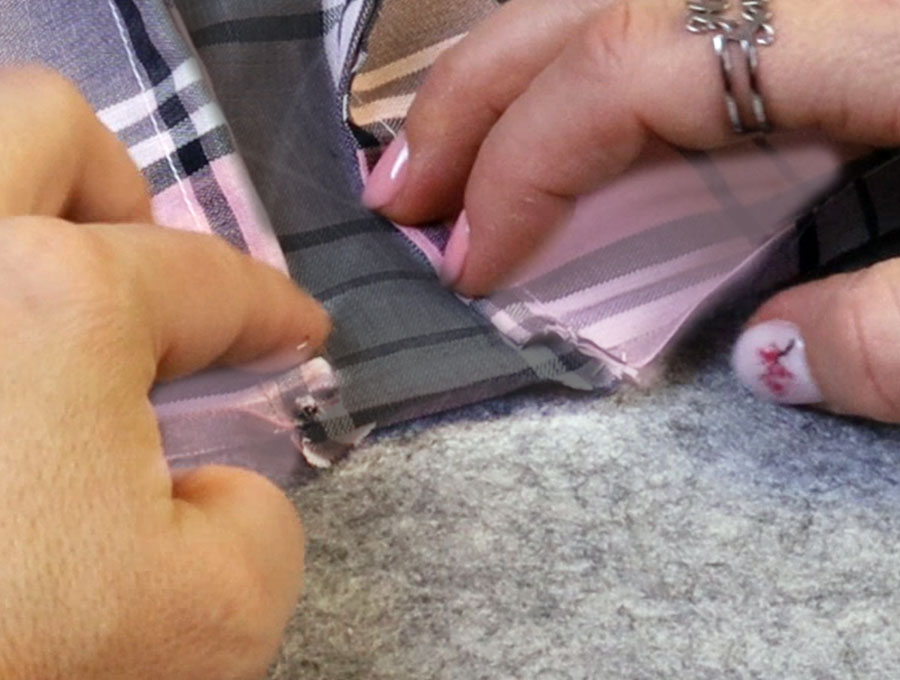
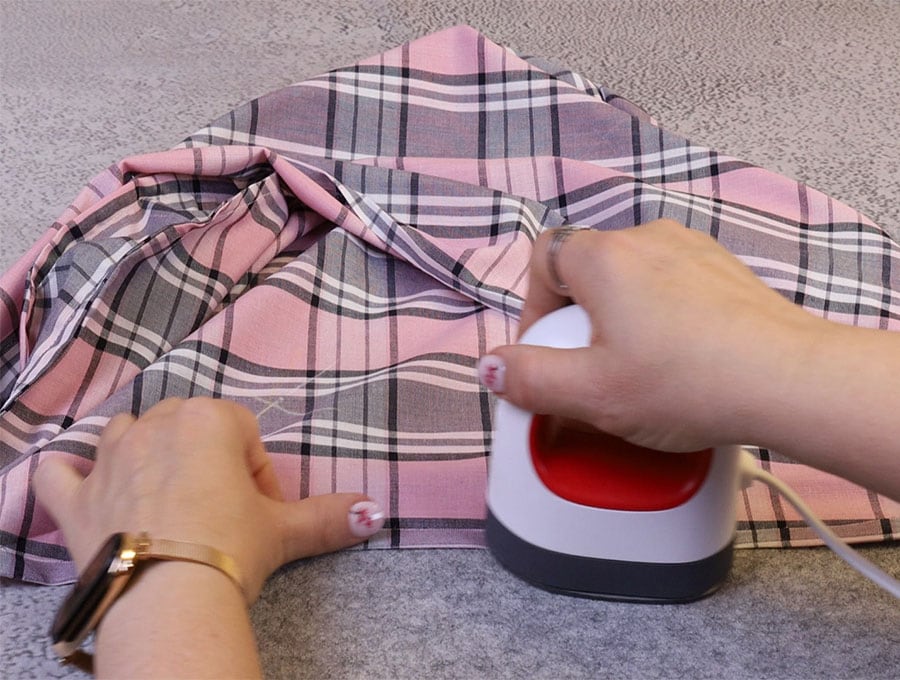
Turn the dust cover right side out. Roll the seams between your fingers and press them.
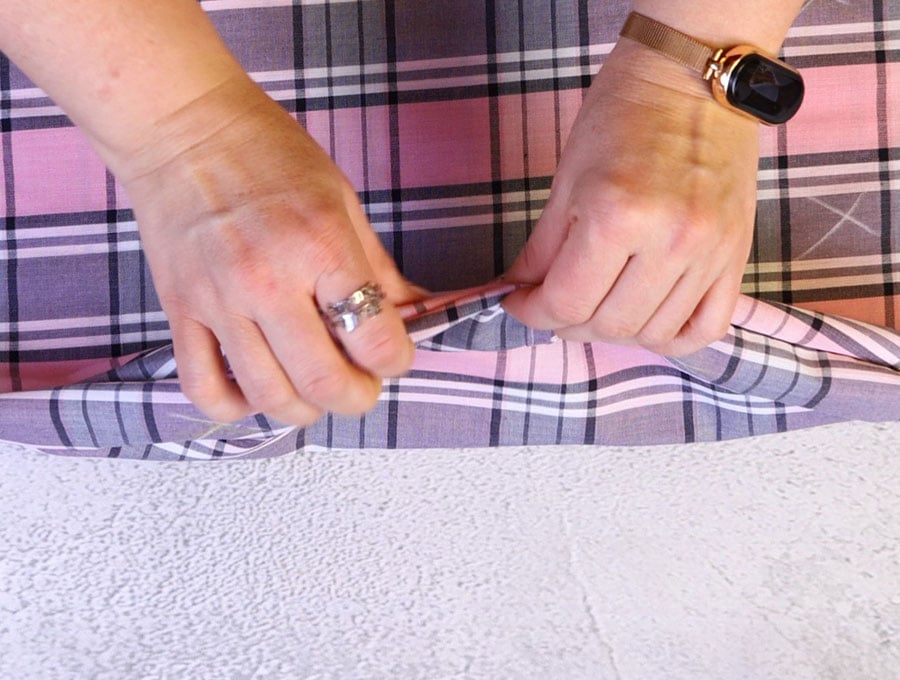
Pin in place (optional)
STEP 14:
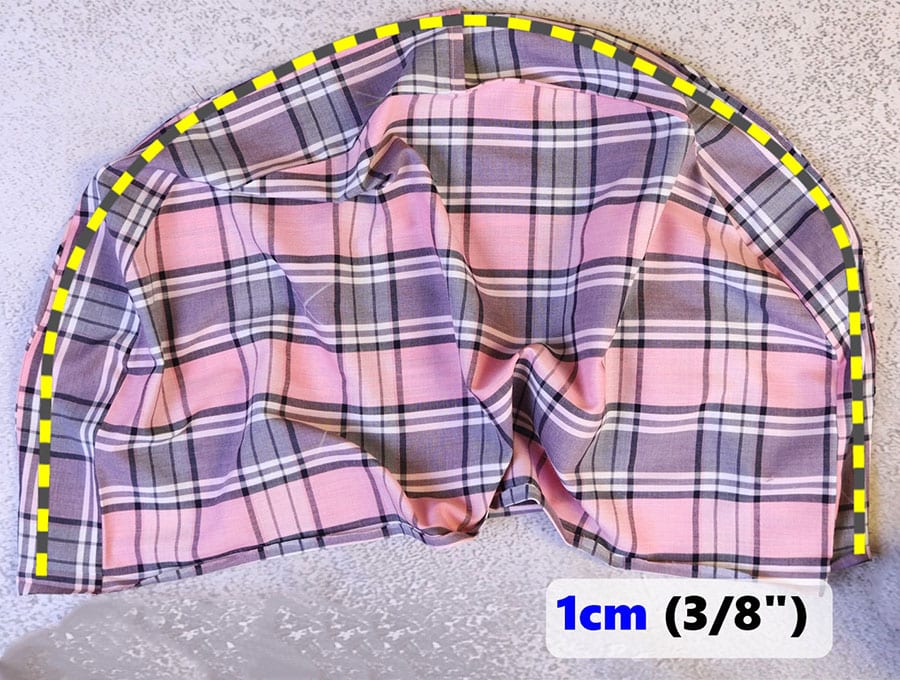
Stitch both sides of the gusset using a 1 cm (3/8″) seam allowance.
First stitch one of the sides.
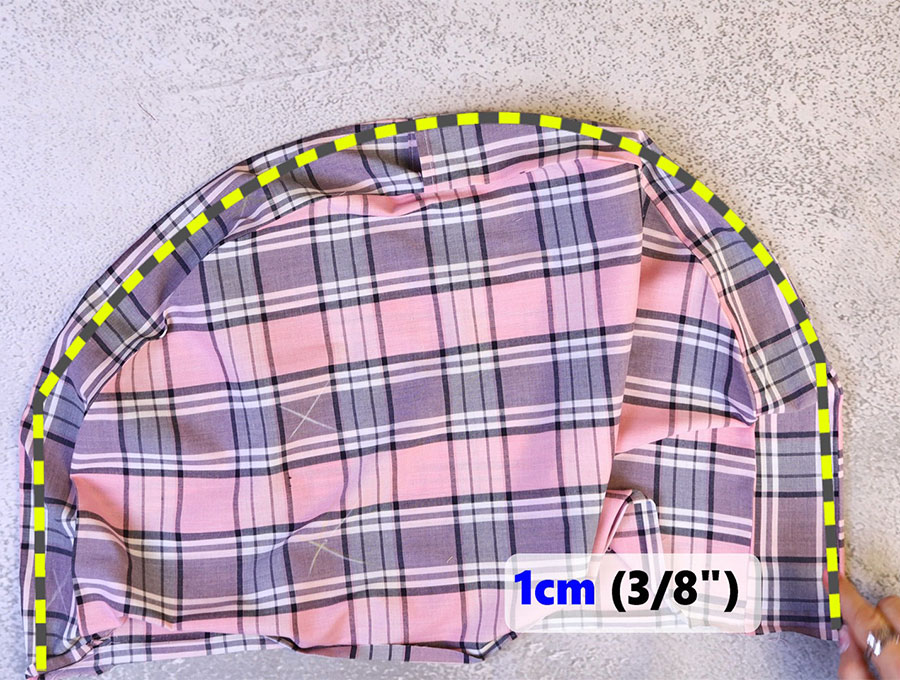
Then turn over the dust cover and stitch the other side.

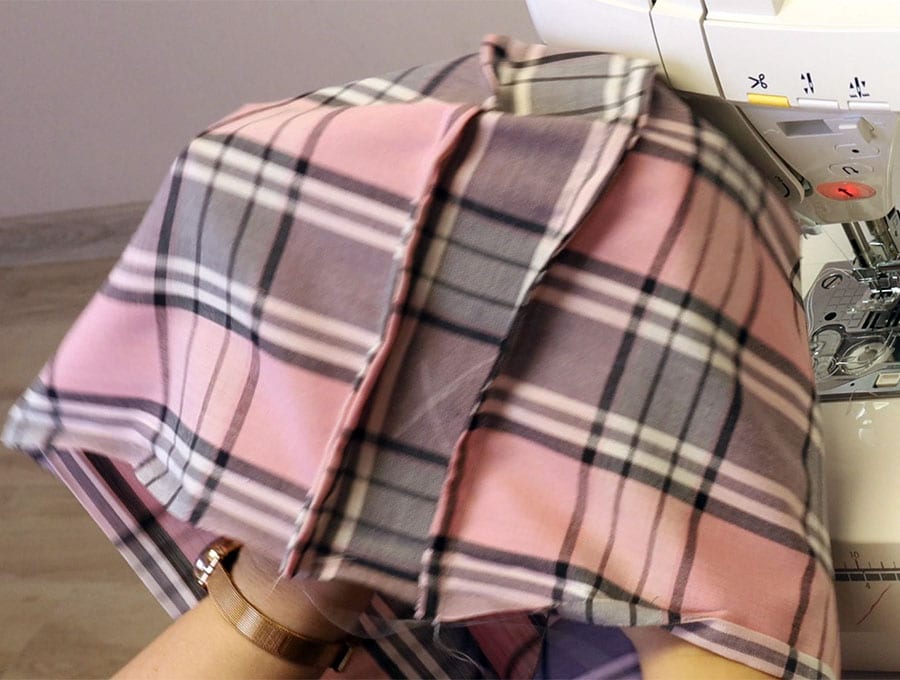
Press. here is how they look on the inside
STEP 15:
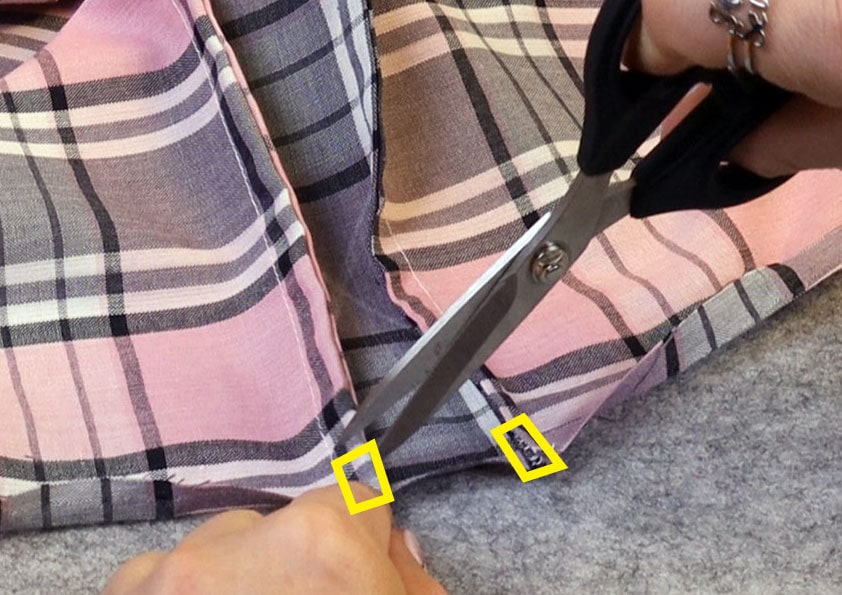
Trim down all 4 french seams of the gusset about 1cm (3/8″) from the raw edge
STEP 16:
Hemming the bottom opening of the dust cover:
To hem the dust cover fold the raw edge 6mm (1/4″) towards the wrong side and press. Fold another 6mm (1/4″) and press again.
Clip in place.
STEP 17:

Stitch the hem all around the opening.
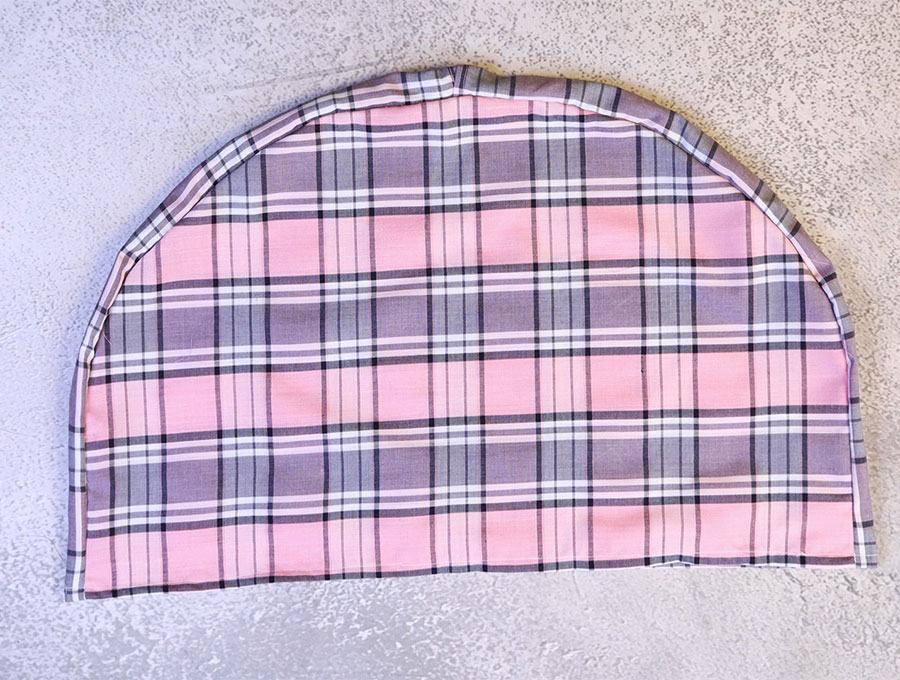
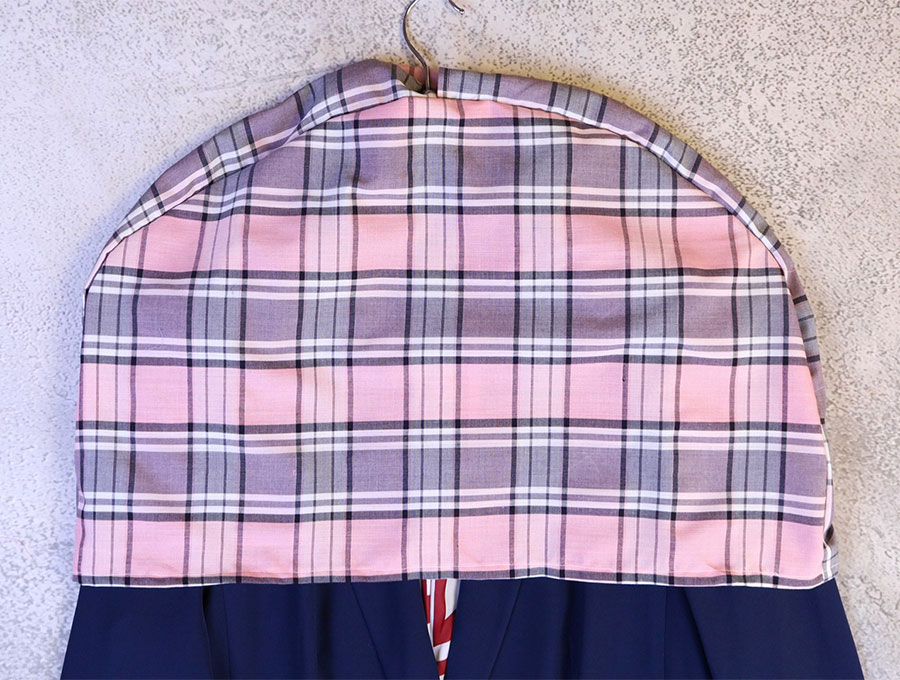
That’s it! Your gusseted shoulder dust guard is ready.
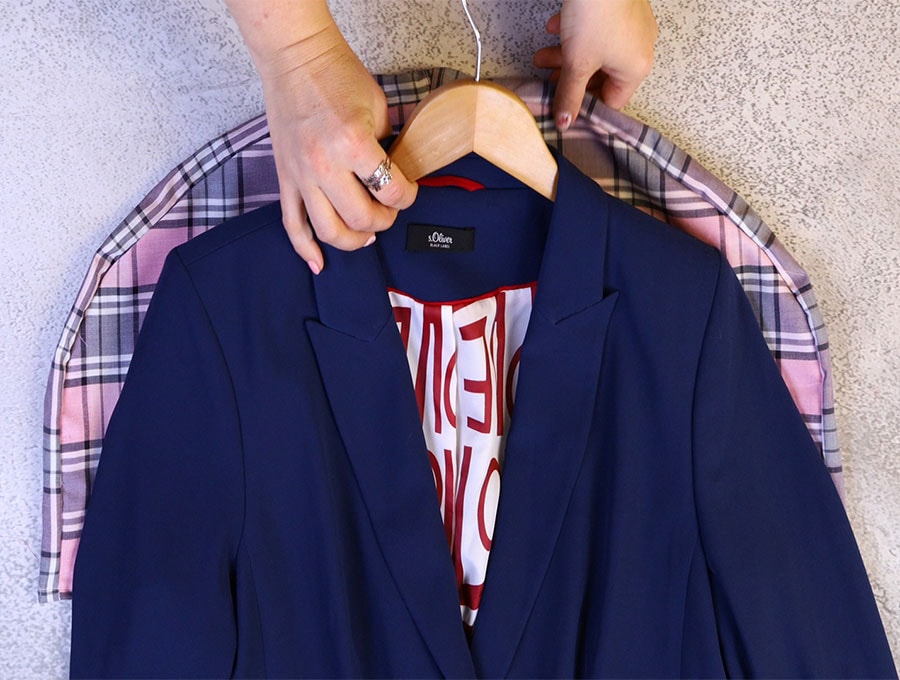
It is perfect for a suit, coat or 2-3 hangers. You can stitch up some more dust guards to protect all the clothes you need!
Do you like this? Pin for later:
Wanna be friends? Click HERE and follow me on Pinterest
RELATED: