

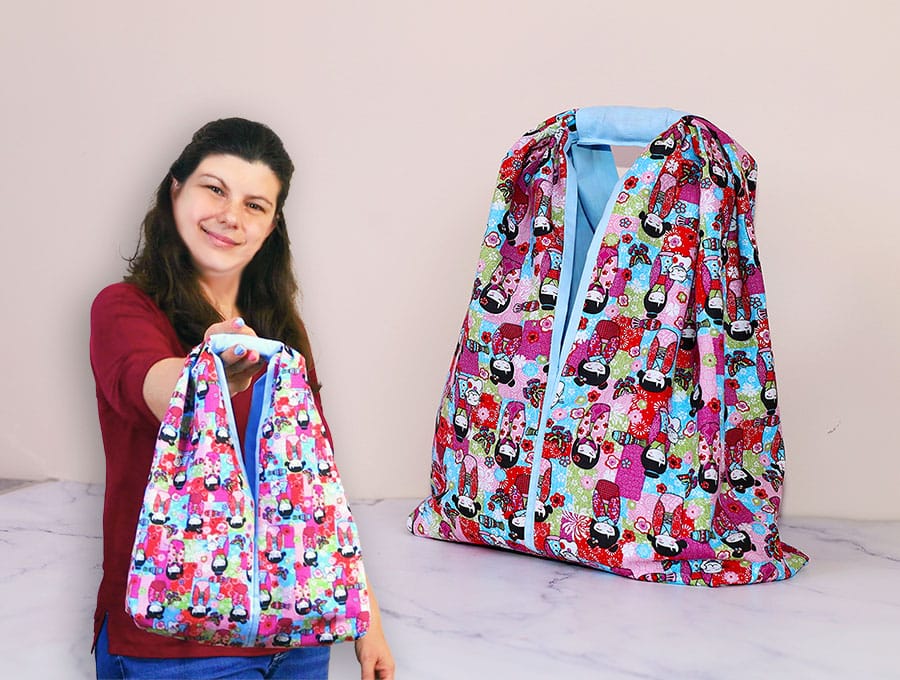
Simple Bag without Zipper // Free tote bag pattern
Learn how to sew this super cute simple tote bag. No zipper, no hardware, no hassle. Just a few straight seams and the bag is ready. This 15 minute tote bag project is exactly what you need when you have to come up with a tote bag for an occasion, need to produce coordinating tote bags for an event, or are looking to make something as an add-on to a present – think a bunch of flowers, chocolates, knitting supplies, goodies for a newborn. The list of uses for this bag is pretty long, so, let’s get busy finding some fabric from your stash and start sewing.
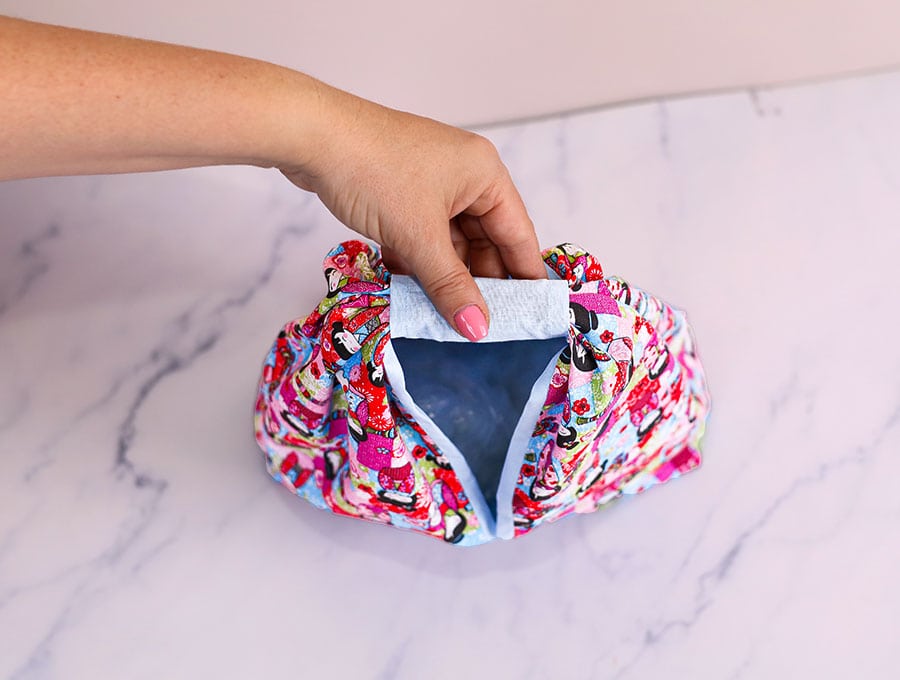
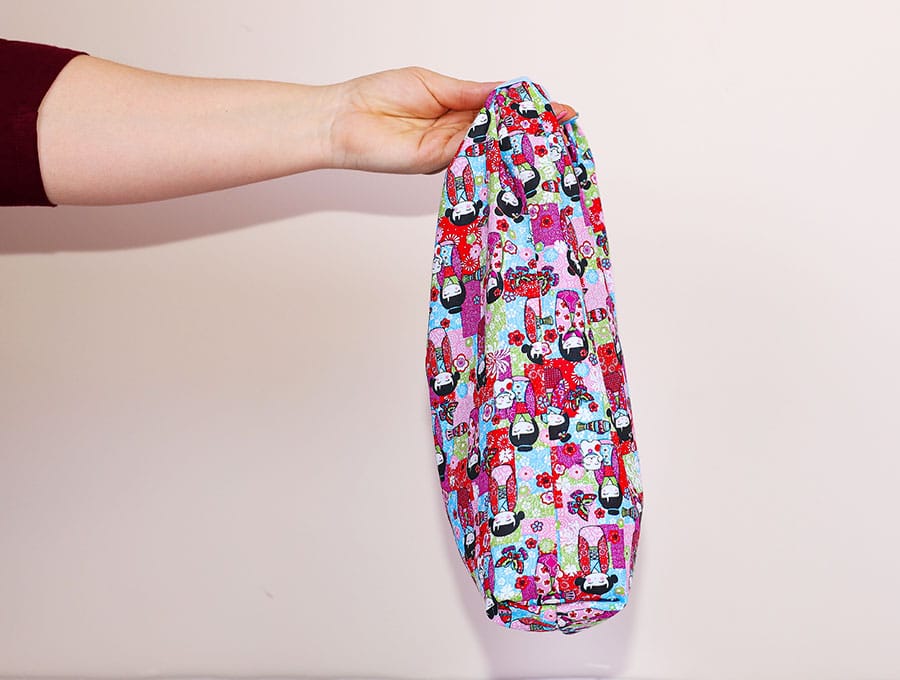
My version of this bag has a stylish accent: a strip of lining fabric is running vertically on both sides of the bag for a pop of color and style.
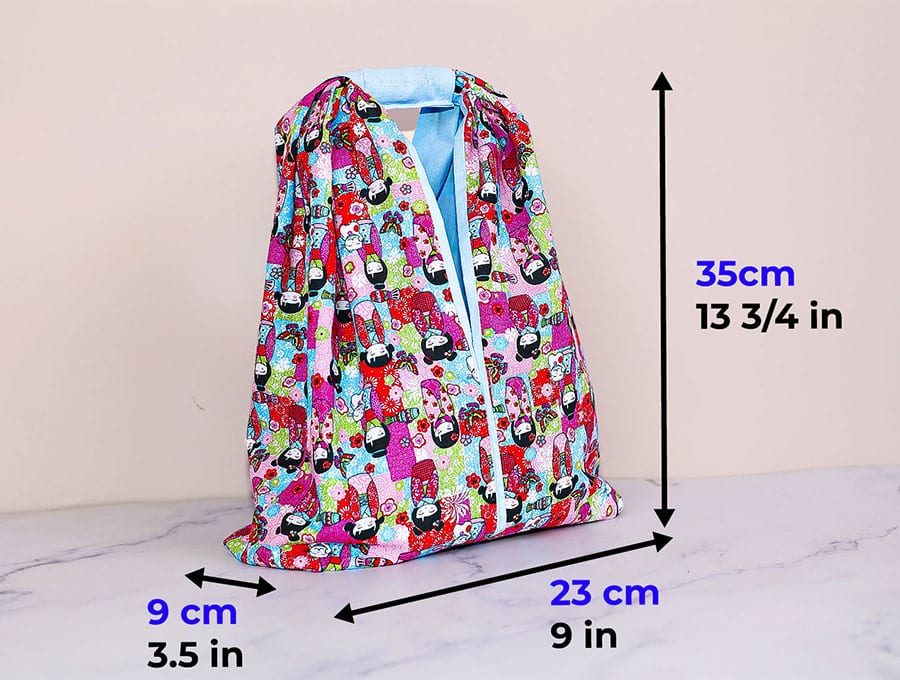
It’s the perfect size to take your essentials with you when you are out and about
Below you will find my step by step written tutorial with VIDEO instructions for all the visual learners.
We occasionally link to goods offered by vendors to help the reader find relevant products. Some of the links may be affiliate meaning we earn a small commission if an item is purchased.
How to make the simple tote bag
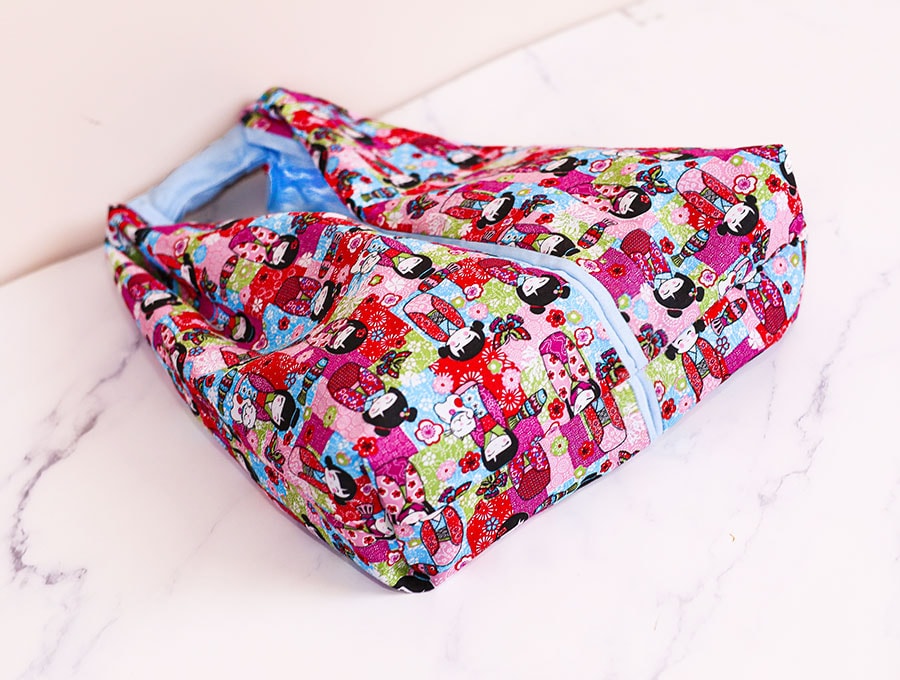
Supplies and tools
- fabric – 2 pieces of quilting of woven cotton (one main, one lining)
- matching thread
- scissors (or rotary cutter and a cutting mat)
- ruler or measuring tape
- iron and ironing board
- sewing clips or pins
DOWNLOAD: Simple bag without zipper pattern [Free pdf file]
Follow us for free patterns & tutorials! [easy-profiles]
How to Sew a simple bag without a zipper
Watch the diy simple tote bag video first and then follow the written step by step instructions below.
Please enjoy and don’t forget to Like and SUBSCRIBE over on YouTube to be kept up to date with new videos as they come out.
Simple tote bag VIDEO TUTORIAL
MATERIALS:
1 x Main Outer fabric of 35 ½ x 13 ¾” (90 x 35 cm)
1 x Lining of 35 ½ x 16” (90 x 40 cm). It’s a bit larger than the outer.
1 x Handle cover 4 ¾ x 4 ¾” (12 x 12 cm)
Finished size:
23 x 35 x 9 cm (9″ x 13 3/4″ x 3 1/2″)
The bag’s finished measurements are 9” (23 cm) along the base, 13 ¾” (35 cm) high and 3 ½” (9 cm) deep, to help you visualize what you can fit in there – and it is a lot!
INSTRUCTIONS:
STEP 1:
Print out the free simple bag pattern at 100% (no scaling) and cut your fabric according to the pattern.
If you prefer you can just measure and cut your fabrics according to the cut list instead.
STEP 2:
Start with the handle cover. Place the fabric wrong side up on your ironing pad.
TIP: You will see I mark the wrong sides with an X in dressmaker’s chalk just to help me make sure I don’t accidentally get the right and wrong sides mixed up – it’s so easy to do especially with lining fabric.
STEP 3:
Now turn up two opposite edges ¼” (6 mm) and press, then turn up ¼” (6 mm) again and press. Clip the two edges to keep the double folds in place.
STEP 4:
Stitch along each edge, close to the inner fold line.
STEP 5:
To sew the bag lay down the outer fabric right side up, and over it place the lining fabric right side down. Clip in place on one of the long sides.
STEP 6:
Now clip the other long side of the lining to the main fabric – there will be an extra bit of lining fabric, which will be looped up a little. As long as the raw edges of the long sides line up with each other you are good.
STEP 7:
Stitch along both of the long edges using a seam allowance of 3/8” (1 cm) and backtacking at the start and finish.
STEP 8:
Press the seams open. Center the sides of the main fabric with the center of the sides of the lining, and pin. A little of the lining will show on each side of the main fabric.
STEP 9:
Mark a gap of around 3” (7.5 cm) on one of the short sides, near the center, through which to turn the item the right way out later.
STEP 10:
Stitch down the short sides using a seam allowance of 3/8” (1 cm), backtacking at the start and finish, and on either side of the gap.
STEP 11:
Snip off the four corners to reduce bulk when turning. Finger press the raw edges on either side of the gap so they are in line with the seam.
STEP 12:
Gently pull the fabric through the gap until the bag is the right way out, using a turning tool to push out the corners neatly and to make sure the seams lie flat.
STEP 13:
Ensure the raw edges of the gap are tuned in line with the seam, then give the item a press with your iron.
STEP 14:
Find the center of the long sides of the fabric and draw a line with a fabric marking pen. Pleat the fabric by hand to create the handle, then, pin.
STEP 15:
Take the handle cover and with the stitched sides facing the fabric to the left and right,
Turn in the raw edge, fold over the pleats, bringing the cover around the bundle of pleats, then turn in the raw edge to meet the first turned in edge and pin or clip in place.
STEP 16:
Stitch the handle cover using a zipper foot to stitch close to the edge. Backtack at the start and finish.
STEP 17:
Fold the bag so the short sides meet, main fabric on the inside and pin or clip the bottom together as well as up the sides.
STEP 18:
Measure 8” (20 cm) up each side and make a mark, then stitch up to the mark using a 3/8” (1 cm) seam allowance, and backtacking at the start and finish.
STEP 19:
Open the bottom of the bag and fold so the side seams meet each other, and clip.
Stitch across the bottom of the bag using a 3/8” (1 cm) seam allowance.
STEP 20:
Pull the sides of the bag so that you have two triangles at the bottom. Lay on your worktop and measure 3 1/8” (8 cm) across each corner and draw a line to create the base of a triangle, and insert pins to hold the triangle before sewing.
STEP 21:
Stitch along the lines on each corner, backtacking at the start and finish.
STEP 22:
Give the item a press around the base – the heat from the iron will remove the fabric marking pen lines. Then, hand stitch the pointed corners of the triangle on each side to the base seam.
STEP 23:
Turn the bag the right way out. It’s now ready to use or gift, loaded with some goodies like pate, cheese and biscuits, a few candies, your latest knitting project, or a Turkish towel and sunscreen for the beach.
The simple bag without zipper is finished! This is such a quick and easy sewing project – in 15 minutes you’ll have a bag ready to go. It takes longer to list the steps than to actually make the bag, and I can almost guarantee that once you have made one you’ll want to keep going on making more. Use our free printable pattern and let’s get sewing.
Hit the like and subscribe buttons if you think this is a project you want to make. Also share with a friend who sews, as this may be just what they need. We have multiple bag projects as well a cosmetics bags and more – there is something for everyone, and, as a subscriber, you won’t miss out on any of our future projects.
Do you like this? Pin for later:
Wanna be friends? Click HERE and follow me on Pinterest
RELATED: