
DIY Triangle Pouch Bag Charm // Triangle zipper coin purse Sewing Pattern
We’ve all been there: you’re standing at your front door, arms full of groceries, doing the “desperation dance” while digging through your bag for your keys. Your hand brushes past receipts from eons ago, a loose almond, and three different lipsticks—but no keys. My purse isn’t just a bag; it’s a sentient black hole where small essentials go to retire. I once spent three full minutes at a checkout looking for a gift card I knew I had in my purse while the line behind me grew into a small, impatient village. I had enough. Today, we’re fighting back with geometry!
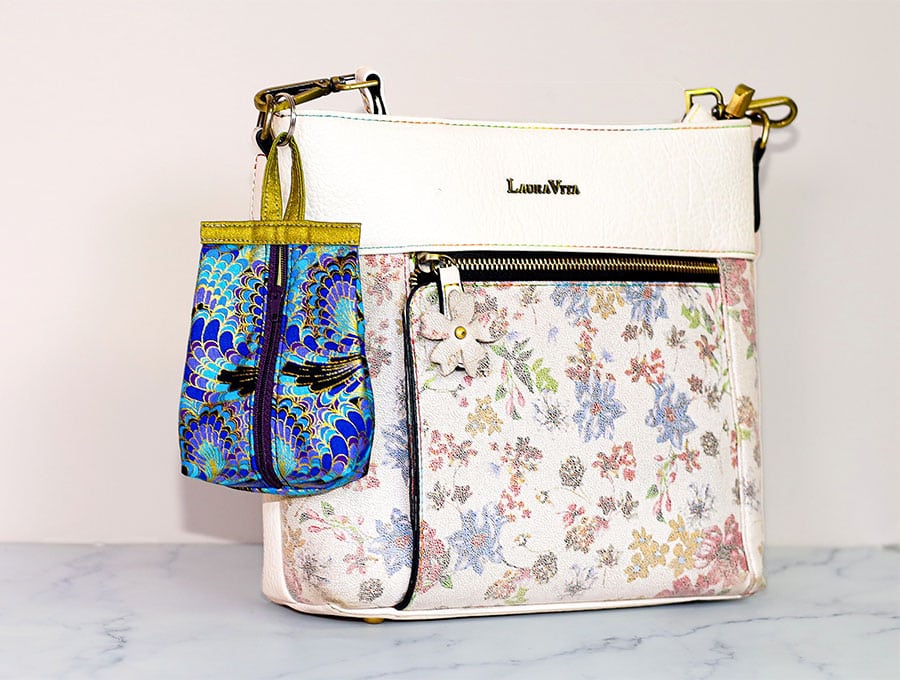
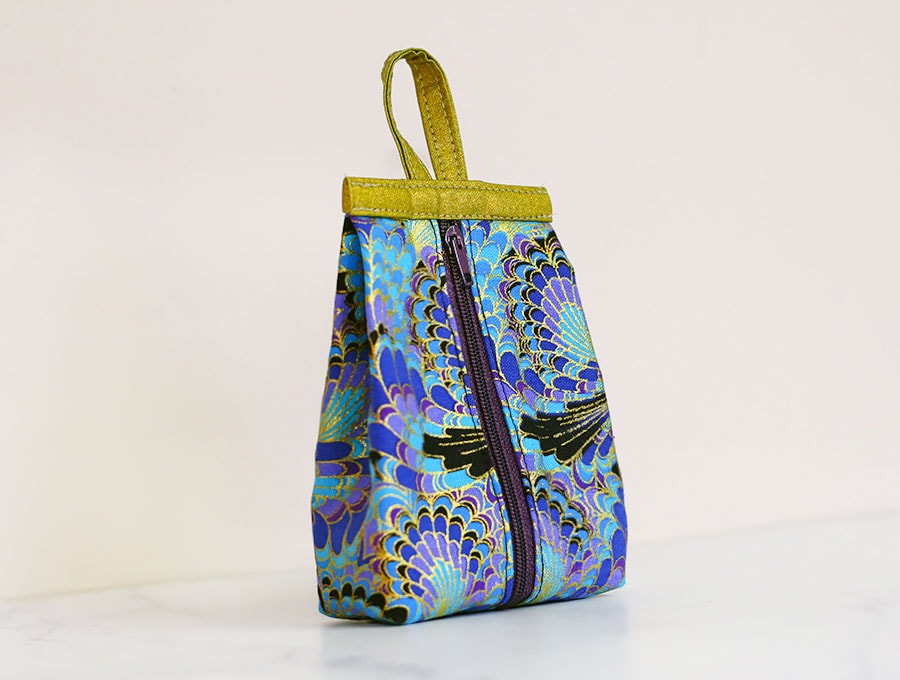 This Triangle Zipper Pouch is the adorable bag charm your sanity deserves. It’s tiny, quirky, and easy to find by touch, even in the deepest tote. Let’s get stitching and make “the abyss” a little more organized!
Below you will find my step by step written tutorial with VIDEO instructions for all the visual learners.
We occasionally link to goods offered by vendors to help the reader find relevant products. Some of the links may be affiliate meaning we earn a small commission if an item is purchased.
Table of Contents
- 1 How to make the trinagle pouch bag charm
- 2 Supplies and tools
- 3 How to Sew a triangle coin pouch bag charm
- 3.1 Triangle poich bag charm VIDEO TUTORIAL
- 3.2 INSTRUCTIONS:
- 3.3 STEP 1:
- 3.4 STEP 2:
- 3.5 STEP 3:
- 3.6 STEP 4:
- 3.7 STEP 5:
- 3.8 STEP 6:
- 3.9 STEP 7:
- 3.10 STEP 8:
- 3.11 STEP 9:
- 3.12 STEP 10:
- 3.13 STEP 11:
- 3.14 STEP 12:
- 3.15 STEP 13:
- 3.16 STEP 14:
- 3.17 STEP 15:
- 3.18 STEP 16:
- 3.19 STEP 17:
- 3.20 STEP 18:
- 3.21 STEP 19:
- 3.22 STEP 20:
- 3.23 STEP 21:
- 3.24 STEP 22:
- 3.25 STEP 23:
- 3.26 STEP 24:
- 3.27 STEP 25:
- 3.28 STEP 26:
- 3.29 STEP 27:
- 3.30 STEP 28:
- 3.31 STEP 29:
How to make the trinagle pouch bag charm
Supplies and tools
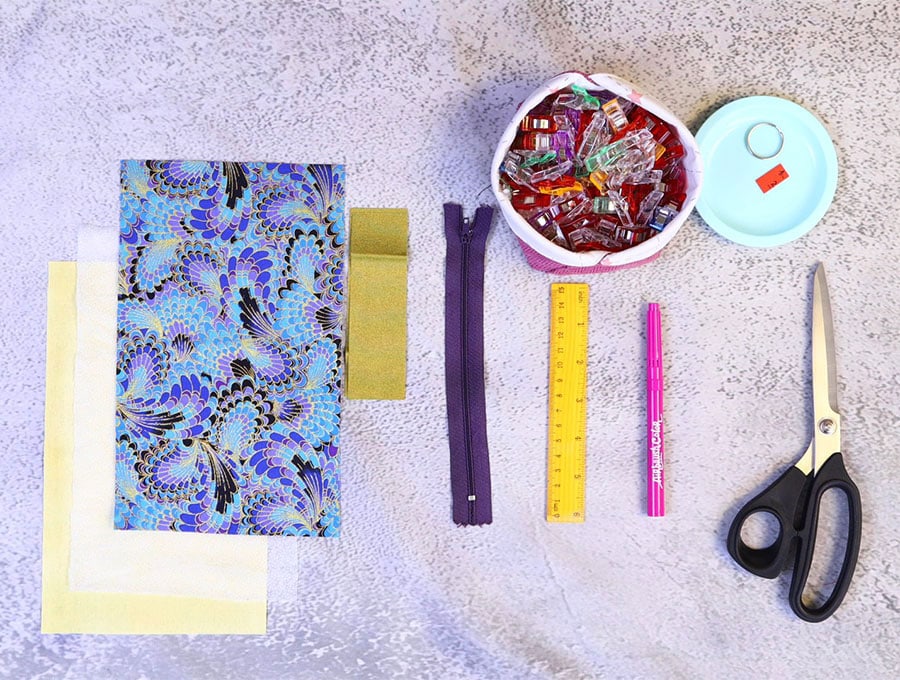
- fabric – 2 pieces of 100% tightly woven cotton (one main, one lining)
- fusible interfacing
- #3 zipper
- optional – jump ring /keyring
- matching thread
- scissors (or rotary cutter and a cutting mat)
- ruler or measuring tape
- iron and ironing board
- sewing clips or pins
DOWNLOAD: trinagle zipper pouch bag charm pattern [Free pdf file]
Follow us for free patterns & tutorials! [easy-profiles]
How to Sew a triangle coin pouch bag charm
Watch the diy triangle bag charm video first and then follow the written step by step instructions below.
Please enjoy and don’t forget to Like and SUBSCRIBE over on YouTube to be kept up to date with new videos as they come out.
Triangle poich bag charm VIDEO TUTORIAL
MATERIALS:
- fabric for the body: 25 x 15 cm (10 x 6″) -one outer, one lining
- fusible interfacing: 25 x 15 cm (10 x 6″)
- #3 zipper: 18cm (7″)
- handle – 23 x 13 cm (9 x 5″)
- binding – 23 x 13 cm (9 x 5″)
- optional – jump ring /keyring
INSTRUCTIONS:
STEP 1:
Cut your fabric and batting according to the pattern provided or the cut list above.
STEP 2:
Place the main fabric with the wrong side up on your ironing board. Place the fusible interfacing with the glue side down on top of the main fabric and fuse according to the manufacturer’s instructions.
STEP 3:
Place the lining fabric on your worktop, right side up.
Place the zipper along the top edge, right side up and pin or clip in place.
Place the outer fabric on top with the wrong side up and clip everything in place
STEP 4:
take the fabrics to your sewing machine and stitch using a zipper foot
STEP 5:
Open up both fabrics to and press. Topstitch as close to the zipper as possible using the zipper foot.
STEP 6:
Place the stitched piece on your worktop. Fold the main fabric up and line up with short raw edge with the zipper. Flip over and fold the lining up and match up the short edge of the lining with the zipper. Pin everything in place
STEP 7:
Stitch along the top using the zipper foot. Backstitch at the beginning and end of the seam
STEP 8:
Open up the fabrics, press and topstitch as close to the zipper as possible
STEP 9:
Close the zipper and turn the pouch with the wrong side out. Fold the pouch so the zipper is on top and mark along the folds of the opposite side
STEP 10:
Open up and match the marks with the center of the zipper. Pin in place
STEP 11:
Take a small piece of paper and cut out a rectangle 1 cm x 2cm (3/8 x 3/4″)
STEP 12:
Use the rectangle to box the bottom corners of the pouch. Place it with the long side along the side and mark around the rectangle. Do this for both sides and cut out the rectangles.
STEP 13:
Open the zipper, and flip the pouch so the zipper is in the middle. Clip lining to lining and main to main so the cut corners match
STEP 14:
Stitch along the bottom straigh side with a 1 cm (3/8″) seam allowance. Make sure to backstitch at the beginning and the end of the seam.
STEP 15:
Cut the excesss zipper hanging outside of the seam and lighly melt the ends with a lighter to prevent fraying.
STEP 16:
Open up the zipper all the way to the bottom. Time to box the corners: Fold the cut out corner of the main fabric so that the seam is in the middle. Flip over the lining on top, seam in the middle and clip the lining to the main fabric.
Repeat for the other corner.
STEP 17:
Stitch both corners 6mm (1/4″) from the edge.
STEP 18:
Flip the pouch right side out and close the zipper. Match the middle of the zipper with the mark in the middle of the top and pin along both sides of the zipper.
STEP 19:
Use the cardboard template you made earlier to mark 2cm (3/4″) in from each top corner. Make a small notch with the scissors throgh all 4 layers.
STEP 20:
Open up the corner, fold in the fabric between the notches to make a small pleat and clip in place.
Repeat for the other corner
STEP 21:
Open the zipper halfway and stitch along the top with a 1 cm (3/8″) seam allowance. Backtack at the start and finish.
STEP 22:
Trim the excess zipper and melt the raw zipper edge with the lighter.
STEP 23:
Make the handle. Place the fabric for the handle wrong side up on your worktop and fold it bias style:
fold in half along the long side. Press
Open up and fold to meet both long raw edges in the middle. Press
Fold once more along the center crease. Press and clip in place
STEP 24:
Stitch two parralel lines as close to the long edges as possible.
STEP 25:
Fold the handle in half without overlapping the short edges and pin it to the center of the back. The folded edge should be facing the middle of the pouch.
STEP 26:
Take the binding strip and place it right side down on top of the back of the poouch. Center and clip in place.
STEP 27:
Stitch along the top of the pouch with a 1cm (3/8″) seam allowance, backstitch at both ends of the seam.
STEP 28:
Flip the pouch so the front side is facing you, fold the binding up and bring it to the front. Fingerpress to crease. Fold both sides in along with the edges of the pouch and press.
Fold the long edge in twice, making sure it’s overlapping your stitching and pin in place
STEP 29:
Bring the handle up, pin it and stitch two parralel rows along the top – as close to the top and bottom edge of the binding as possible.
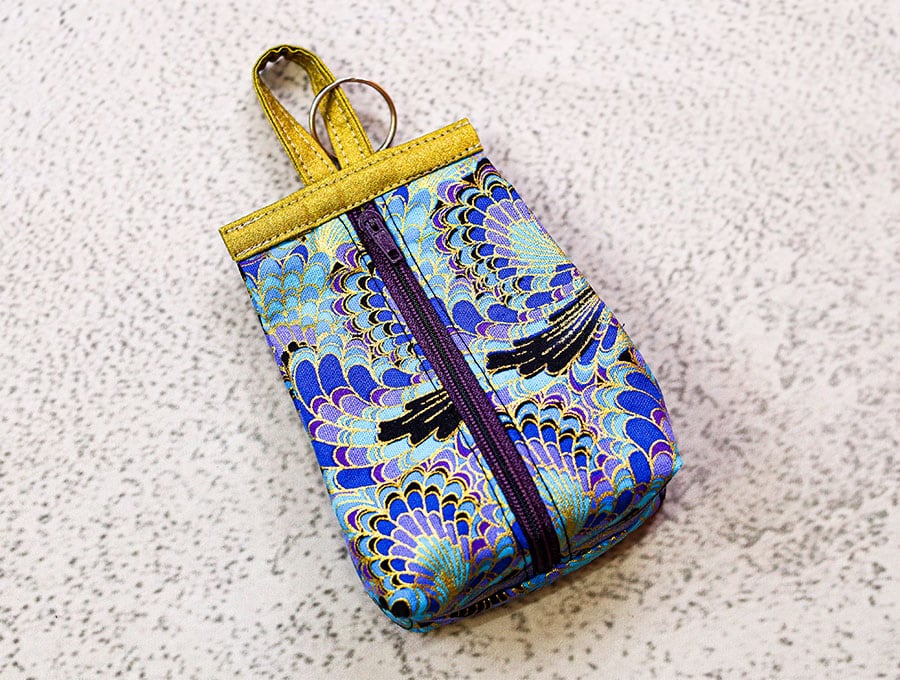
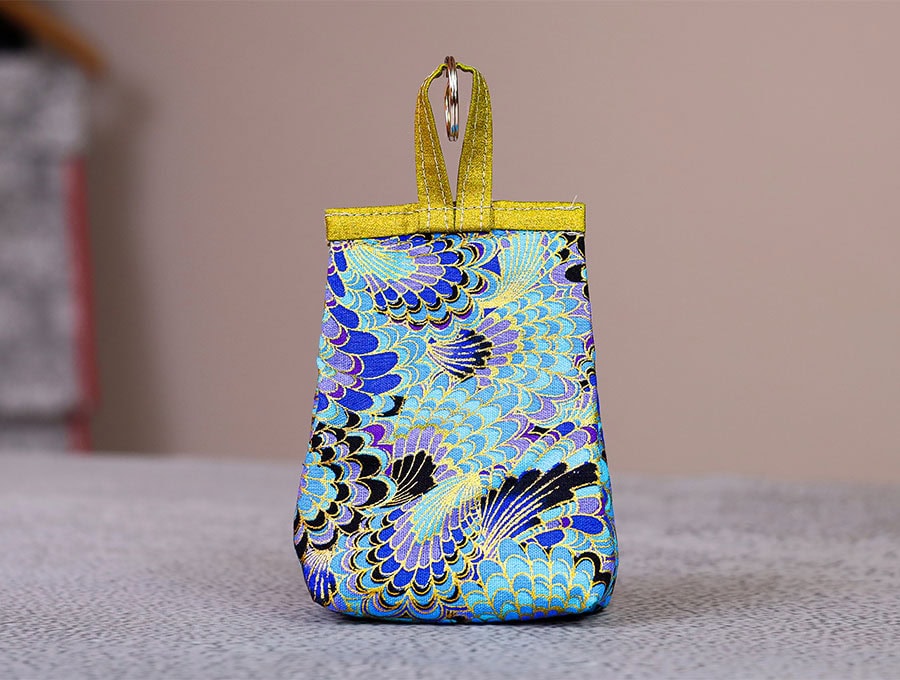
And that’s it! Your triangle pouch is ready to save your keys from the void. You can clip it directly to your bag handle either using the clasps of the handles or by adding a jump ring. Fill it up with all those little things you usually struggle to find in your purse. For me these are the keys, an elastic and a chapstitck.
Admit it: your scrap fabric pile was starting to stage a coup in your sewing room, and this was the perfect intervention. It looks like a high-end boutique accessory, but we’ll keep it our little secret that it only took thirty minutes and some leftovers to make. It’s a bag charm, a coin purse, and a great way to prove to anyone watching that you did actually need that extra yard of floral print after all! Hope you find this little triangle zip bag charm as charming and useful as I do.
If you want more clever ways to turn your fabric hoard into functional masterpieces, I’d love to have you in my sewing circle. [Subscribe to my newsletter here] for weekly tutorials, tips, and scrap-busting inspiration delivered straight to your inbox. Happy stitching!
Happy stitching!
Do you like this? Pin for later:
Wanna be friends? Click HERE and follow me on Pinterest
RELATED: