
Tri-fold Storage Pouch for Hats, Bras, Straps and Keychains [Video + Pattern]
Have you ever stepped out for a morning walk in your favorite summer dress or a pair of comfortable leggings, only to realize you have absolutely nowhere to put your house key or a bit of emergency cash? It’s a common dilemma—we want to stay active and hands-free, but we don’t always want to lug around a heavy handbag just for the essentials.
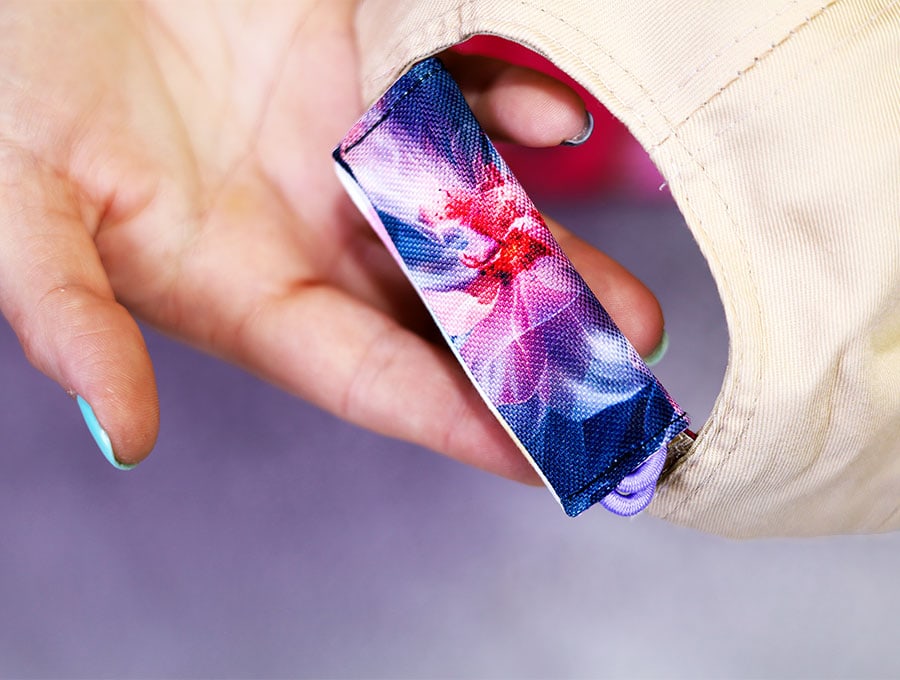
Enter the clever and practical Tri-Fold Wrappable Pouch – this “pocket-on-the-go” is a total game-changer. It’s a tiny, water-resistant wonder that wraps securely around any open end hat like a sun hat or a baseball hat, a bra strap, or even your dog’s leash.
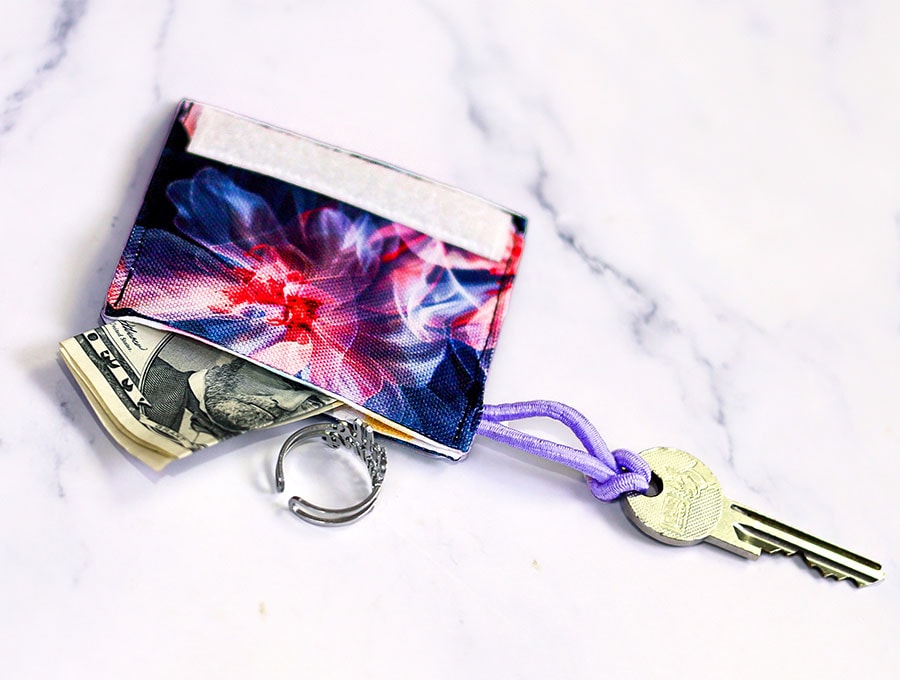
It’s perfect for keeping those small “must-haves”—like medications, a wedding ring, or a spare key—safe and sound. Not only is this a treat for yourself, but these are also the perfect “thinking of you” gifts. They are wonderful for grandkids to strap onto their backpacks or for friends who love to garden or travel. Let’s sit down at the machine and stitch up a few!
Below you will find my step by step written tutorial with VIDEO instructions for all the visual learners.
We occasionally link to goods offered by vendors to help the reader find relevant products. Some of the links may be affiliate meaning we earn a small commission if an item is purchased.
Table of Contents
How to make the tri-fold storage pouch

Supplies and tools

- fabric – waterproof fabric
- fabric – thin lining
- thin elastic or an elastic hair tie
- matching thread
- scissors (or rotary cutter and a cutting mat)
- ruler or measuring tape
- iron and ironing board
- sewing clips or pins
DOWNLOAD: Tri-fold storage pattern [Free pdf file]
Follow us for free patterns & tutorials! [easy-profiles]
How to Sew a tri-fold storage pouch
Watch the diy tri-fold hat storage bag video first and then follow the written step by step instructions below.
Please enjoy and don’t forget to Like and SUBSCRIBE over on YouTube to be kept up to date with new videos as they come out.
Mini tri-fold storage pouch VIDEO TUTORIAL
MATERIALS:
- Waterproof fabric for the outer – 9.5 x 19 cm ( 3 3/4 x 7.5″)
- Thin lining – 9.5 x 19 cm ( 3 3/4 x 7.5″)
- hook and loop fastener (velcro) 7.5 x 7.5 cm (3 x 3″)
- 3mm (1/8″) wide elastic or an elastic hair tie – cut to 8cm (3 1/8″)
Finished size:
8.5 x 8 x 0.5cm (~ 3 3/8 x 3 1/8 x 0.2″)
INSTRUCTIONS:
STEP 1:
Cut the fabrics for the outer and the lining. Place the waterproof fabric and the lining on your worktop with the short side at the top and the right side facing you.
STEP 2:
Position the elastic on the long left side of the waterproof fabric, about 1.5cm (1/2″) down from the top and pin in place.
STEP 3:
Place the lining on top of the waterproof fabric, right sides facing and pin in place.
STEP 4:
Stitch all around with a 6mm (1/4″) seam allowance, leaving a gap for turning along one of the long sides. Backstitch at the beginning and the end.
STEP 5:
Trim the corners near your stitching but being careful not to cut through the stitching. Trim down the elastic along the seam allowance and lightly melt the ends with a lighter.
STEP 6:
Fold and fingerpress the raw edges of the gap along the seam allowance.
STEP 7:
Turn right side out and push out the corners with a blunt tool.
STEP 8:
Iron the whole thing, then fold to meet the short sides and press the fold to create a crease in the middle.
STEP 9:
Open up with the waterproof fabric facing you, long side with the elastic on the bottom position both pieces of velcro.
The hook fastener goes along the right short side, about 3mm (1/8″) in.
The loop fastener goes right before the crease. Pin both in place.
STEP 10:
Stitch around the velcro pieces, backstitching at the beginning and the end of the seam.
STEP 11:
Fold the fabric rectangle along the crease and pin around.
STEP 12:
Stitch along both sides as close to the edge as possible, leaving the top unstitched. Backstitch at the beginning and the end of both seams.
Remove the pins and the tri-fold storage pouch is ready.

This wrappable storage pouch offers a handy storage for a bill, a ring, some meds, or a key. It wraps around any open end hat, bra straps, dog leashes, or to your keyring. Super handy when you are going to the fitness, out for a quick run or you don’t want to lug around a large bag.

There you have it—a handy little pouch that’s ready for your next adventure! It is so satisfying to turn a few scraps of fabric into something so useful. I find myself making these in batches because they make such thoughtful stocking stuffers or “just because” gifts for friends and family. Once they see how handy yours is, they’ll certainly be asking for one of their own!
Whether yours is headed to the gym, the grocery store, or the beach, I hope it makes your day just a little bit easier. I always love to see what fabrics you choose, so please do share your finished pouches with me.
Want more clever projects like this? If you enjoyed this tutorial and want to stay inspired with more tips, tutorials and clever sewing patterns—I’d love for you to subscribe to my newsletter. Join our lovely community of makers and get my latest tutorials and sewing tips delivered straight to your inbox.
Do you like this? Pin for later:
Wanna be friends? Click HERE and follow me on Pinterest
RELATED: