

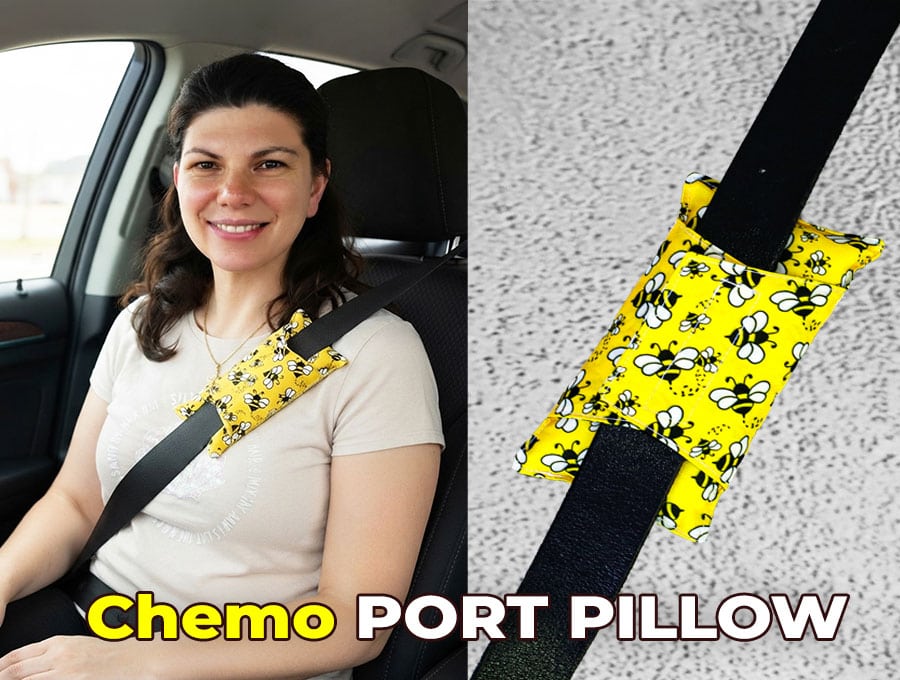
DIY Chemo Port Pillow // Seatbelt Port Pillow with Wings Pattern and VIDEO
Sometimes the smallest things make the biggest difference.
If you or someone you love has ever winced at a seat belt rubbing against a chemo port after a long treatment day, you already know exactly what I’m talking about. Today, I’m sharing how to sew a chemo port pillow — a deceptively simple little cushion that offers real, meaningful comfort to chemotherapy patients, heart surgery survivors, pacemaker recipients, and so many others. Chemo ports are essential for treatment, but seat-belts and straps press against them, causing agonizing pain during travel. This small, cushioned pillow creates a protective barrier between the port and seatbelt and makes travel much more enjoyable.
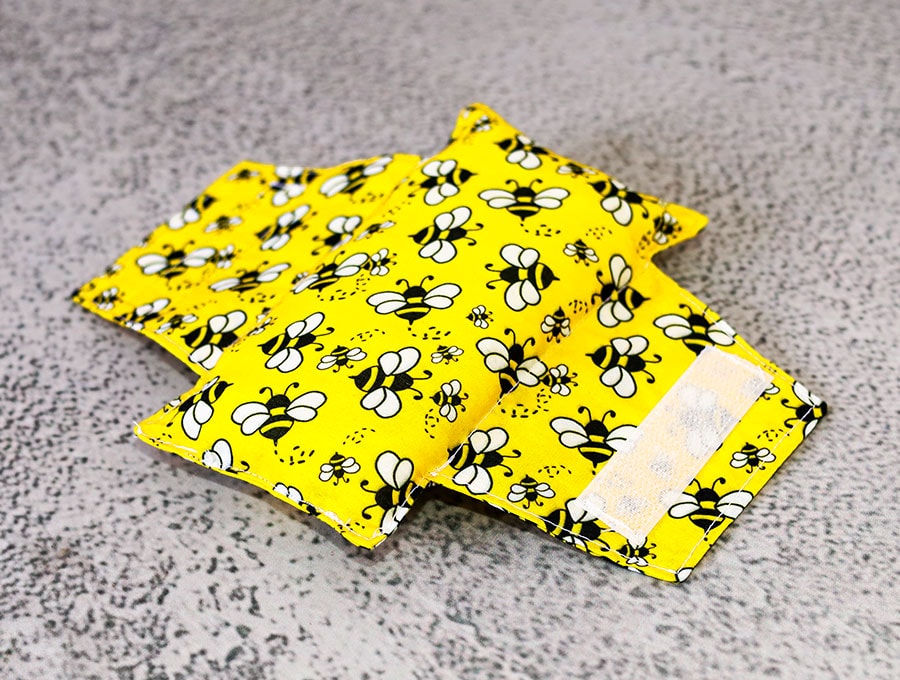
These take just a small amount of fabric and time, but for the person receiving one? They can make every car ride a little less painful and a little more bearable. Whether you’re sewing one for a loved one, donating to a local cancer center, or joining a volunteer group, this project is 100% worth your time. Let’s get started.
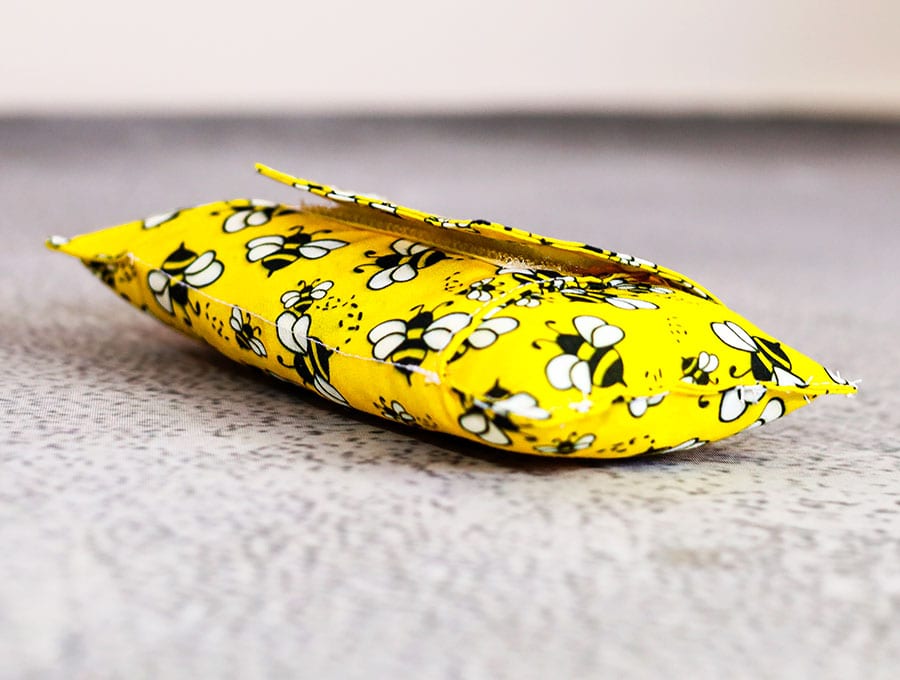
Below you will find my step by step written tutorial with VIDEO instructions for all the visual learners.
We occasionally link to goods offered by vendors to help the reader find relevant products. Some of the links may be affiliate meaning we earn a small commission if an item is purchased.
How to make the Seat belt port pillow
Supplies and tools
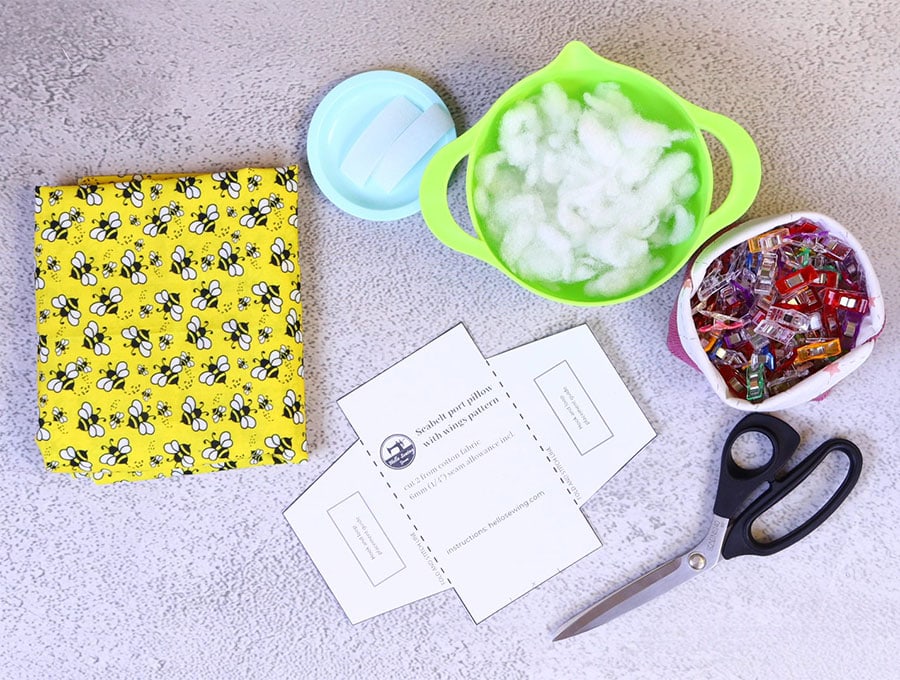
- fabric – woven cotton
- polyester stuffing
- matching thread
- scissors (or rotary cutter and a cutting mat)
- ruler or measuring tape
- iron and ironing board
- sewing clips or pins
DOWNLOAD: Chemo port pillow pattern [Free pdf file]
Link not working? Try this ALTERNATIVE instead
Follow us for free patterns & tutorials! [easy-profiles]
How to Sew a chemo port pillow
Watch the diychemo port pillow video first and then follow the written step by step instructions below.
Please enjoy and don’t forget to Like and SUBSCRIBE over on YouTube to be kept up to date with new videos as they come out.
Port pillow VIDEO TUTORIAL
Why Sew a Setbelt Port Pillow?
I don’t know about you but I have bought fluffy seat belt port pillows to stop seat belts causing a rash on my neck, but the port pillows are made of fake fur and just get hot and itchy. So, enter my pure cotton (or linen) seat belt port pillow for a cooler, comfier experience when driving. It’s perfect for those undergoing chemo treatment or who have had surgery in the chest area, to keep the seatbelt from pressing on sensitive areas.
In holistic wellness circles, cotton, a natural plant-based conductor is believed to closely align with our energy fields. Polyester on the other hand, a synthetic produced from a petroleum base, has such a low vibrational field that it is reported to disrupt personal comfort and trap static. This is all the more reason create our seatbelt port pillow. So, find some cotton or linen offcuts in your stash and download and print out the free pattern from HelloSewing.com. Then start cutting, stitching and stuffing. Within a few minutes your new seat belt port pillow with wings will be ready to use or gift to someone who needs it.
INSTRUCTIONS:
STEP 1:
Print out the free pattern at 100% (no scaling) on an A4 or Letter paper and cut it out.
STEP 2:
Choose the fabric you will use. You need enough to place the pattern on the straight grain of the fabric and cut 2 pieces.
STEP 3:
Place the right sides of the fabric facing each other. Pin the pattern to the fabric.
STEP 4:
Cut along the cutting line of the pattern. Transfer the marks for the gap from the pattern to the fabric, using a fabric marking pen. Remove the pins holding the pattern in place, but keep the two pieces of fabric pinned together.
STEP 5:
Stitch around the edges using a ¼”(6 mm), seam allowance, starting from one side of the gap with a backtack and finishing on the other side of the gap with a backtack. A tip for getting neat corners on a smaller project like this, is to stitch to the point where you need to turn a corner, leave the needle down in the fabric, lift the presser foot, swing the fabric to the new direction, depress the foot and keep stitching. If you try to turn a corner with the needle out of the fabric you risk getting uneven lines and missed stitches.
STEP 6:
Use your scissors to clip the inner corners with a V-notch to ease the fabric when you turn it and cut a small triangle off the outer corners, for the same reason. Turn back the folds of the gap in line with the seam and finger press; this makes it easier to find the right line later when stitching the seam closed.
STEP 7:
Turn the seatbelt port pillow the right way out by pulling the fabric gently through the gap, using a turning tool to push out the corners, and ensure the seams are turned out and lie flat before pressing with your iron.
STEP 8:
Fold the long arms over in line with the end of the short arms and press.
STEP 9:
Topstitch 1/8”(3 mm) from the edges of the seatbelt port pillow, starting from one side of the gap and finishing on the other side. Then stitch down the two folds you pressed in STEP 8.
STEP 10:
Pin Velcro on one side of the long arm, then fold the other arm over and place the other half of the Velcro. Test before stitching to make sure that when you fold the one arm over the other the pieces match up an stick together.
STEP 11:
Stitch around each piece of Velcro as close to the edge as possible in a rectangular shape, starting and finishing with a backtack.
STEP 12:
Start stuffing the central part of the seatbelt port pillow, inserting small amounts at a time into the gap, ensuring the pillow section is filled evenly, and is padded enough for comfort.
STEP 13:
Stitch the gap closed top stitching in line with the rest of the topstitching. You can swap to a zipper foot for this step as it makes it easier.
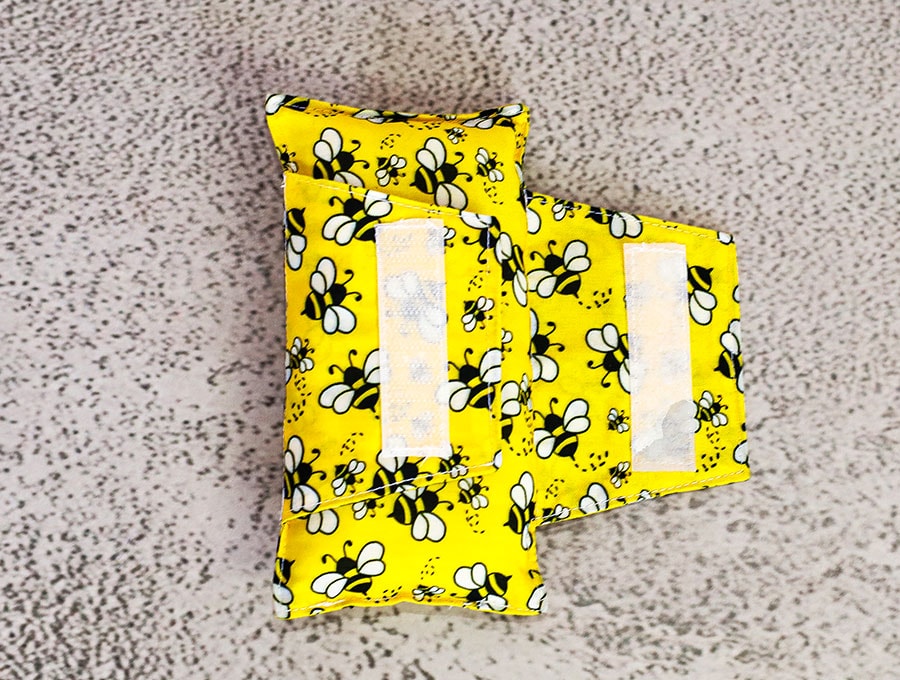
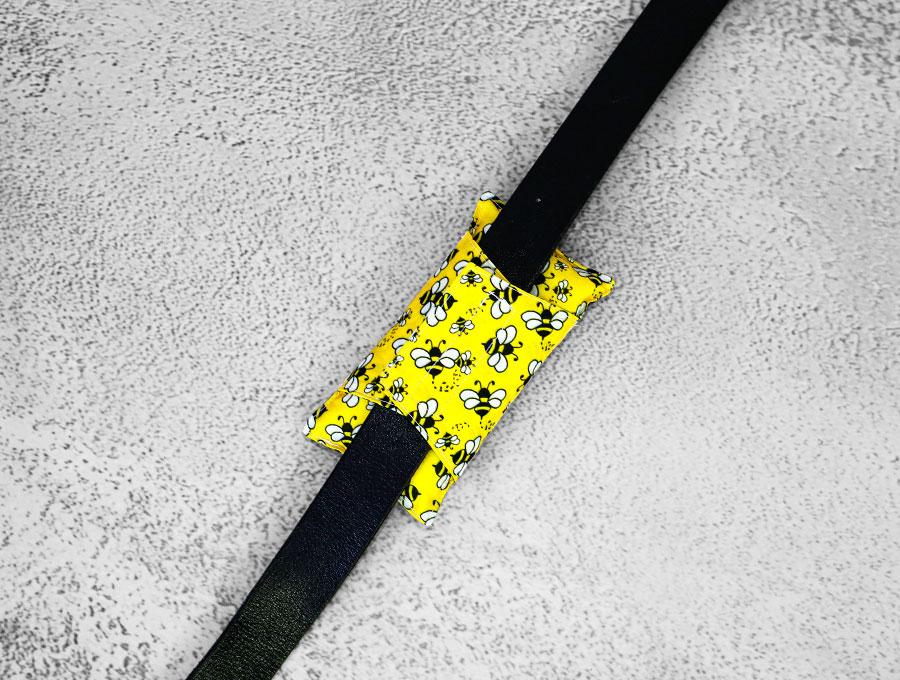
The seatbelt port pillow is ready to use – clean and comfy for when a person has had surgery in the chest area. I like to use these anytime as it keeps the seatbelt from rubbing against clothing and causing it to pill, but most importantly to stop the seatbelt irritating my neck area. Make a few to have on hand, so the next time a friend or family member complains about their uncomfortable seatbelt you can whip one out and give it as a gift.
Remember to like and subscribe for more quick projects that make life a little easier and more organised for everyone in your life.
If you had fun with this project and want to keep sewing things that actually matter, I would absolutely love to stay in touch!
I send out my newsletter regularly with new tutorials, fun project ideas, and yes — more make-to-donate projects just like this one. No spam, no fluff, just good stuff for people who love to sew with purpose.
So if that sounds like your kind of thing, come join us! Just hit the link below to subscribe — it’s completely free, and honestly, it would just make my day to have you there.
Do you like this? Pin for later:
Wanna be friends? Click HERE and follow me on Pinterest
RELATED: