

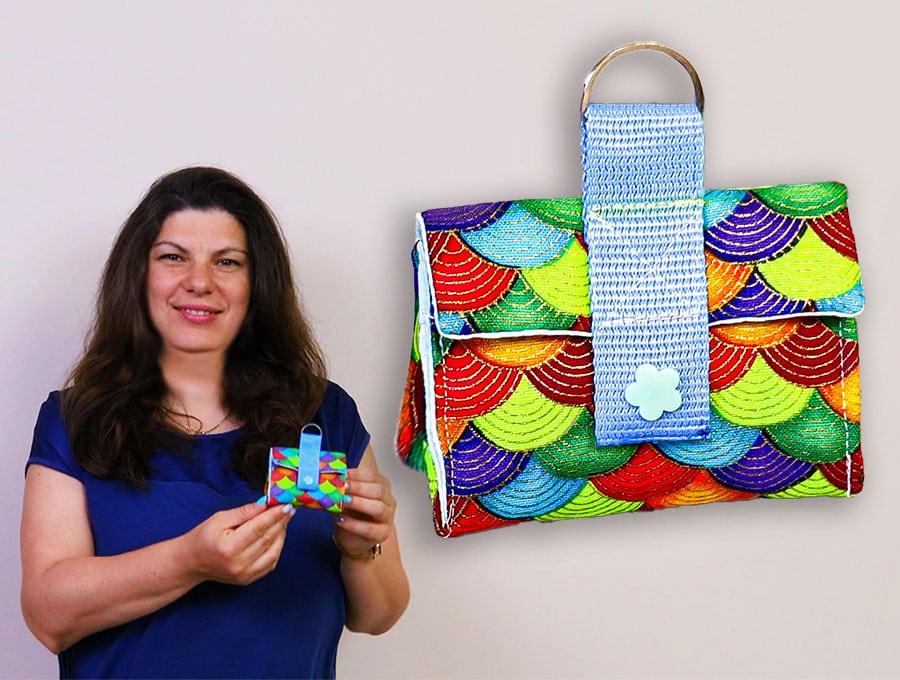
DIY Small Cosmetic Keychain Pouch // How To Sew a Small Keychain Pouch
Ready to add a cute, functional accessory to your everyday carry? In this tutorial, I’ll show you how to sew an adorable mini cosmetic keychain pouch from start to finish! This tiny pouch is perfect for stashing lip balm, hair ties, earbuds, or spare change, and it clips right onto your keys, bag, or backpack for easy access on the go. 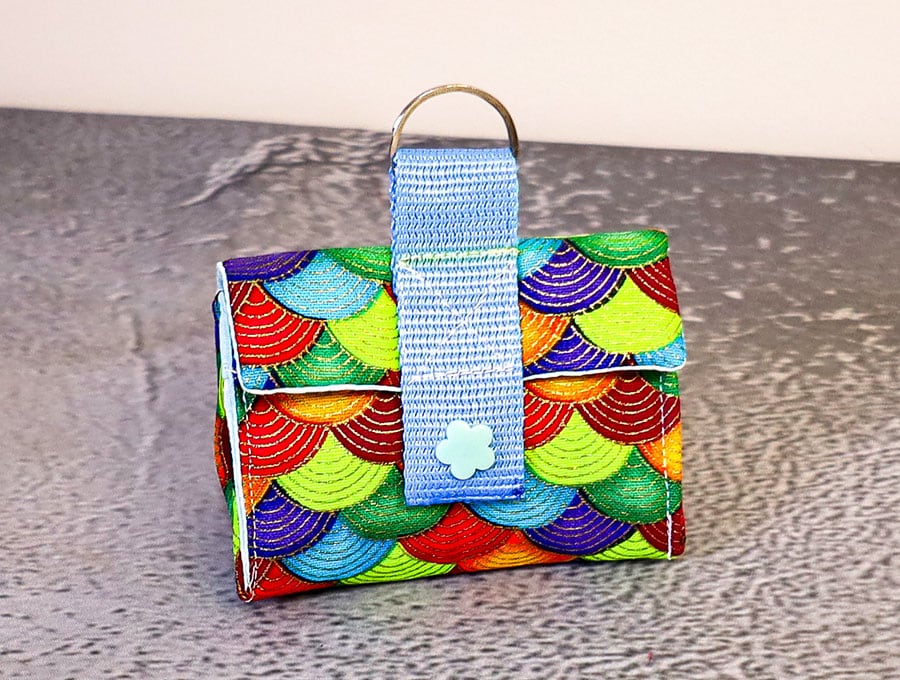
There is always that one thing you have to have with you when you jump out of the car and leave your purse behind. You’re probably thinking, ‘Yes, it’s my phone’, but besides the phone we usually need a mini lipstick for a quick touch-up or a small tube of lip gloss. Whatever the item, our free printable pattern will help you make this useful cosmetic keychain pouch in a short time, using left over scraps of fabric. Make it bright and beautiful, insert your must-have item and away you go.
It’s a quick, beginner-friendly project that makes a fantastic handmade gift too! Grab your fabric scraps and let’s get sewing—don’t forget to subscribe for more easy DIY sewing tutorials!
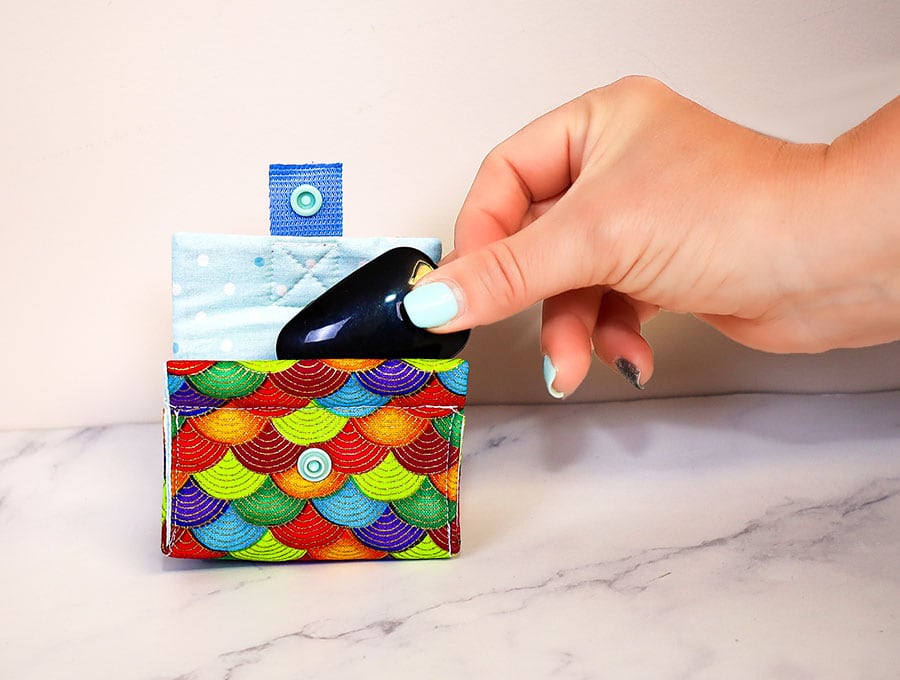
Below you will find my step by step written tutorial with VIDEO instructions for all the visual learners.
We occasionally link to goods offered by vendors to help the reader find relevant products. Some of the links may be affiliate meaning we earn a small commission if an item is purchased.
How to make the Small Cosmetic Keychain Pouch
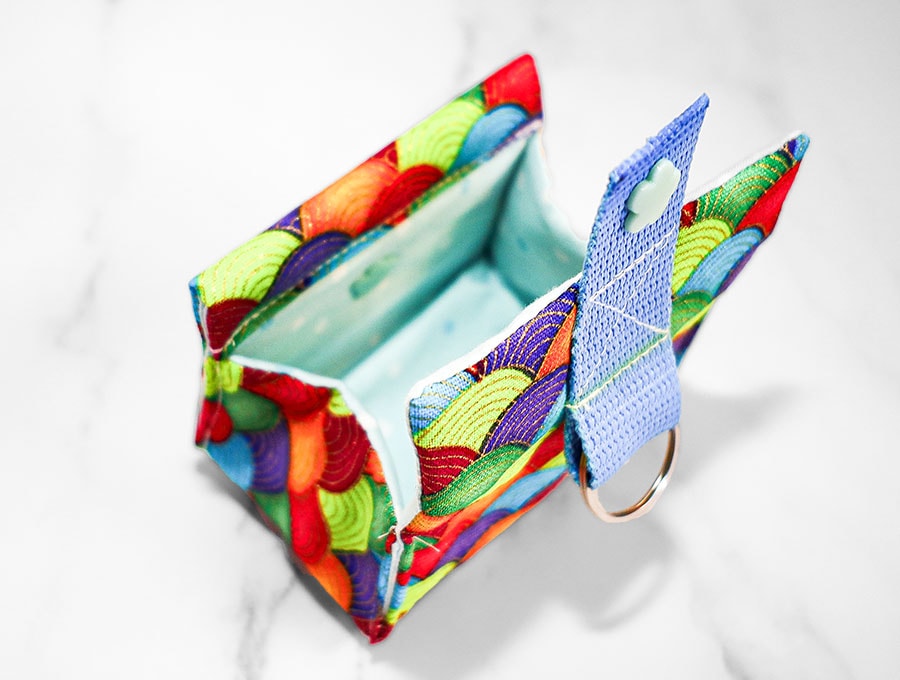
Supplies and tools
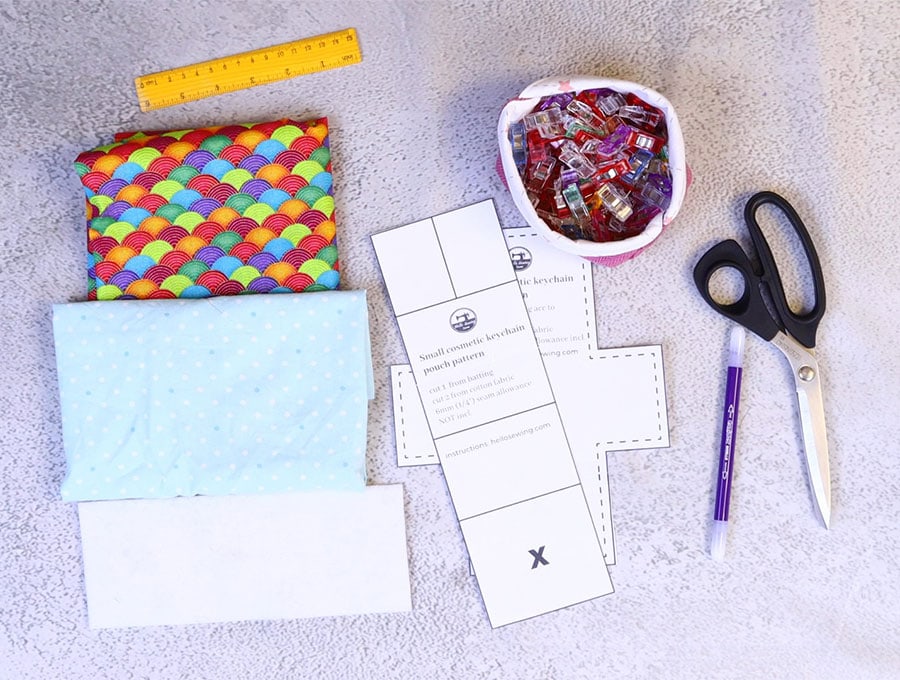
- fabric – 2 pieces of 100% tightly woven cotton (one main, one lining)
- fusible batting
- small piece of webbing – 10cm (4″)
- matching thread
- scissors (or rotary cutter and a cutting mat)
- ruler or measuring tape
- iron and ironing board
- sewing clips or pins
- plastic snaps (you will need a sewing awl and snap pliers
DOWNLOAD: Small Cosmetic Keychain Pouch pattern [Free pdf file]
Follow us for free patterns & tutorials! [easy-profiles]
How to Sew a Small Cosmetic Keychain Pouch
Watch the diy cosmetic keychain pouch video first and then follow the written step by step instructions below.
Please enjoy and don’t forget to Like and SUBSCRIBE over on YouTube to be kept up to date with new videos as they come out.
Small Cosmetic Keychain Pouch VIDEO TUTORIAL
INSTRUCTIONS:
STEP 1:
Cut the fabric:
1 x outer fabric 8 ¼ x 10 ¼” (21 x 26 cm)
1 x lining 8 ¼ x 10 ¼” (21 x 26 cm)
STEP 2:
Place the outer fabric on your ironing pad, wrong side up, and press in a 3/8” (1 cm) seam on one of the short sides. Repeat with the lining fabric.
STEP 3:
Print out the pattern for the small cosmetic keychain pouch from HelloSewing.com, and cut out the pattern piece.
STEP 4:
Place the pattern piece over fusible interfacing and cut to the shape.
(You will see in the video that I cut the central panel, then cut the side panels separately – this is to conserve the interfacing so you are not cutting the cross shape in one piece which can waste interfacing.) Transfer the X mark from the pattern piece to the interfacing.
STEP 5:
Clip the outer and lining fabric pieces together along 3 sides, right sides facing each other, with the pressed-in folds lining up but not clipped.
STEP 6:
Slip the sticky or knobbly side of the fusible interfacing into the on the outer fabric, making sure the section marked with an X, is closest to the fold. Make sure the interfacing is equidistant from each side, then press with an iron to attach the interfacing.
STEP 7:
Stitch around the shape of the interfacing, just beyond where it meets the fabric. When you come to a corner stitch to the corner, leave the needle down in the fabric, lift the presser foot, swing the fabric 90 degrees, depress the foot and keep stitching. This results in neat corners.
STEP 8:
Trim around the outside of the stitching leaving a ¼” (6 mm) allowance, except for the section where the folds are – don’t touch that area.
STEP 9:
Snip small triangles off the outer corners to reduce bulk when the fabric is turned, then on the inner corners cut small V notches or simply a slit at an angle into the corner.
STEP 10:
Turn the fabric the right way out by pulling it through the gap, pressing out the corners carefully and ensuring the seams lie flat.
STEP 11:
Give the item a press.
STEP 12:
Stitch the gap closed using a 1/8” (3 mm) seam allowance.
STEP 13:
Turn the item lining side up, with the stitched gap facing you, then fold each side arm down at an angle and mark where the edge meets the fabric.
STEP 14:
Turn up the stitched edge 3/8” (1 cm) towards the lining and clip, then stitch close to the edge where outer fabric meets the lining.
STEP 15:
Turn the item over so the outer is uppermost and along the opposite edge to the one your just stitched, mark 1” (2.5 cm) with a fabric marking pen and draw a straight line across the fabric.
STEP 16:
Cut a piece of webbing to 4” (10 cm).
STEP 17:
Singe the ends of the webbing with a quick pass of a lighter to fuse the edges and prevent fraying.
STEP 18:
Place the webbing on the fabric in the center of where you drew the line, making sure the webbing sticks out ¾” (2 cm).
STEP 19:
Mark the webbing where it covers the line you drew across the fabric, and if you wish pin it in position near the edge where the piece sticks out.
STEP 20:
Turn the webbing back under itself on the end nearest the marked line, so the under fold reaches just beyond the line and pin.
STEP 21:
Stitch along the line you drew on the webbing, up and across close to the edge, then down again to make a rectangle, then stitch an X from corner to corner inside the rectangle.
STEP 22:
Now pin the side arms to the body, where you made the marks earlier. Then pin the other side of the side arms to the central piece. You will see you now have a pouch with the seams to be stitched on the outside.
STEP 23:
Stitch each of the 4 sides separately, backtacking at the start and finish to create the pouch.
STEP 24:
Place the extra bit of webbing over the front of the purse and mark the position for the snap fastener, making sure it is in the center of the webbing and lines up with the front of the purse.
Use an awl to make a hole in the webbing and attach the snap using a snap fastening tool. Check the position again, and make the hole for the other half of the snap in the front of the pouch. Attach.
STEP 25:
Take a jump ring and slip it through the loop in the webbing. The pouch is now ready to take a few tiny items and can be attached to your keyring.
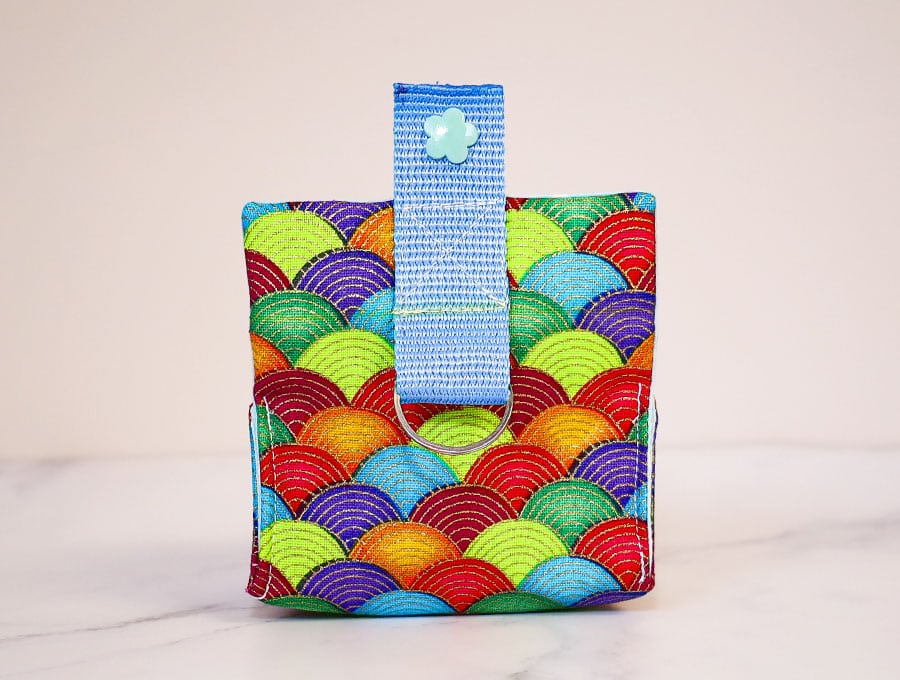
Spend a few minutes making this small cosmetic keychain purse for that must-have item you need attached to your keys. The printable pattern is free, super simple, and can be downloaded at HelloSewing.com. This is a project that conveniently uses 2 small pieces of fabric with some interfacing to create a practical little pouch you’ll be able to find easily – because its attached to your keychain – instead of wasting time rummaging around for that small item in a large purse.
Please hit the like and subscribe buttons. We appreciate every single one of our subscribers who have embarked on this creative sewing journey with us. Subscribers can upload their photos of this project into the comments section. Here at HelloSewing we love seeing the creative ways you use fabric and bring our projects to life, so please share your achievements.
Do you like this? Pin for later:
Wanna be friends? Click HERE and follow me on Pinterest
RELATED: