

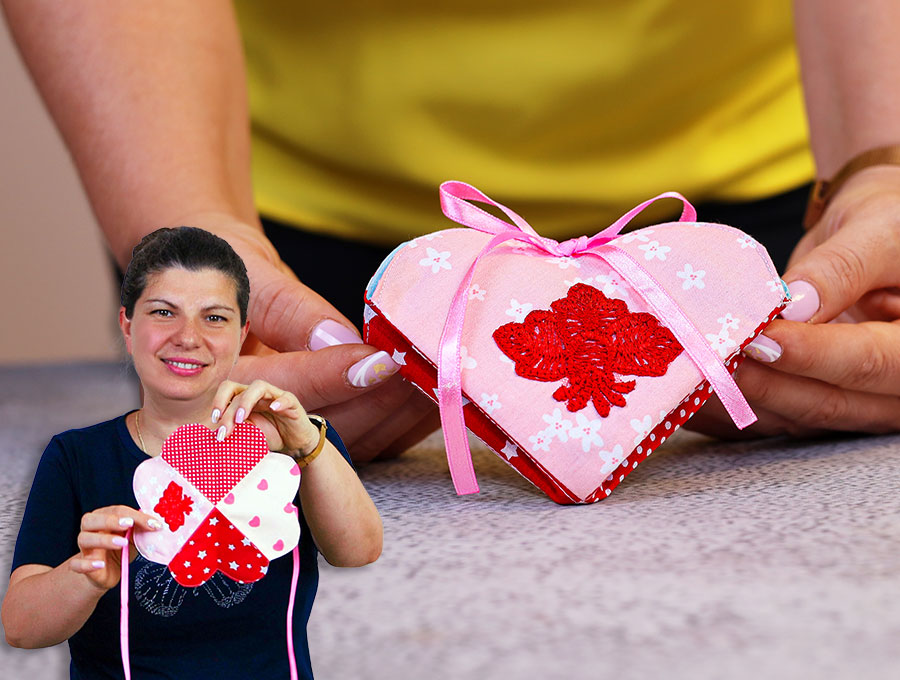
DIY Heart Needle Case // How to sew a Heart Needle Book
Keep your pins and needles safe, cozy, and organized with this sweet Heart Needle Case! Cleverly crafted from orphan charm squares and soft felt, this heart-shaped needle keeper uses a fun, origami-style fold to turn your scrap fabric into an adorable sewing accessory.
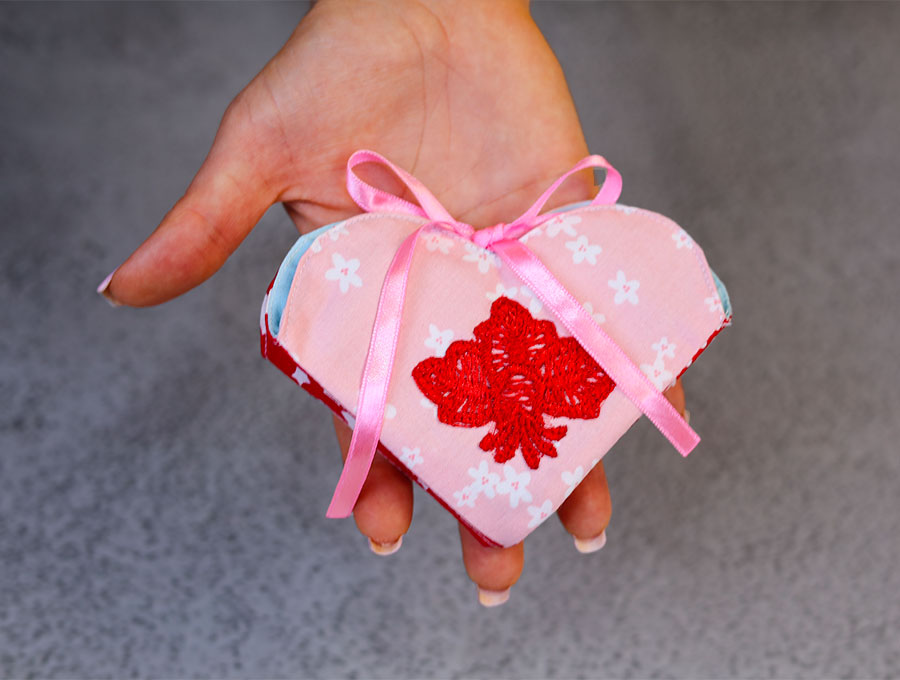
Whether you’re settling in on the couch for a cozy hand-sewing session, packing up a project bag for a stitch-and-craft night with friends, or searching for a quick handmade gift for a sewing buddy, this portable needle keeper is a must-have. Finished with a pretty ribbon tie, it’s a quick, beginner-friendly project you can easily whip up in just an afternoon!
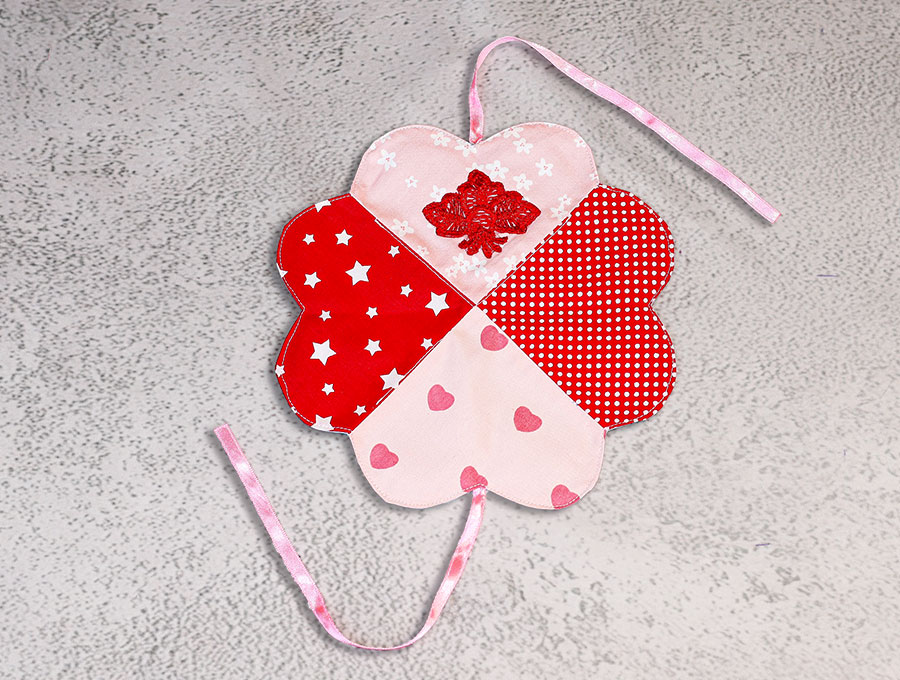
The heart needle case is the sweetest project – it folds into a heart shape, yet when you open it out it resembles a flower with 8 petals. The four sections keep your various types of needles safely organised so you never need go searching for that needle you left in a reel of cotton, or stuck into a spare piece of fabric to “keep it safe”, then spend time hunting for it! The heart needle case comes with a ribbon tie and can be hung on a hook inside your sewing cupboard/cabinet so it is always ready at hand. Download the free printable pattern, cut it out, and start selecting your fabric.
Get my DIY fold up needle holder sewing pattern and let’s get started. Below you will find my step by step written tutorial with VIDEO instructions for all the visual learners.
We occasionally link to goods offered by vendors to help the reader find relevant products. Some of the links may be affiliate meaning we earn a small commission if an item is purchased.
How to make the Heart Shaped Needle Case
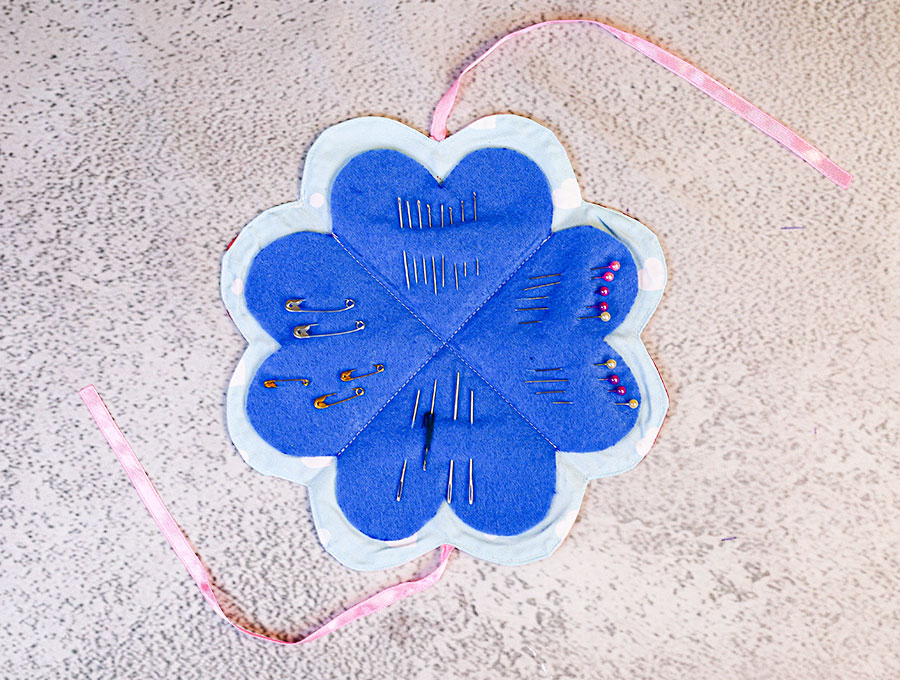
Supplies and tools
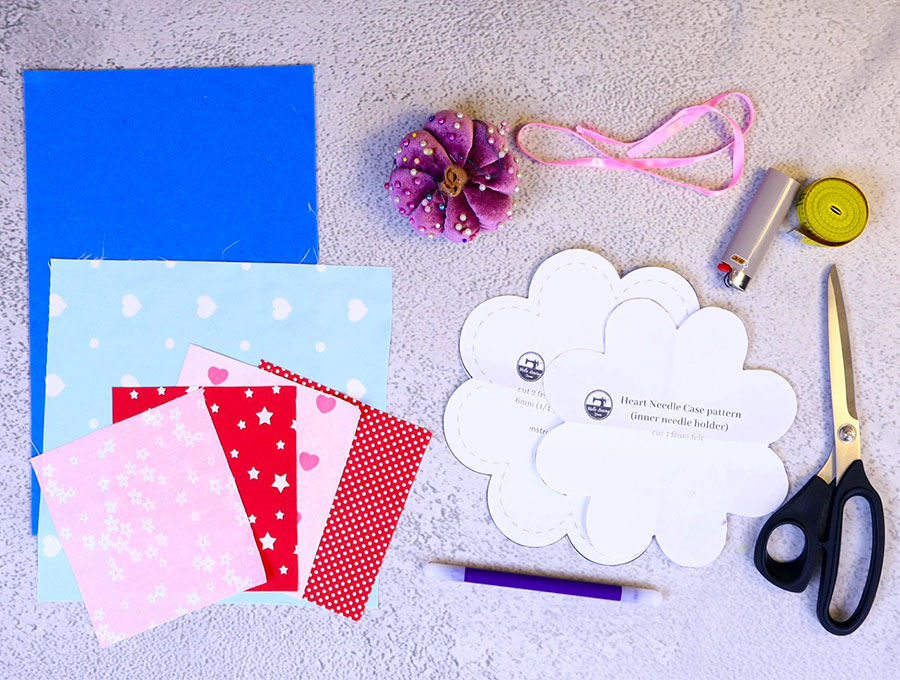
- fabric – woven cotton (one main, one lining)
- matching thread
- felt sheet
- thin ribbon for the ties
- scissors (or rotary cutter and a cutting mat)
- ruler or measuring tape
- iron and ironing board
- sewing clips or pins
DOWNLOAD: Heart Needle Case pattern [Free pdf file]
Follow us for free patterns & tutorials! [easy-profiles]
How to Sew a Fabric Heart Needle Case
Watch the diy heart needle case video first and then follow the written step by step instructions below.
Please enjoy and don’t forget to Like and SUBSCRIBE over on YouTube to be kept up to date with new videos as they come out.
Heart Needle Case VIDEO TUTORIAL
Finished size:
- Closed: 12.5 x 10cm (5 x 4″)
- Open: 19.5 x 19.5cm (7 5/8 x 7 5/8″)
INSTRUCTIONS:
STEP 1:
Download and print the needle case pattern. Trim the excess paper and place aside.
Now prepare your fabrics – cut:
- 4 matching or coordinating pieces of cotton fabric of 5 x 5” (13 x 13 cm)
- 1 inner piece of cotton 8 x 8” (20 x 20 cm)
- 1 piece of felt 7 x 7” (18 x 18 cm)
- 1 piece of ribbon 16” (40 cm)
STEP 2:
Put the 4 pieces of cotton of 5 x 5” (13 x 13 cm) right side up on your worktop, in a square.
Flip the top right-hand side piece over onto the top left-hand side piece, then the bottom right piece over the bottom left. Clip or pin each pair of fabric pieces together then stitch on the right-hand side ¼” (6 mm) from the edge.
STEP 3:
Open each pair out, place right side down on your ironing pad, open the seams and press open.
STEP 4:
Pin the two sections together, right sides facing, in a square, lining up the seams before stitching ¼” (6 mm) from the edge to join the 4 squares together.
STEP 5:
Flip over, place right side down on your ironing pad and press open the new seam.
STEP 6:
Take the larger piece of 8 x 8” (20 x 20 cm) fabric, lay it right side up on the worktop and over it place the 4 joined squares, right side down, pin or clip the edges to hold the two pieces in place.
STEP 7:
Take the pattern piece and fold in 4, making the folds align with the hollow between two curves of the pattern piece, finger press the folds, then open up the pattern piece.
STEP 8:
Place the pattern piece over the two layers of fabric, lining up the folds with the seams in the fabric square. Pin in place.
STEP 9:
Use a fabric marking pen to trace around the curves of the pattern. Remove pin from pattern and set it aside.
STEP 10:
Take the piece of ribbon and cut in half. Singe the ends with a lighter to prevent fraying.
STEP 11:
Take one piece of ribbon and pin the end on the indent of the heart on the right-hand side top. Take the other piece of ribbon and place on the indent of the heart on the left-hand side bottom. The end that attaches will be just beyond the fabric mark for the indent of the heart and between the 2 layers of fabric. The lengths of ribbon will need to be coiled neatly between the two layers and pinned from the outside so they do not get caught up in the stitching later. ( Once the heart needle case is folded these ribbons will be at the front and back of the needle case allowing it to be closed.)
STEP 12:
Mark a gap in one curve on the top left-hand side, then after setting your stitch length to 2, stitch around the 8 curves following the outline you drew around the pattern piece.
STEP 13:
Cut away the excess fabric, using pinking shears, leaving ¼” (6 mm) of fabric around the drawn outline, except for the gap. Where the gap is, trim with straight scissors 3/8” (1 cm) from the stitch line.
STEP 14:
Cut small notches into the indents between the curves, to ease the fabric when turned, and remove the pins holding the ribbon lengths in place.
STEP 15:
Turn the needle case the right way out by pulling the fabric through the gap. Use a turning tool to press out the curves, making sure the seam lie flat, before turning in the edges of the gap on the curve and giving the item a press with your iron.
STEP 16:
Top stitch around the whole needle case 1/8” (3 mm) from the edge using a stitch length set to 2 on your machine. It is optional if you want to add a little lace applique or other decoration to the front using fabric glue to attach, the top stitching around the edge of the addition.
STEP 17:
Take the piece of felt and over it place the pattern piece which you will have trimmed to the dashed line marked on the pattern – it needs to be a little smaller than the needle case itself so the felt does not protrude from the edges. Use pattern weights (small clean pebbles or small heavy household items will do), or pin the pattern to the felt, then trace around the outline with a fabric marking pen.
STEP 18:
Remove the pattern and cut around the marked outline on the felt neatly.
STEP 19:
Use a ruler to divide the felt into 4 equal portions, drawing a line vertically between the heart indents, then a horizontal line across the felt.
STEP 20:
Flip the needle case to the lining side, then line up the ruled marks on the felt with the seams for the front, positioning the felt carefully before pinning in position.
STEP 21:
Stitch from the edge of the felt down the marks, backtacking at the start and finish. Take care the ribbons are well out of the way as you stitch!
STEP 22:
Fold the heart needle case in half horizontally and press on the outer side, then open and fold vertically and press on the outer side.
STEP 23:
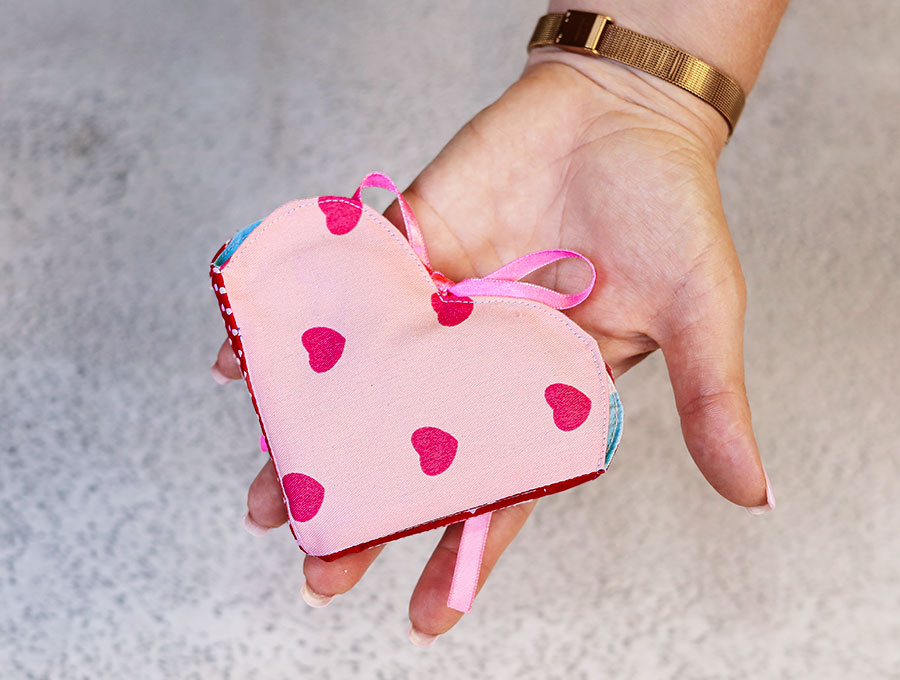
Fold the needle case by making sure one heart with the ribbon attached is at the back and the other at the front, then fold the sides in so you just have two hearts visible, front and back. Tie with the ribbon to keep the heart needle case closed.
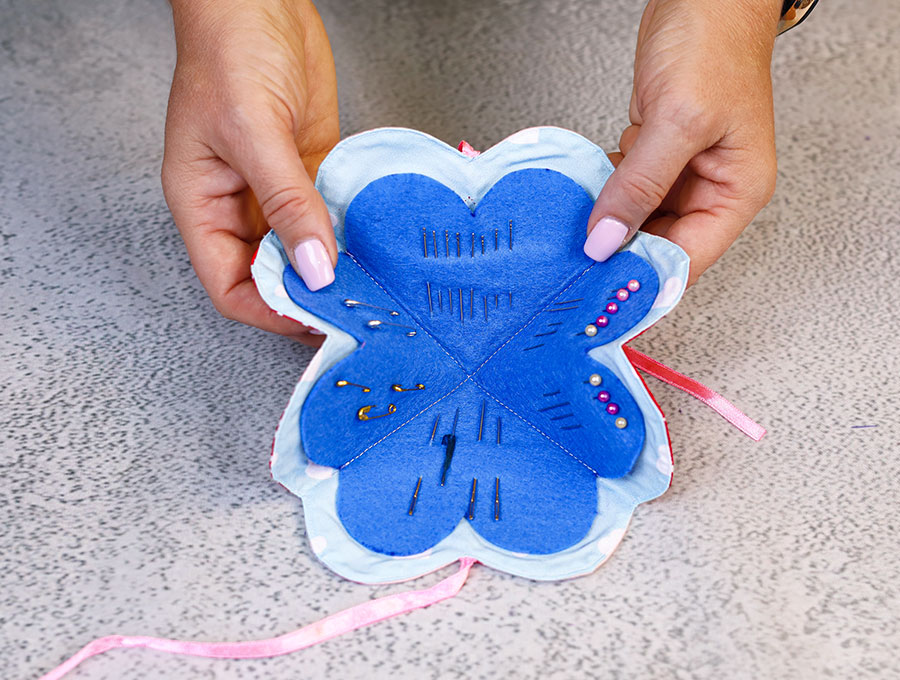
Create a few of these cute and practical heart needle cases from our free printable pattern available at HelloSewing.com. They make wonderful gifts to have on hand for friends and family members as almost everyone needs a range of needles to take care of small mending projects from sewing on a button to repairing a hem. When you make this as a gift be sure to include a range of needles for the sewing projects a friend or family member may undertake. It can include a few pins too so everything is at hand. The project is easy and will make use of those smaller pieces of fabric you have been waiting to use but just could not find the right project – until now!
Like and subscribe for more cute and practical projects like this, and please share with someone who might enjoy this project. We love seeing what our talented subscribers create, so please post a photo of your completed heart needle case in our comments section!
Do you like this? Pin for later:
Wanna be friends? Click HERE and follow me on Pinterest
RELATED: