

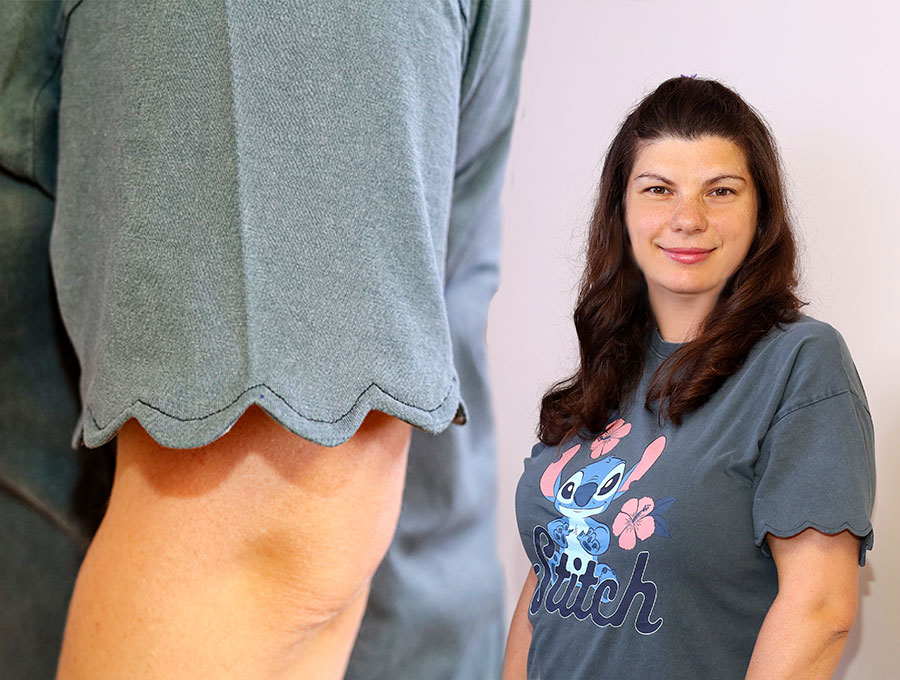
DIY Scallop Sleeves [Pattern + VIDEO]
You LOVED the Scalloped hem tee I showed you last week, and so many of you asked how to do the sleeves without shortening them.
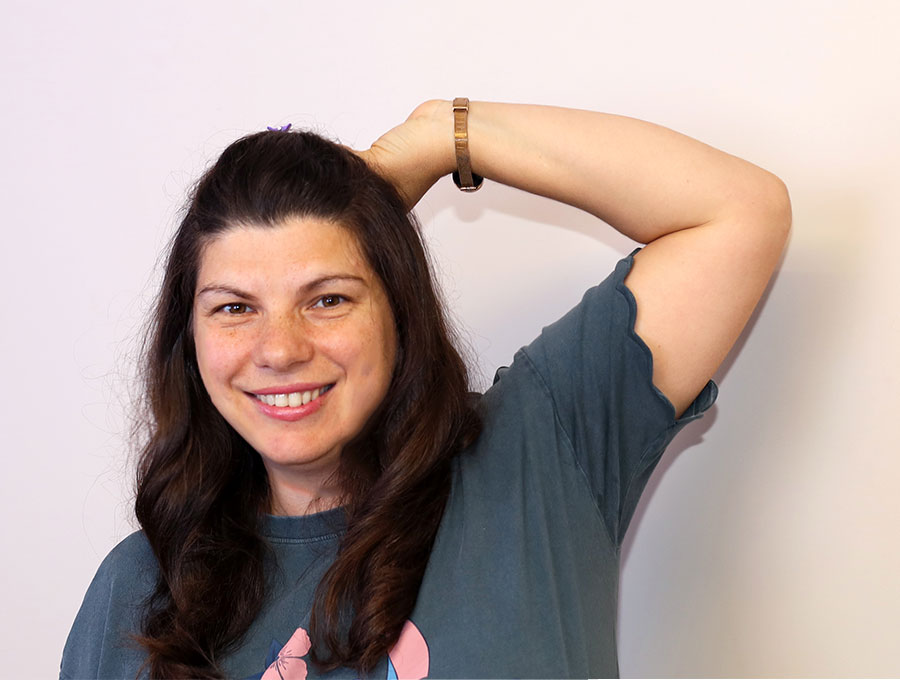
Basically the method is the same. There are 2 tiny differences – first you have to rip the stitches (I will show you the easiest way to do this right now) and second you need a smaller template for the scallops (go grab it below).
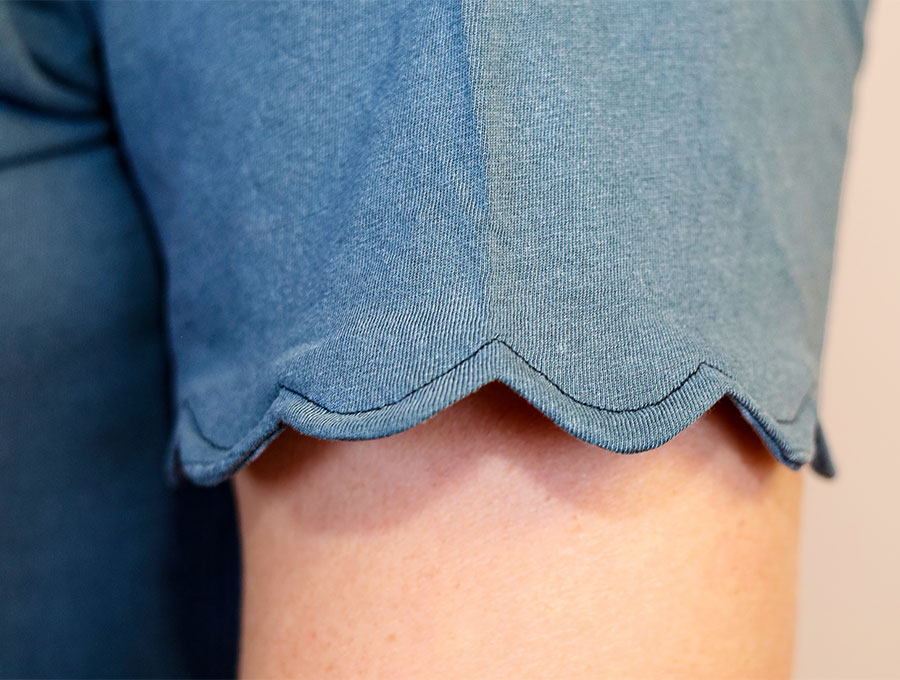
Below you will find my step by step written tutorial with VIDEO instructions for all the visual learners.
We occasionally link to goods offered by vendors to help the reader find relevant products. Some of the links may be affiliate meaning we earn a small commission if an item is purchased.
How to make the scallop sleeves
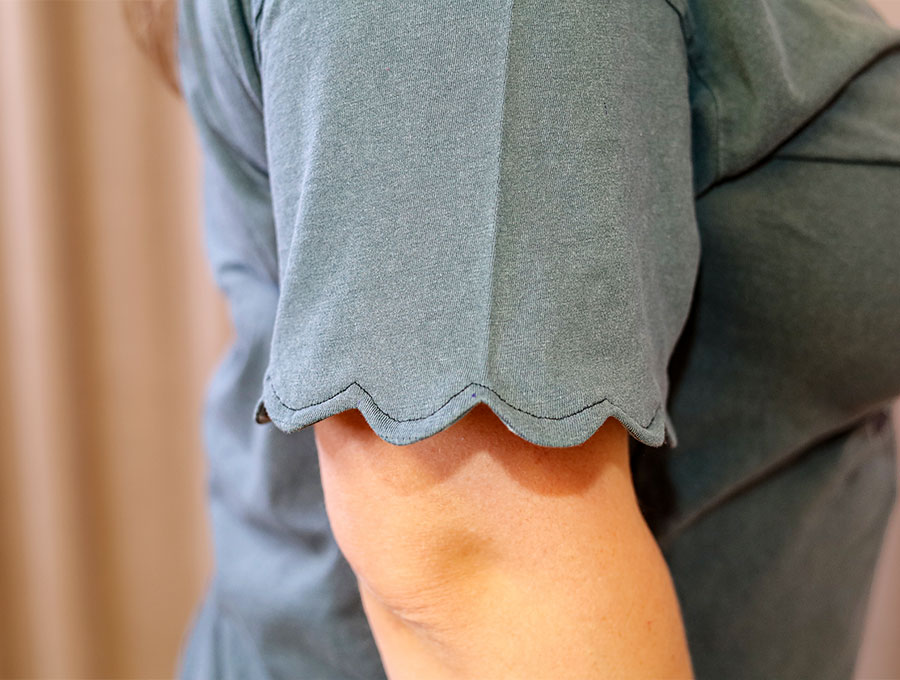
Supplies and tools
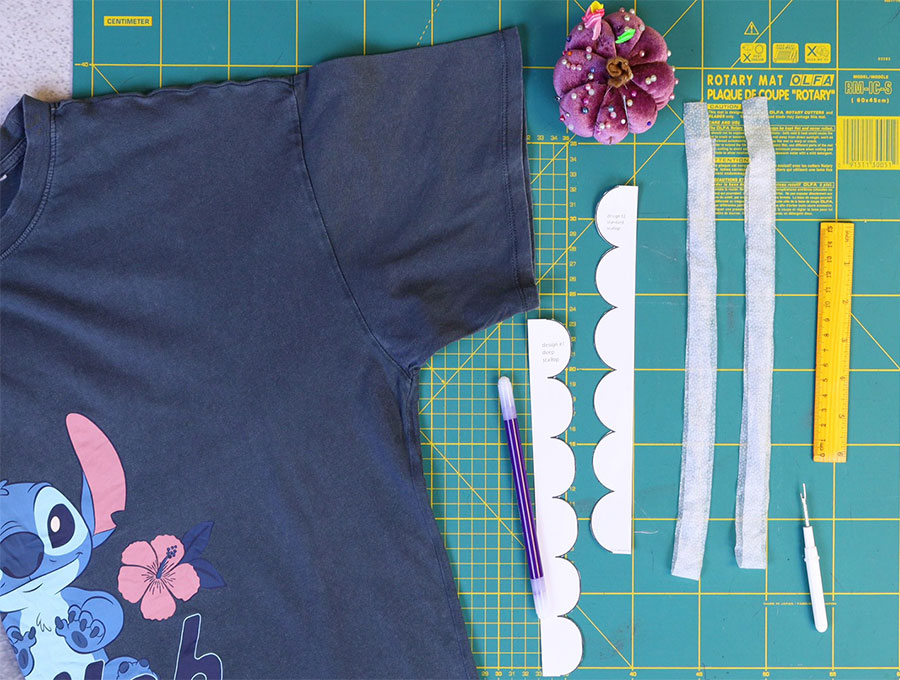
- a t-shirt to modify
- knit fusible interfacing 2cm (3/4″) wide
- matching thread
- scissors (or rotary cutter and a cutting mat)
- ruler or measuring tape
- iron and ironing board
DOWNLOAD: Scallop sleeves pattern [Free pdf file]
Follow us for free patterns & tutorials! [easy-profiles]
How to Sew a Scallop Sleeve
Watch the diy scallop sleeve video first and then follow the written step by step instructions below.
Please enjoy and don’t forget to Like and SUBSCRIBE over on YouTube to be kept up to date with new videos as they come out.
Scallop Sleeves T-shirt VIDEO TUTORIAL
INSTRUCTIONS:
STEP 1:
Download and trim one of the templates in the scallop sleeves pattern. I’m using the standard template which is basically just a scaled down version of the scallop hem.
STEP 2:
If you need to shorten the sleeves by at least 2cm (3/4″) you may skip this step
Rip the bottom seam of the sleeve as well as at least 5 cm (2″) of the side seam.
First, use a seam ripper and small scissors to rip the stitches of the side seam. Sometimes there is an additional line of stitching to keep the seam allowance in place and you need to rip that one first and then rip the side seam.
It is super easy to rip the overlocked hem of the t-shirt if you know exactly how to do it. You need to find which way the stitching was done. Usually it is from right to the left. Carefully unpick a few stitches from the two parrallel lines so that you can hold them together, then grab the looper thread in your other hand. Pull at the same time and the seam just unravels as you can see in the video.
If you start from the opposite side – the stitches won’t unravel, so if you have issues – try the other end.
STEP 3:
Place the sleeve on your ironing board so both sides are on top of each other and press. Fold along the original crease and press again
STEP 4:
Place the fusible interfacing along the fold and press to fuse all around the sleeve.
STEP 5:
Place your scallop template with the scallops on top of the interfacing along the fold, just a tiny bit away from it. Make sure to leave 1/4″” for the side seam. Mark around the scallops.
TIP: To make sure your scallops are neat, always place the last scallop of the template on top of the last marked scallop. You may need to lengthen or shorten the scallops slightly so that the whole sleeve seems seamless.
STEP 6:
Set your machine to zig zag stitch and shorten the length to zero. This will make sure you sema has some stretch to it.
Stitch along the markings.
STEP 7:
fold the sleeve parts along the side seam and stitch.
Stitch again, this time using a zig zag stitch.
STEP 8:
Trim away the excess fabric along the scallops. Carefully cut into the valleys, making sure not to cut through your stitches.
You may trim fabric inside of the scallops if you want, but I prefer to leave it. It saves me some time, and helps the scallop stay in place.
STEP 9:
Place both your thumbs inside one of the scallops and turn it right side out. Proceed with the other scallops. Roll the seams between your fingers.
STEP 10:
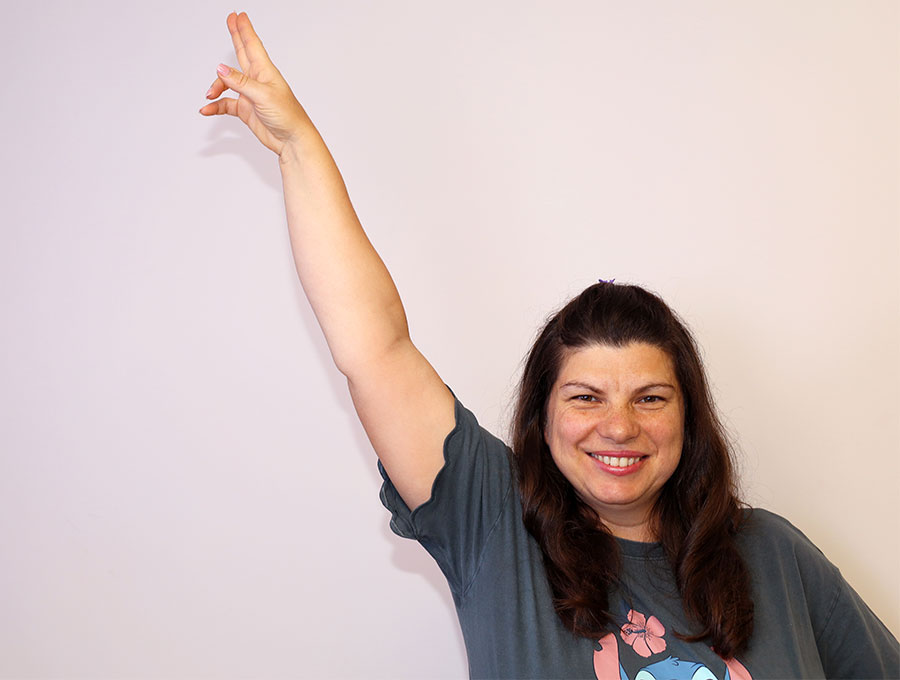
Press the scallops and your scallop sleeve is ready!
Do you like this? Pin for later:
Wanna be friends? Click HERE and follow me on Pinterest
RELATED: