
How to Sew a Bunny Pillow or Bunny Soft Toy // Bunny cushion sewing pattern
Sew an adorable bunny pillow or a bunny plush with my new 2 in 1 pattern. The pattern is in two sizes – either a large 45 cm (18″) bunny or a smaller, equally adorable 10″ (25cm) plush toy.
Below you will find my step by step written tutorial with VIDEO instructions for all the visual learners.
We occasionally link to goods offered by vendors to help the reader find relevant products. Some of the links may be affiliate meaning we earn a small commission if an item is purchased.
Table of Contents
How to make the bunny pillow
Supplies and tools
- fabric – sherpa, boucle, faux fur or minky
- polyester stuffing
- matching thread
- scissors (or rotary cutter and a cutting mat)
- ruler or measuring tape
- iron and ironing board
- sewing clips or pins
DOWNLOAD: Bunny pillow – size Large [Free pdf file]
DOWNLOAD: Bunny soft toy – size SMALL [Free pdf file]
Follow us for free patterns & tutorials! [easy-profiles]
How to Sew a bunny pillow
Watch the diy bunny pillow video first and then follow the written step by step instructions below.
Please enjoy and don’t forget to Like and SUBSCRIBE over on YouTube to be kept up to date with new videos as they come out.
Bunny Pillow VIDEO TUTORIAL
MATERIALS:
Fabric – sherpa, boucle, faux fur or minky
Large Bunny pillow:
- fabric – (2 pcs) 52 x 52cm (21 x 21″)
- ribbon 2 cm (3/4″) wide x 100 cm (40″) long
Small Bunny:
- fabric – (2 pcs) 30 x 30cm (12 x 12″)
- ribbon – 1 cm (3/8″) wide x 56 cm (22″) long
Finished size (H x W x D, approximate):
Large bunny pillow – 45 cm x 40.5 cm x 14 cm (18″ x 16″ x 5.5″)
Small bunny soft toy – 25 cm x 24 cm x 7 cm (10″ x 9.5″ x 2.75″)
INSTRUCTIONS:
Step 1:
Download, print at 100% (no scaling) and tape together the pattern. For the small bunny you will tape 2 pages together, for the large bunny you will tape 6 pages together.
Step 1:
Place the fabric wrong side up on your worktop.
Step 2:
You need to cut 2 mirror fabric pieces. Place the pattern right side up on your fabric. Using a fabric marker or a fabric pen mark around the pattern. Flip the pattern so the wrong side of the template is up and mark around.
Step 3:
Carefully cut out both fabric pieces.
TIP: if working with faux fur – make sure you are using a small pair of scissors, a sharp exacto knife or a razor blade. On the wrong side of the fabric carefully cut only the backing, making small cuts. Shake off the excess fur.
Step 4:
Place the two fabric pieces right sides together and pin. Leave a gap at the bottom so you can turn it right side out later.
Step 5:
Stitch around using an 1cm (3/8″) seam allowance.
TIP: I highly recommend using a walking foot as it will help feed the fabric evenly on top and bottom. If you are using a standard foot – make sure to go slowly and pivot as needed.
Step 6:
Snip into all valleys to allow the fabric to lay flat. Small v-notches or simple snips will both work. Make sure not to cut through your stitching.
Step 7:
Turn the rabbit right side out through the gap. Roll and push out the seams of all body parts.
Step 8:
Fill the bunny with polyester stuffing. Make sure it is full but do not overfill. Use a chopstick or your fingers to get the stuffing to the feet, nose and tail.
Step 9:
Fold in the raw edges of the gap and pin together.
Step 10:
Stitch the gap closed by hand. Use either an invisible/ladder stitch (preferred) or a slipstitch.
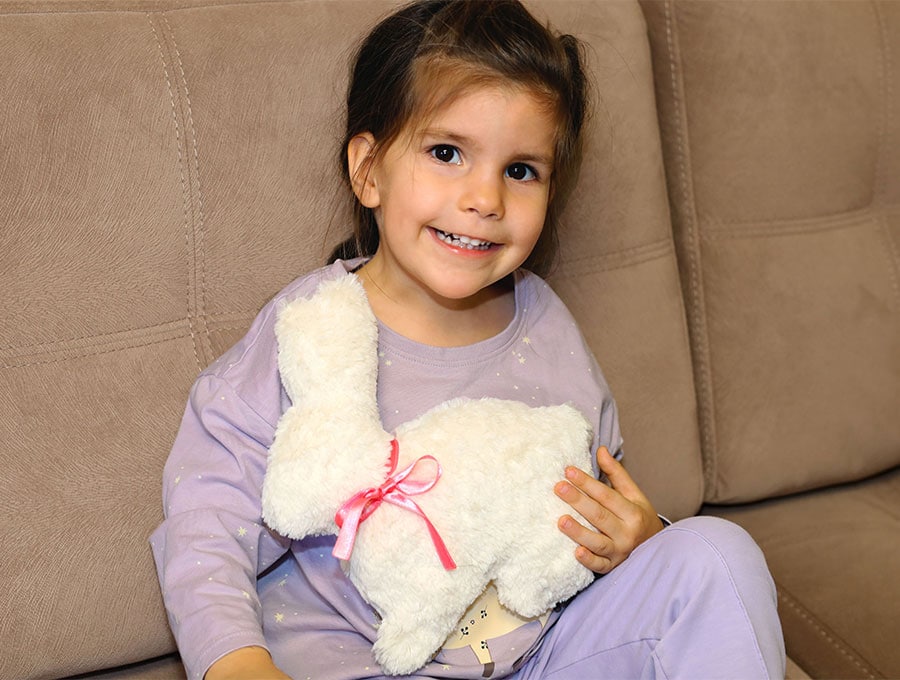
Voila! The bunny pillow is ready!
Do you like this? Pin for later:
Wanna be friends? Click HERE and follow me on Pinterest
RELATED: