
Denim Bookmark Tutorial {FREE}
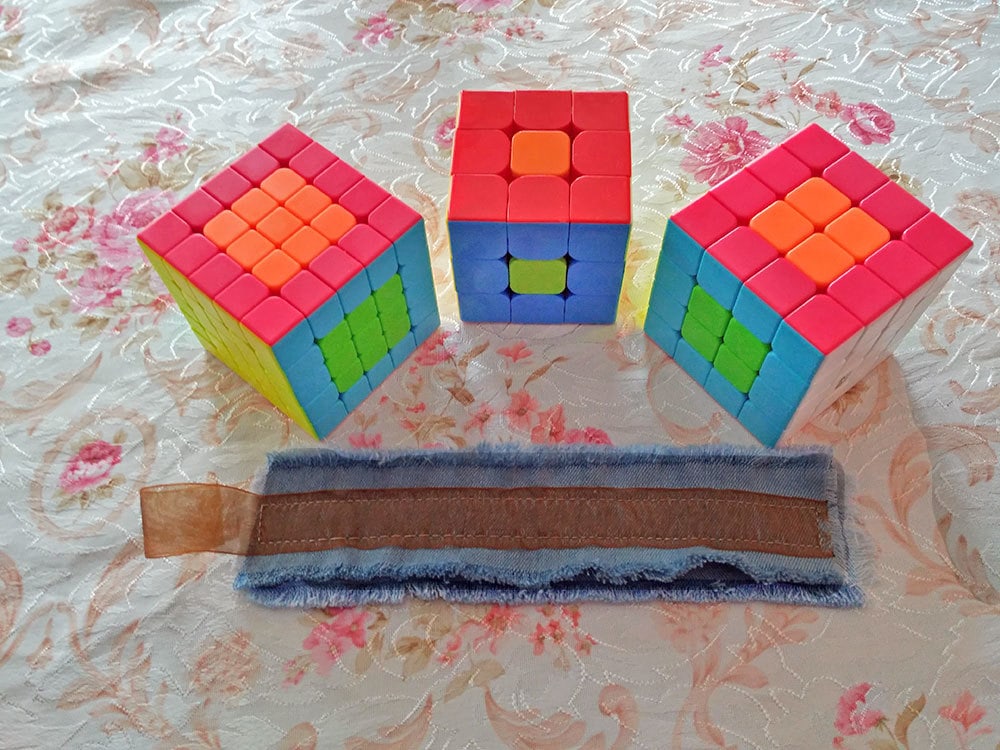
A super simple stash buster – this denim bookmark is super easy and quick to make. Apart from being fun to make, it is a great gift for a friend who loves to read and is a great sewing project for kids.
This bookmark was made by my son as a gift for Mother’s Day. It is super easy, it took me nearly twice as long to type this tutorial, than it took him to complete the bookmark
Table of Contents
Materials
Gather your supplies. We used everything from stash! You will need:

- Denim fabric from a pair of old jeans
- Some kind of stabilizer – it should be ½ inch smaller than the smaller denim piece
- Sewing machine
- Ribbon
- Coordinating thread
- Scissors
- Tweezers /optional, for fraying edges/
- Ruler /optional/
Step by step instructions
Cut the fabric:
- Snip and rip two rectangle denim pieces – you can do whatever size you want. We opted to snip and rip instead of cutting as this allows for perfectly straight edges, and is super fun for the kids! We made one of the pieces approximately 8 inches tall by 3 inches wide, and the other 7”x2”
- Cut the stabilizer – approximately the same size as the smaller denim rectanle
- Cut the ribbon slightly longer than the larger denim rectangle (ours was 10”). Take your ribbon and heat seal both short ends, to prevent from fraying.
Layer your fabrics
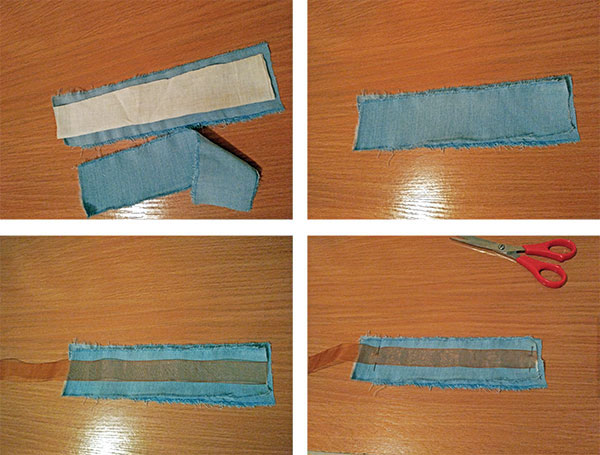
(denim, stabilizer, smaller denim, ribbon). Place your smaller rectangle on top of your larger rectangle with wrong sides together.
Pin or clip both short edges to keep them from shuffling
Sew
Sew along the inner edge of the ribbon with a 1/4 inch seam allowance. Use the sharpest needle on your sewing machine.

Sewing denim typically requires heavy duty machine, such as those marketed as sewing machines for jeans. Start by sewing one of the long sides of the denim. Position the edge of the presser foot along the edge of the ribbon. Start sewing using a straight stitch, but don’t backstitch. Instead, leave both upper and bobbin threads tails longer and pull them to the wrong side of the bookmark. As you approach the corner, stop sewing close to the corner, lower the needle into the fabric, raise the presser foot, turn the fabric so you can sew across the short side, lower the presser foot and continue to sew. When you get to the next corner do the same thing.
Cut the excess stabilizer
Cut the excess as close as possible without cutting through your fabric
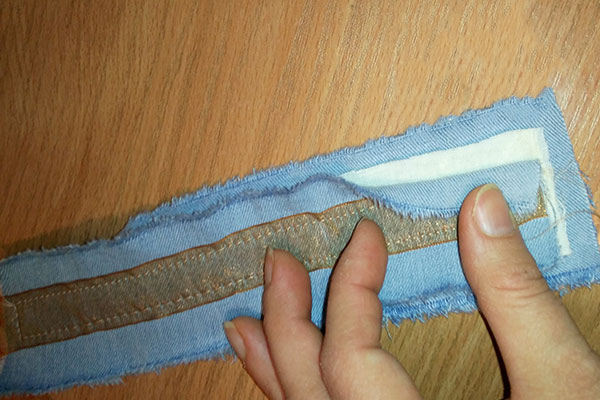
Fringe
Fringe all around the edges of both denim pieces by removing as many rows of threads from the denim fabric as you’d like.
Tips to perfect your technique:
- Level the presser foot so that the fabric feeds well. It might be difficult to sew the first stitch and to get the machine sewing when the presser foot is not leveled. Use a wedge for optimum results when sewing through multiple layers or through thick fabrics like denim. I simply used a folded scrap of the denim fabric. Simply fold a scrap of the denim fabric in two, then place it under the presser foot, at the back, to get it leveled again.
- Draw the thread tails to the bookmark’s wrong side at the beginning and the ending of the stitching. Using a hand needle, run the thread through the nearest seam for 1⁄2 inch, and cut the tail.
- To eliminate the need for pins and to keep the ribbons from shifting as they are sewn in place, you can either use sewing clips, a little basting glue or strips of lightweight fusible web.
MORE FUN SEWING PROJECTS FOR BOOKWORMS:
- Tutorial: Sew book covers to size for your favorite book or old Bible
- Learn to sew printouts – great for beginners. Learn how to sew curves, circles, shapes, how to pivot and follow a straight line
- Pocket pillow pattern to help you read more in bed. It has a handle so you (or the kids) can take it everywhere
- DIY glasses case