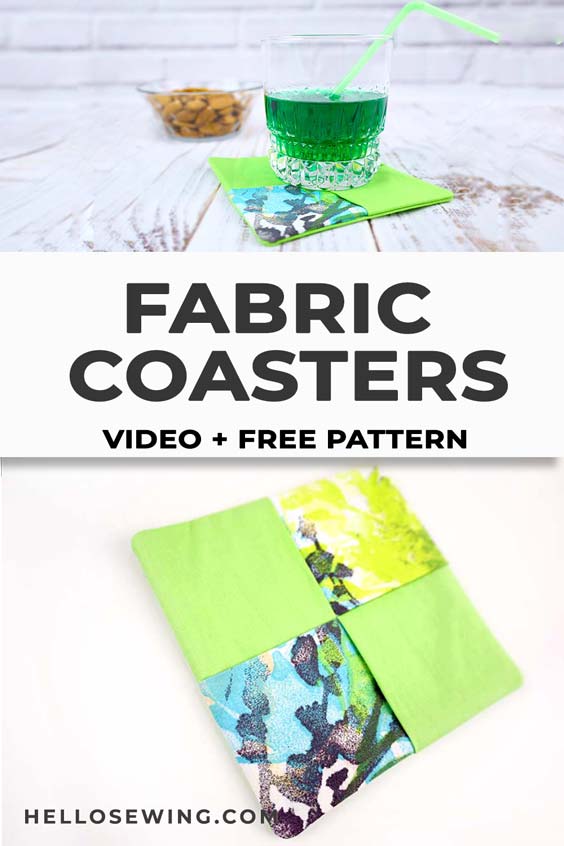
DIY Fabric Coasters with FREE Sewing Pattern and VIDEO
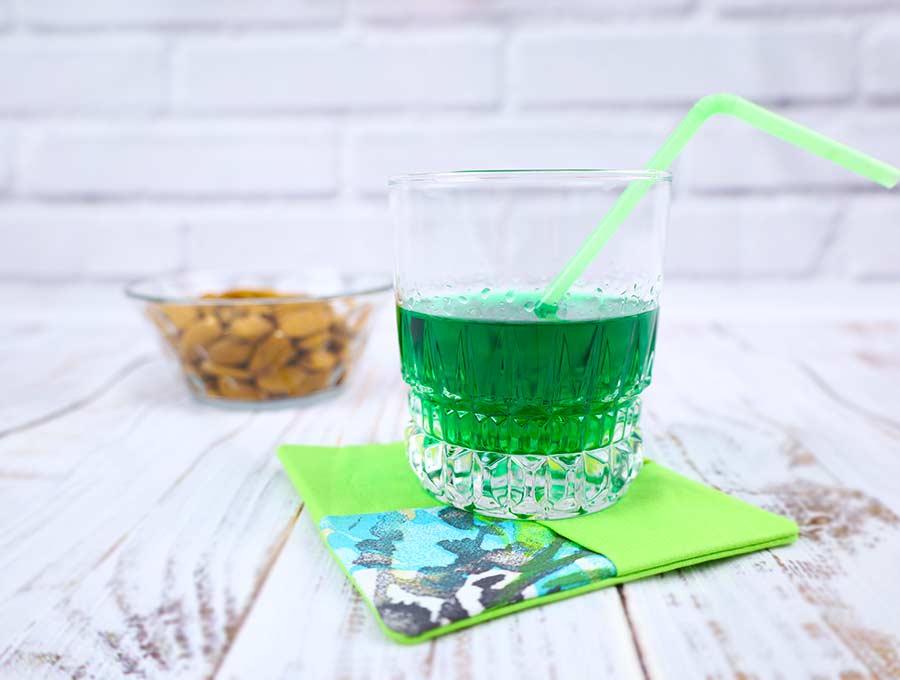
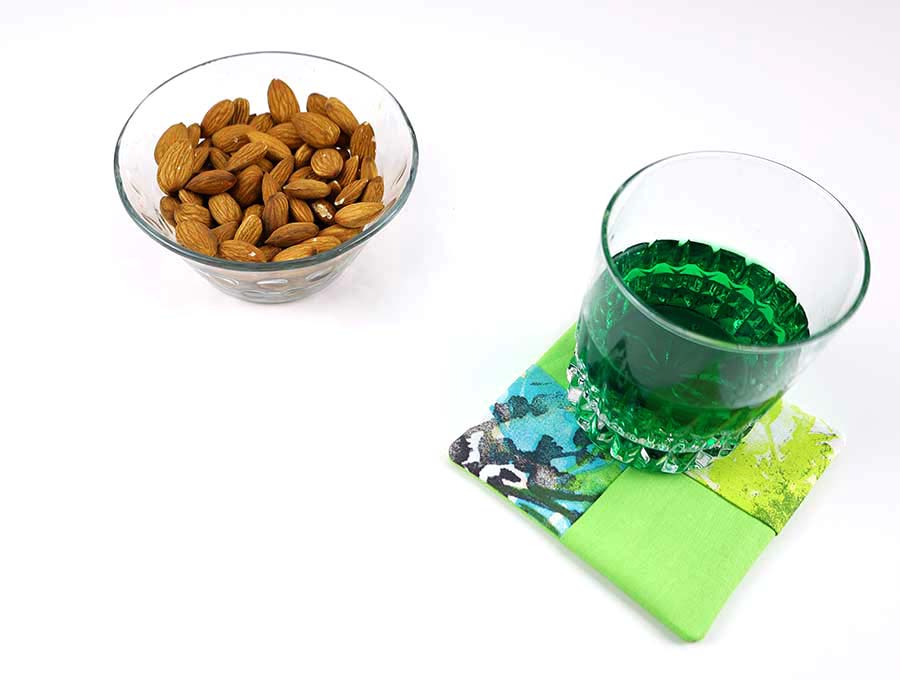
In my house, everyone must use coasters! Especially if they’re drinking a hot beverage. A hot cup sitting on a surface without a coaster won’t just leave a wet circle, it will also damage the coffee table or whatever it sits on.
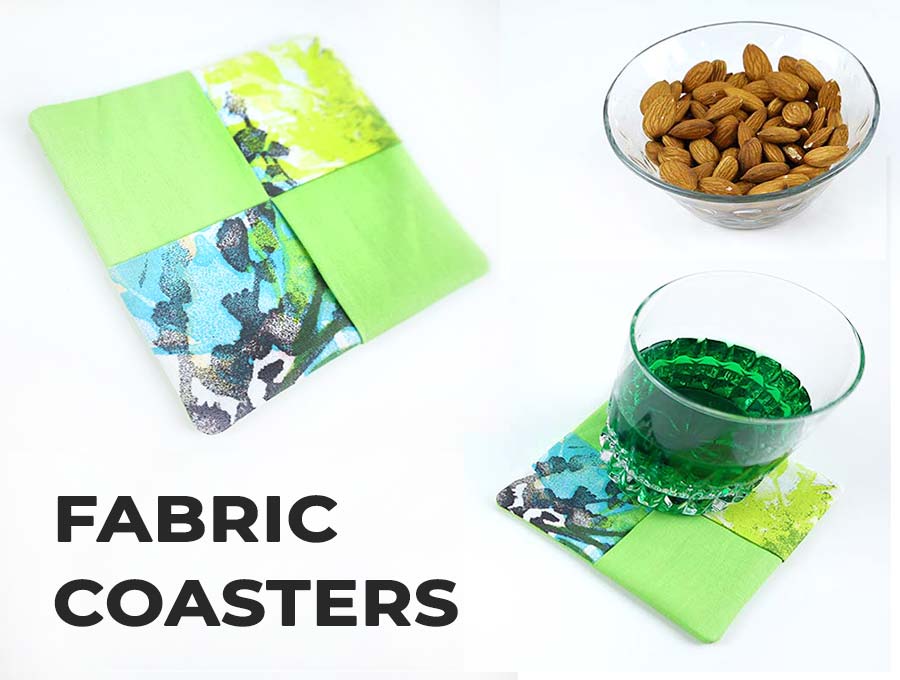
To avoid having my furniture ruined, I came up with this neat DIY fabric coasters project. With that coaster underneath a hot mug, all my tables are safe and sound! No more warped wood or permanent circles for me!
Today I’ll be showing you how to sew coasters with my favorite easy-to-use pattern. From now on your coffee tables will be protected from those nasty hot cups, just like mine are.
Let’s get to work now, shall we? Here’s how to make fabric coasters!
Below you will find my step by step written tutorial with VIDEO instructions for all the visual learners.
We occasionally link to goods offered by vendors to help the reader find relevant products. Some of the links may be affiliate meaning we earn a small commission if an item is purchased.
Table of Contents
How to make fabric coasters
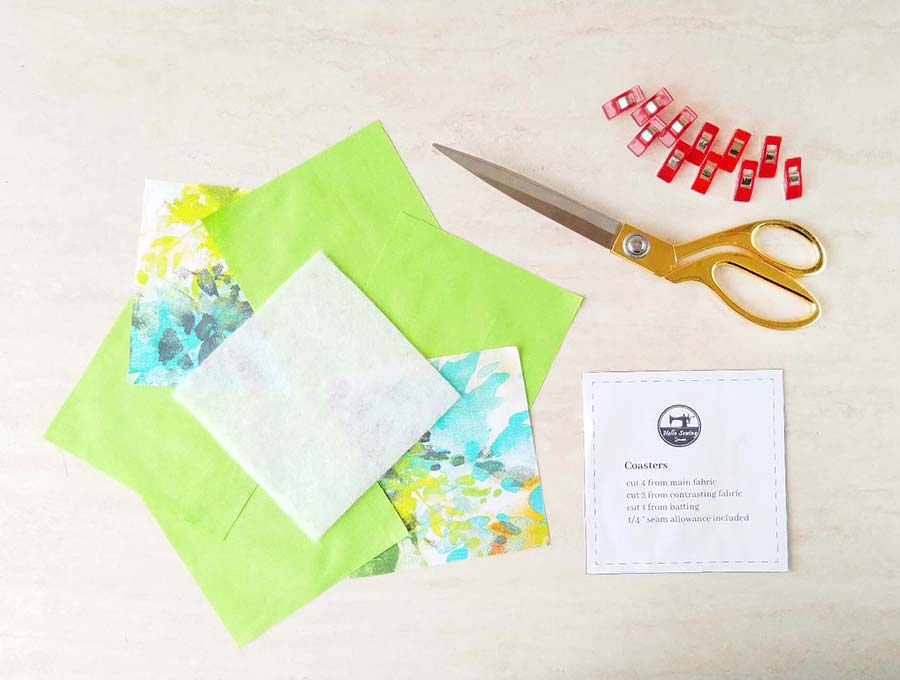
DIY Fabric Coasters Supplies and tools
- fabric – 2 pieces of woven cotton (one main, one coordinating)
- thick batting
- matching thread
- scissors (or rotary cutter and a cutting mat)
- ruler or measuring tape
- iron and ironing board
- sewing clips or pins
- sewing machine
DOWNLOAD: fabric coaster pattern (Free PDF file)
Follow us for free patterns & tutorials! [easy-profiles]
How to Sew Fabric Coasters
Watch the diy fabric coaster video first and then follow the written step by step instructions below.
Please enjoy and don’t forget to Like and SUBSCRIBE over on YouTube to be kept up to date with new videos as they come out.
Quilted Coaster tutorial VIDEO
DIY Fabric Coasters INSTRUCTIONS:
STEP 1: Prepare the fabric coaster pattern
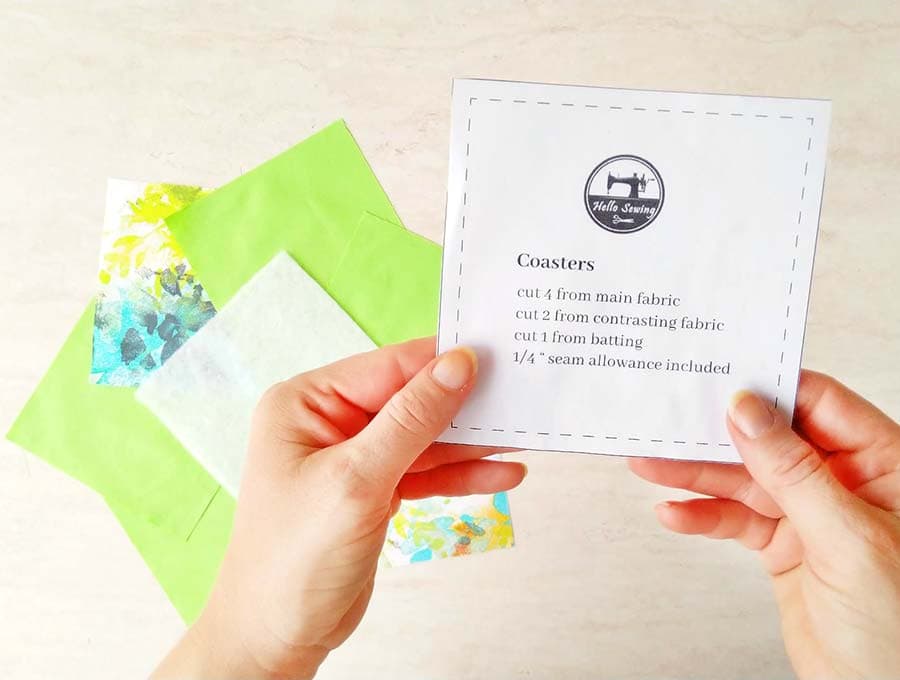
The first step in this quilted coaster tutorial will be to download our free fabric coaster pattern. Then print it out in 100% size, no scaling either on US letter paper or on A4 paper.
Cut out the fabric coaster pattern and remove any excess paper.
STEP 2: Cut out the fabric
Use the fabric coaster template you just prepared as a guide to cut out the fabric pieces.
Since you will be using two differently colored main fabrics, we’ll call one of them main, and the other secondary, to avoid confusion later in this fabric coasters tutorial.
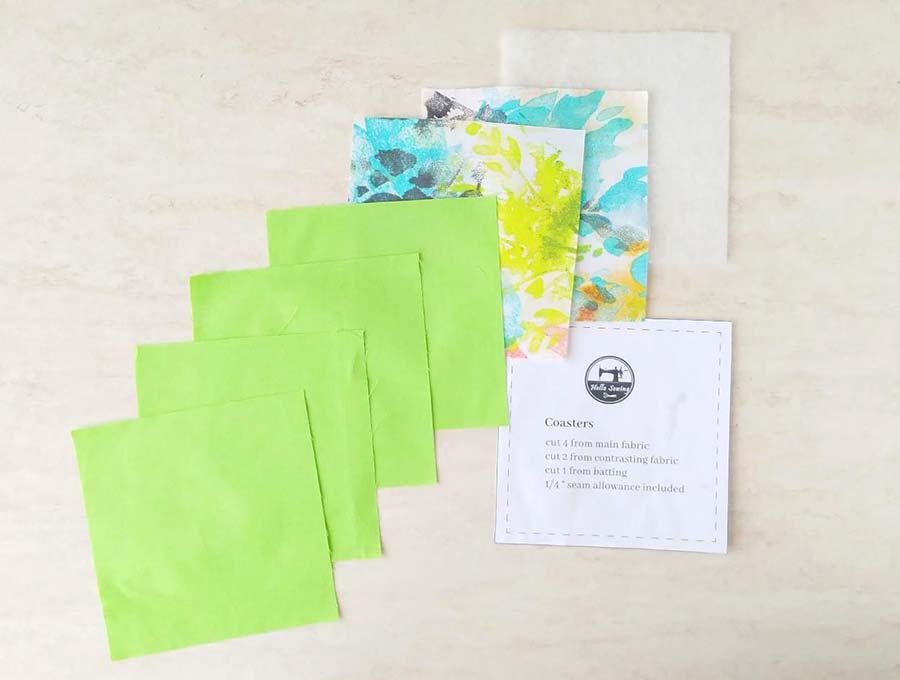
Cut out four pieces of main fabric and two pieces of secondary fabric. Also, cut out one piece of quilting batting.
TIP: Don’t forget to wash the fabrics first and iron them well. This will prevent any deformations later on when the finished coasters go through their first wash.
STEP 3: Make a fabric sandwich
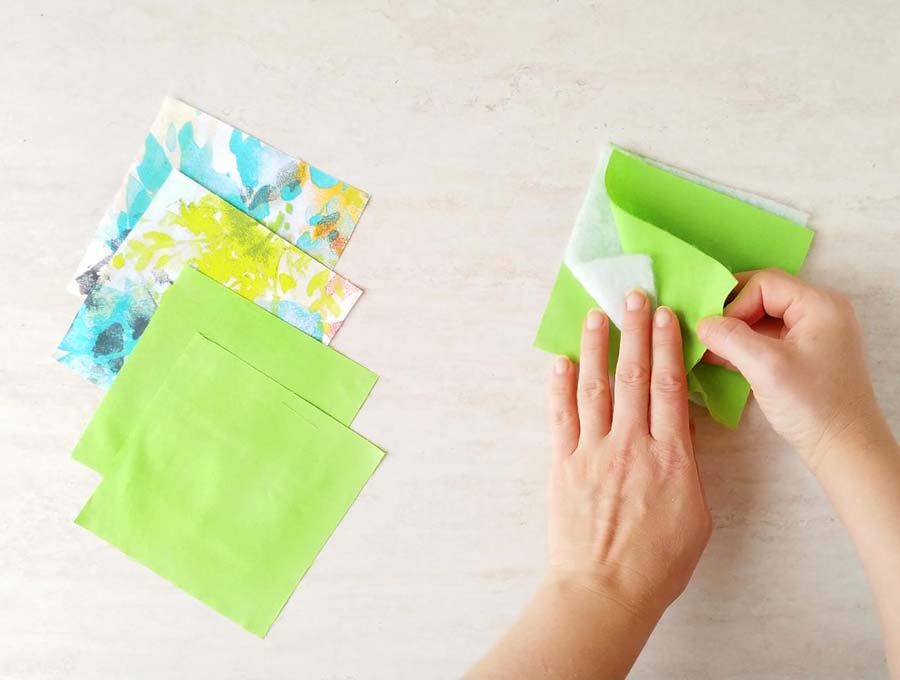
Place one piece of main fabric onto your workspace, with its wrong side facing up. Then put the batting piece on top of it and align the edges. After that, place a second main fabric piece on top of these two layers, with its right side facing up.
Align the edges and pin the three layers together, or secure them with binding clips.
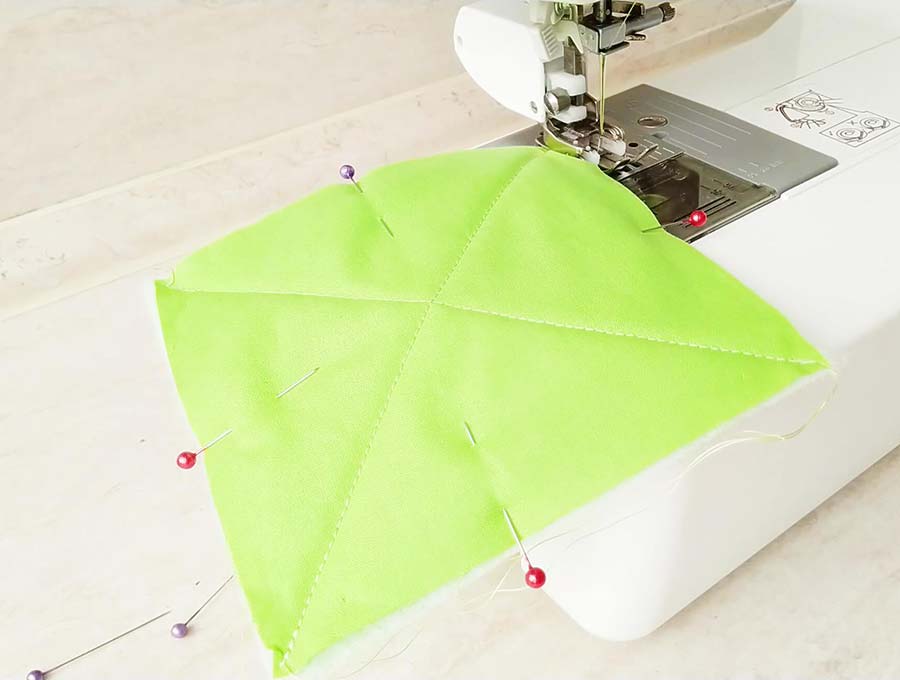
Sew an X mark across the entire thing, starting the stitch lines at the corners. This will keep the batting in place.
(optional) sew around the sandwich rectangle with an eighth-inch seam allowance.
STEP 4: Stack the fabrics
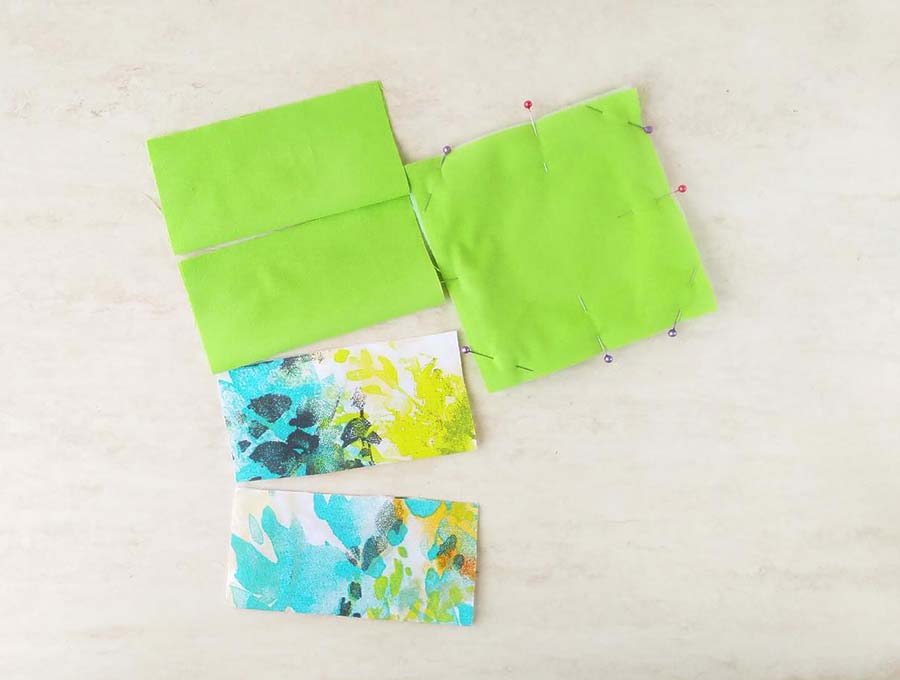
Take the remaining two pieces of main fabric, and the two pieces of secondary fabric. Fold each piece in half with their wrong sides in. Press them flat.
Here comes the tricky part. Don’t worry, it’s nothing complicated, just pay attention.
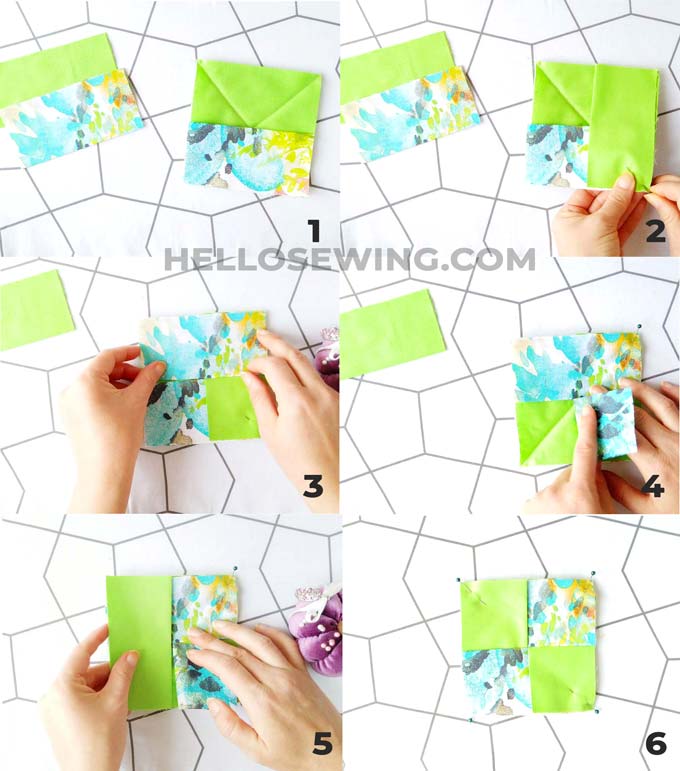
Take one piece of main fabric and place it on top of the fabric sandwich you made in the previous step. The raw edge of the folded main fabric piece should be aligned with the bottom edge of the sandwich
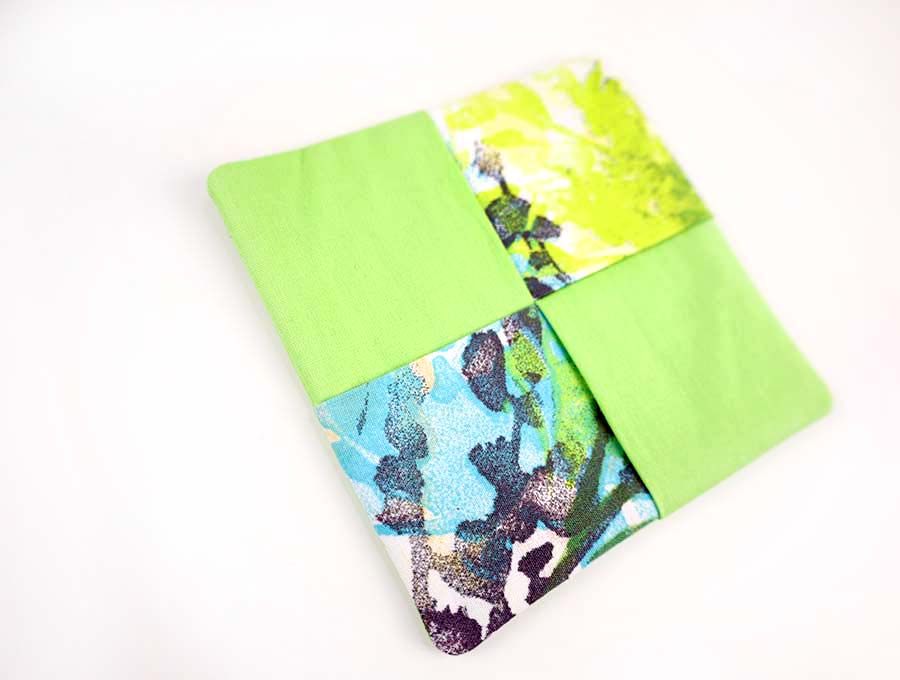
Then take one piece of secondary fabric, and place it on top of the entire thing. Its raw edge needs to be aligned with the left edge of the sandwich and folded main fabric.
Grab the second main fabric piece and place it on top of all these layers. Align its raw edge with the top edge of the previous layers.
Put the last secondary fabric piece on top of the stack you made. Align its raw edge with the stack’s right edge. Make sure to slide the bottom half of the last secondary fabric piece under the first folded main piece you set onto the sandwich fabrics. Pin everything in place.
STEP 5: Finish the homemade fabric coasters
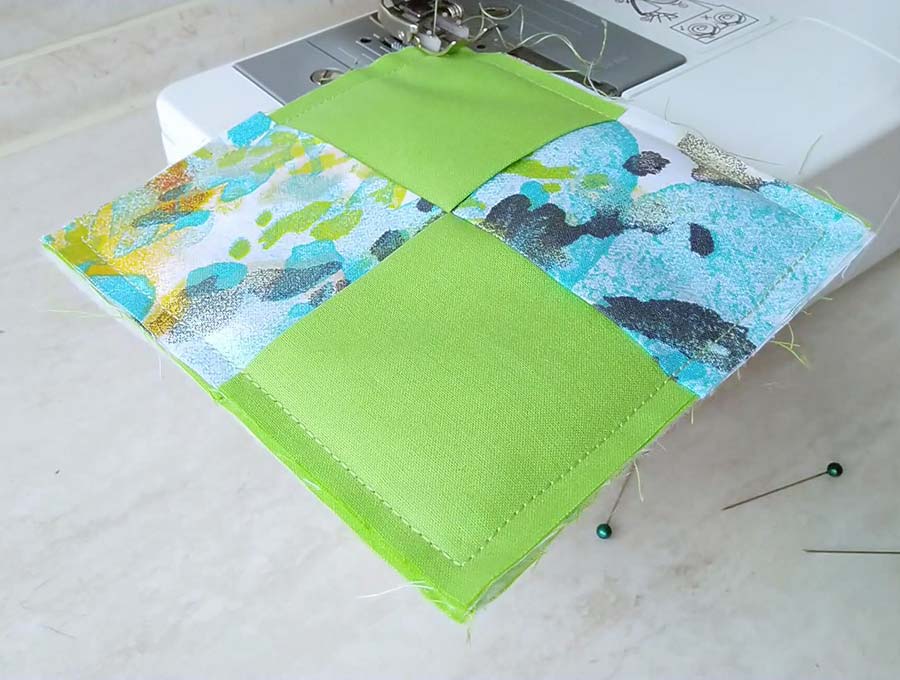
Sew all around the stacked layers of fabric with a quarter-inch seam allowance. Cut the corners at an angle, but pay attention not to cut the thread.
Turn the whole thing inside-out through the opening at the center of the coaster. Push out the corners with the back of a pencil, or with a chopstick. Press the coaster flat with your iron.
You’re done!
I hope you enjoyed reading this DIY fabric coasters tutorial. Now that you know how to make coasters, go ahead and surprise your loved ones with thoughtful gifts! Let us know how your coasters turned out and what did your friends and family think of them in the comment section below! Enjoy your wet-ring-free surfaces!
Do you like this? Pin for later:
Wanna be friends? Click HERE and follow me on Pinterest
RELATED:

