
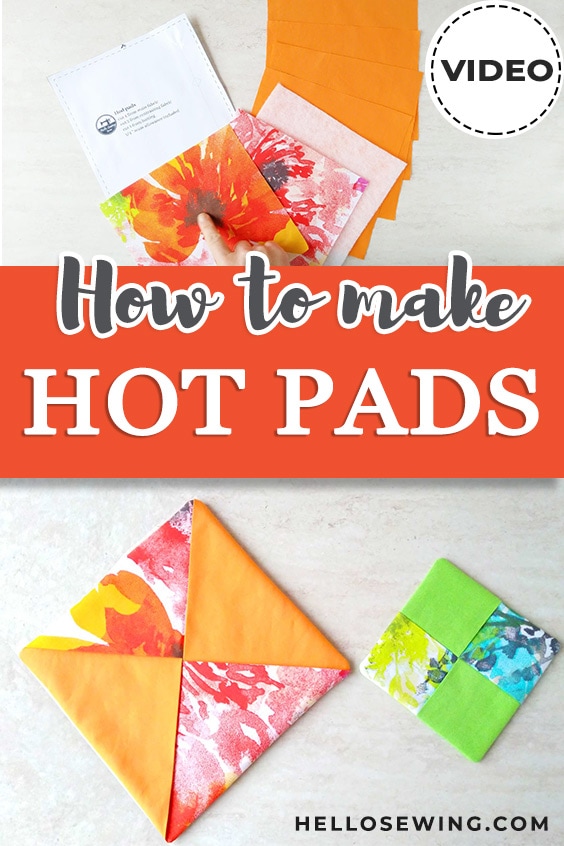
DIY Hot Pad Pattern and Tutorial How to Make It in 5 min
Hot pads are of the items that are absolutely crucial in my kitchen. Not only do I use them to grab hot pots when cooking, but I also make sure to never put down a hot pot or pan without it underneath.
Since store-bought ones are usually low-quality or pricey, I decided to make my own DIY hot pad. That way, I know that it’s well made and that it will last. Plus, I get to have some fun sewing it, so it’s a double win for me!
If you also use hot pads regularly as I do, you’ll love this tutorial. Because I’ll be showing you how to make a hotpad easily and quickly with a free downloadable hot pad pattern!
Below you will find my step by step written tutorial with VIDEO instructions for all the visual learners.
We occasionally link to goods offered by vendors to help the reader find relevant products. Some of the links may be affiliate meaning we earn a small commission if an item is purchased.
Table of Contents
- 1 How to make a Hot Pad
- 2 Supplies and tools
- 3 How to Sew a Hot pad
- 3.1 Hot pad VIDEO TUTORIAL
- 3.2 HOMEMADE HOT PAD INSTRUCTIONS:
- 3.3 STEP 1: Prepare the pattern
- 3.4 STEP 2: Cut out the fabric
- 3.5 STEP 3: Prepare the fabric for sewing
- 3.6 STEP 4: Sew the three-layer piece
- 3.7 STEP 5: Layer the triangles
- 3.8 STEP 6: (Optional) Add a loop or a string
- 3.9 STEP 7: Finish the hot pad
- 4 DIY HOT PAD OPTIONS:
How to make a Hot Pad
Supplies and tools
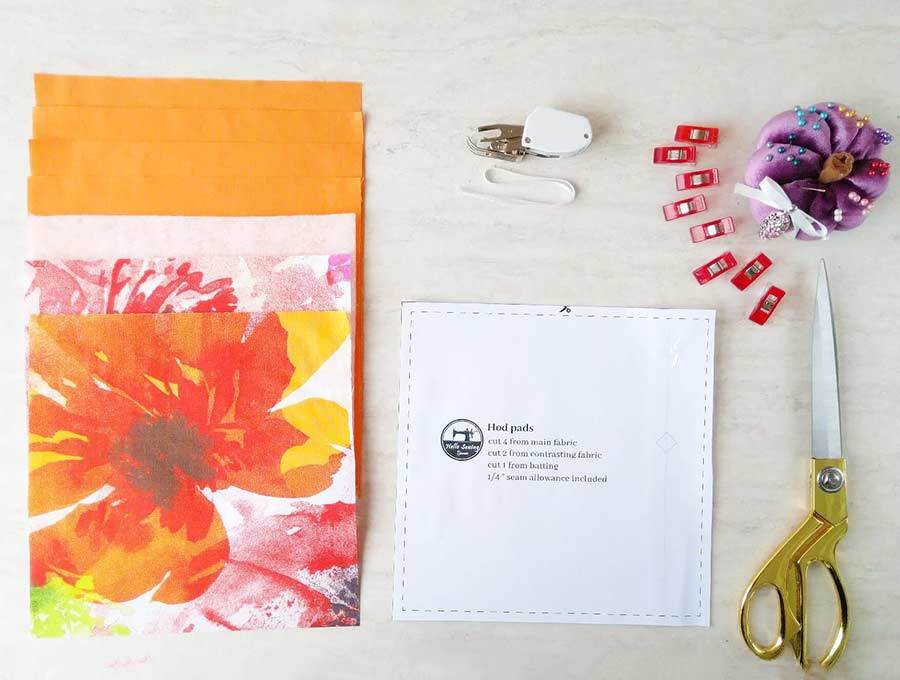
- fabric – 2 contrasting pieces of 100% tightly woven cotton (one main, one lining)
- batting
- matching thread
- scissors (or rotary cutter and a cutting mat)
- ruler or measuring tape
- iron and ironing board
- sewing clips or pins
- sewing machine
DOWNLOAD: hot pad pattern(Free PDF file)
Follow us for free patterns & tutorials! [easy-profiles]
How to Sew a Hot pad
Watch the diy hot pad video first and then follow the written step by step instructions below.
Please enjoy and don’t forget to Like and SUBSCRIBE over on YouTube to be kept up to date with new videos as they come out.
Hot pad VIDEO TUTORIAL
HOMEMADE HOT PAD INSTRUCTIONS:
STEP 1: Prepare the pattern
Start this quick and easy project by downloading the free hot pad sewing pattern. Print it out on a piece of paper in full size, US settings.
Cut out the excess paper and your pattern will be ready for use. If everything turned out well, you’ll get a rectangle 8 inches big.
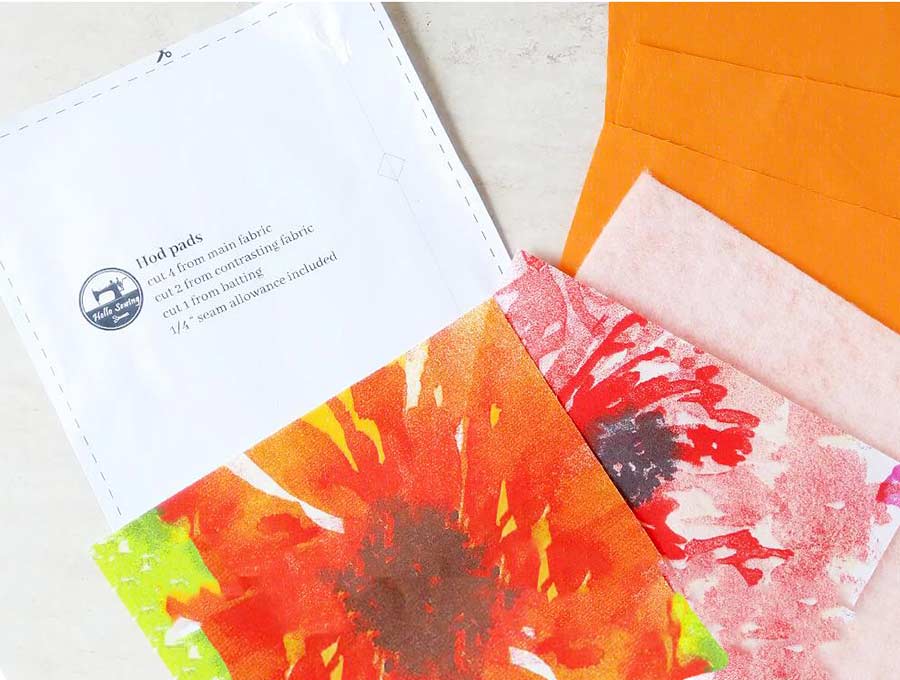
STEP 2: Cut out the fabric
Before you cut the fabric, wash it, and iron it well first. Make sure to use materials that can withstand the heat! Cotton and special heat-enduring quilting batting such as insul-bright, as well as an adequate thread, is the best way to go.
Use the pattern as a guide and cut out 7 pieces: four squares from the main fabric, 2 from the second fabric, and one from the batting. Make sure that both are able to withstand heat. Pure cotton is my recommendation.
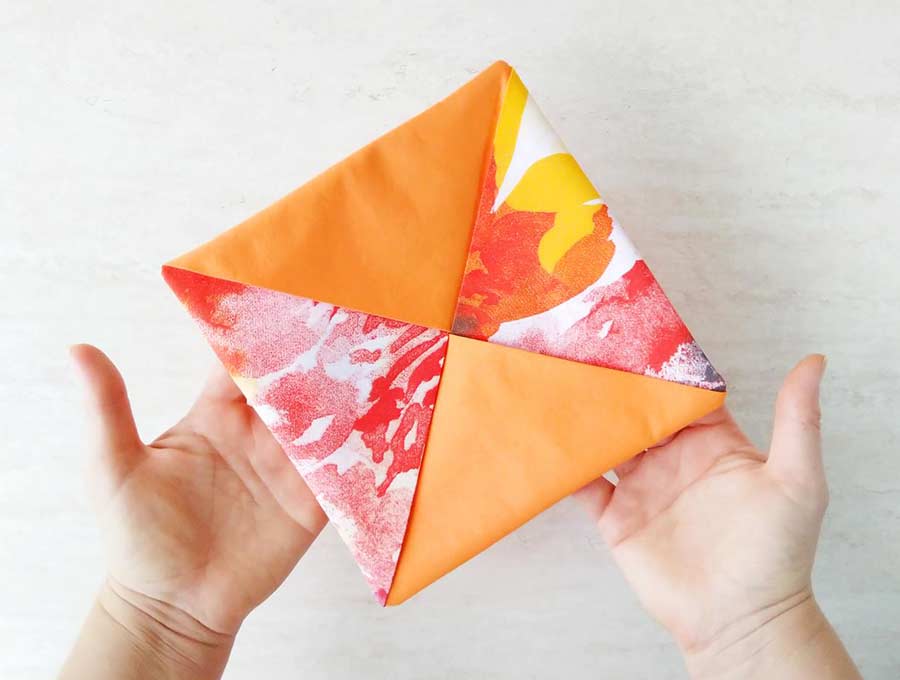
You can make one of the two designs – one is triangular and the other – rectangular as shown in the first image
STEP 3: Prepare the fabric for sewing
Take four pieces of the main fabric and fold them so that they form a triangle*. If you decided to use two types of main fabric, two of these four triangles should be one fabric and the rest from the other. Press all four triangles flat with an iron.
Make a three-layer quilt sandwich from the remaining two pieces of the main fabric, and one piece of batting. The batting should be in the middle and the right sides of the two main fabric pieces should be facing outward.

Align the three layers and use pins or clips to secure them together.

* If you want to make the rectangular design, just fold the squares in half and align each piece with one of the sides in step 5
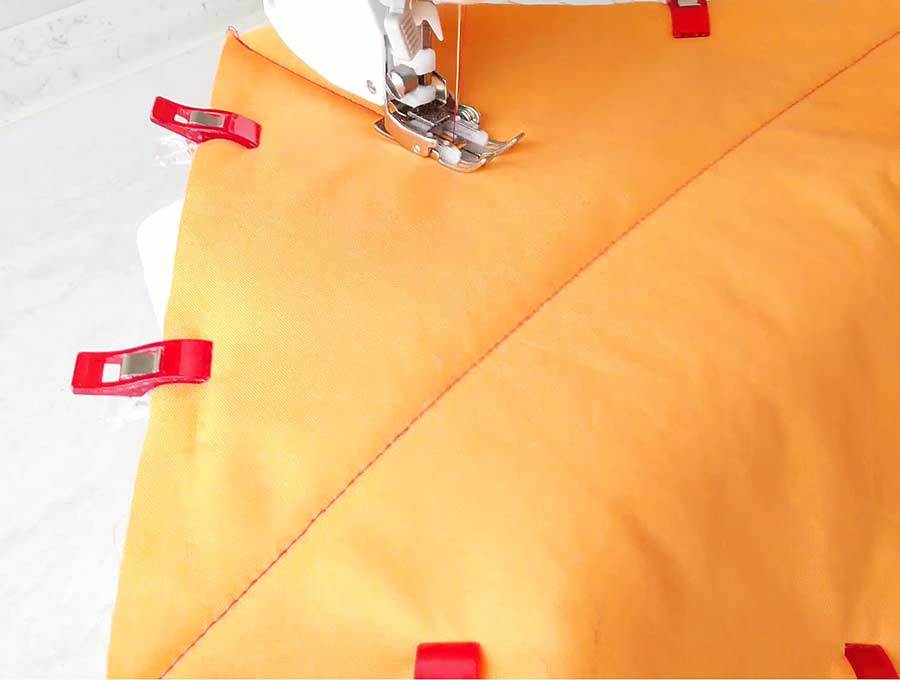
STEP 4: Sew the three-layer piece
Make two diagonal stitches across the fabric sandwich so that they form an X mark.
STEP 5: Layer the triangles
Now you need to set the triangle pieces on top of the sandwich piece.
Take one triangle and place it onto the sandwich piece with its raw corner on one corner of the sandwich piece. Align the edges.
Then place another triangle in the same manner, but with its raw corner on the next corner of the sandwich piece. Repeat the process with the remaining triangles.
When you get to the last piece, you will need to lift one half of the first triangle and slide the last piece under it. Then just lower the half you lifted.
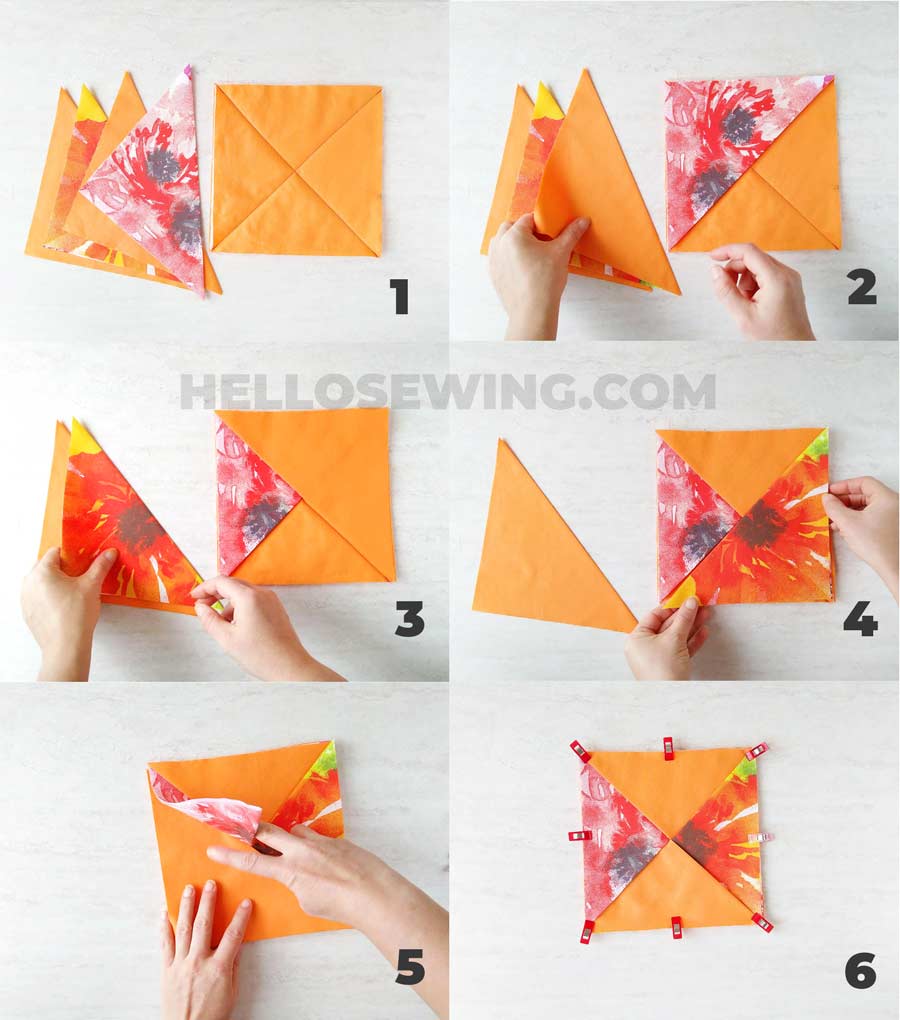
If you did everything right, all of the raw edges of the triangles will be on the outside, while the folds will be on the inside. Pin or clip all layers in place.
STEP 6: (Optional) Add a loop or a string
About 4 inches long fabric strip or string will do. Fold it in half so that the short edges meet. Then place it between the layers on the corner. Keep its raw edges facing the corner, and its fold facing the center of the rectangle.
STEP 7: Finish the hot pad
Sew all around the rectangle with a quarter-inch seam allowance. Clip the corners but be careful not to catch the thread.
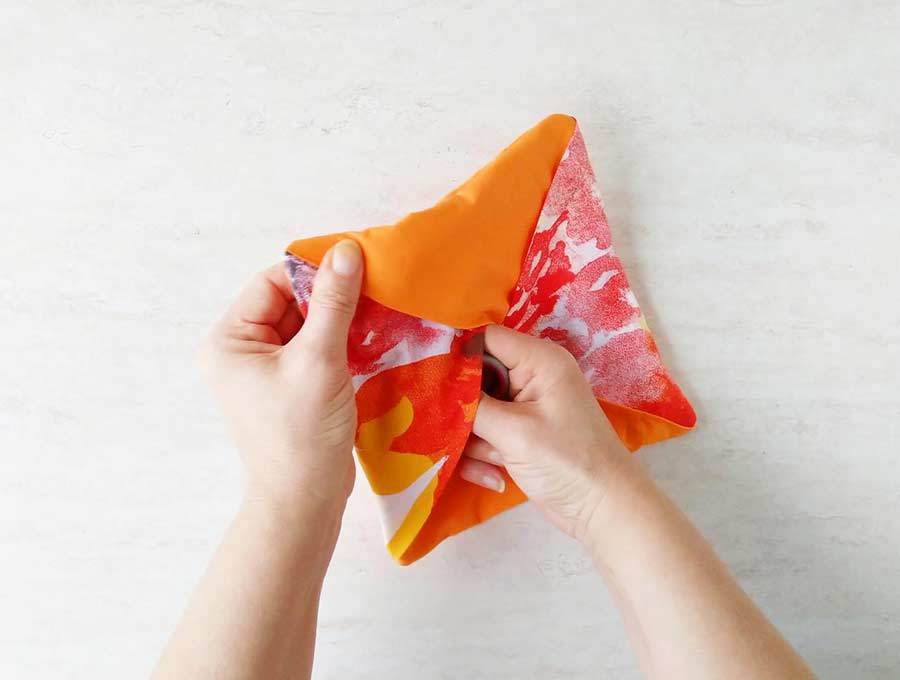
Turn the entire thing inside-out through the opening in the middle of the rectangle, where the triangles meet. Poke out the corners with a chopstick or the back of a pencil, and press everything flat.
That’s it, now you know how to sew a hot pad! Here is how the front and back look

Did you make these lovely hot pads? Was it easy to learn how to make quilted hot pads? How many did you make?
Be sure to try and make a bunch of hot pads using the pattern and tell us how they turned out in the comment section! No more burned fingers for you, and few great gifts to give your friends or loved ones!
DIY HOT PAD OPTIONS:
- With or without loop hanger
- Triangular or rectangular design
Do you like this diy hot pad tutorial? Pin for later:
Wanna be friends? Click HERE and follow me on Pinterest
RELATED: