
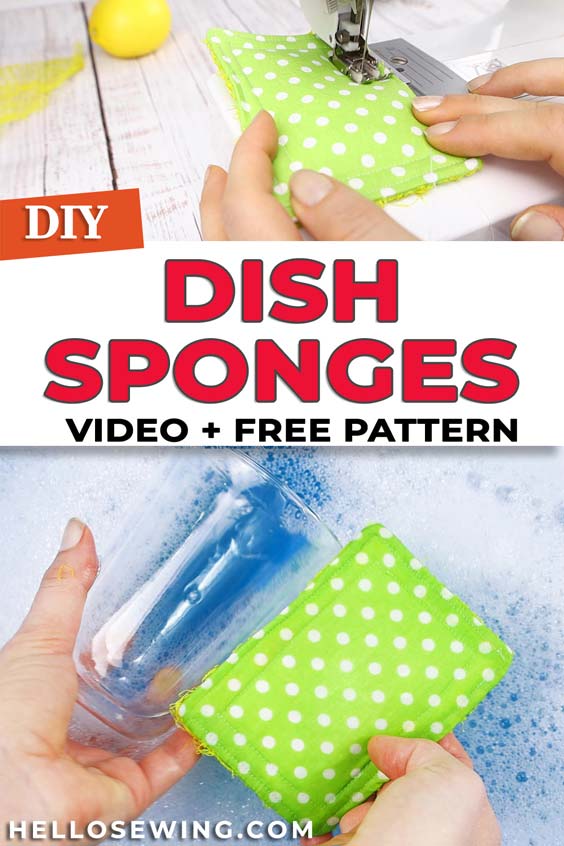
DIY Reusable Sponges // Unsponges – Zero Waste Kitchen Scrubbers Tutorial
What I love about these reusable sponges is they are so easy to make, use up all those “what-shall-I-do-with-this” type of scrap fabric, are useful, and so pretty. The big bonus is they are zero waste sponges – using what you probably already have lying around at home.
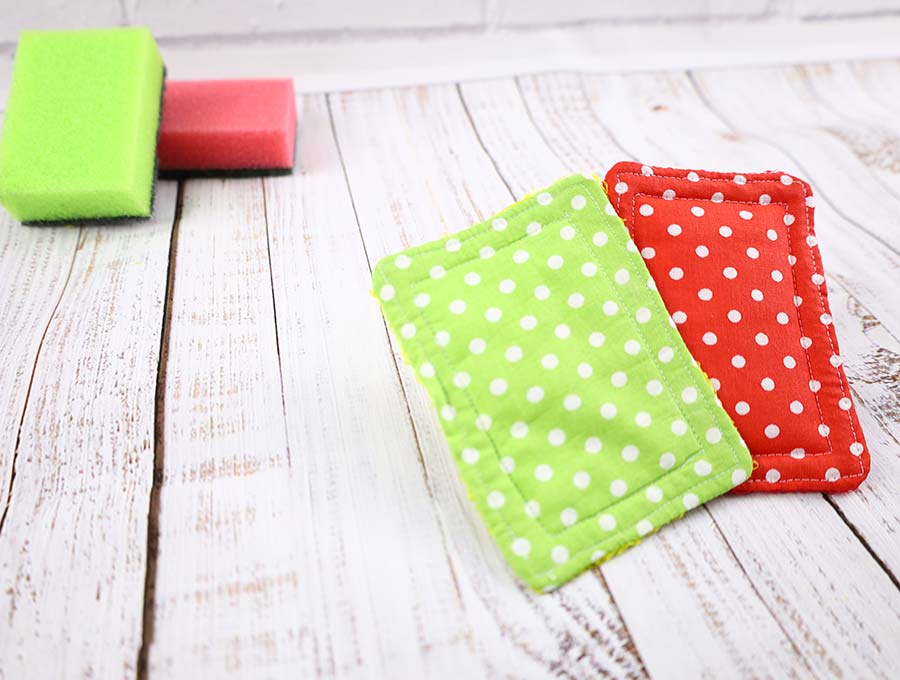
We call them ‘unsponges’ because there is no polyurethane sponge in them. In our bid to be more eco-conscious and reuse and recycle, the unsponge hits all the right buttons. While the ubiquitous little yellow sponges are a kitchen staple for cleaning, the polyurethane foam they are made from comes from fossil fuels involving plenty of CO2, and we are all aware of the need to reduce carbon emissions.
What I enjoy is the fact that you don’t need to store them out of sight – when they match your kitchen décor they can be on display. Also, because of the fabric being used they are not as likely to get clogged with kitchen gunk and discolour like the polyurethane sponges – you know that nasty looking greyish yellow tinge they take on after a couple of uses.
Enter the unsponge; made from offcuts of fabric, reused vegetable bag mesh or heavy duty tulle and some wadding or fibre-fill, it weighs in as more sustainable than the throwaway sponges. This zero waste sponge can be reused over and over – just make sure to rinse and dry between uses.
Basically polyester fabric wears well, so it is best suited to these reusable sponges. Choose themed fabrics or just use up whatever you have that is suitable – meaning the fabric is hard wearing and quick drying. Organise your completed sponges into color themed packs as presents – five little unsponges tied with a pretty ribbon are a nifty gift. Once you see how easy they are to make you’re going to want to make lots of them. I can visualise them in red and white polka dots, black and white stripes, watermelon pink and green, sunflower yellow.
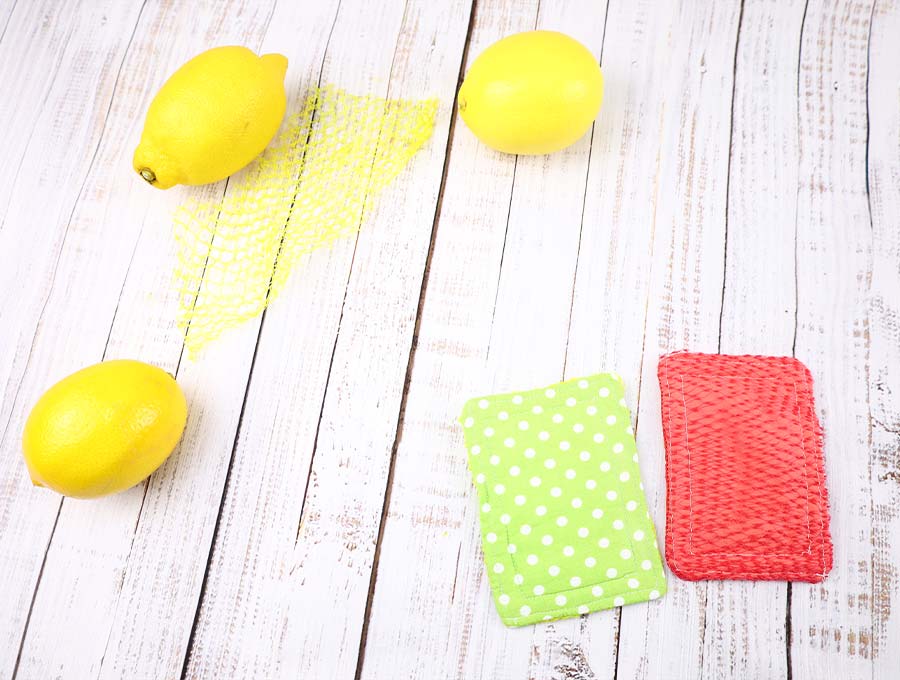
Enough chit-chat – let’s get going on these. Sort through your fabric scraps to find pieces that fit the downloadable pattern. Check your cupboards to find some vegetable mesh bags you can reuse or buy some heavy duty tulle. Why mesh bags or tulle you may ask? These fabrics will give the ‘scrub’ to your sponge so the dirt comes off the dishes faster. When the sponge mesh or tulle is looking a bit worn simply use your quick unpick tool, remove the fiber fill and fluff it up with a comb before setting it aside to refill the unsponge. Unpick the rest of the unsponge – the fabric should still be fine, remove the worn mesh part and substitute two new pieces then follow steps 6 to 9 below
So here we go, step-by-step VIDEO tutorial and instructions to making a bunch of little unsponges.
We occasionally link to goods offered by vendors to help the reader find relevant products. Some of the links may be affiliate meaning we earn a small commission if an item is purchased.
Table of Contents
How to make a Reusable sponge
Supplies and tools
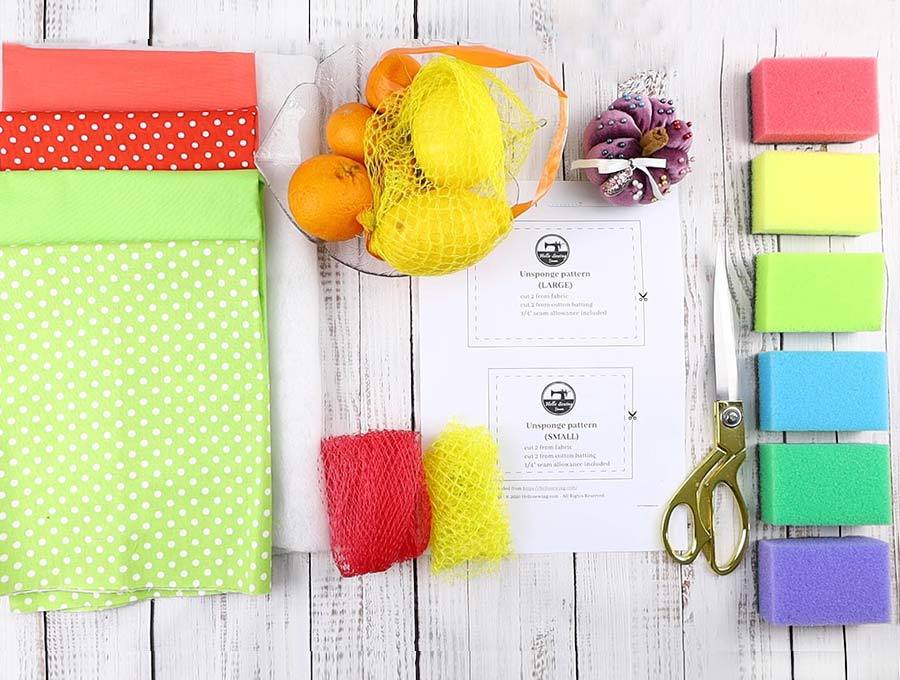
- fabric – 2 pieces of polyester or cotton fabric (one main, one lining)
- batting
- tulle or mesh
- matching thread
- scissors (or rotary cutter and a cutting mat)
- ruler or measuring tape
- iron and ironing board
- sewing clips or pins
- sewing machine
DOWNLOAD: Reusable sponge (unsponge) pattern (Free PDF file)
Follow us for free patterns & tutorials! [easy-profiles]
How To Sew a Zero waste sponge
Watch the diy sponge video first and then follow the written step by step instructions below.
Please enjoy and don’t forget to Like and SUBSCRIBE over on YouTube to be kept up to date with new videos as they come out.
DIY KITCHEN SPONGES VIDEO TUTORIAL
DIY SPONGE INSTRUCTIONS:
STEP 1: Download and print the unsponge pattern
Don’t print directly from the browser (this sometimes skews the pattern). Instead use Adobe Reader or a similar program to open the file. Make sure you print it at 100% (no scale) and trim any excess paper.
STEP 2: Cut fabrics according to pattern
Lay out your pattern on the fabric pieces you have selected. A strong cotton or polyester fabric is recommended.
Cut a front and back piece for the sponge. They need not be the same color – maybe a stripe or print in blue and a plain blue?
Cut two layers of tulle or vegetable bag mesh, the same size as the front and back of the sponge. Lastly, cut 2 pieces of batting*
You’ll end up with 6 identically sized fabric pieces.
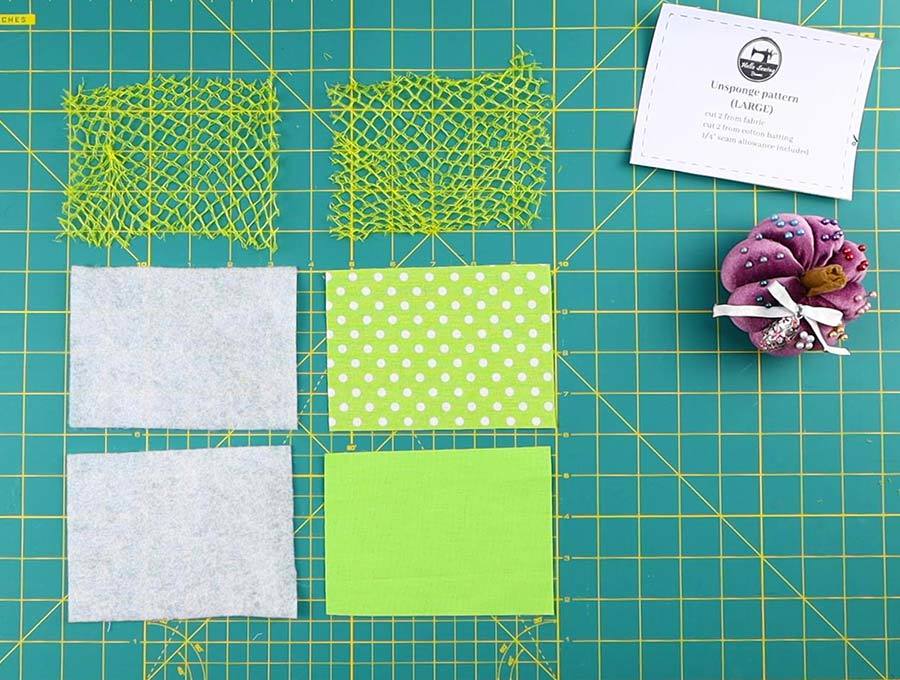
*If you don’t have batting you can use silicone stuffing instead. If you want your reusable sponge to have more ‘body’ use 4 layers of batting!
STEP 3: Layer the fabrics
Lay down one piece of fabric – probably the patterned one, right side up, then over it layer two pieces of tulle or mesh, then the other fabric piece with the wrong side facing up and lastly put the two pieces of batting.
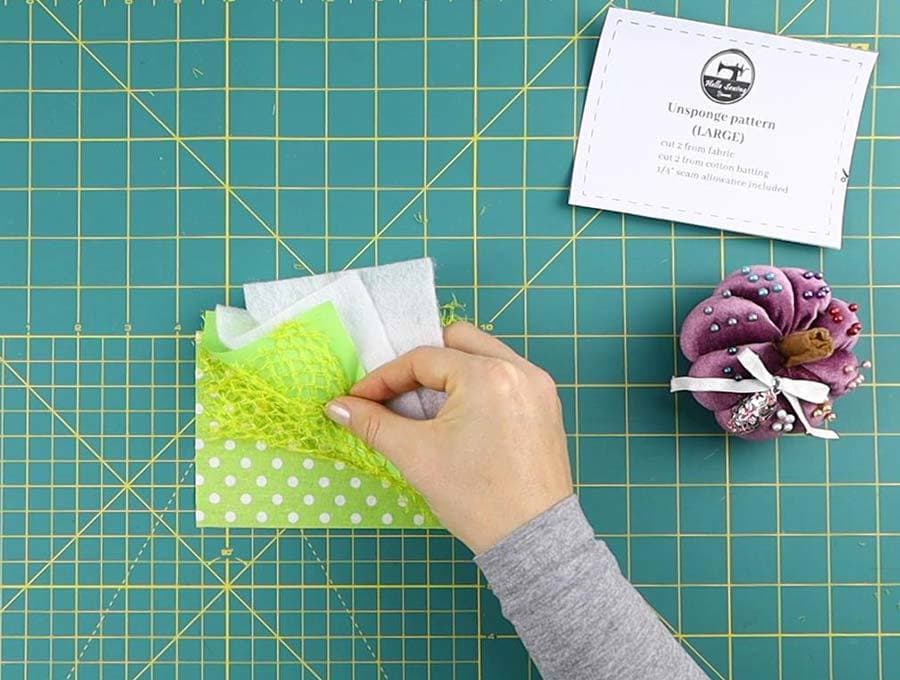
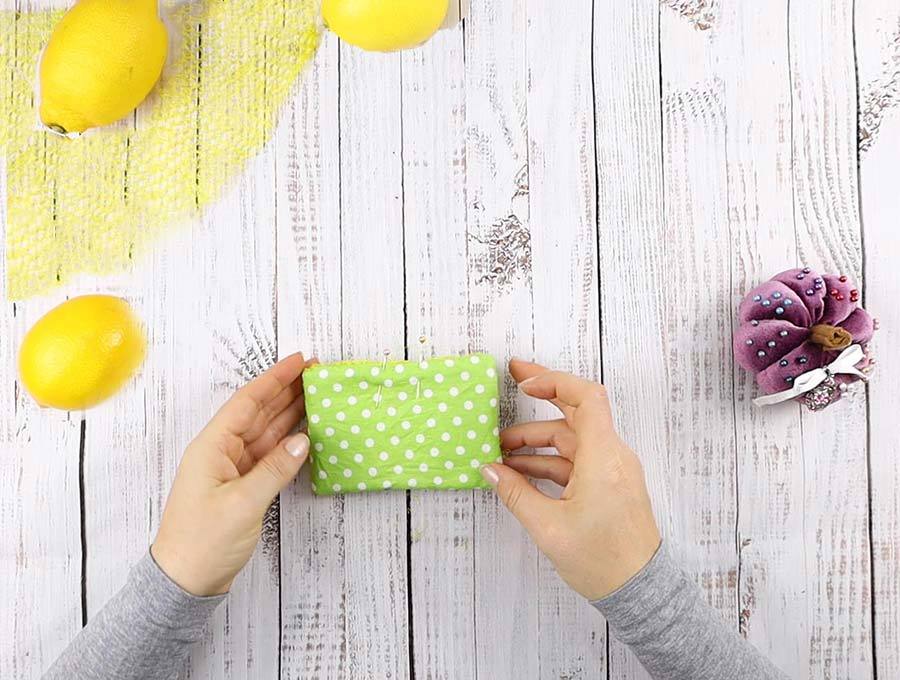
STEP 4: Pin
Pin into place, and don’t forget to leave a 1 inch opening for turning.
STEP 5: Stitch around
Sew around the four sides, with a ¼ inch seam allowance, and leaving a gap of around 1 ½ to 2 inches on one side to enable you to turn the unsponge.
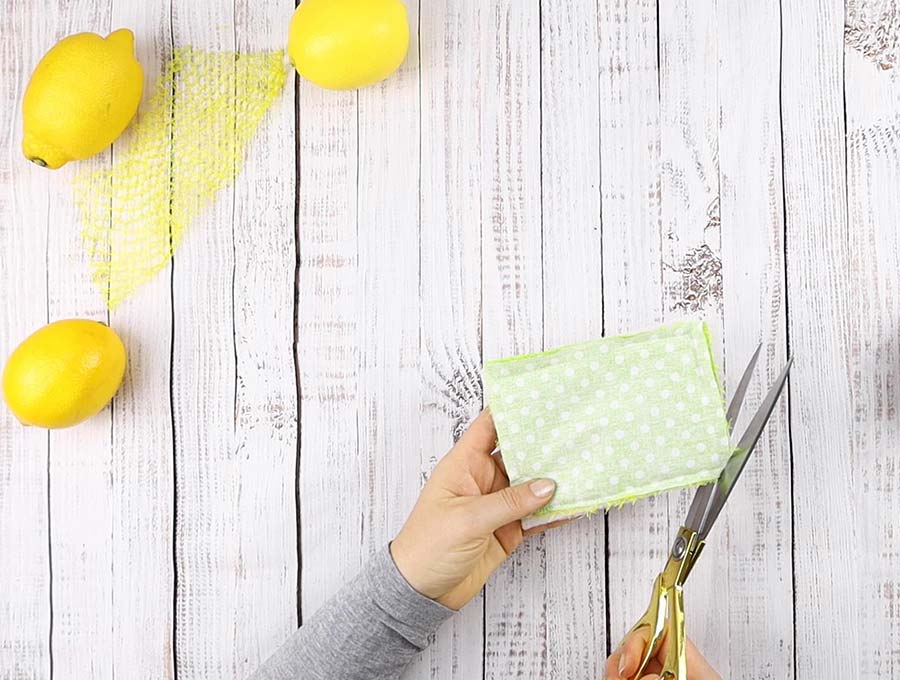
STEP 6: Clip and turn right side out
Clip across the corners so you do not have excess fabric puckering the corners, then turn the sponge, pulling the fabric through the gap. Use a knitting needle or chopstick to ensure the corners are pushed out neatly. You will have the mesh on one side of the sponge and a plain side.
*** OPTIONAL: If using silicone filling instead of batting:
Fill the sponge with fiber fill making sure it is nice and puffy – with use it will get flatter so you want to make sure it’s really plumped up to start with.
STEP 7: Stitch the gap
Turn in the raw edges of the gap and run a seam around the diy sponge ¼ “ from the edge, followed by another ½” from the edge. This will close the gap and will ensure the wadding does not move during use.
If you don’t want to see the stitching, just slip stitch the gap by hand.
All done– your first unsponge is ready to put to use.
Check out our easy video tutorial to see exactly how easy it is to make reusable sponges, then start using up all your odds and ends for these zero waste sponges. Share the idea with friends or even better, make them their own little stash of unsponges for all occasions.
TIPS for Sewing and Using the reusable kitchen sponge alternative
- To make hanging up the unsponge easy, stitch a small length of the same fabric into a short strap and insert into the gap before closing with the machine stitching in Step 9 above.
- Rinse unsponges after use with a disinfectant or use a color safe bleach to keep them hygienic, wring out, then leave on a sunny windowsill to dry, or toss in the washing machine with a load.
- Remember, disposable dish sponges come in packs of multiples. This kitchen sponge alternative is no different – make at least 3 so you can rotate through them and always have one on hand.
Do you like this? Pin for later:
Wanna be friends? Click HERE and follow me on Pinterest
RELATED: