
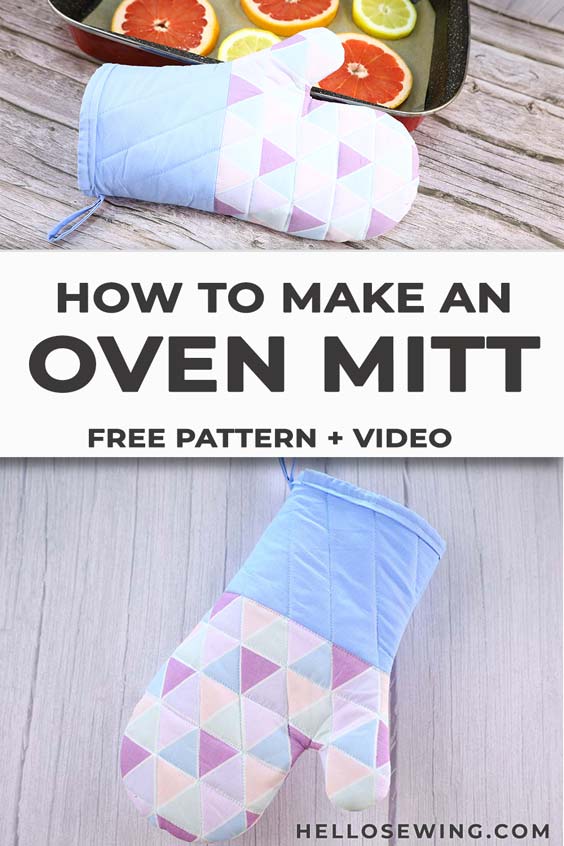
How to Make an Oven Mitt – FREE pattern and VIDEO
I seriously get oven mitt envy when I go into shops and see all the lovely ones hanging up just begging me to take them home. But they can be pricey. I was excited to get started on this free one-size-fits-all oven mitt pattern, so I could make ones that coordinated with my kitchen colors. I also no longer had to risk burning my fingers when using a dishcloth because the oven mitts were in the wash, or had mysteriously disappeared – kids seem to think they make great nests for hatching dinosaur eggs!
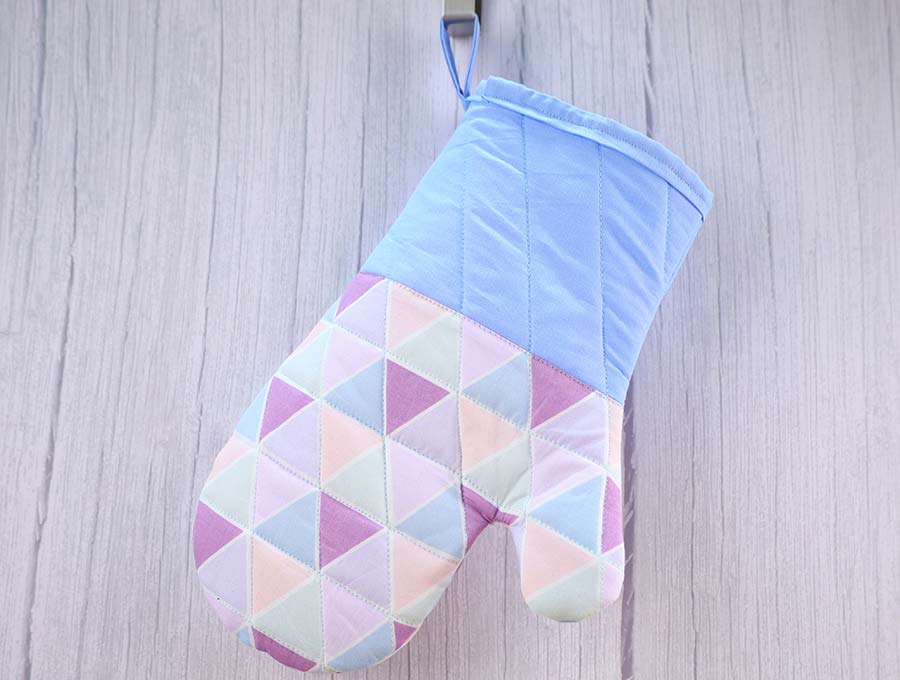
The project is fairly easy, taking around half an hour and the tutorial explains step-by-step how to make an oven mitt using the free pattern. The oven mitt takes a little bit more time because of the quilting involved, but quilting the DIY oven mitt does give it a firmness which is far safer when handling casserole dishes and pots and pans, than just layering the fabric. Oven mitts tend to get bits of food and grease on them so they will probably be washed quite often, and the sturdier the construction the better.
Below you will find my step by step oven mitt written tutorial with VIDEO instructions for all the visual learners.
We occasionally link to goods offered by vendors to help the reader find relevant products. Some of the links may be affiliate meaning we earn a small commission if an item is purchased.
Table of Contents
- 1 How to make an oven mitt
- 2 DIY Oven mitt Supplies and tools
- 3 How to Sew an Oven Mitt
- 3.1 OVEN MITT VIDEO TUTORIAL
- 3.2 DIY OVEN MITT INSTRUCTIONS:
- 3.3 STEP 1: Prepare the oven mitt pattern
- 3.4 STEP 2: Cut and layer fabrics
- 3.5 STEP 3: Mark quilting lines
- 3.6 STEP 4: Quilt the oven mitt
- 3.7 STEP 5: Mark and cut out 2 mirror pieces for the oven mitt
- 3.8 STEP 6: Join the two halves of the oven mitt
- 3.9 STEP 7: Clip the thumb curve
- 3.10 STEP 8: Turn around
- 3.11 STEP 9: Press
- 3.12 STEP 10: Prepare the hanging loop
- 3.13 STEP 11: Baste the hanging loop to the mitt
- 3.14 STEP 12: Pin binding
- 3.15 STEP 13: Stitch binding
- 4 OVEN MITTS FAQs, Tips and Troubleshooting:
How to make an oven mitt
DIY Oven mitt Supplies and tools
- main fabric – 33 x 50cm (13 x 20″) of cotton, canvas or home decor fabric
- lining – 33 x 50cm (13 x 20″) of quilting cotton fabric
- batting – 33 x 50cm (13 x 20″)
- 1.3cm (1/2″) wide double fold bias tape – 50 cm (20″)
- free oven mitt pattern (download from the link below)
- matching thread
- scissors (or rotary cutter and a cutting mat)
- ruler or measuring tape
- iron and ironing board
- sewing clips or pins
- sewing machine
Notes: You can use a variety of materials– satin, silk and even chiffon
DOWNLOAD: oven mitt pattern (Free PDF file)
Follow us for free patterns & tutorials! [easy-profiles]
How to Sew an Oven Mitt
Watch the diy oven mitt video first and then follow the written step by step instructions below.
Please enjoy and don’t forget to Like and SUBSCRIBE over on YouTube to be kept up to date with new videos as they come out.
OVEN MITT VIDEO TUTORIAL
DIY OVEN MITT INSTRUCTIONS:
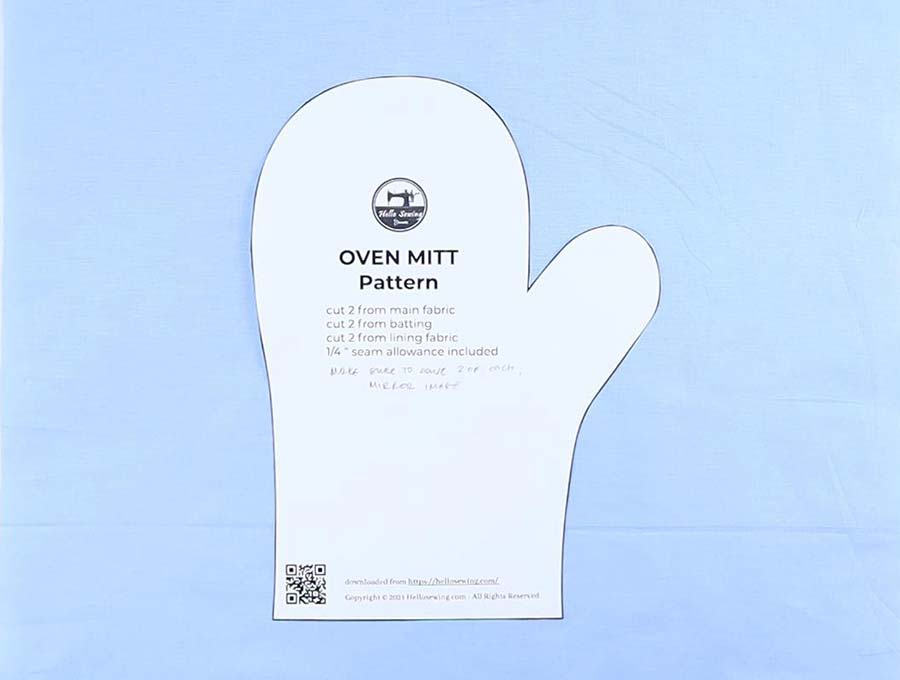
STEP 1: Prepare the oven mitt pattern
Download and print out the oven mitt pattern to size, then cut out the paper pattern – the seam allowance of ¼ inch has already been included so you don’t have to worry about that.
Make sure to download the oven mitt template to your computer because printing directly from the browser often times causes the pattern to skew.
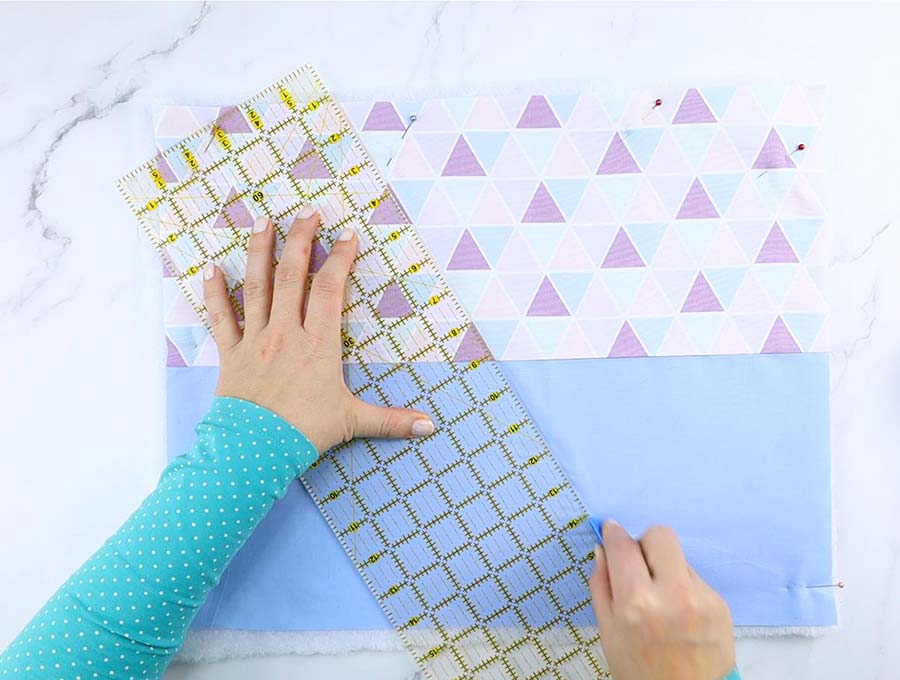
STEP 2: Cut and layer fabrics
You will have chosen an inner fabric, an outer fabric and a piece of batting. Each piece should be 13 x 20 inches (33 x 50cm). Lay your fabric out as follows:
- Lining with wrong side facing you
- Batting with the shinier side facing you
- Outer fabric with right side facing you
Then using safety pins, secure the three pieces together, lining up the layers neatly and inserting safety pins working from the center outward to ensure the layers are smooth.
STEP 3: Mark quilting lines
Decide where you are going to quilt. My outer fabric had a pattern so I just followed the lines on the pattern, which was pretty easy, like in the fabric below.
If you chose a plain outer fabric then you will need to mark out a quilting guide using an erasable fabric marker, with parallel lines one inch apart, to form a grid.
STEP 4: Quilt the oven mitt
Stitch along the quilting lines –the ones you have drawn, or the ones in the pattern of the fabric. Always work from the centre outwards so the fabric quilts neatly.

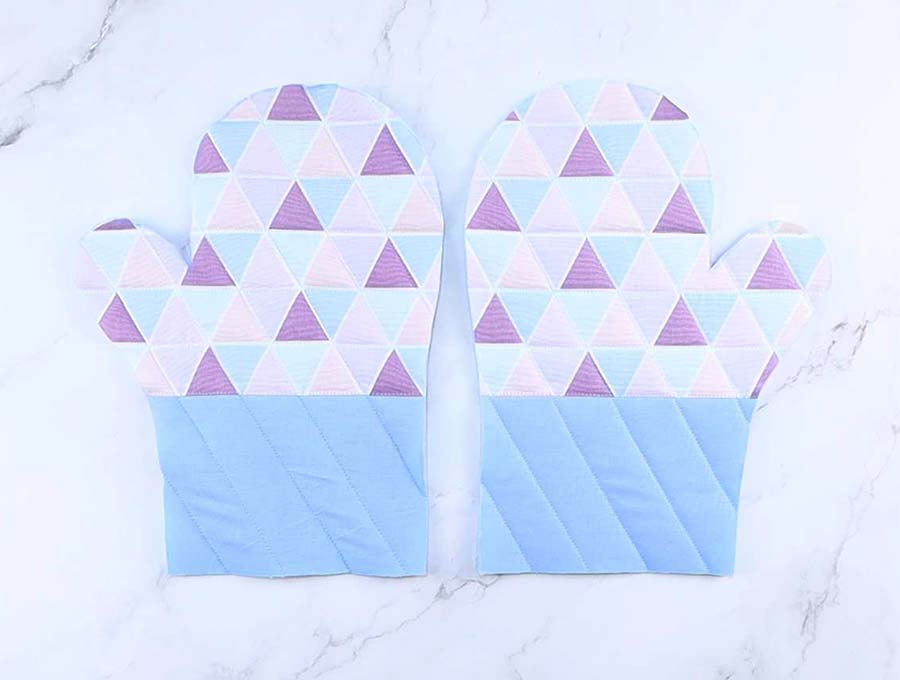
STEP 5: Mark and cut out 2 mirror pieces for the oven mitt
Once the fabric is quilted take your paper pattern and make a mirror image of it, like you see in the image below.
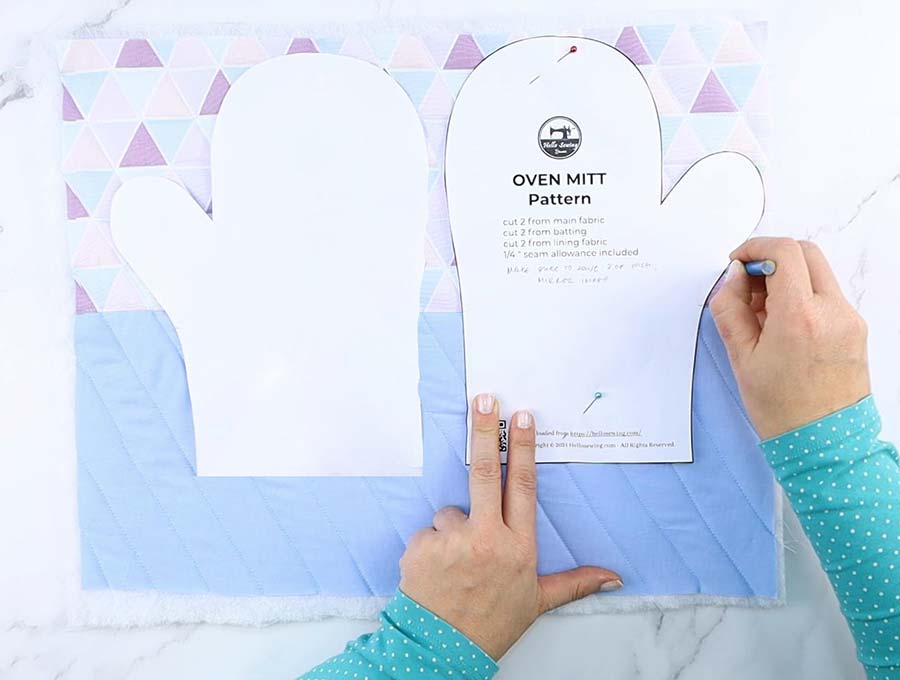
Lay these two pieces on the quilted fabric and pin to secure, then cut them out neatly.
STEP 6: Join the two halves of the oven mitt
With the lining facing outwards, place the two halves of the oven mitt together, pin to secure and stitch around the edges, leaving the bottom at the wrist open. Because the fabric will be quite thick you may need to set your machine to a longer stitch.

STEP 7: Clip the thumb curve
Once the two pieces are joined, clip carefully around the inner part of the thumb area, making about 3 cuts so it turns neatly. Just be careful not to get too close to the stitching otherwise it will fray with use.
STEP 8: Turn around
Turn the oven mitt right side out, using a blunt instrument like a chopstick or the top end of a pencil – not the sharp point, to get the seams turned neatly any lying flat.
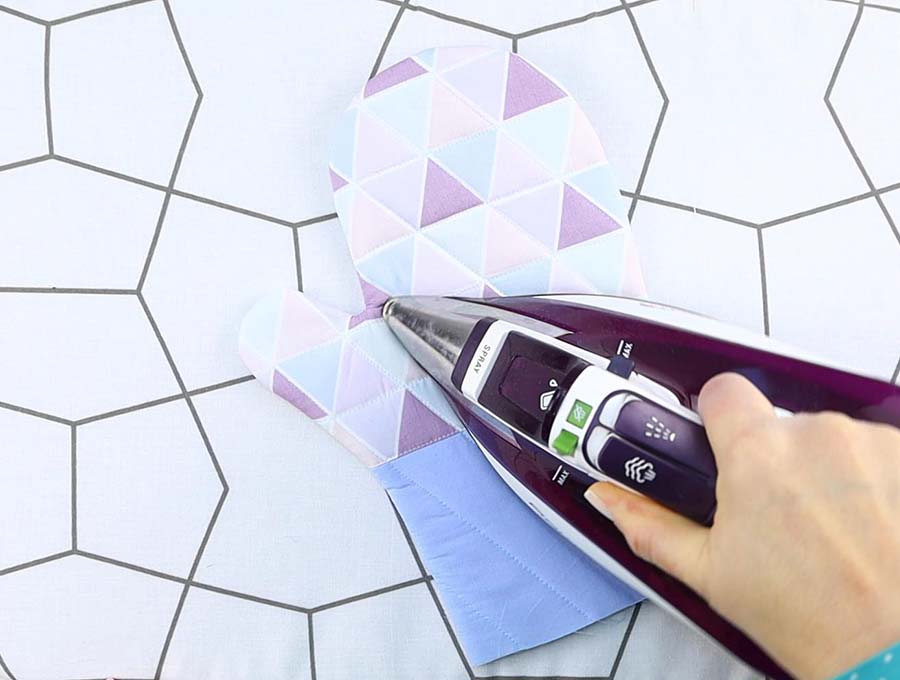
STEP 9: Press
Use your iron to give it a quick press.
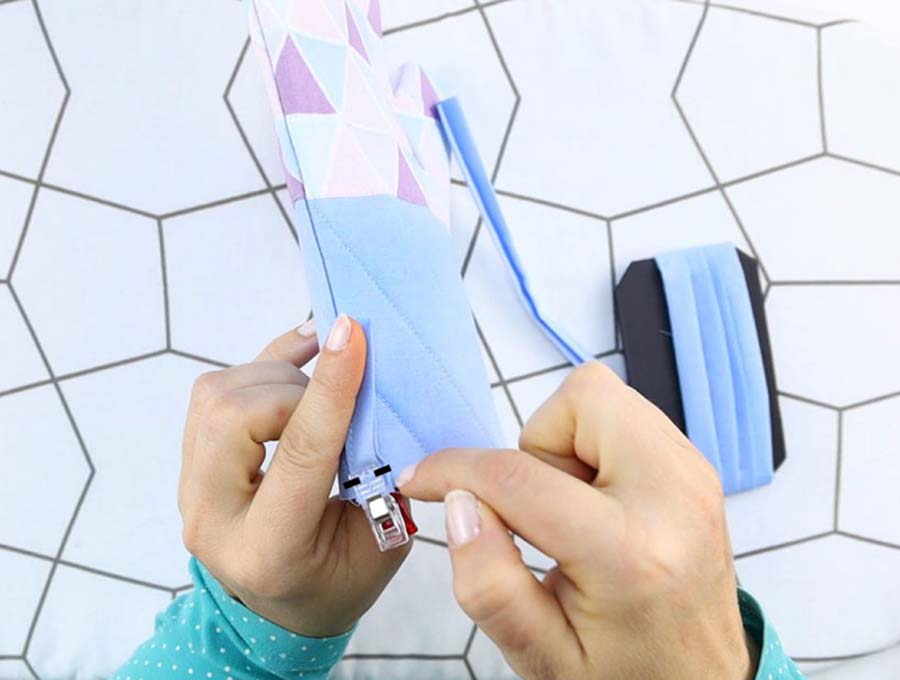
STEP 10: Prepare the hanging loop
Attach the hanging loop so you can hang the oven mitt for easy access. Take a 12.5 cm (5 inch) piece of bias tape and fold it over lengthways, so the edges match up, pin and stitch along the edge.
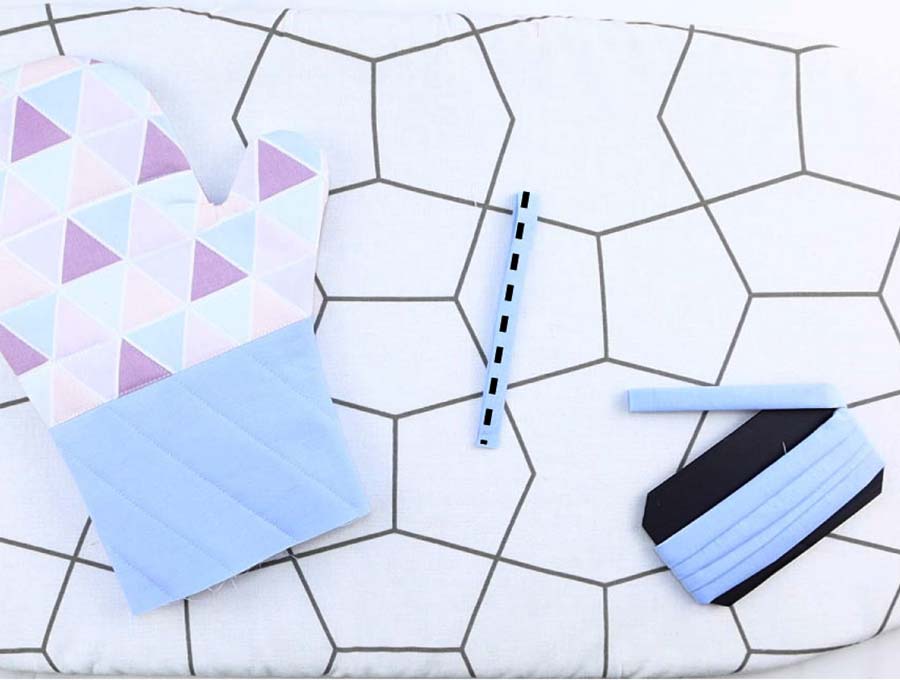
STEP 11: Baste the hanging loop to the mitt
Now fold the loop over in half, so you have a 6.2cm (2 ½ inch) piece that you can pin to the outer edge of the oven mitt near the seam below the thumb. The loop must face upwards into the mitt and the raw edges should line up with the raw edges of the mitt.
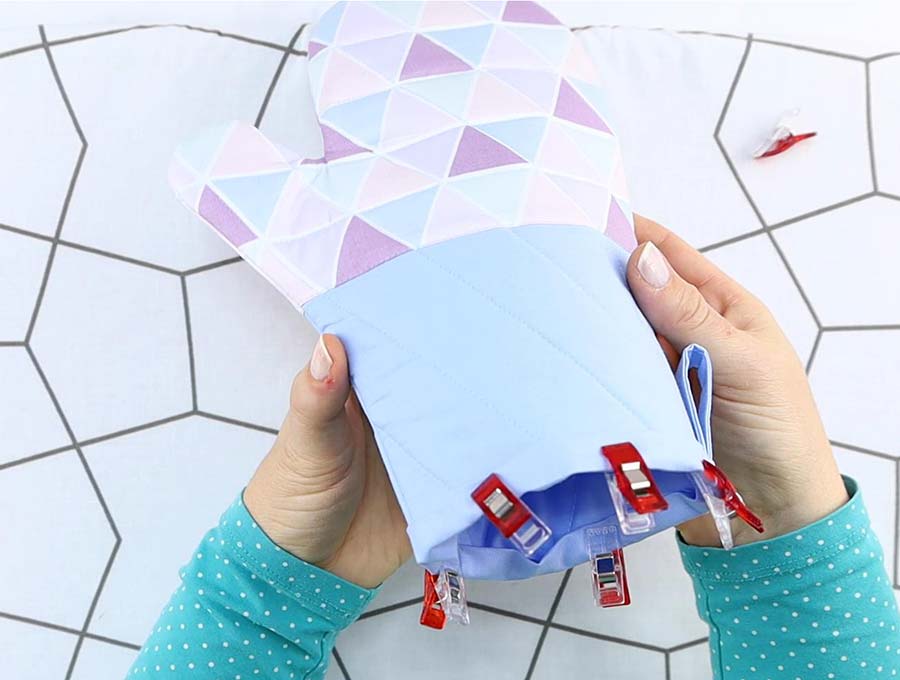
STEP 12: Pin binding
Time to fit the binding. Measure the width of the oven mitt at the wrist and double this amount and add an inch (2.5cm) – so if the mitt is 18cm (7 inches) you will cut a strip that is 38.5 cm (15 inches) long. The math is:
- (metric) 18 x 2 +2.5 = 38.5cm
- (imperial) 7 x 2 + 1 = 15 inches
Pin the binding to the oven mitt, starting from the outer wrist side, working to across the end of the loop, and leaving the extra piece at the end – we’ll come back to this.
STEP 13: Stitch binding
Stitch the binding onto the body of the oven mitt, making sure you are catching the underneath side as well. When you get to the last 2 inches cut the thread and remove from the machine.
Now trim off the excess leaving just an inch at the end of the binding, then bend over ¼ of an inch of the end of the binding, tucking the ¼ inch under the folded bits of the binding, pin in place so the end overlaps about ¾ of an inch over where you started. Stitch the binding closed and leaving the fabric on your machine, lift the foot and swing the fabric 90 degrees, so you can stitch down the ¼ inch or so of the binding. Back stitch. This ensures the ¼ inch you tucked in cannot fray out with use.
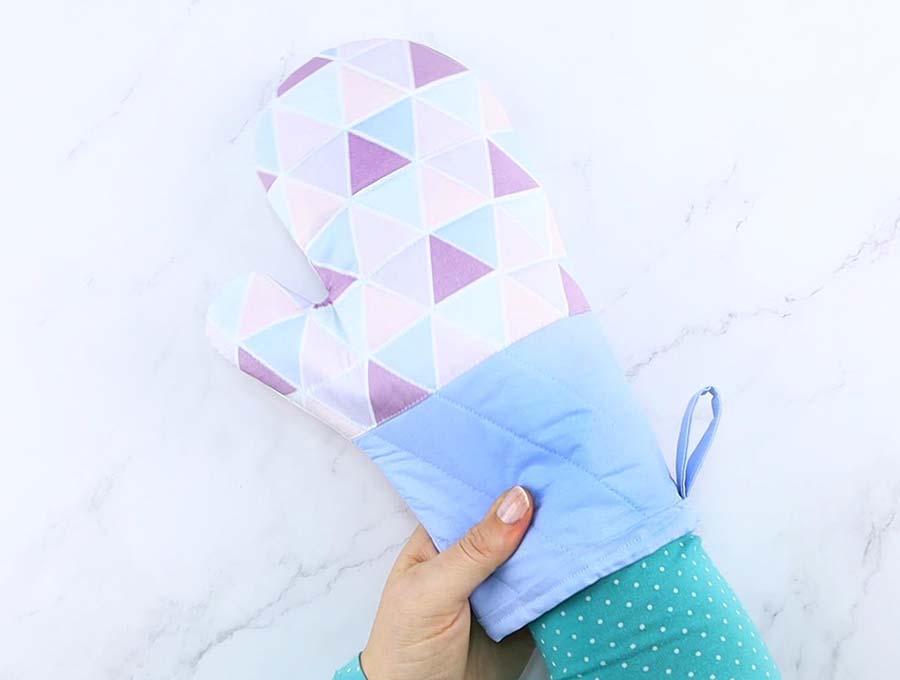
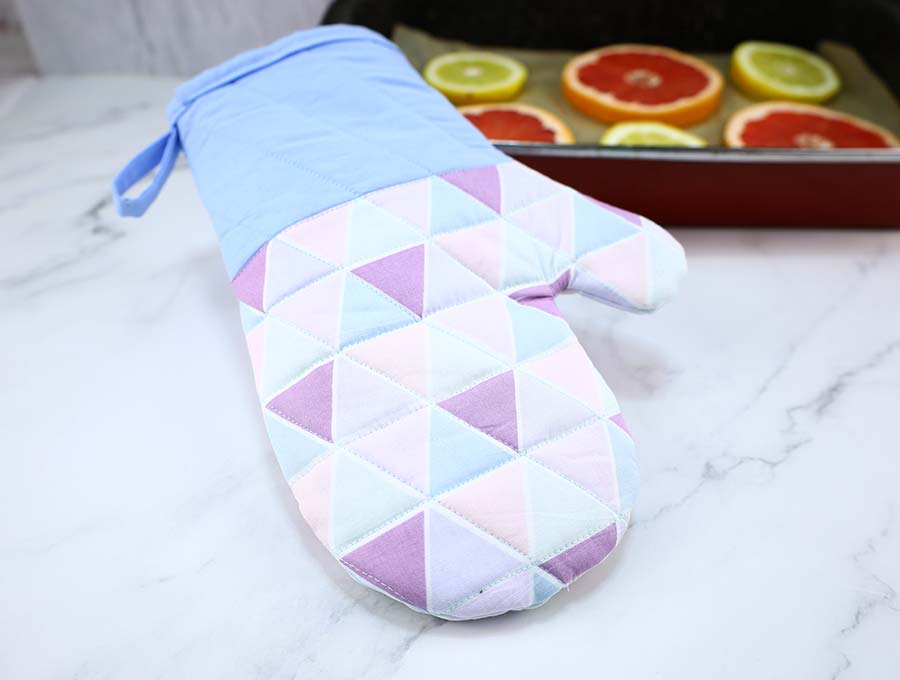
That’s it! The DIY oven mitt is ready
OVEN MITTS FAQs, Tips and Troubleshooting:
Q: Can I use ready quilted fabric?
A: It will definitely reduce time to buy a ready quilted fabric – just make sure it is a fairly sturdy fabric as some ready quilted fabrics tend to be a bit on the thin side and won’t give you the burn protection you need.
Q: Can I skip the quilting?
A: It is possible to make the oven mitt without quilting, but you do risk the batting moving during the wash and dry cycle and it may end up looking a bit lumpy. I would suggest doing a small amount of quilting in the center part just to hold the layers in place if you don’t want to quilt the whole oven mitt.
Q: Can I use upholstery fabric for the outer?
A: This will depend on the washability of the décor fabric and thickness – too thick and it will be difficult to work with. If it does not wash well you will have wasted time on something that may shrink in the first wash/dry cycle. I would suggest a sturdy cotton that has a reputation for color fastness, and that has been pre-shrunk.
I am quite keen on doing these in Christmas fabrics and I can just imagine bright pumpkin orange ones for Halloween with maybe a spider appliqued onto them. Denim ones with a brightly printed bias binding could be fun – and you can use repurpose the denim from jeans the kids have outgrown. Do watch the video tutorial so you can see exactly how to make the one-size-fits-all oven mitt using our free pattern.
Do you like this? Pin for later:
Wanna be friends? Click HERE and follow me on Pinterest
RELATED KITCHEN SEWING PATTERNS:
- Microwave bowl cozy pattern – protect your fingers from the hot bowls that come out of the microwave
- Jar lid opener– Jars that won’t open no matter what can be a real pain
- Reusable sponge – so easy to make, great alternative to the yellow kitchen sponge
- Microwave potato bag – perfectly baked potatoes in minutes
- How to make a hot pad