
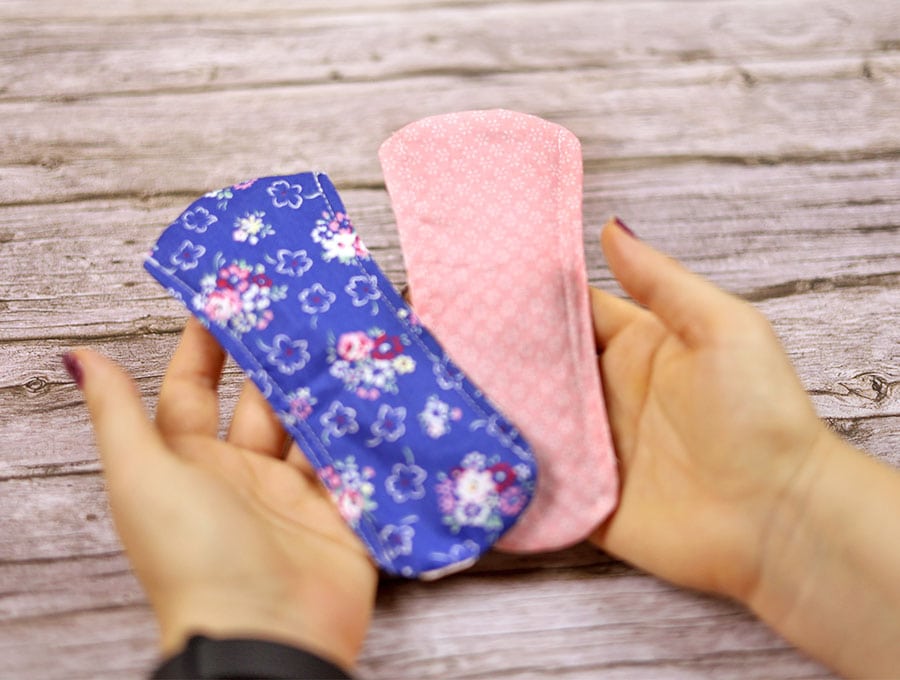
DIY Panty Liners – How to Make Reusable Panty Liners Without a Pattern
By making reusable fabric panty liners you are doing both your own body good, as well as helping the planet. You do not have bleaches and chemicals from commercial liners next to your skin, or the polypropylene used in the glue that makes the liner adhere to your panties. When you use pure cotton and flannelette for panty liners they simply get softer and more comfortable the more you wash them. Cotton, once placed into waste should decompose within 5 months maximum… not hundreds of years like the plastic, from which parts of the commercial liners and packaging are made.

The statistics are quite horrifying regarding the number of panty liners flushed down the toilet in the US alone – it runs into billions! Then they clog up drains resulting in plumber call outs. In fact most drain blockages are as the result of menstrual products being flushed. And if they get though the sewer system they end up being removed by the ton in the wastewater systems… Eeek! Ok, enough of the gross stuff.
Reusable panty liners have loads of benefits:
- They keep you feeling fresh on hot days
- Keep your underwear clean and new looking for longer
- Catch those little leaks when you maybe laugh too hard, cough or sneeze
- Give you confidence as you wait for a menstrual period to start or finally finish.
- You can use them over and over again – just toss in the wash if they are lightly used. If they have a little stain, soak, then wash.
- Compost them when it is time to finally let them go – cut into four pieces and the pure cotton, the most sustainable fabric from the aspect of decomposing rapidly in the aerobic conditions of a compost heap decompose within weeks.
Below you will find my step by step written tutorial how to make panty liners out of fabric with VIDEO instructions for all the visual learners.
We occasionally link to goods offered by vendors to help the reader find relevant products. Some of the links may be affiliate meaning we earn a small commission if an item is purchased.
Table of Contents
How to make reusable panty liners

DIY Panty Liners Supplies and tools
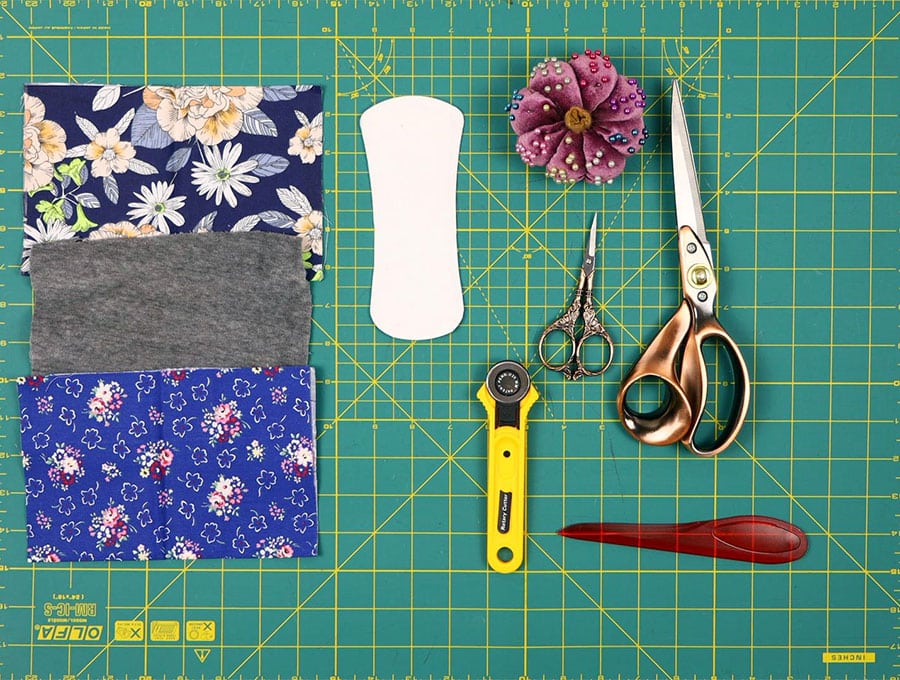
- fabric – 2 small pieces of cotton fabric
- fabric – 2 pieces of flannelette
- matching thread
- scissors (or rotary cutter and a cutting mat)
- ruler or measuring tape
- iron and ironing board
- sewing clips or pins
DOWNLOAD: pattern coming soon [Free pdf file]
Follow us for free patterns & tutorials! [easy-profiles]
How to Sew a Panty Liner
Watch the diy panty liners video first and then follow the written step by step instructions below.
Please enjoy and don’t forget to Like and SUBSCRIBE over on YouTube to be kept up to date with new videos as they come out.
Panty Liners VIDEO TUTORIAL
DIY Panty Liners INSTRUCTIONS:
Variation 1: The simple sew around method.
STEP 1:
To make a reusable panty liner you will need one commercial panty liner, peel off the backing (say goodbye because this one used as a pattern piece will be the last you will buy) and stick it straight onto the wrong side of a piece of cotton fabric that is at least ½ inch (1.3cm) larger all around than the liner.
STEP 2:
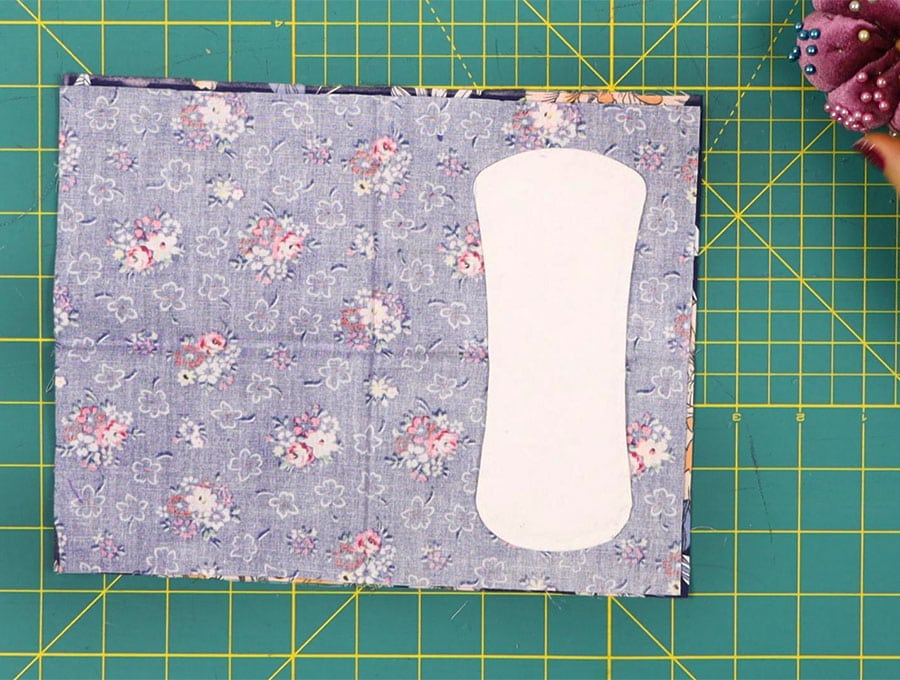
Place a piece of cotton fabric right side facing upwards on your worktop and place the right side of the cotton with the panty liner stuck to it facing the right side of the cotton below it. Pin the corners in place.
STEP 3:
Starting on the straighter part of the panty liner, machine stitch ¼ inch (6mm) beyond the edge of the commercial panty liner, back tacking when you start and working all around the edge, lifting the presser foot but keeping the needle in the fabric to turn for the curved edges at the ends. Stop an inch and a half (4cm) from where you started, back tack and cut the threads. The gap will enable you to turn the panty liner right side out.
STEP 4:
Remove the commercial panty liner and stick it onto two pieces of flannelette, placed on top of each other and pinned together, then cut out exactly to the shape of the panty liner – you will not be allowing any extra seam allowance as these will be placed inside the cover you created in Step 3.
(optional) Stitch both pieces together using a zig-zag stitch OR stitch the top and the bottom of the flannelette pieces to the wrong side of one of the cotton pieces. This will make inserting the into the cotton cover so much easier
STEP 5:
Turn the cotton reusable panty liner you stitched in Step 3 the right way out by pulling the fabric through the gap. Ensure the seams are flat turning in the raw edge of the gap in line with the liner then press with an iron.
STEP 6:
Usually the one end of the panty liner placed towards the front of the body is a little wider than the back part so insert the two pieces you have cut from flannelette, through the gap facing the correct way to line up inside the outer cover. Use your fingers to make sure the layers are lying flat and not bits are crumpled.
STEP 7:
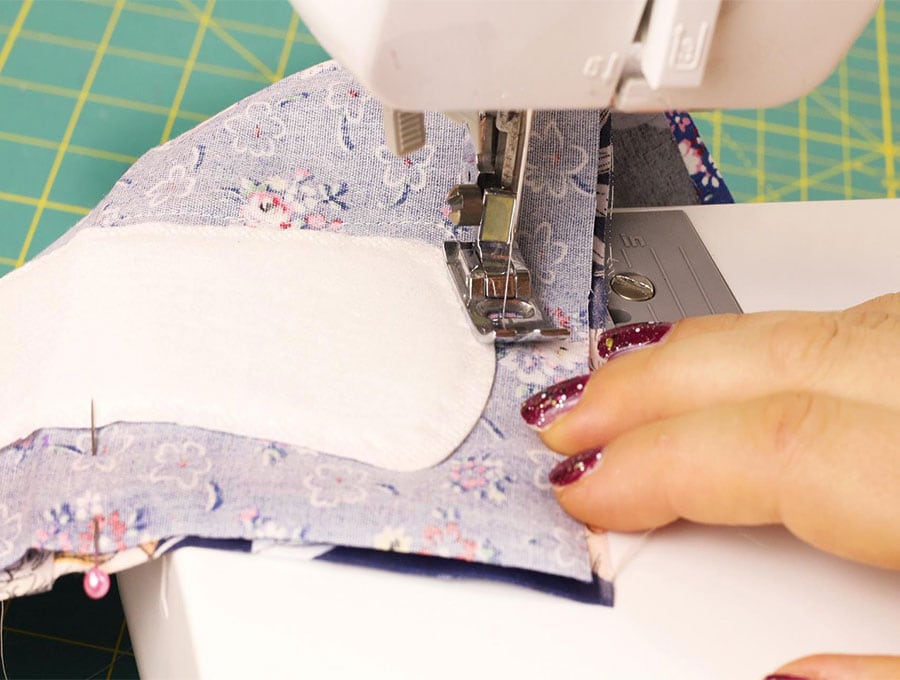
Stitch two parallel lines along the sides of the panty liner, from front to back, back tacking at start and finish, to hold the liner in place.
STEP 8:
All that remains to be done is to slip stitch the gap closed, or you can machine stitch it closed, sewing as close to the edge as possible and back tacking at start and finish.
Now you have you very first reusable panty liner. You may decide you want to mass produce them. For this you will need to create a pattern, which is where Variation 2 comes in.
Variation 2 – Making a pattern to make multiple reusable panty liners
I hope you take advantage of the free panty liner pattern above, but in case you have a favorite brand of panty liners you would like to reproduce, here’s how to do it.
STEP 1:
Place the commercial panty liner on a sheet of paper and trace around the edge of it. Then make little marks outside the edge of the traced line ¼ inch (6mm) out all around the edge. Join the dots up to create the outer line. Now remove the panty liner and 1/8 inch (3mm) inwards from the edge of the first line you traced draw a new line inside the edge – this will be to cut the size of the flannelette.
STEP 2:
Once you have your pattern pieces, put a little arrow to indicate the widest part which will be the front of the panty liner. Now, go over the outermost and innermost liners with a black marker pen, place another sheet of paper over the first outlines and trace your pattern pieces – the innermost and outermost shapes, transferring the arrows too, then cut them out. Now you have a pattern you can reuse multiple times.
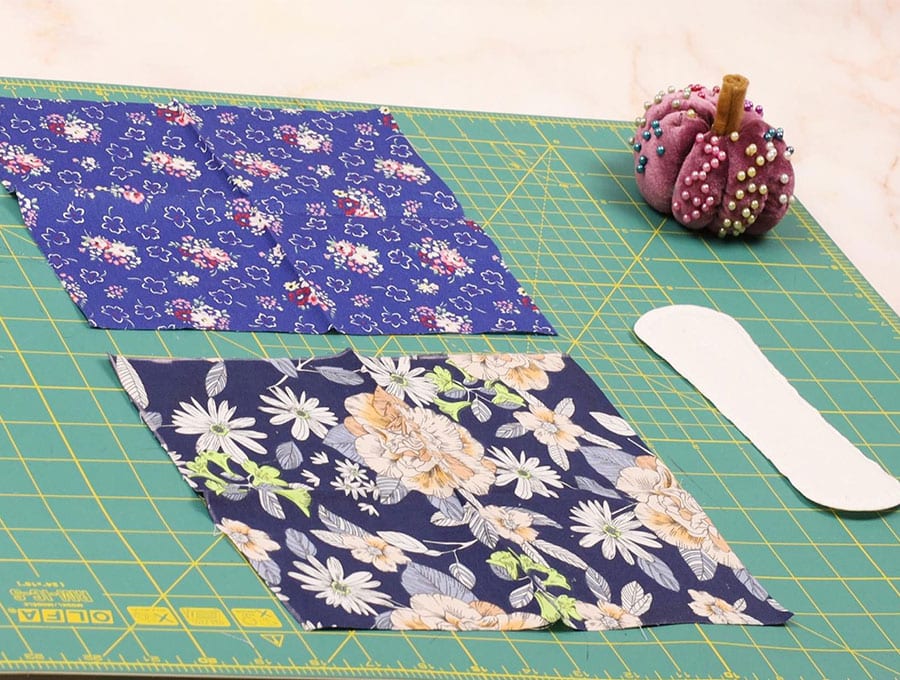
STEP 3:
Get two pieces of fabric that fit the pattern of the larger piece of the panty liner and place them right side to right side, pinning the pattern to them and then cutting out the shape. Remove the pattern but keep the pins in to get the two pieces together. You can start a production line cutting out multiple outers and stacking them.
STEP 4:
Cut out two piece of the flannelette inserts using the smaller pattern piece, after pinning the pattern in place. Repeat until you have a stack equal in number to the outer pieces.
STEP 5:
Cut out two piece of the flannelette inserts using the smaller pattern piece, after pinning the pattern in place. Repeat until you have a stack equal in number to the outer pieces.
STEP 6:
Stitch together the outer pieces, leaving a gap on one of the long straight edges through which to pull the fabric.
STEP 7:
Turn the fabric right way out, flatten the seam, tucking in the raw edges of the gap and press flat.
STEP 8:
Insert the flannelette pieces through the gap, ensuring they match up and fit neatly into the outer without wrinkles. Pin in the center to hold them secure.
STEP 9:
Top stitching ¼ inch (3mm) in from the edge, work your way around the edge of the panty liner, sewing across the gap to close it.
STEP 10:
To ensure the lining pieces stay in place run a top-stitch along the middle of the panty liner – In Variation 1 we did two top-stitches, but because the edges of the lining will have been caught up in the top-stitching, only one top stitch down the central length of the liner will be needed in this variation. Back tack at start and finish.
If you found this useful then please subscribe to have all our step-by-step tutorials with tips on using up fabric from your stash, delivered to your inbox. Never miss out on a project again.
Panty Lines FAQ:
How the reusable panty lines stay in place when in use? I’m afraid they might shift around.
A: They really don’t move if your bottom layer is flannelette. Flannelette has a bit of surface “grip” so they should not shift much unless your panties are loose or have a narrow gusset. If you find they do, you could use a little twill tape and a snap to make a “wing” that wraps around the panty gusset.
- If you prefer to make the outer shell out of cotton, one way to keep them in place is to add little wings with snaps or with velcro. Just cut a 2″×2″ (5x5cm) square or a triangle and attach on both sides. Add snaps, buttons or velcro.
- Another idea is to try Aleene's Tack it Over and Over
Reusable panty liners keep you feeling fresh on hot days, keep your underwear clean and new looking for longer, catch those leaks when you laugh too hard, cough or sneeze, plus give you confidence as you wait for a menstrual period to start or finish. And you can use them over and over again – just toss in the wash if lightly used. If they have a little stain, soak, then wash. And when it is time to finally let them go, they can be cut into four pieces and go into a compost heap. If made from pure cotton, the most sustainable fabric from the aspect of decomposing rapidly in the aerobic conditions of a compost heap they will have broken down within weeks. So, let’s get to making reusable panty liners with our easy step-by-step tutorial.
Do you like this? Pin for later:
Wanna be friends? Click HERE and follow me on Pinterest
RELATED:
Make the most comfortable DIY Panties in a matter of minutes