
How to make panties – DIY Panty Pattern from Scratch
When you have a favorite pair of panties that fits well you may be reluctant to let them go because you think you’ll struggle to find more that fit so well. Well, here’s an easy way to sew your own panties the easy way using your favorite pair as a panty pattern. I’ll show you how to make panties from scratch in a flash. Make sure before you start that the stretch on the commercially made panties is similar to the stretch on the fabric or lace you are using for your own home-made panties.
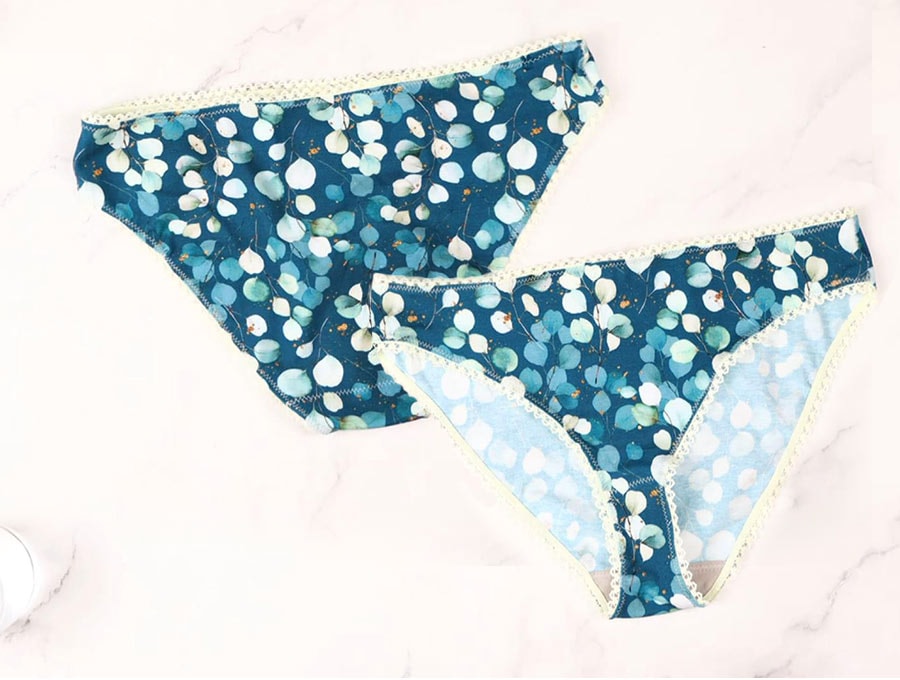
Have you always wanted to try making your own panties, but never known quite how? Well, relax. Here’s an easy DIY panties tutorial to follow using a current pair of panties that you know fit you well. Our easy step by step instructions make panties a breeze to sew. Try them in lace, lycra or comfy cotton knits and in various beautiful colors and printed patterns. No more boring beige panties, although beige does have its place under slightly see through clothing. Try some in black lace for your first attempt, as black is very sophisticated, and if your stitching is just slightly wonky on the first attempt it won’t show up. This way you can make G-string, bikini, half or full briefs, by creating a pattern from your own panties.
Below you will find my step by step written tutorial with VIDEO instructions for all the visual learners.
We occasionally link to goods offered by vendors to help the reader find relevant products. Some of the links may be affiliate meaning we earn a small commission if an item is purchased.
Table of Contents
- 1 How to make panties
- 2 DIY Panties Supplies and tools
- 3 How to Sew Panties
- 3.1 DIY panties VIDEO TUTORIAL
- 3.2 INSTRUCTIONS:
- 3.3 Step 1:
- 3.4 Step 2: Cut the pattern
- 3.5 Step 3: Cut out the fabric
- 3.6 Step 4: Make the gusset piece
- 3.7 Step 5: (optional)
- 3.8 Step 6: Pin gusset to panties
- 3.9 Step 7: Stitch the gusset
- 3.10 Step 8:
- 3.11 Step 9:
- 3.12 Step 10:
- 3.13 Step 11:
- 3.14 Step 12: (OPTIONAL) Add a bow
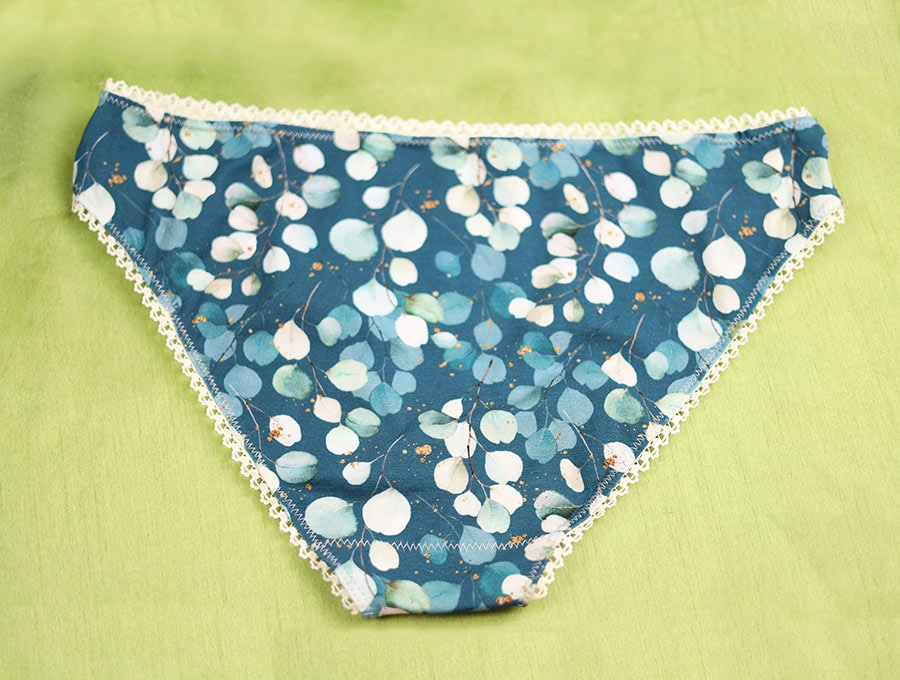
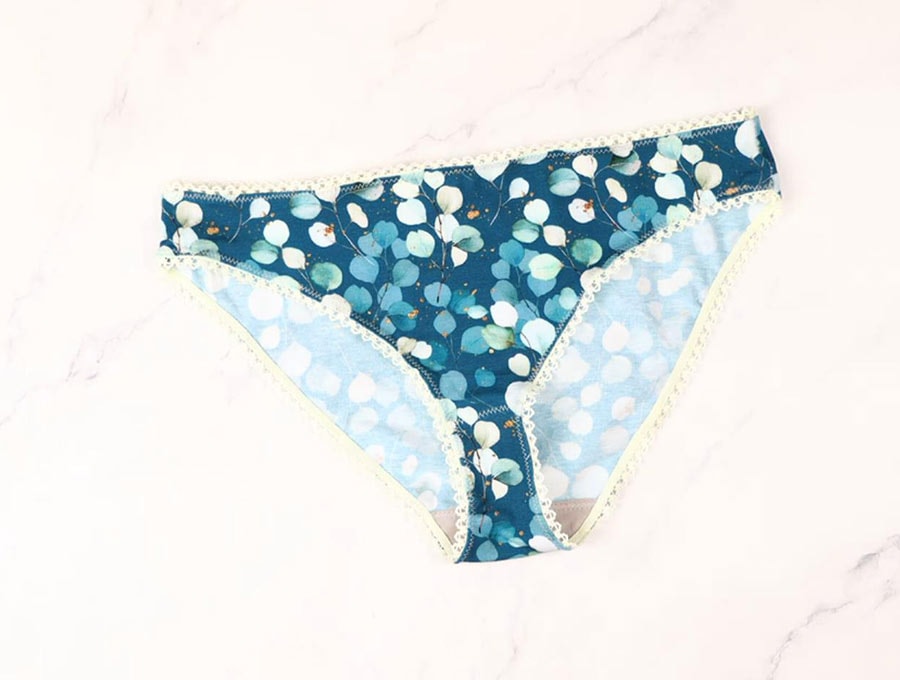
How to make panties
DIY Panties Supplies and tools
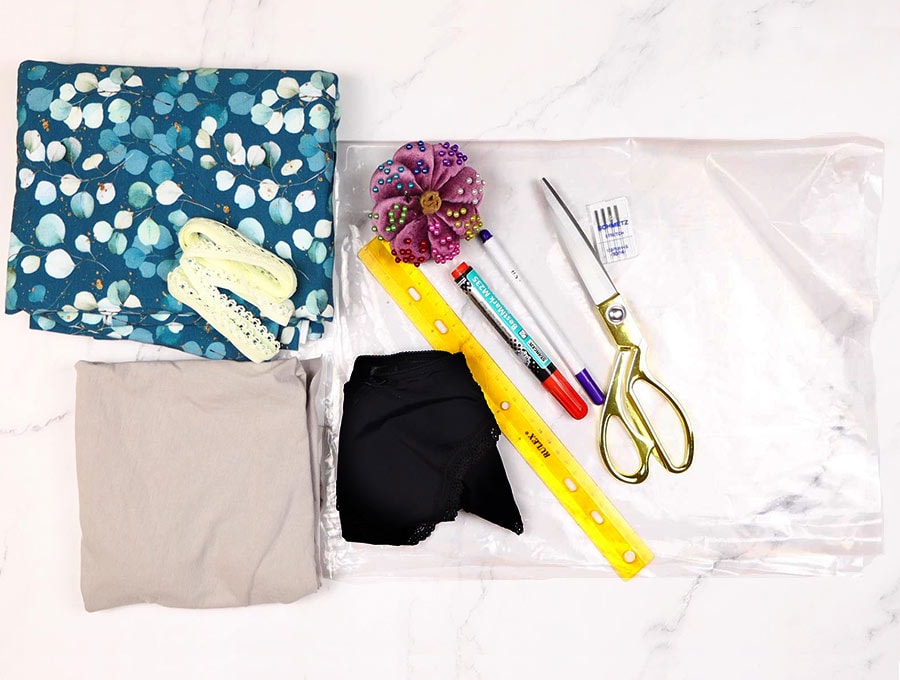
- fabric (panties)- stretch cotton or stretch lycra
- fabric (gusset) – stretch cotton
- matching thread
- picot elastic
- scissors (or rotary cutter and a cutting mat)
- ruler or measuring tape
- fabric marker
- permanent marker
- nylon or medium weight plastic
- iron and ironing board
- sewing clips or pins
Follow us for free patterns & tutorials! [easy-profiles]
How to Sew Panties
Watch the diy panties video first and then follow the written step by step instructions below.
Please enjoy and don’t forget to Like and SUBSCRIBE over on YouTube to be kept up to date with new videos as they come out.
DIY panties VIDEO TUTORIAL
INSTRUCTIONS:
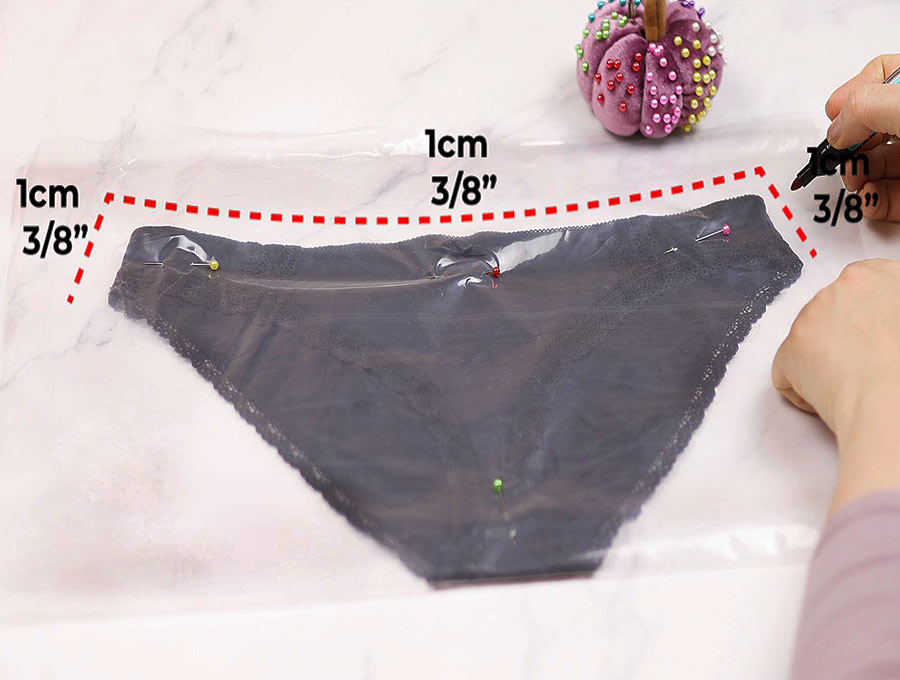
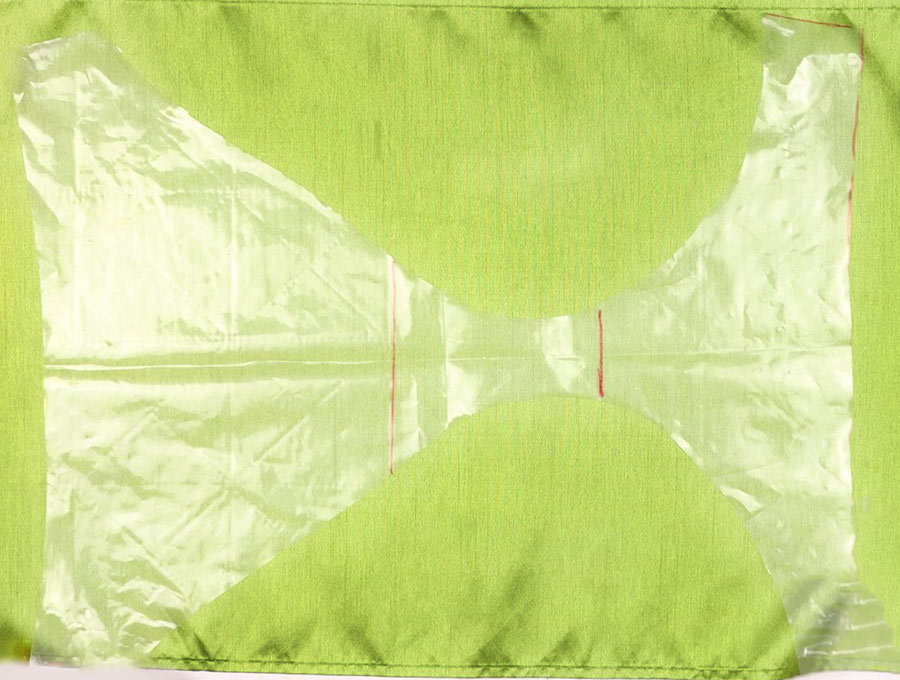
Step 1:
Lay out your favorite pair of panties flat on your worktop, then take a sheet of medium weight plastic paper and place the top edge 2 cm from the edge of the top of the panties.
Using a marker pen that works on plastic, carefully trace around the edge of the top of the panties down the sides, and around the legs until you get to the fold at the bottom. Go back up and mark with a line where the gusset in the panties meets the fabric at the front.
Mark the fold at the bottom with a slightly wavy line- just to keep your place, then flip over the panties and line up the base with the line and carry on tracing the back part of the leg on either side, the sides and the top.
Mark the point at which the gusset joins the back part of the panties with a straight line.
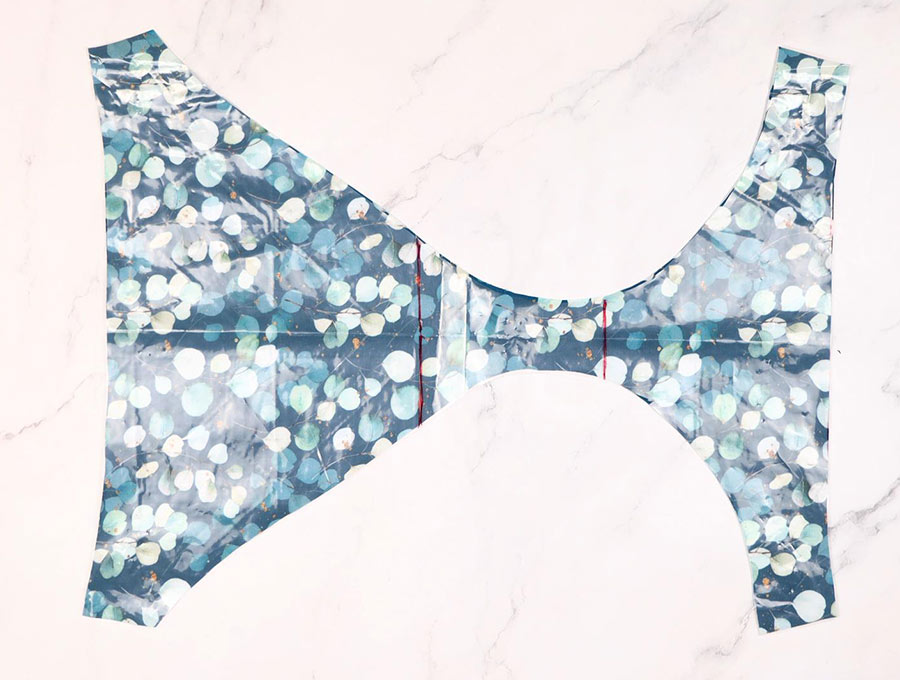
Step 2: Cut the pattern
Cut out your pattern from the plastic.
Step 3: Cut out the fabric
Place the plastic pattern over a suitable piece of stretch lycra or lace that you have chosen.
Pin the pattern in place and cut around the fabric, marking with a dot on both sides where the lines for the gusset are, then set aside.
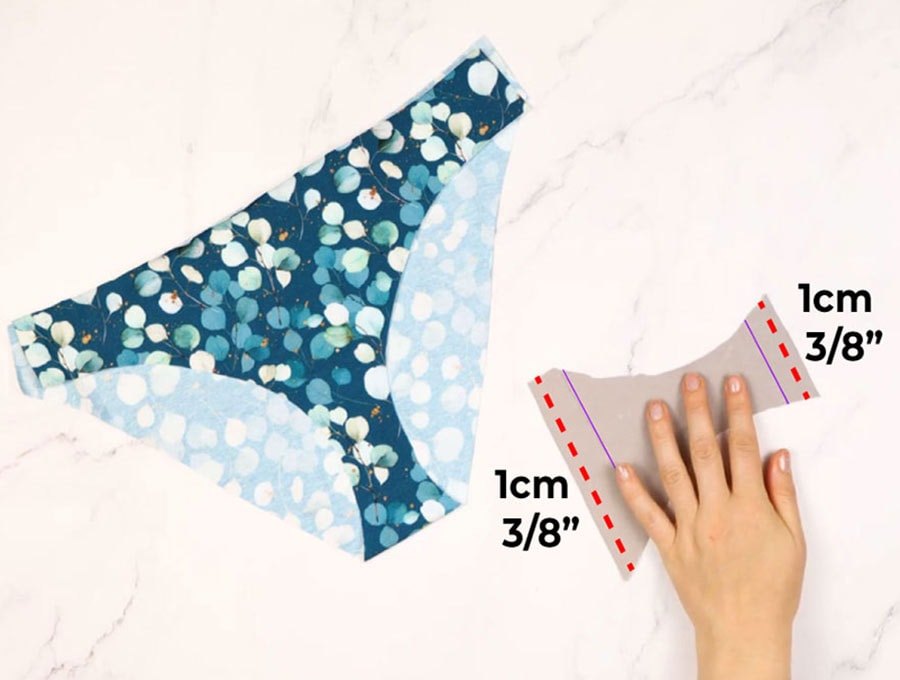
Step 4: Make the gusset piece
It is now time to make the gusset piece from a stretch cotton by laying the pattern over the smallish piece of gusset material and marking the edges. When it comes to marking the lines simply flip the pattern piece over and fold along the marked line, then mark on the material with a fabric marking pen ½ inch above the line – this is for the seam allowance. Then flip the bottom of the pattern up and mark the lower line, again allowing for a ½ inch seam allowance.
Step 5: (optional)
If you are working with lace then it is best to serge (overlock) the two ends of the gusset piece. If you are using a non-see-through fabric then you will simply turn in the ends when it comes to attach the gusset piece to the panties.
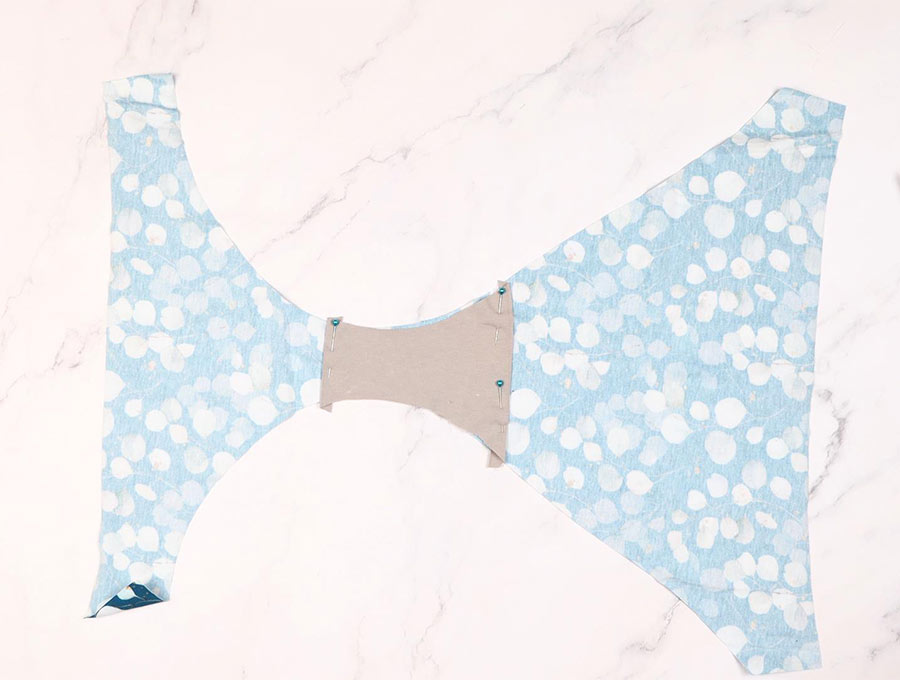
Step 6: Pin gusset to panties
Lay out your fabric with the right side facing downwards, then lay the gusset piece in place – after folding over ½ inch at the top and bottom and pin in place aligned with the marks you made.
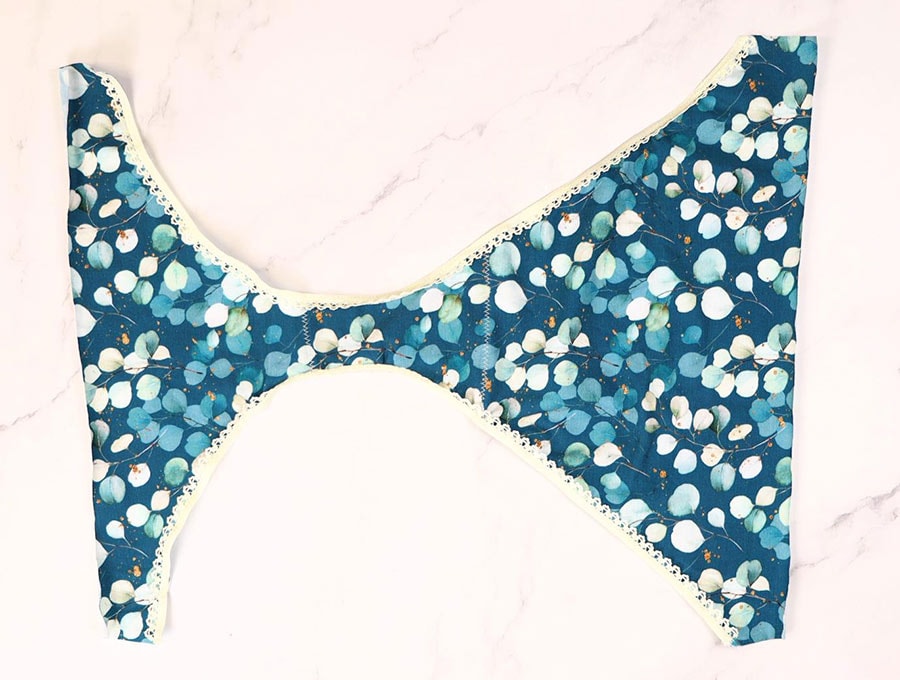
Step 7: Stitch the gusset
Stitch the gusset to the pantie shape at top and bottom using zig-zag stitch, back tacking at start and finish. And trimming off any extra fabric from the edges of the turnover.
Step 8:
Time to attach the elastic. Make sure the elastic is not pulled too tight but fed through at an even rate. Starting on the right side of the fabric, below what will be the side seam, stitch the elastic ¼ inch in from the edge, with the right side of the elastic facing inwards towards the right side of the fabric. You will flip the elastic down later.
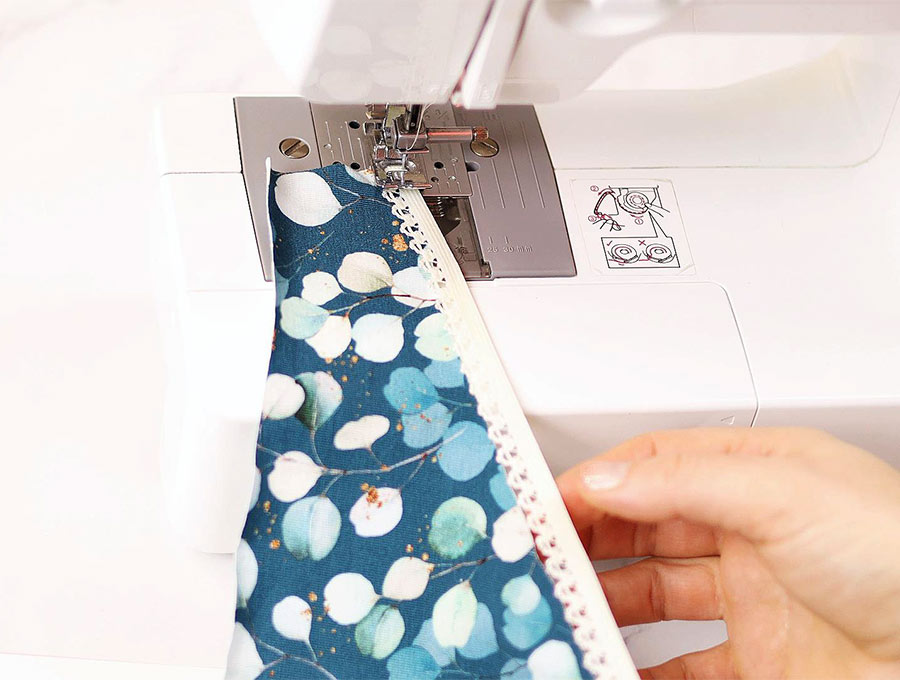
Now do the opposite side, feeding the elastic through evenly.
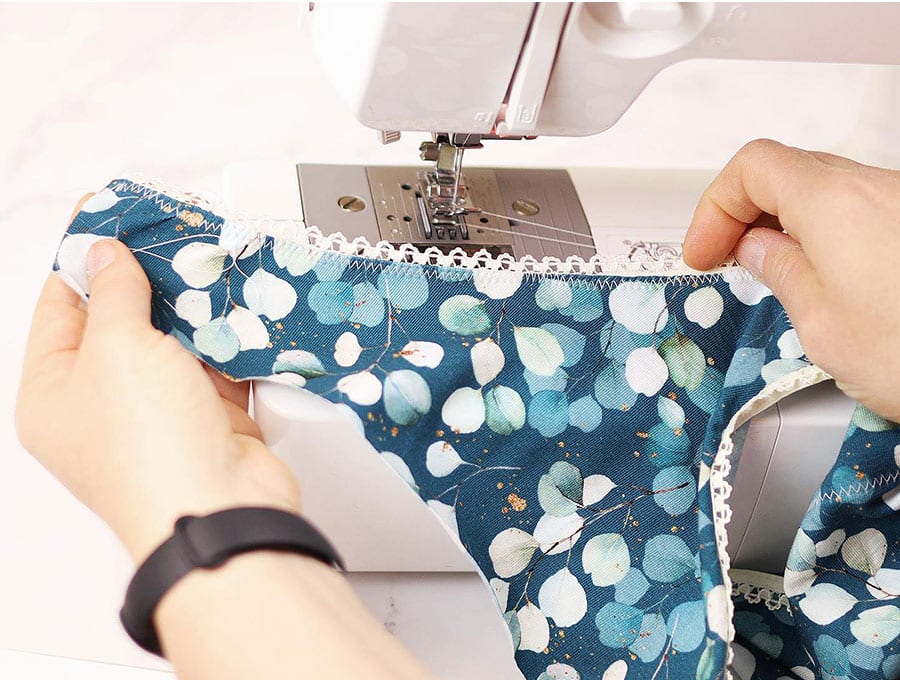
Step 9:
Stitch the sides of the panties together with a straight stitch back tacking at start and finish. Then top stitch down the sides, ensuring the elastic lies flat.
Step 10:
To attach the elastic to the top of the front of the panties you will first join the elastic on the wrong side, then overstitch the ends so it lies flat. Then measure the elastic circle into 4 equal quarters, marking with pins, then find the center and back of the panties and mark with pins. Match up the side seams and front and back pins so the quarters of elastic are divided evenly between the quarters of fabric. Starting from a side seam stitch the elastic ¼ inch in from the edge, with the right side of the elastic facing inwards towards the right side of the fabric.
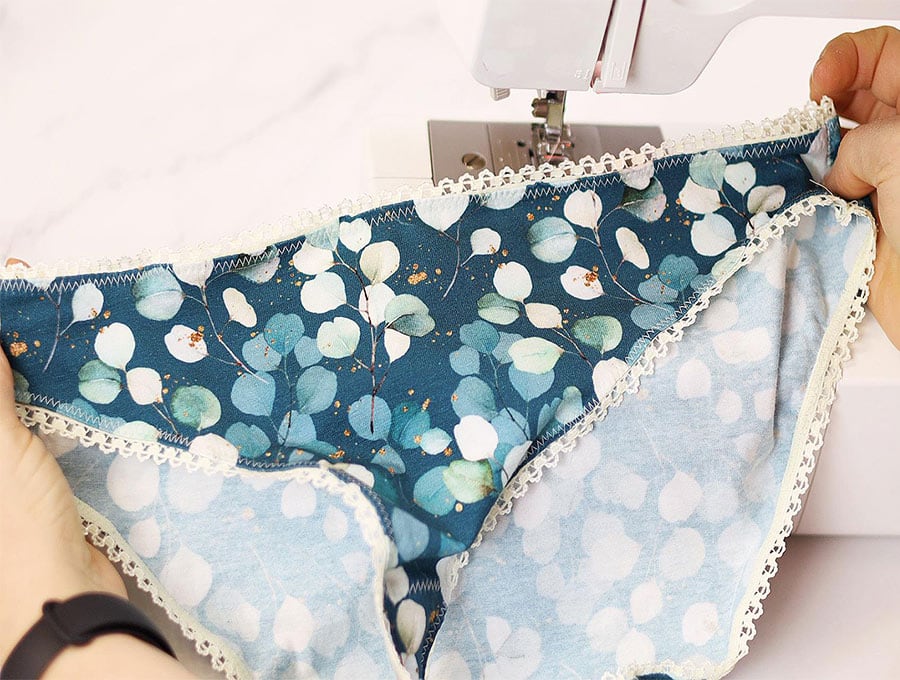
Step 11:
With the right side of the panties facing you, flip down the elastic and top stitch using a zig zag stitch across the right side of the fabric, all around the one leg, then the other and finally all around the top of the panties, making sure to catch the fabric and elastic that is lying flat underneath without allowing the zig-zag stitch to stitch onto the elastic stick out from the fabric at the front.
Step 12: (OPTIONAL) Add a bow
The last step is to attach a small bow at the front of the panties in the middle just below the elastic line.
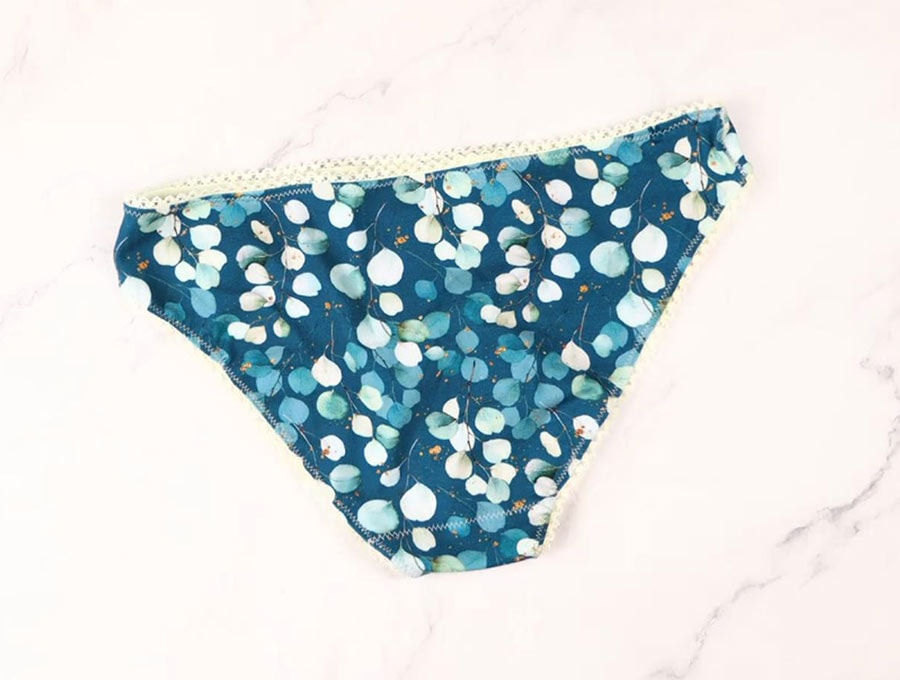
Ta-da! You’ve sewn your first pair of homemade panties. Congrats!
Once you have this easy way of making panties sorted you may want to try other patterns for making more advanced panties and for making bras. Subscribe to have these easy tutorials delivered straight to your inbox, complete with visuals and step by step instructions.
I hope my easy step by step instructions make panties a breeze to sew. Have you tried this method of sewing DIY panties? Let me know your thoughts down in the comments section.
Do you like this? Pin for later:
Wanna be friends? Click HERE and follow me on Pinterest
RELATED:
Lingerie sewing patterns (bras, panties, slips, boxers, pajamas)