
DIY Triangular Wedge Pillow for Keeping Your Body at Higher Angle
If you have ever had a cold or the flu and find you cough like crazy when you lie down, then this triangular cushion that keeps the upper body at a higher angle is going to help. It also helps those with chronic respiratory problems. Slip it under a pregnant belly for support when you sleep on your side, or use it to elevate your feet at the end of a busy day. It is also great for working in bed on your laptop.
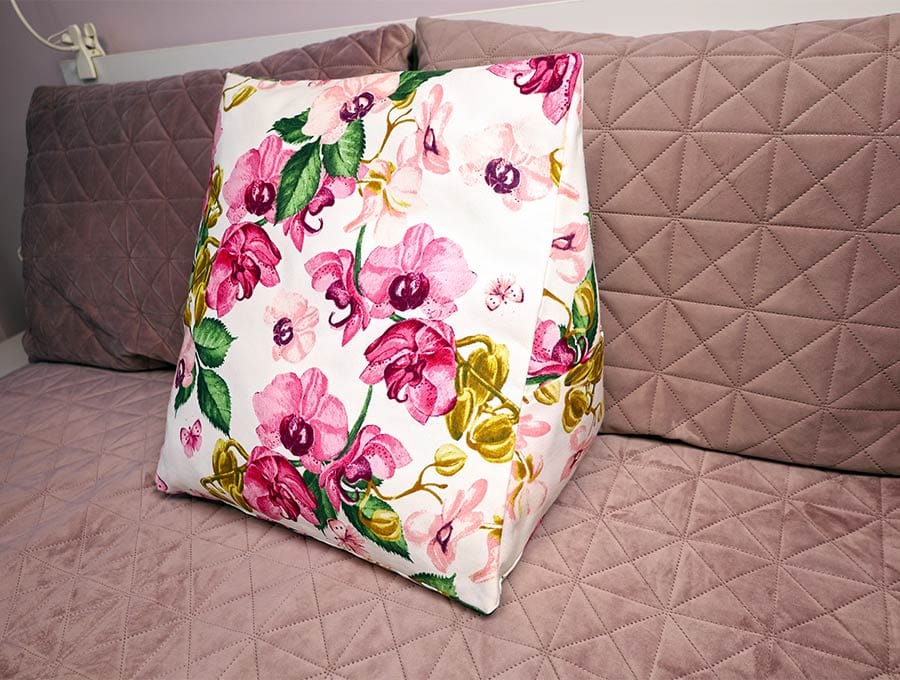
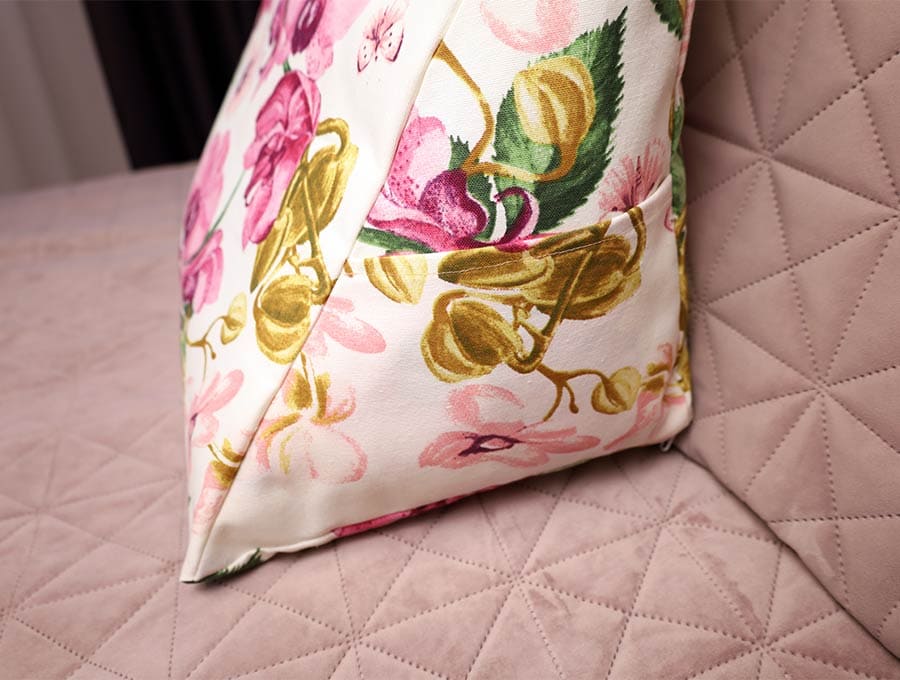
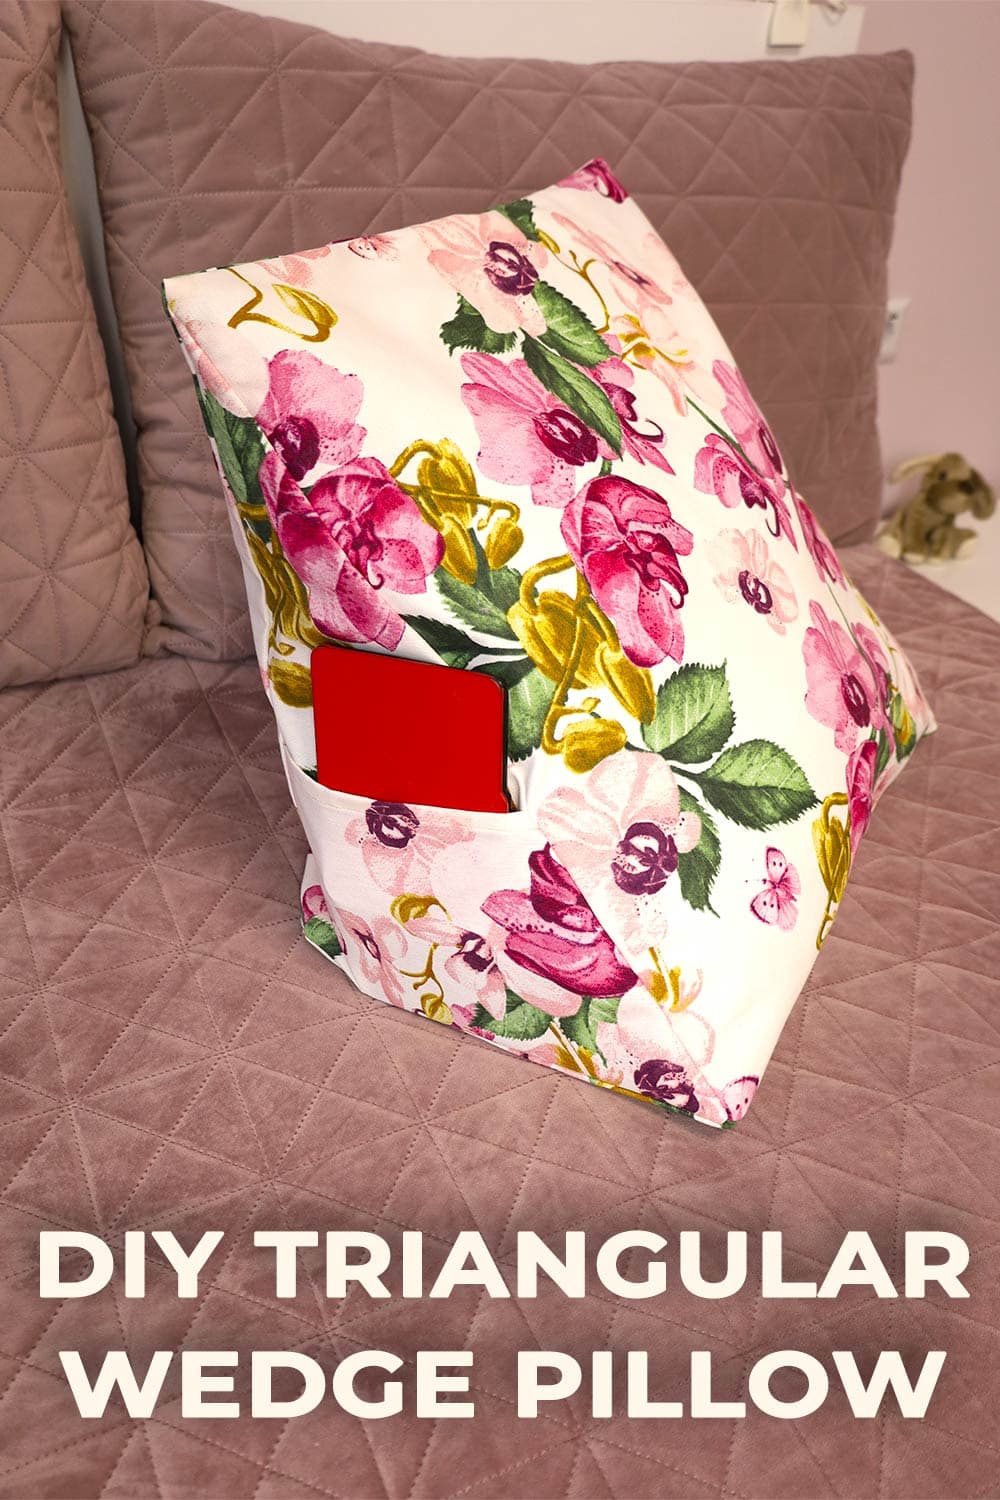
I love the pockets on the sides for a phone, a pen and notepad, or whatever other small items you need right with you when working or watching TV from bed. Learn how to make this washable, zippered cover with our visuals and step-by-step tutorial.
Below you will find my step by step written tutorial with VIDEO instructions for all the visual learners.
We occasionally link to goods offered by vendors to help the reader find relevant products. Some of the links may be affiliate meaning we earn a small commission if an item is purchased.
Table of Contents
- 1 How to make a Wedge Pillow
- 2 Triangular Wedge pillow Supplies and tools
- 3 How to Sew a Triangular Pillow
- 3.1 DIY wedge pillow VIDEO TUTORIAL
- 3.2 INSTRUCTIONS:
- 3.3 STEP 1: Cut the fabric
- 3.4 STEP 2: Prepare the sides and pockets
- 3.5 STEP 3: Cut the fabric for the pockets
- 3.6 Step 4: Fold and press
- 3.7 Step 5: Sew
- 3.8 Step 6: Pin pockets to side pieces
- 3.9 Step 7: Sew
- 3.10 Step 8: Sew back piece to the front
- 3.11 Step 9: Sew the base to the front
- 3.12 Step 10: Press the seams
- 3.13 Step 11: Sew the side pieces to main
- 3.14 Step 12: Sew Sides to the back
- 3.15 Step 13: Sew base to the sides
- 3.16 Step 14: Finish the raw edge
- 3.17 Step 15: Pin the zipper to the pillow
- 3.18 Step 16: Sew the zipper
- 3.19 Step 17: Turn around
- 3.20 Step 18: Topstitch around the zipper
- 3.21 Step 19: Close the gaps
- 3.22 Step 20: Sew the lining
- 3.23 Step 21: Stuff the triangular pillow
- 3.24 Step 22: Insert into the pillow cover
How to make a Wedge Pillow
Triangular Wedge pillow Supplies and tools
- fabric (main) – upholstery home décor fabric or 100% tightly woven cotton – 1 yard of 54″ (140cm) wide fabric
- fabric (lining) – interlining or light cotton – 3/4 yard of 54″ (140cm) wide fabric
- zipper – 20″ (50cm)
- polyester filling– I used about 18oz (500g) but the quantity will depend on how stiff you want your pillow
- matching thread
- scissors (or rotary cutter and a cutting mat)
- ruler or measuring tape
- iron and ironing board
- sewing clips or pins
- hand sewing needle and thread
Follow us for free patterns & tutorials! [easy-profiles]
How to Sew a Triangular Pillow
Watch the diy triangular wedge pillow video first and then follow the written step by step instructions below.
Please enjoy and don’t forget to Like and SUBSCRIBE over on YouTube to be kept up to date with new videos as they come out.
DIY wedge pillow VIDEO TUTORIAL
INSTRUCTIONS:
STEP 1: Cut the fabric
For this triangular cushion you will need a strong cotton fabric or light upholstery fabric, and interlining or lightweight polycotton to create the insert, as well as microfiber stuffing.

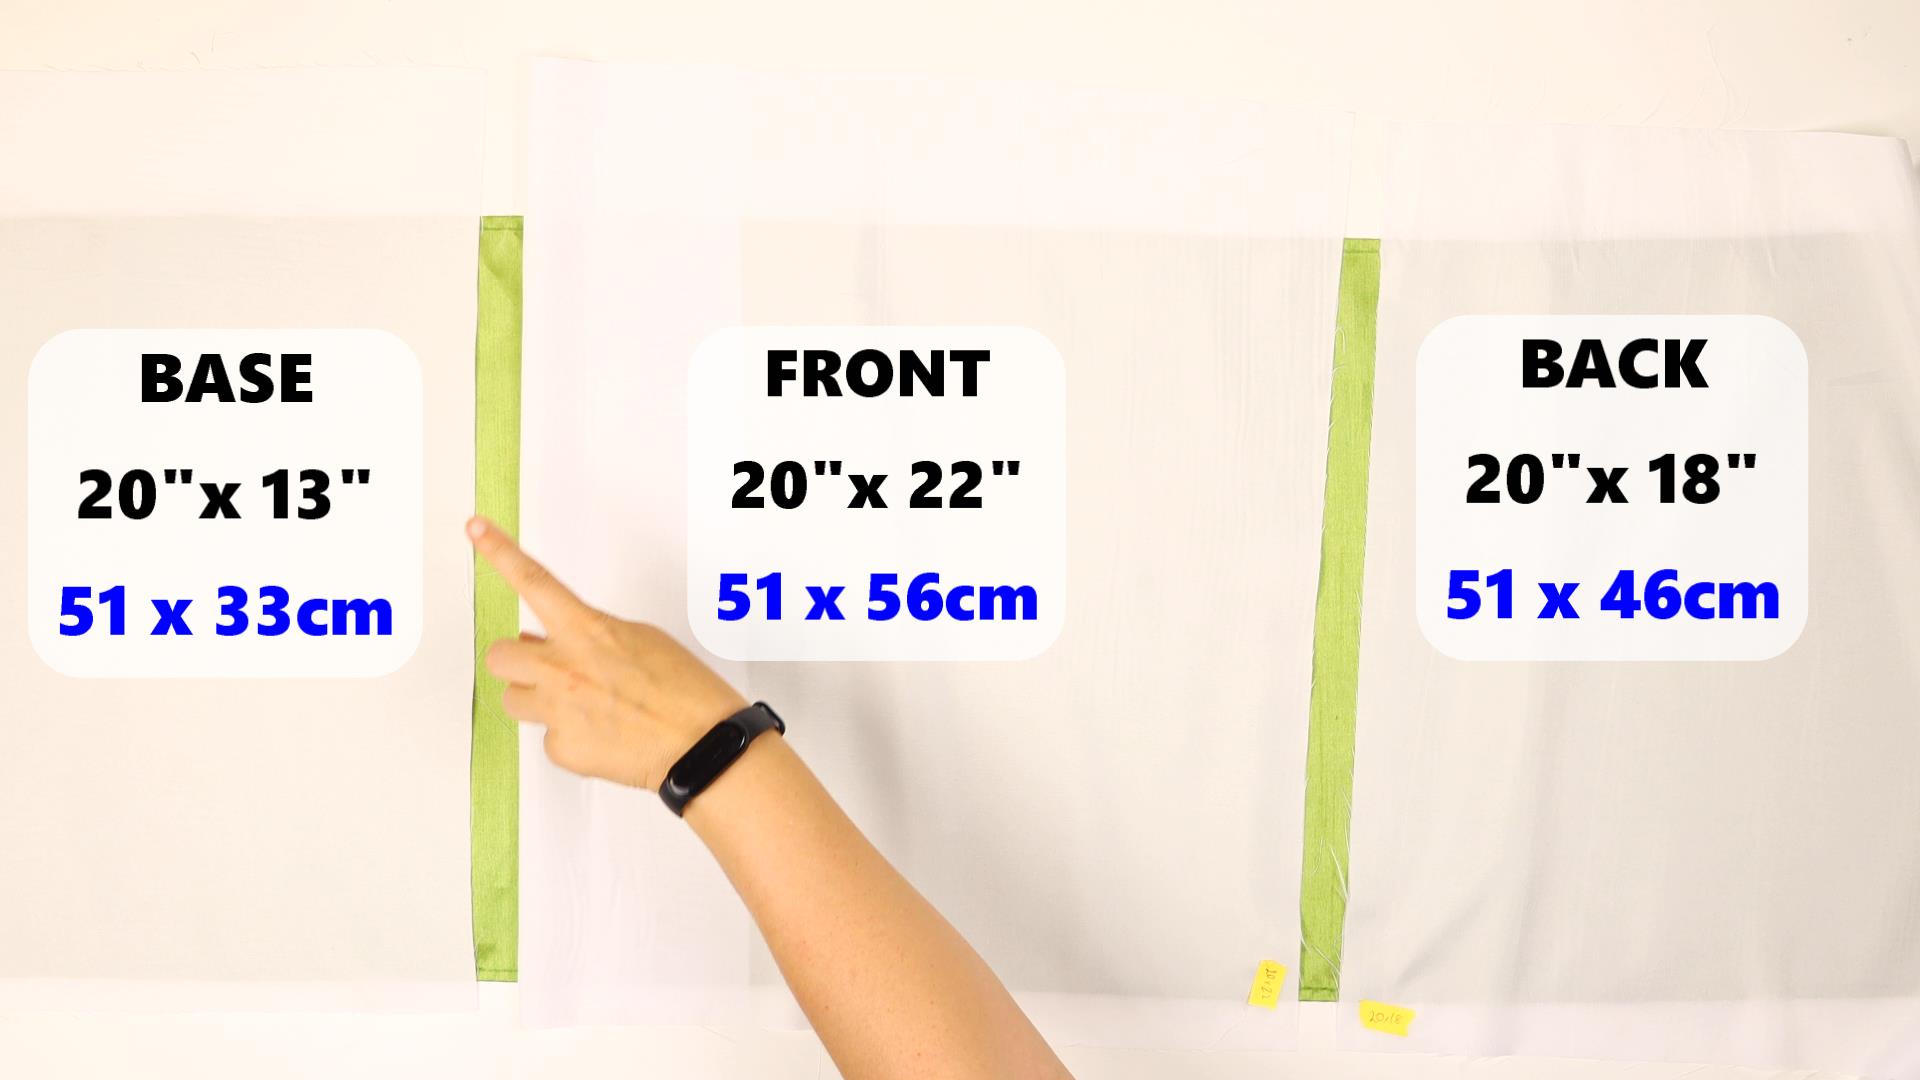
From the upholstery fabric cut:
- Front 20 x 22″ (51 x 56 cm)
- Back 20 x 18″ (51 x 46 cm)
- Base 20 x 13″ (51 x 33 cm)
- Sides and pockets (2) 13 x 18″ (33 x 46 cm)
From the interlining cut:
- Front 20 x 22″ (51 x 56 cm)
- Back 20 x 18″ (51 x 46 cm)
- Base 20 x 13″ (51 x 33 cm)
- Sides and pockets 13 x 18″ (33 x 46 cm) – NOTE: For the insert you only need one piece cut diagonally.
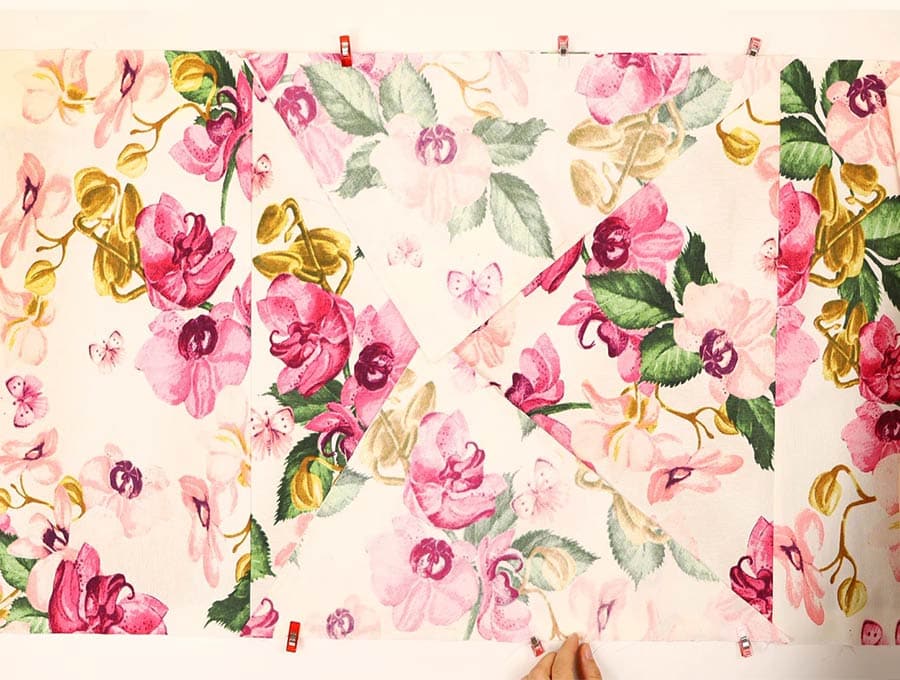
STEP 2: Prepare the sides and pockets
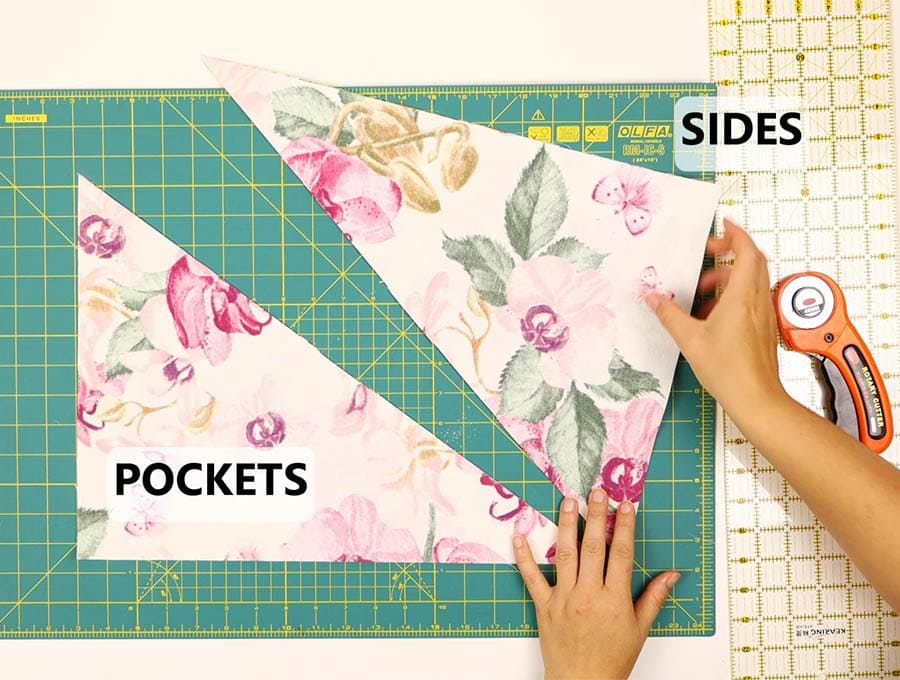
Take the 2 pieces for the sides and pockets, place them right side to right side and using a ruler and a rotary cutting wheel, cut diagonally from corner to corner so you have 4 triangular pieces.
STEP 3: Cut the fabric for the pockets
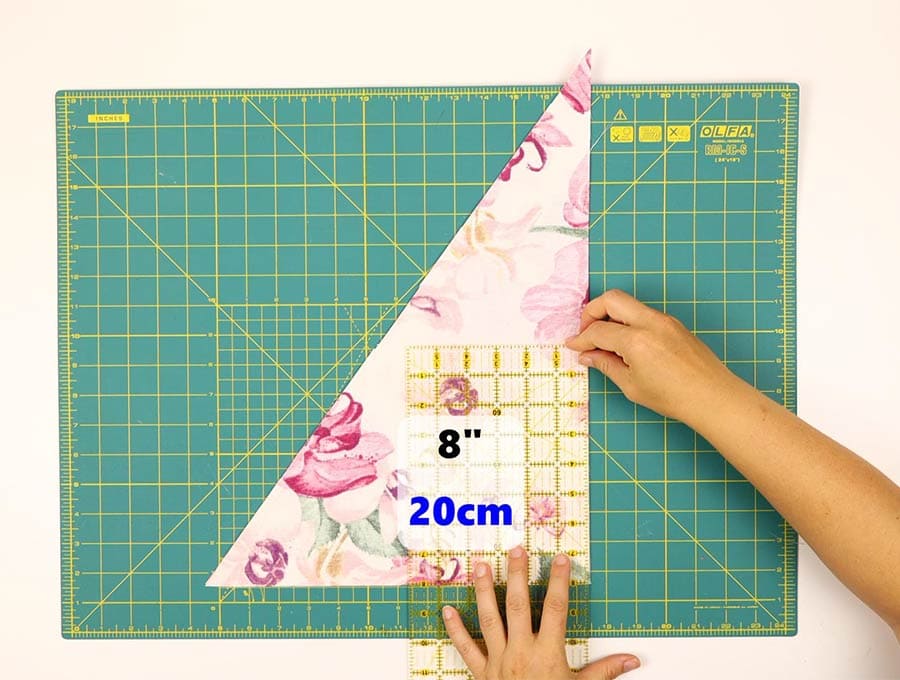
Set two triangular pieces that face each other aside for the moment.
Take the next set and measure 7 inches (18 cm) up from the short side of the base, along the longer side and make a mark. Move the ruler across and measure 7 inches (18 cm) up from the base along on the diagonal and make a mark. Join the two marks and cut with a rotary cutter. Keep the two base pieces and open them out.
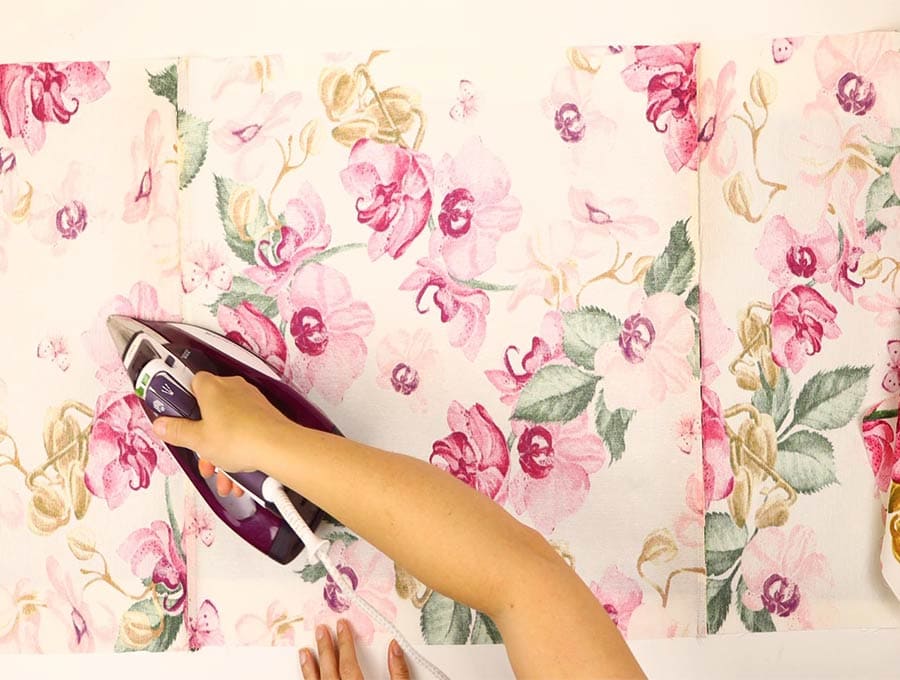
Step 4: Fold and press
On the top side fold over 3/8 inch (1cm) and press, then fold over 3/8 inch (1cm) again and press.
Step 5: Sew
Stitch a seam along the fold over 1/4 inch (6mm) from the edge on both pieces.
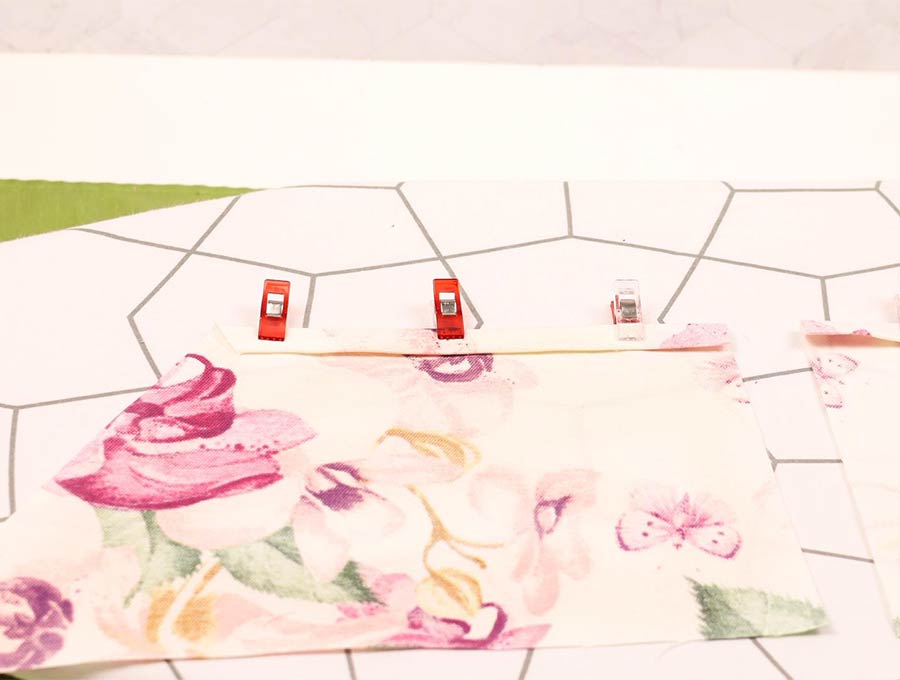
Step 6: Pin pockets to side pieces
Take the set of triangular pieces you set aside earlier and open them out with the right sides facing upwards. Place the two pockets pieces over the triangular side pieces so they line up with the base and along the sides. Pin in place.
Step 7: Sew
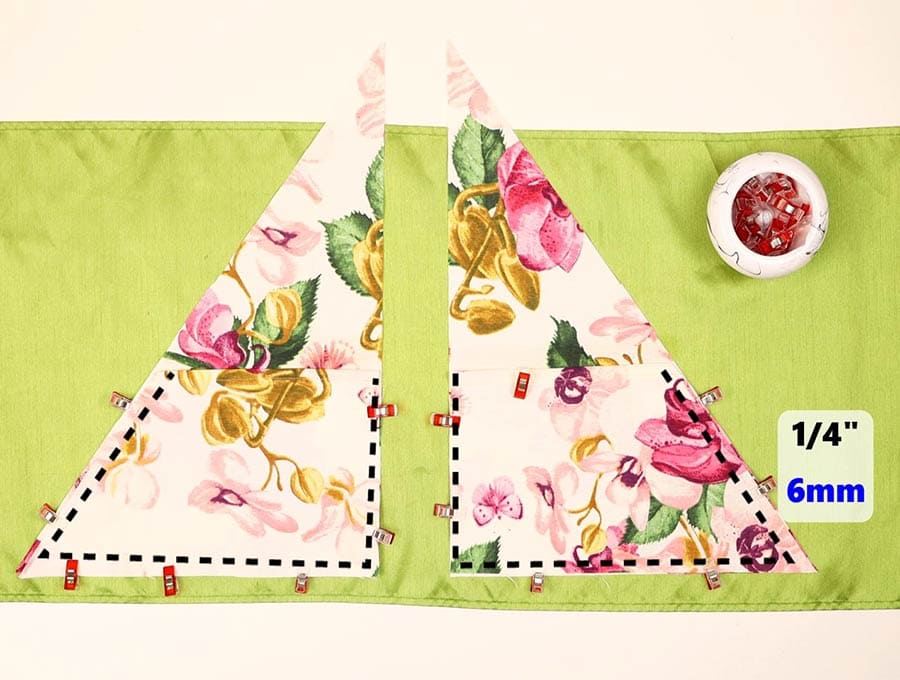
Stitch along the base and sides of the pocket pieces 1/4 inch (6mm) from the edge.
Step 8: Sew back piece to the front
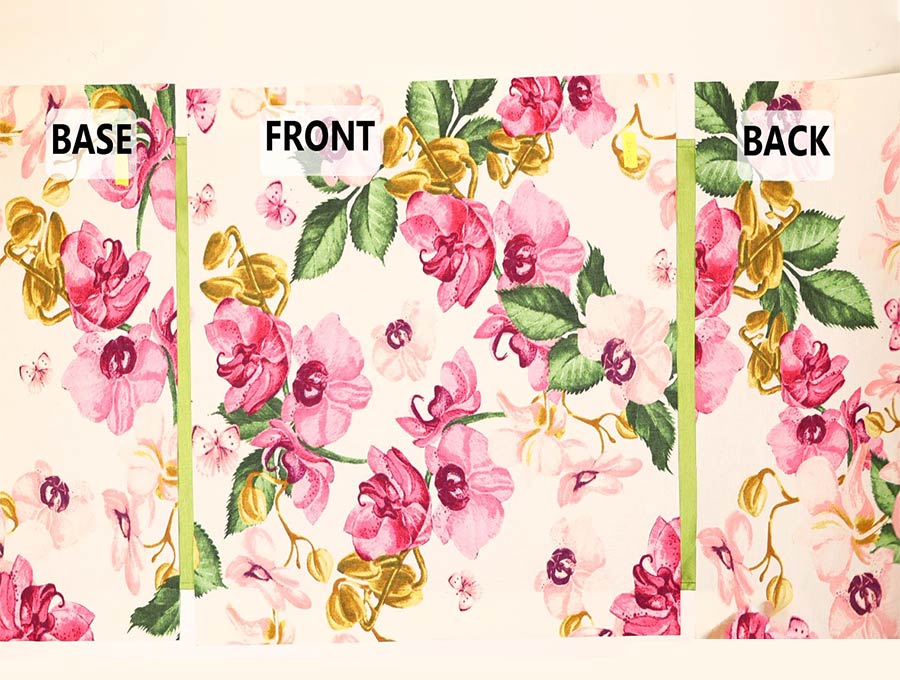
Lay the back piece of the cushion right side up on the worktop and place the front piece over it, wrong side up, lining up the edges – the one edge will be 4 inches (10 cm) shorter on one side. Pin in place and then stitch 3/8 inch (1 cm) from the edge along the one side opposite the longer front piece.
Step 9: Sew the base to the front
Lay the base piece on the opposite side to the one you just stitched and pin in place then stitch along 3/8 inch (1 cm) from the edge.
Step 10: Press the seams
Open out the long rectangular piece you have created, place wrong side up on you ironing board, open the seams and press.
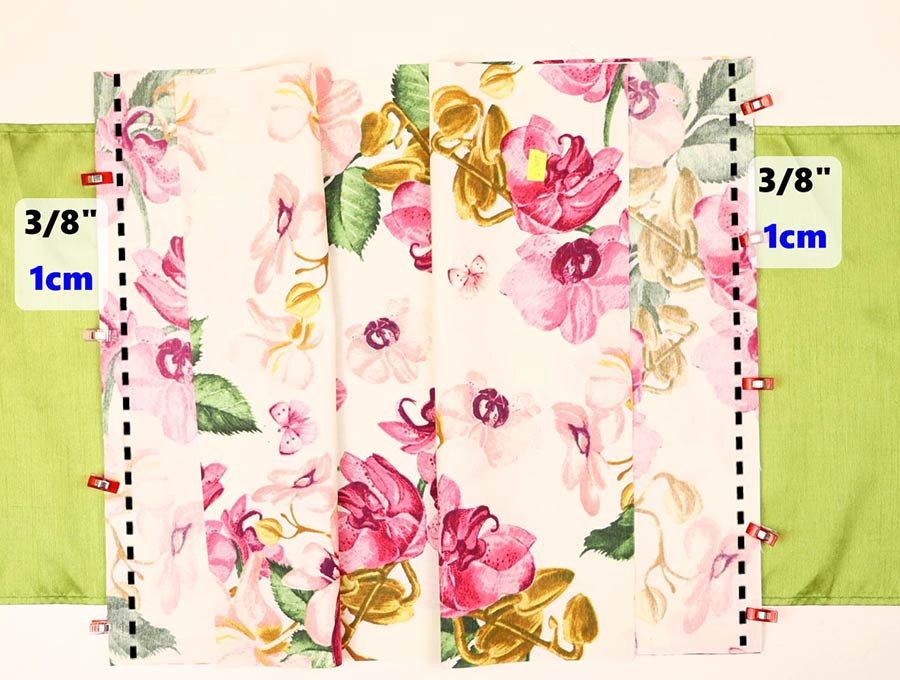
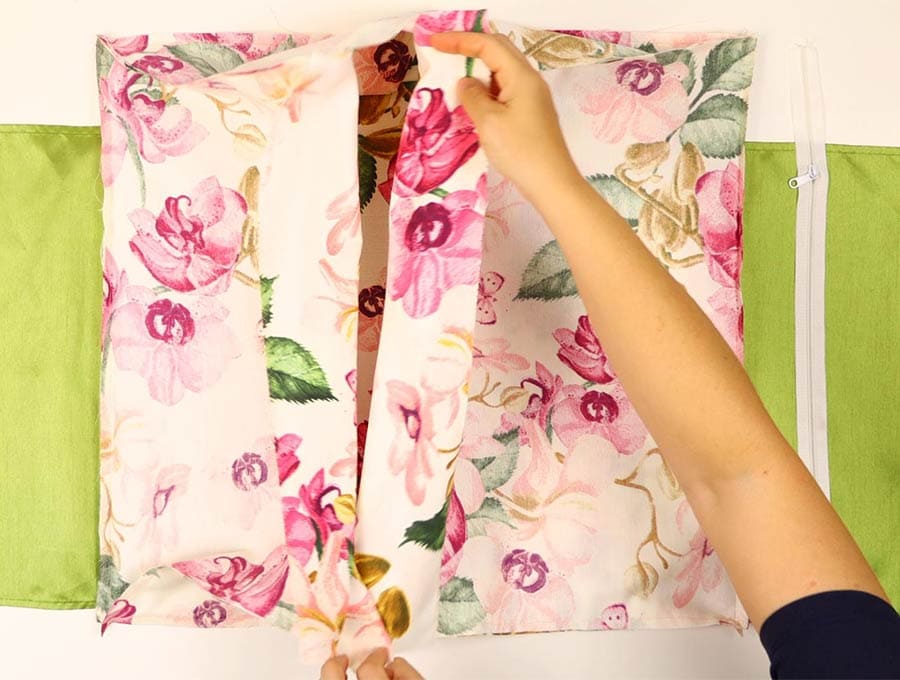
Step 11: Sew the side pieces to main
Lay the long rectangular piece on your worktop, and place the side pieces with the pockets on the front piece, which is in the middle. Make sure the base of the pockets face the base of the cushion. Pin both pieces in place on opposite sides of the front, then stitch from seam to seam 3/8 inch (1 cm) from the edge. Where the seam has been pressed open at start and finish, simply lift and stitch right to the seam line.
Step 12: Sew Sides to the back
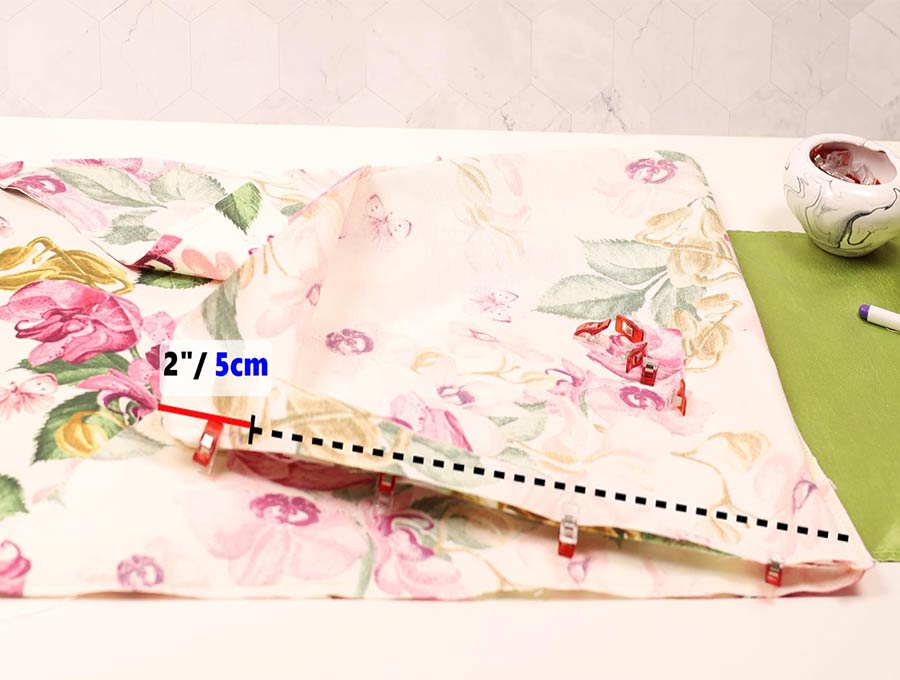
Now pin the back piece to the sides. Stitch 3/8 inch (1 cm) from the edge along the length but stopping 2 inches (5cm) from the end that is nearest to the base.
Step 13: Sew base to the sides

Fold the base piece up to the side piece that has not been stitched yet and pin in place. Repeat on the other side of the cushion. When you stitch 3/8 inch (1 cm) from the edge stop 2 inches (5cm) from the end nearest where you left the gap in the previous step.
Step 14: Finish the raw edge
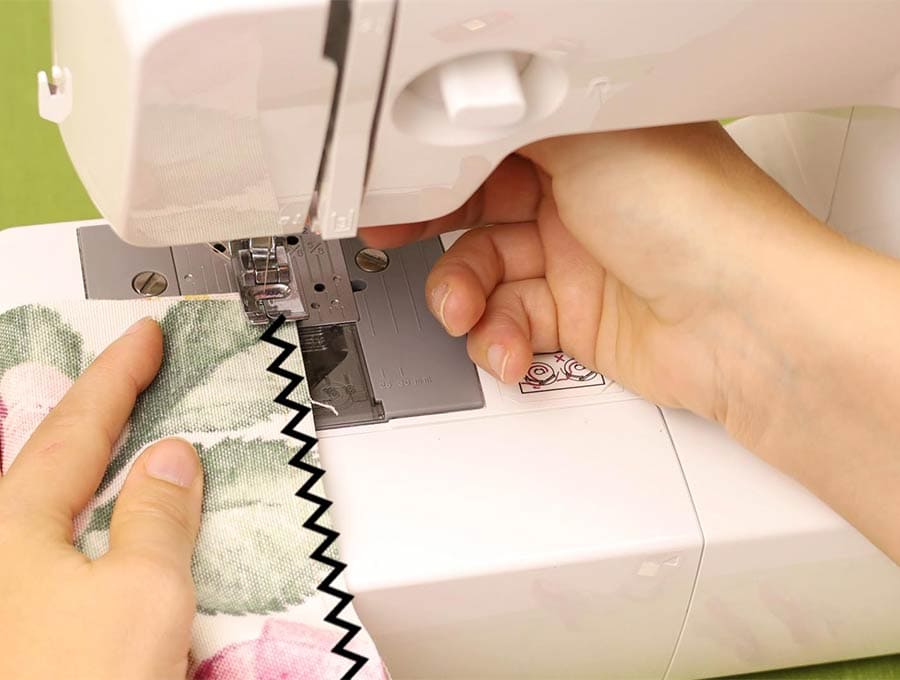
Zig zag or serge (overlock) the two open edges.
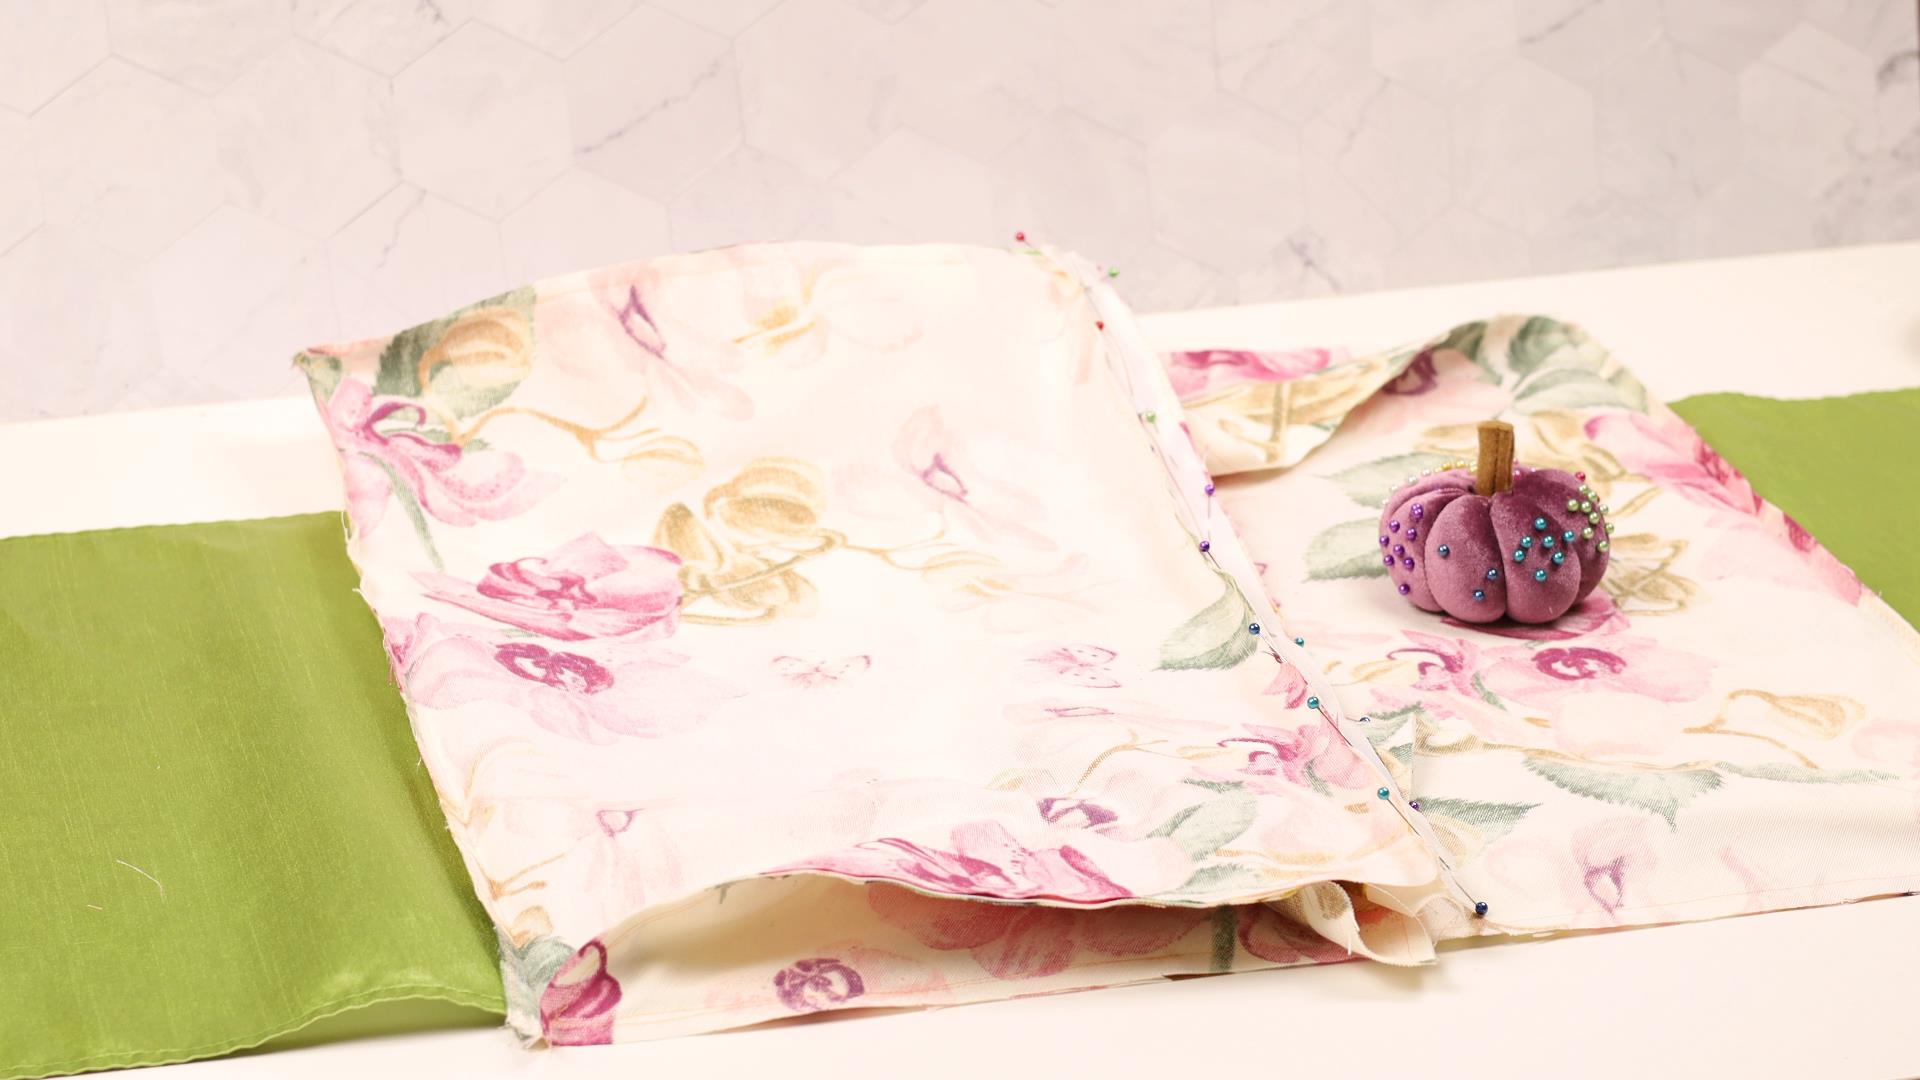
Step 15: Pin the zipper to the pillow
Lay the cushion down, still inside out ,but with the right side where you zig-zagged or serged the edge uppermost and pin one side of the zipper to the fabric, the right side of the zipper must face the right side of the fabric. Pin the other side of the zipper to the right side of the fabric.
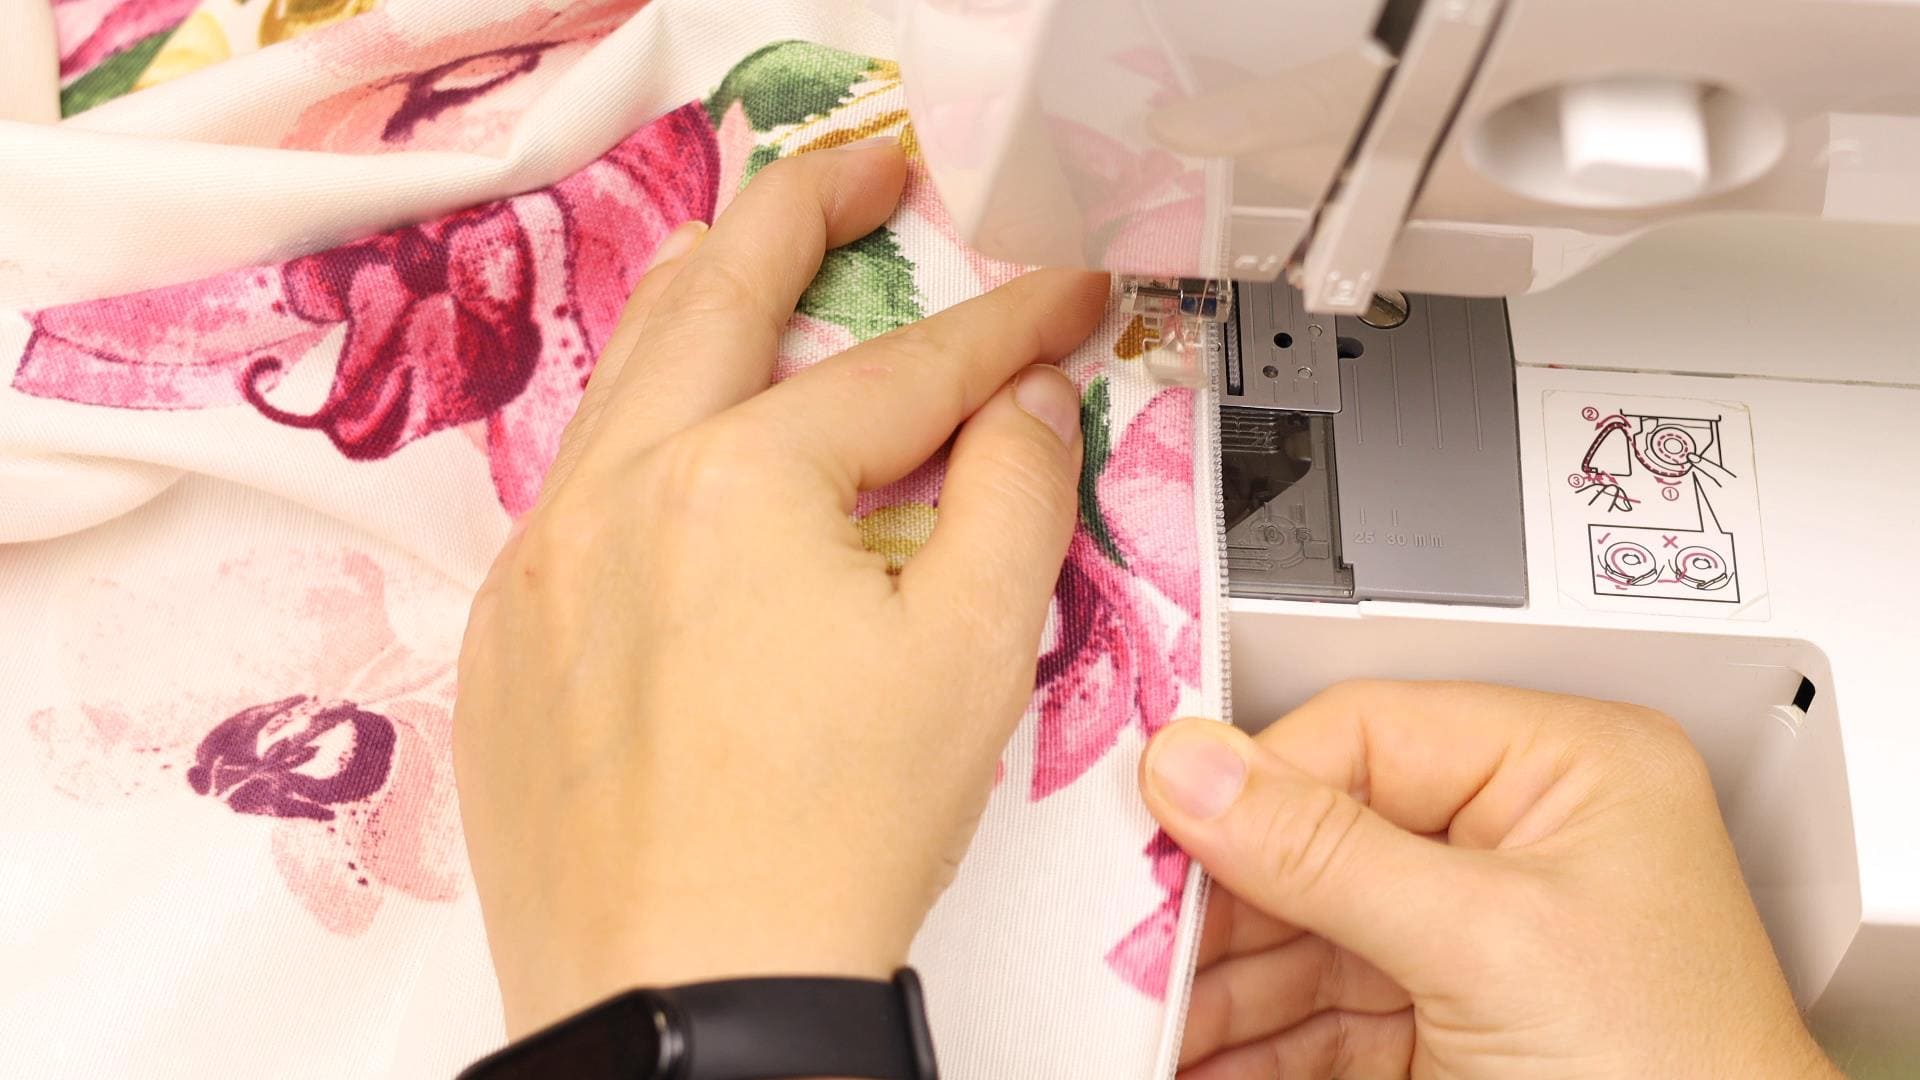
Step 16: Sew the zipper
Using the zipper foot stitch along the edge of the zipper.
Step 17: Turn around
Open up the zipper and turn the cushion the right way out.
Step 18: Topstitch around the zipper
Stitch along the edges, top and base of the zipper to ensure the fabric lies flat and the zipper is secure. When you need to turn leave the needle in the fabric, lift the presser foot, swing the fabric 90 degrees, then depress the presser foot and continue sewing.
Step 19: Close the gaps
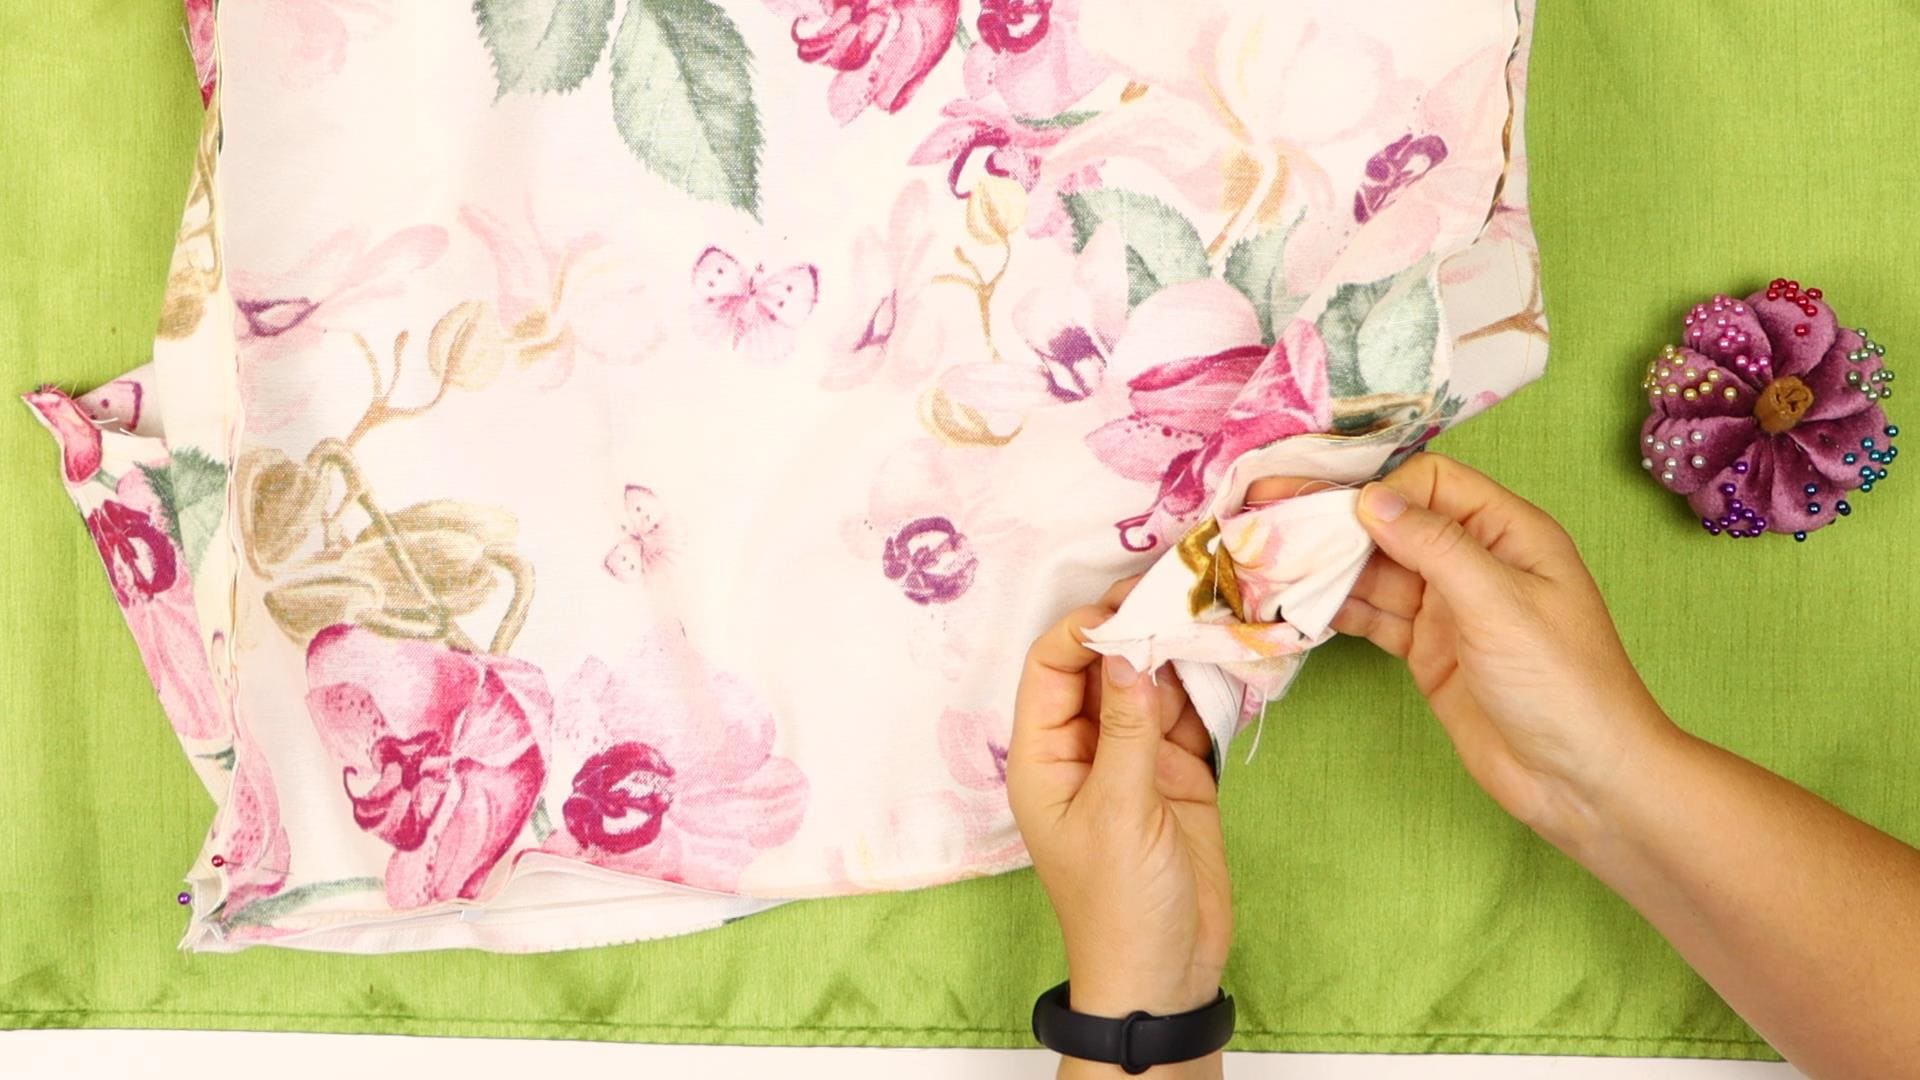
Closing the gaps at the ends of the zipper comes next. To do this turn the cushion inside out again and line up the fabric across that 2 inch gap you left on either side, Pin in place and stitch closed. Remember to leave the zipper open when you do this so you can turn the cushion the right way out again.
Step 20: Sew the lining
Time to sew the cushion lining.
Follow the steps above, except you won’t need to make the pockets or insert the zipper. You will simply sew the back, and front together. When you sew the base to the back leave a gap in the middle of the seam to enable you to insert the stuffing material. Insert the sides and stitch up as you did for the cushion.
Step 21: Stuff the triangular pillow
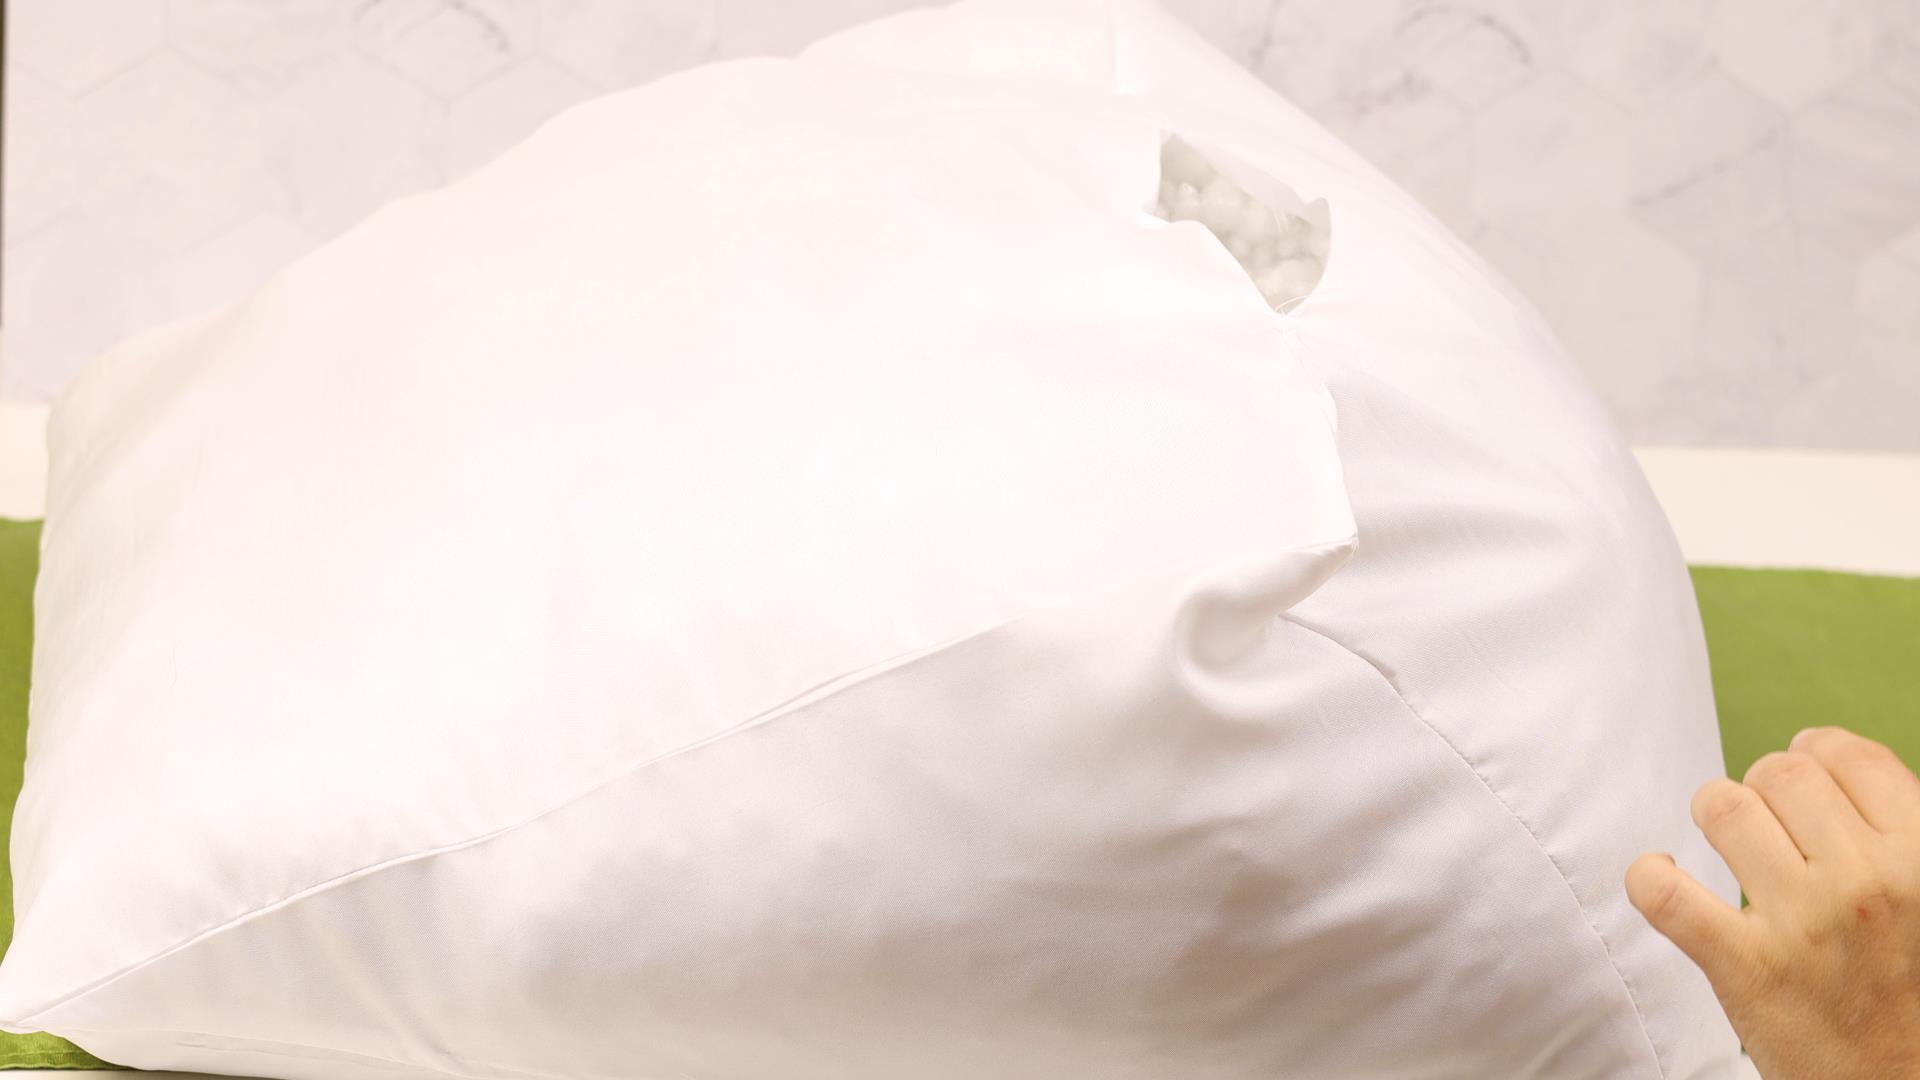
Once the lining material is all stitched together insert the microfiber stuffing, making sure it is full and firm before closing the gap with hand stitching, after turning in the edges.
Step 22: Insert into the pillow cover
All that remains is to slip the insert into the triangular cushion cover and put it behind you when you work on your computer or watch TV in bed. It supports you back so much better than traditional pillows that tend to slip down. If you enjoyed this tutorial with the step -by-step instructions and visuals that make the process easy to follow then do subscribe so you never miss out on another of our exciting projects.
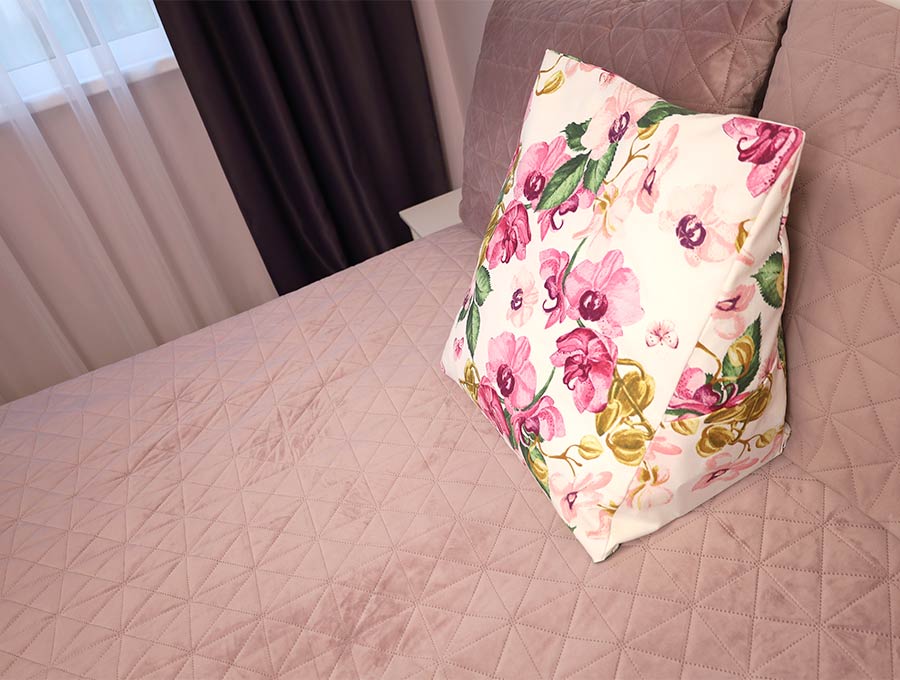
You’ll wonder how you ever coped without the triangular cushion. It keeps the body at a higher angle so if you are feeling ill the coughing doesn’t keep you awake all night. It also helps those with chronic respiratory problems. Slipped under a pregnant belly the triangular cushion gives comfortable support when sleeping on your side. The best use for this is to support your back when sitting in bed working on a laptop or watching TV. The handy pockets on the sides keep your cell phone close, and a pen and notepad for jotting down lists and ideas. Our visuals and step-by-step tutorial make this an easy project.
Do you like this? Pin for later:
Wanna be friends? Click HERE and follow me on Pinterest
RELATED:
Dog bone pillow (just 3 seams)
Travel neck pillow – so comfy!
How to make a reading pillow
Make a pillowcase the easy way (BURRITO method)