
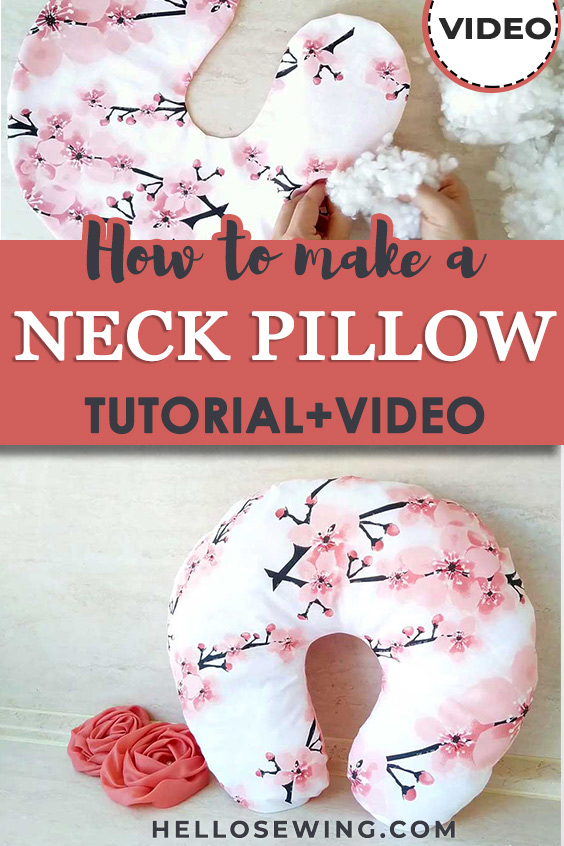
DIY Travel Pillow | Neck Pillow Pattern + VIDEO Tutorial
Traveling can get very uncomfortable at times, especially if you’re traveling by car or worse, bus. But if you have the right equipment for the trip, you can make it as comfortable as possible. What kind of equipment am I talking about? Neck pillows.
A well-made neck pillow can make a big difference during long trips during which you have no other options but so sit put.
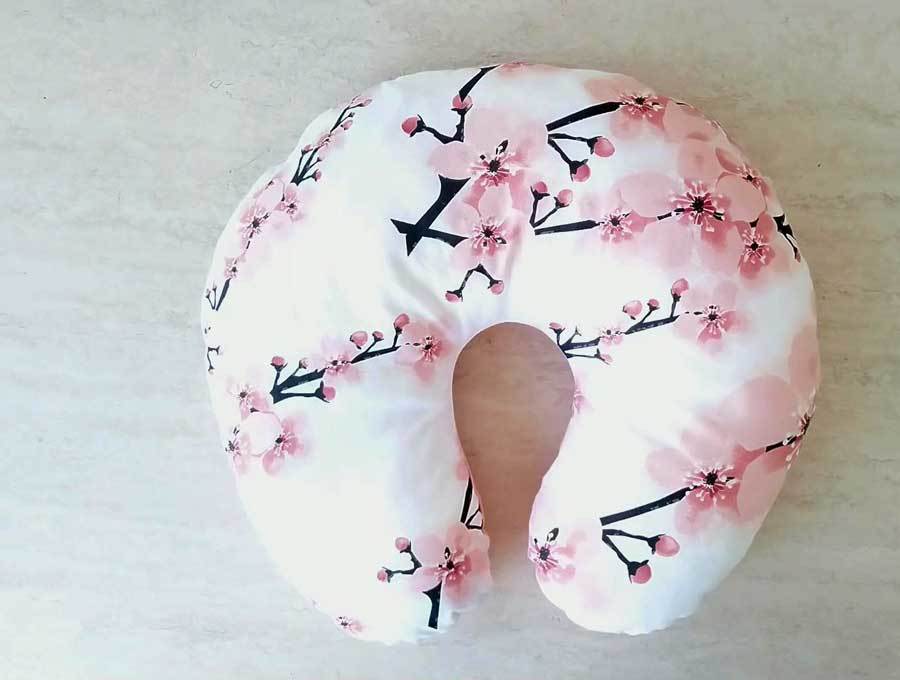
Since I don’t really like those you can get in the stores, I came up with a cute and very comfortable DIY travel pillow design. It’s easy to make and it requires very little time. And I’m about to show you precisely how to make a travel pillow yourself. It makes a great gift and can be made in colorful fabrics to coordinate with your luggage or your fabric luggage tags!
Below you will find my step by step written tutorial with VIDEO instructions for all the visual learners.
We occasionally link to goods offered by vendors to help the reader find relevant products. Some of the links may be affiliate meaning we earn a small commission if an item is purchased.
Table of Contents
How to Make a Travel Pillow
You don’t need all that much for this project, it’s likely that you even already have all of the essentials in your sewing supplies.
First up you will need to download the free neck pillow pattern below – it’s a U-shaped design that is very comfortable.
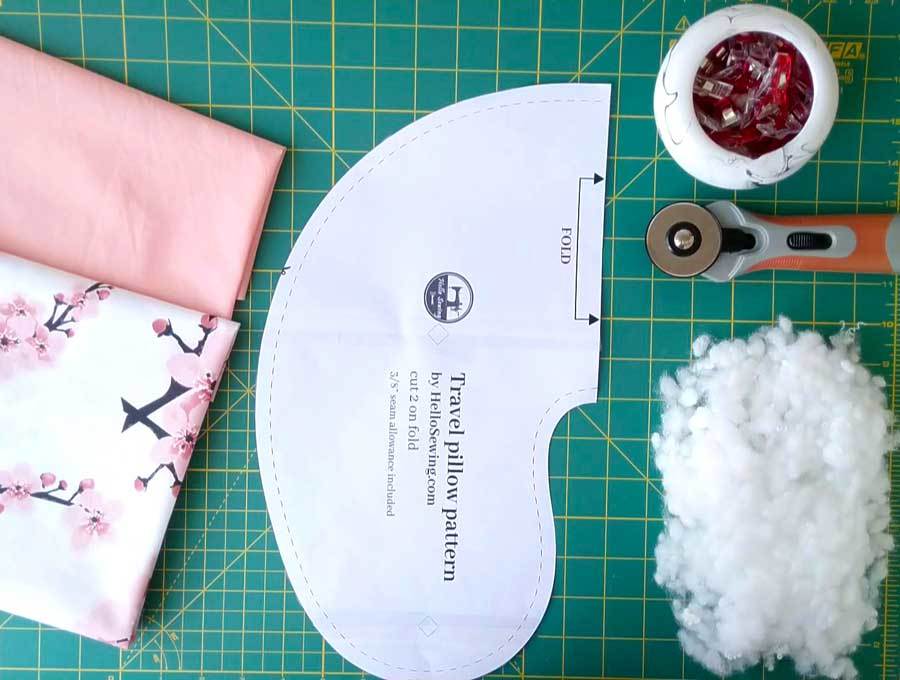
Supplies and tools
- fabric – 1/2 yard cotton fabric (or 2 x 1/4 yard if you are using two fabrics)
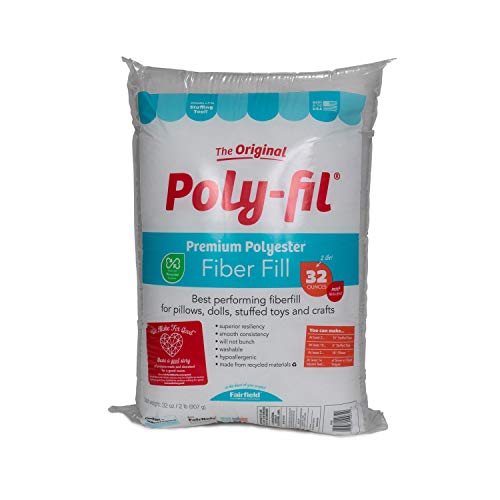
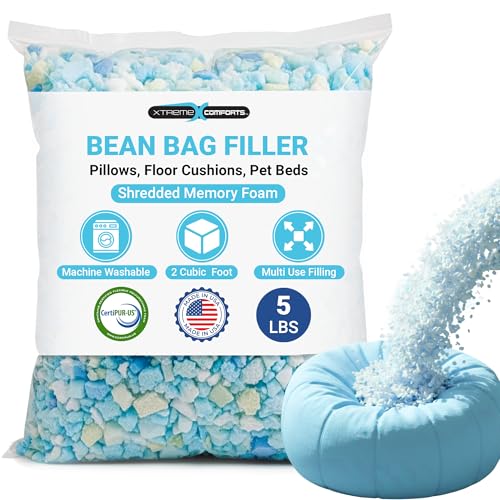
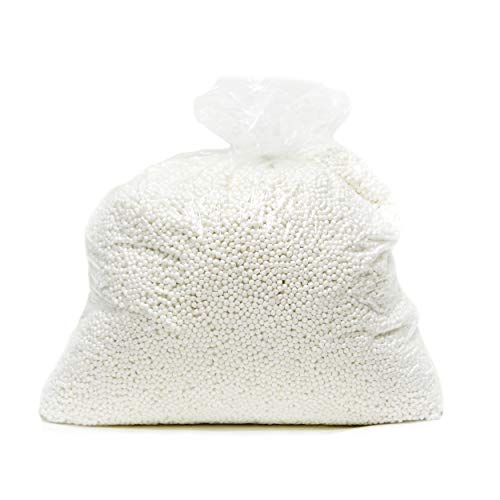
- stuffing – polyester stuffing works best
- matching thread thread
- scissors (or rotary cutter and a cutting mat)
- pins or clips
- sewing machine (these machines are great for pillows and home decor, or you can even hand sew this)
- iron and ironing board
- sewing clips or pins
DOWNLOAD: FREE Travel pillow pattern (PDF file)
Follow us for free patterns & tutorials! [easy-profiles]
Notes: You can use a variety of materials for the stuffing – I’ll cover the options at the bottom of this tutorial if you’re not sure what to use. use what you consider to be the most comfortable option.
Once you prepare all that, you can start making the travel pillow.
How To Sew a Travel pillow
Watch the diy travel pillow video first and then follow the written step by step instructions below.
Please enjoy and don’t forget to Like and SUBSCRIBE over on YouTube to be kept up to date with new videos as they come out.
DIY Neck Pillow VIDEO TUTORIAL
INSTRUCTIONS:
STEP 1: Prepare the pattern
Print out the travel neck pillow pattern you downloaded and cut it out. Make sure you print it as 100% (no scaling) on either a US letter or A4 paper. Cut it out and tape it together
If you don’t have a printer or you can’t use the downloadable pattern for some other reason, you can draw it yourself on a piece of paper.
Just draw one half of the usual travel pillow shape. Similar to a bean. Then cut it out.
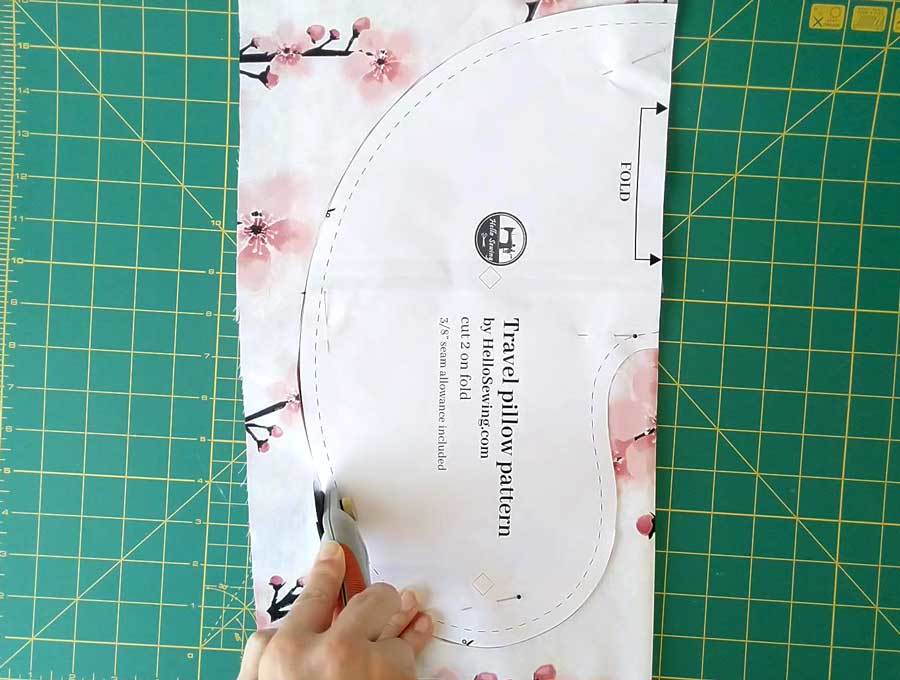
STEP 2: Cut the fabric
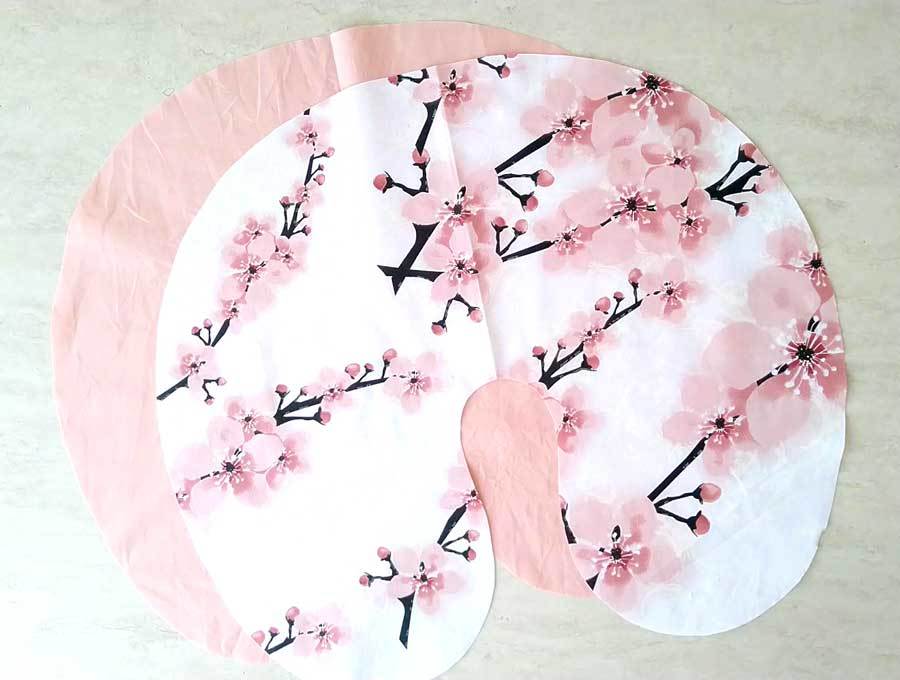
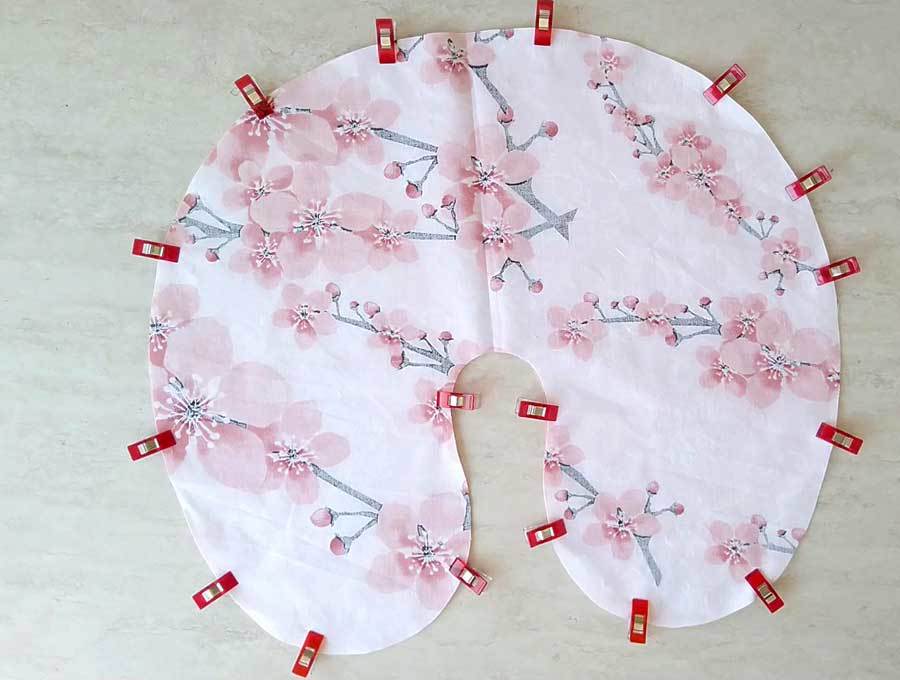
Fold the fabric in half and align the edges. Then put the travel pillow sewing pattern on the fold, pin it and cut through both layers according to the pattern. The seam allowance is already included.
Do this two times, as you need two identical pieces of fabric – one for the front and one for the back. If you have larger scrap pieces – this is a great project to use couple of them!
STEP 3: Pin
Unfold both pieces of fabric and set them on top of each other, right sides facing each other. Align the edges and pin everything in place. Leave an opening for turning.
STEP 4: Sew
Stitch all around the edges using a 3/8 inch seam allowance. Leave a gap of about two inches unstitched so that you can turn the DIY neck pillow inside out.
Use your scissors to notch all around the pillow, snipping small triangles out of the seam allowance about one inch apart from each other. This will allow the pillow to form properly along the curves. Don’t notch the gap.
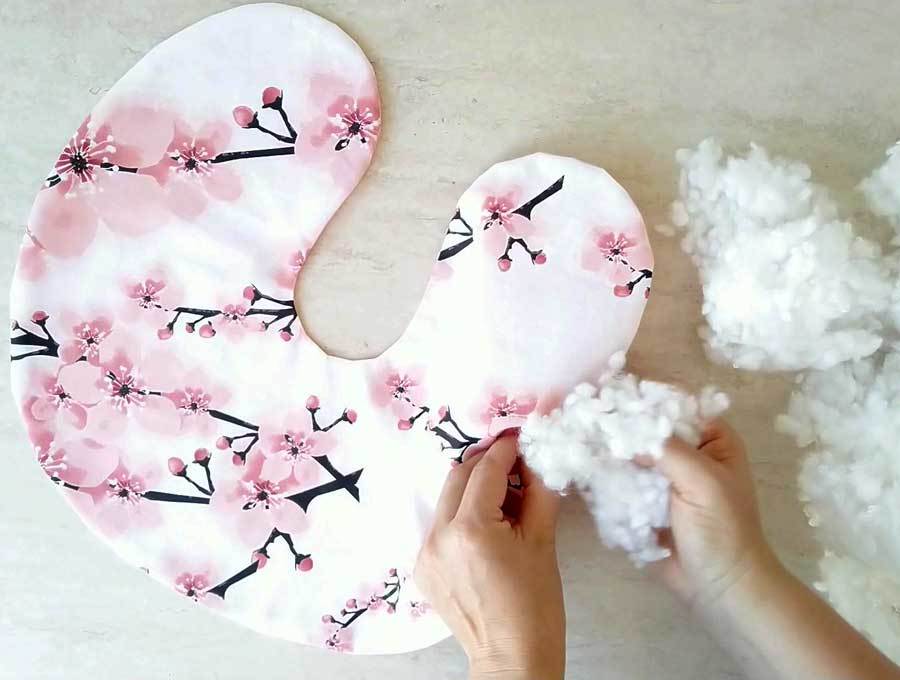
STEP 5: Turn inside out and press
Turn the whole pillow inside out through the opening you left unstitched earlier. Tuck the seam allowance of the opening inside and press it. Press the entire thing flat with an iron using a lot of steam.

STEP 6: Fill the pillow with the stuffing
Take the polyester stuffing you have prepared and fill the neck pillow with it. You can put as much stuffing as you wish, it’s your choice. If you like your pillows to be fluffier then put a bit more, just don’t overdo it so that it doesn’t become too hard.
STEP 7: Finish the DIY travel pillow
Once you have finished stuffing the neck pillow, all that’s left to do is to close up the opening on it. Take your needle and a thread and close the opening shut with a ladder stitch.
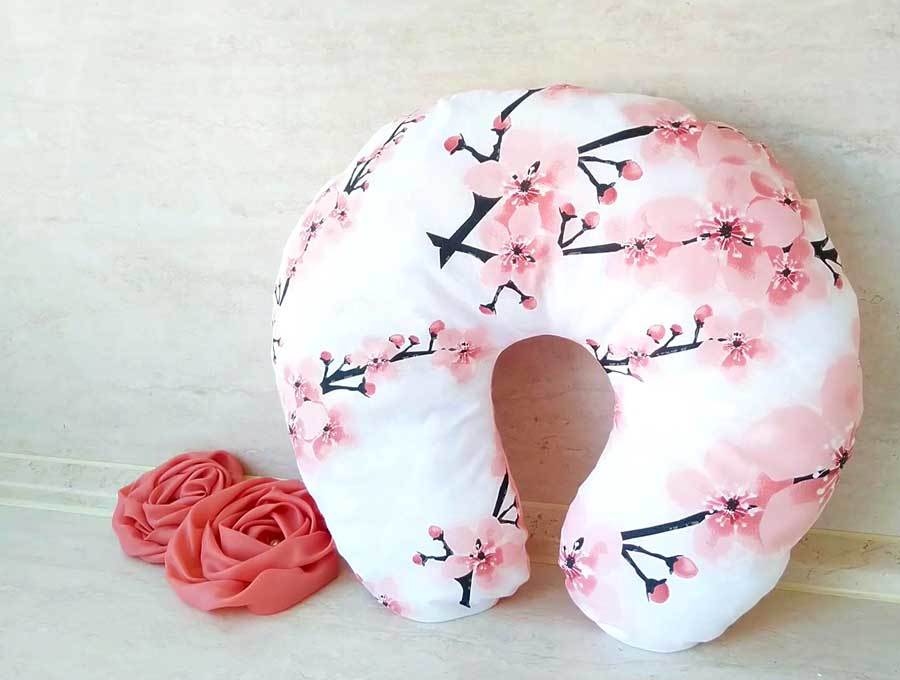
That’s about it, now you know how to make a travel pillow!
Psst… do you like the gorgeous roses in the image above. Here’s how to make them
NECK PILLOW STUFFING OPTIONS:
As I mentioned earlier, you can use whichever stuffing you prefer, but if you’re not sure, here are a few suggestions and their characteristics.
- Option 1
- Option 2
- Option 3
- Option 4
No products found.
- Option 5: Feathers
Light and soft, very comfortable, and it can be shaped easily. It tends to flatten often and it can get pretty hot during use.
No products found.
—
I hope you liked this neck pillow tutorial and that you found it useful and interesting. Let us know what you think about it by sharing your thoughts with everyone in the comment section below. If you have some suggestions for improvement, do tell, your feedback is very appreciated!
Now go ahead and make a few of these DIY travel pillows for yourself and your loved ones, they’ll be grateful for sure!
Do you like this? Pin for later:
Wanna be friends? Click HERE and follow me on Pinterest
RELATED:
OTHER PILLOWS THAT MAKE GREAT GIFTS: