

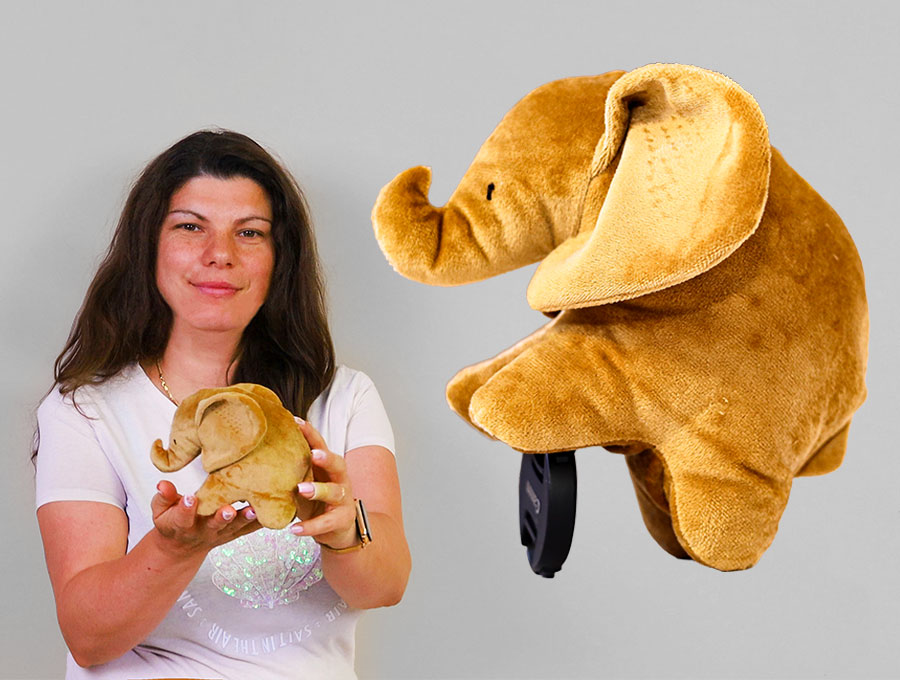
DIY Elephant Toy // How to Sew an Elephant Plushie – Sewing Pattern in 3 sizes
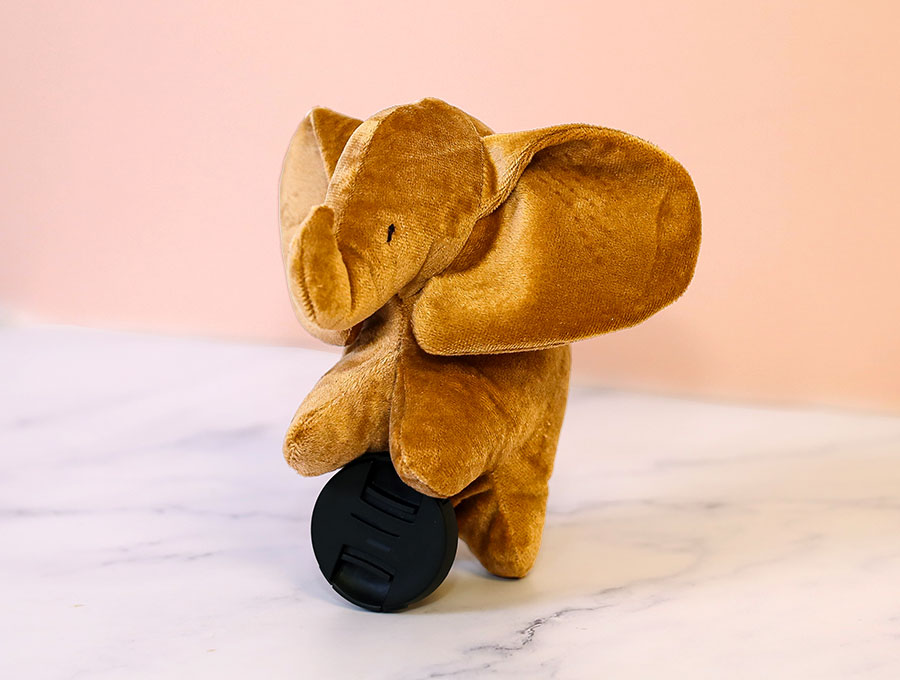
Sew an adorable elephant toy or a whole family of elephants for hours and hours of play! I designed this toy pattern in three sizes, so you can make the size you want or even create a family of 3 elephants for kids to hold and play with while you introduce them to their amazing family life. They are perfect for siblings as they can play with the toy that suits the size of their hand – a small elephant for a baby hand, medium for a toddler and a larger one for a child. They are cute, they are easy to make, and they make adorable gifts for children! These toys are a great way to introduce kids to the seemingly magical world of elephants.
Elephants take ancient pathways to reach water and feeding grounds, and their communication through infrasonic rumbling, usually at too low a frequency for the human ear to pick up creates vibrations that travel through the ground, allowing touch receptors in the elephants feet to pick them up. This way they keep the herd together, and can communicate messages across long distances.
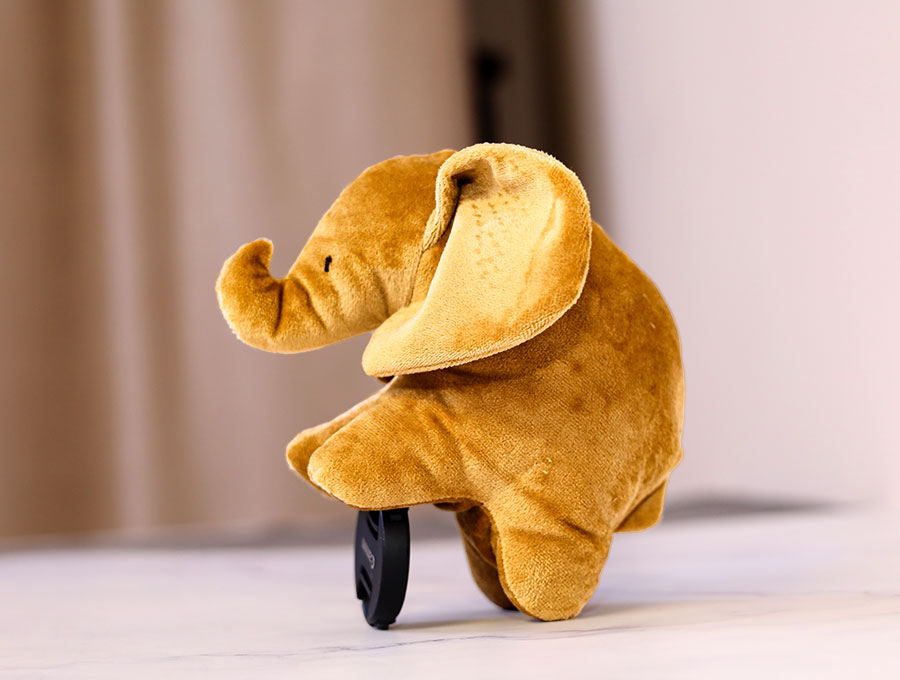
The free printable pattern is available at HelloSewing.com to download and get started. You’ll need some plush or cotton fabric, a small quantity of fibrefill stuffing and you’re ready to go. The three sizes are stackable, making a great display too. Below you will find my step by step written tutorial how to sew a soft elephant toy with VIDEO instructions for all the visual learners.
We occasionally link to goods offered by vendors to help the reader find relevant products. Some of the links may be affiliate meaning we earn a small commission if an item is purchased.
How to make the Elephant Toy

Supplies and tools
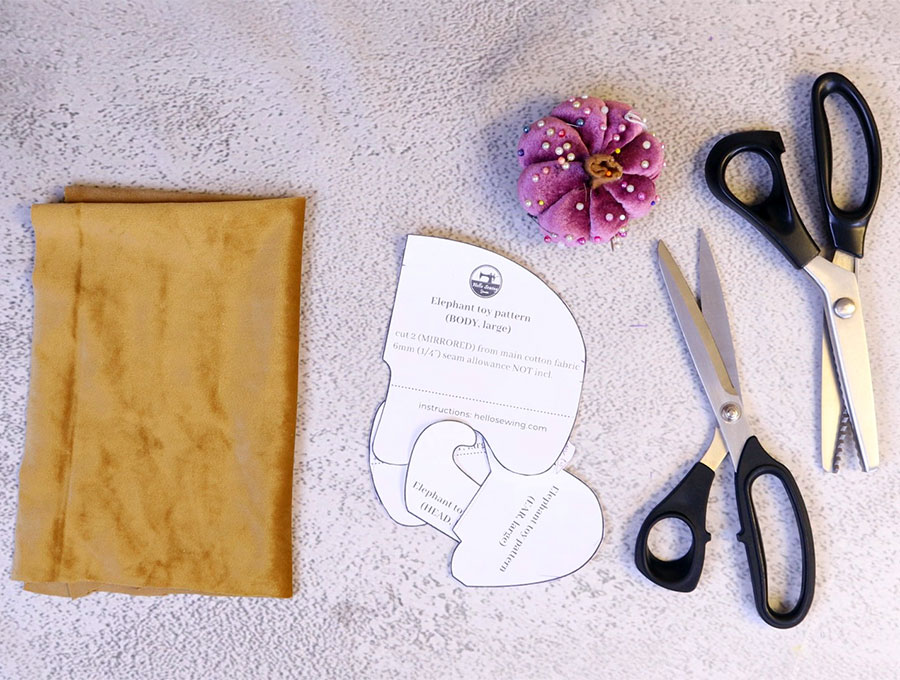
- fabric – quilting cotton, sandwashed cotton, or plush fabrics like fleece or minky
- polyester stuffing
- black embroidery thread for the eyes
- matching thread
- scissors (or rotary cutter and a cutting mat)
- ruler or measuring tape
- iron and ironing board
- sewing clips or pins
DOWNLOAD: Elephant toy pattern in 3 sizes [Free pdf file]
Follow us for free patterns & tutorials! [easy-profiles]
How to Sew a Elephant Toy
Watch the diy elephant stuffed toy video first and then follow the written step by step instructions below.
Please enjoy and don’t forget to Like and SUBSCRIBE over on YouTube to be kept up to date with new videos as they come out.
Elephant toy VIDEO TUTORIAL
INSTRUCTIONS:
STEP 1:
Download and print out the elephant toy pattern (it is in three sizes, so you can choose between printng the size you need or printing all three). Cut out the pieces and assemble each size in a separate zip-lock bag to avoid confusion.
STEP 2:
Grab your fabric and fold in half – it doesn’t matter if it’s an odd size piece – as long as it can comfortably fit the pattern pieces. You will need to be careful of the direction of the plush. If using cotton it’s not a problem, as long as you place pattern pieces on the straight grain of the fabric.
STEP 3:
Place the body, head, and ear pieces on the folded fabric. Pin them in place, and draw around them with a fabric marking pen. Remove pins from the ear piece and place it on a free section of fabric, re-pin and draw around the ear. You will have 2 body pieces, 2 head pieces, and 4 ear pieces to cut out. The 1 tail piece can be cut on the fold.
STEP 4:
Place the belly piece on a section of fabric that is not folded, pin, draw around the edge and cut out the belly piece. Make sure to transfer the markings for the front and back of the belly from the pattern to the wrong side of the belly fabric.
STEP 5:
Place each set of ear pieces with the right sides facing each other, pin and stitch ¼’ (6 mm) from the edge, leaving the flat side where they attach to the head open.
STEP 6:
Stitch the tail piece, leaving the end open at the base of the tail. Turn the tail piece the right way out carefully pushing out the end of the tail.
STEP 7:
Take the ears and trim around the outer edge with pinking shears, taking care not to get too close to the stitch line. This will help ease the curved shape when turning the right way out. Trim the straight part of the ears where they attach to the head, with scissors.
STEP 8:
Turn each ear the right way out, give a quick press. If using plush use a soft cloth over the plush rather than ironing directly onto the fabric pile.
STEP 9:
Grab the ear pattern piece and set the pair of ears on your worktop, with the open sides where they attach to the head facing each other. Transfer the mark from the pattern piece to the ears (you will have to flip the pattern over for the second one), then bend over the top of the ear to the point marked and pin. Be careful here that you don’t get two left or two right ears!
Stitch 1/8” (3 mm) from the edge along the small fold to secure it.
STEP 10:
Take the body pieces and on the wrong side of the fabric transfer the 3 dots from the pattern piece, remembering to flip the pattern for the second body piece. Use pins to transfer the dots to the right side of the fabric, then connect the dots. These mark the position for the ears.
STEP 11:
Place a body piece right side up on your worktop. Over the body piece, place the ear, folded tip facing up on the dots you connected, raw edges of ear lining up with the raw edge of the front of the body piece. Over these two pieces place the head piece, with the right side of the fabric facing the ear and body piece. Pin in position. Repeat with the other half of the elephant.
STEP 12:
Stitch to join, head, ear and body together a ¼” (6 mm) from the edge. Repeat with the other half of the elephant.
STEP 13:
Open out the joined pieces and place one over the other, right sides facing. Pin around the top half of the elephant and add in the tail at the point indicated on the pattern piece. Make sure the tail is places so it faces downward and the raw edge of the tail lines up with the raw edge of the body – tail facing in towards the body. Pin in position.
STEP 14:
Stitch around the top half of the elephant up to the point where the belly piece will join.
Backtack to start and finish.
STEP 15:
Trim around the stitch line of the top half of the elephant with pinking shears. This prevents fraying and will ease turning of the curved areas.
STEP 16:
Fold open the base and fit in the belly, matching the markings for the front and back to the front and back of the elephant. Pin in place. Mark a gap through which to turn the fabric between the tummy and the right leg.
STEP 17:
Stitch around the lower half using a ¼” (6 mm) seam allowance. Backtacking on either side of the gap. Trim curved edges using pinking shears.
STEP 18:
Pull the fabric through the gap to turn the elephant toy the right way out. Press out the seams using a turning tool.
STEP 19:
Use small amount of stuffing at a time to fill the elephant until you feel it has the right amount of stiffing for a child to comfortably hold – it should be a little squishy, not too firm.
STEP 20:
Close the gap with a hand sewing needle using a matching cotton and small slip stitches so the stitching is virtually invisible.
STEP 21:
Use a pin to poke through the head so you can gauge the position where the eyes should be and make a small mark on each side of the head.
STEP 22:
Use a satin stitch to embroider the eyes. For good measure you might want to add a few eyelashes. Toys for babies and toddlers should never have plastic eyes added as they have a habit of sucking and biting and could end up choking on or swallowing an eye!
Watch the joy on kid’s faces as you present them with their own little family of elephants to play with. Please share with friends who would enjoy creating the elephant herd, and don’t forget to join our family of subscribers by hitting the subscribe button. The like button gives us an idea of what is popular so we can provide similar patterns, so don’t forget that one if you love this project!
Do you like this? Pin for later:
Wanna be friends? Click HERE and follow me on Pinterest
RELATED: