
How to Make a Froebel Star – Danish Christmas Star Ornament with Fabric
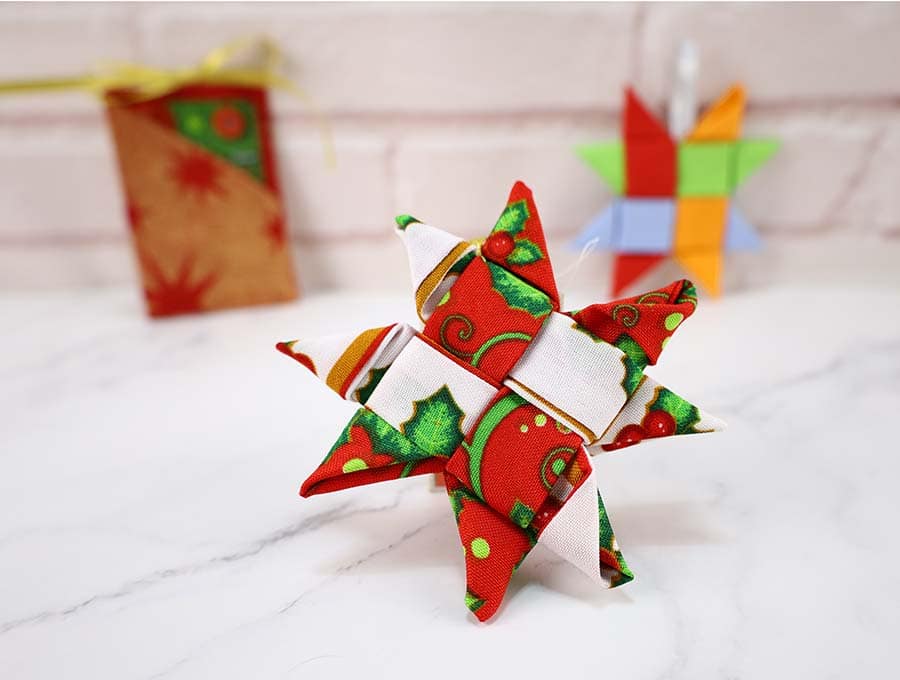
With Christmas coming up a Froebel star, also called German or Danish star makes a beautiful decoration to add to a tree or a wreath. This classic Danish Star Christmas ornaments are super easy to sew – yes, there is just one seam, and the rest involves folding. It’s a lovely project to do with the kids as you can sew a whole lot of strips up and let them help with the weaving, each creating a unique star for your family tree, and for them to give to grandparents, aunts, uncles and their own friends. The Danish Christmas Star is an ideal way to use up those small strips of cotton and quilting fabric, or extra bits of Christmas prints you have over from other projects.
Use Christmas print fabric in a cotton or cotton blend. I like to use coordinating colors – so a variety of red and white prints, or some prints that are predominantly green – or blue – whatever colors coordinate with your Christmas theme. These don’t need to be made only for the tree – you can make strips that are slightly wider and longer to make Christmas Coasters.
Below you will find my step by step written tutorial with VIDEO instructions for all the visual learners.
We occasionally link to goods offered by vendors to help the reader find relevant products. Some of the links may be affiliate meaning we earn a small commission if an item is purchased.
Table of Contents
- 1 How to make a Danish Star Ornament
- 2 Supplies and tools
- 3 How to Make a Froebel Star – a Classic Danish Christmas Decoration
- 3.1 Danish Star VIDEO TUTORIAL
- 3.2 Scandinavian Christmas Star INSTRUCTIONS:
- 3.3 STEP 1: Fold
- 3.4 STEP 2: Turn Around
- 3.5 STEP 3: Press
- 3.6 STEP 4: Fold again
- 3.7 STEP 5: Assemble
- 3.8 STEP 6: Place the strips
- 3.9 STEP 7: Flip over and press
- 3.10 STEP 8: Make the points
- 3.11 STEP 9:
- 3.12 STEP 10: (Optional) Press
- 3.13 STEP 11: Add a hanging loop
How to make a Danish Star Ornament
Supplies and tools
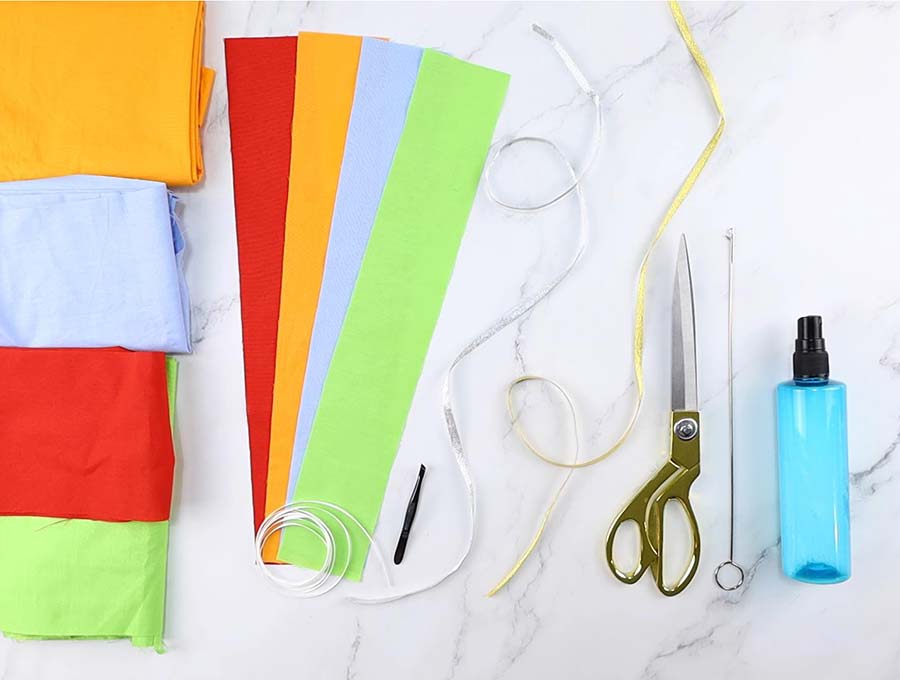
- fabric – 4 pieces of matching or coordinating cotton fabrics
- matching thread
- scissors (or rotary cutter and a cutting mat)
- ruler or measuring tape
- iron and ironing board
- sewing clips or pins
- sewing machine
DOWNLOAD: danish star pattern[Free pdf file]
Follow us for free patterns & tutorials! [easy-profiles]
How to Make a Froebel Star – a Classic Danish Christmas Decoration
Watch the diy Froebel star video first and then follow the written step by step instructions below.
Please enjoy and don’t forget to Like and SUBSCRIBE over on YouTube to be kept up to date with new videos as they come out.
Danish Star VIDEO TUTORIAL
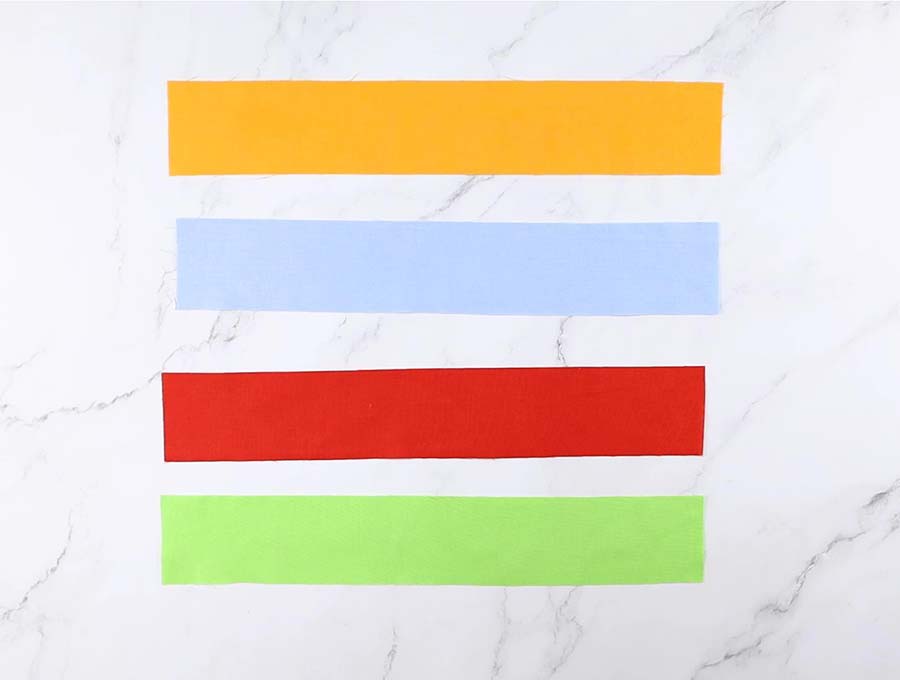
For each star you will need four strips of fabric 2.5 inches by 15 inches (6.5cm x 38 cm) long. You can use spray starch on the fabric, then press well, so the pieces are firm and crisp. This will help in creating a final star with really neat and sharp edges.
NOTE: If you are making a coaster or larger star, remember the ratio of width to length is 1 : 6 for example:
- 2.5 inches to 15 inches (with an extra inch allowed for tucking) will become 3 inches by 18 inches (plus one inch) for a larger star
- 6.5cm x 38 cm (with an 2.5cm allowed for tucking) will become 8 x 48cm (plus 2.5cm) for a larger star
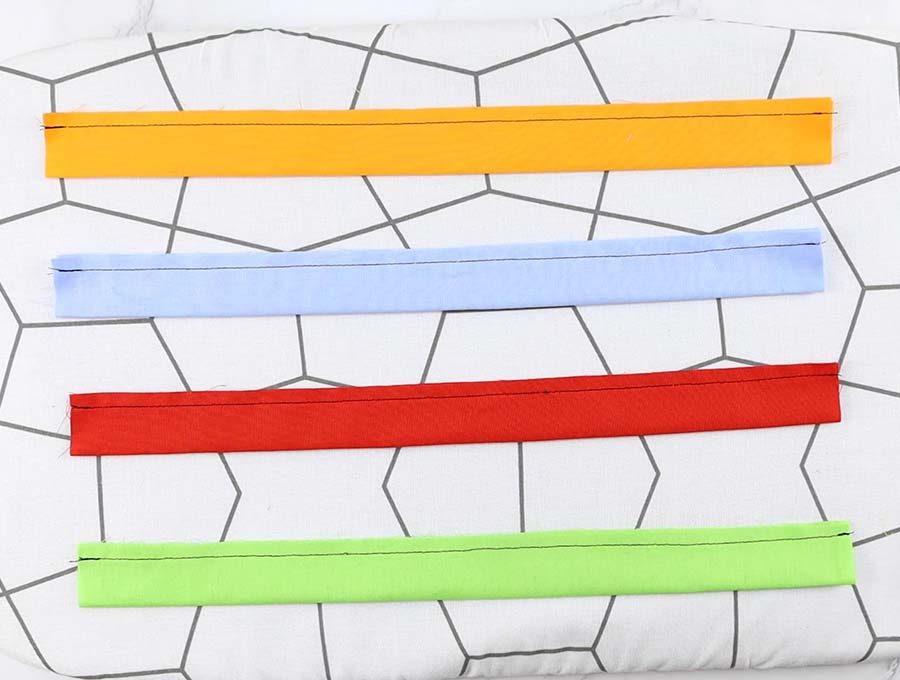
STEP 1: Fold
Fold one strip lengthways so you have a narrow piece 1 ¼ inch (3.2 cm) wide then press, making sure the edges line up neatly, right side to right side. Stitch along the length of the strip, ¼ inch (6mm) from the edge, back tacking at start and finish. Repeat for the other strips.
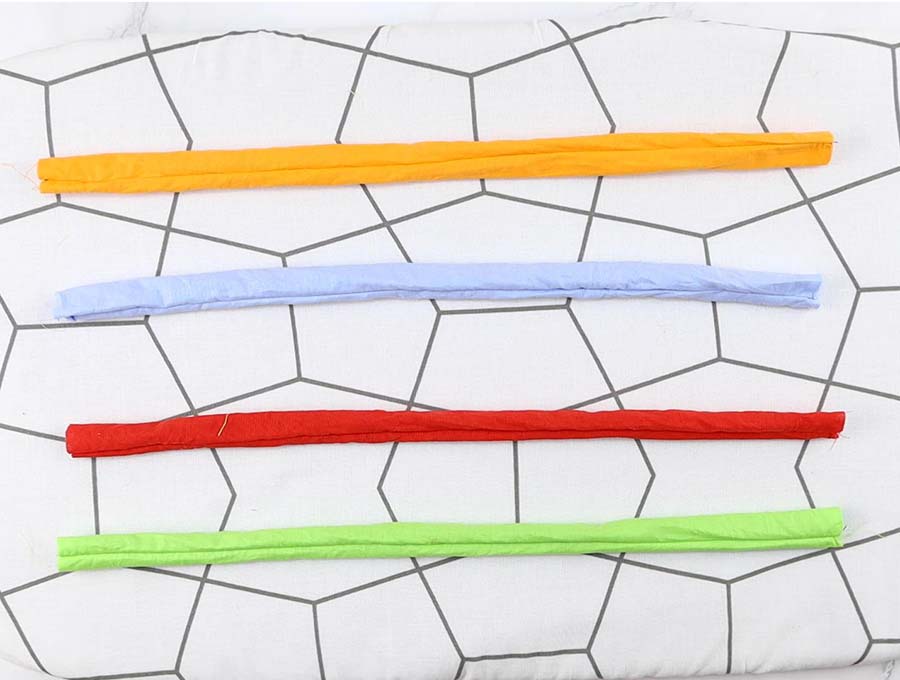
STEP 2: Turn Around
Gently turn the fabric strips using a large safety pin or bodkin to pull the fabric through so the right side is showing.
STEP 3: Press
Use your fingers to roll the fabric to make sure the seam is showing and the sides of the fabric do not overlap – this happens very easily if you press without first making sure the fabric is flat on the sides of the seam. Press, after making sure the edges alongside the seam aren’t overlapping.
STEP 4: Fold again
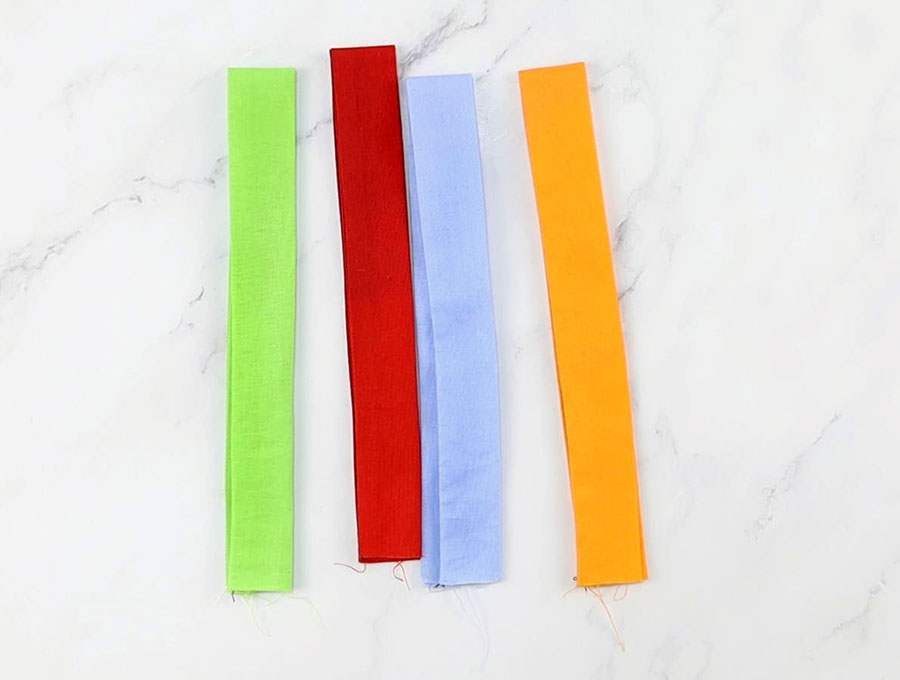
Fold each strip in half and press in the crease. You need not worry about the ends of the strips as these will he tucked in when you make the star – just make sure they are trimmed neatly.
STEP 5: Assemble
Now it is time to get ready to assemble the star. Place the strips on your worktop with the fold facing up
STEP 6: Place the strips
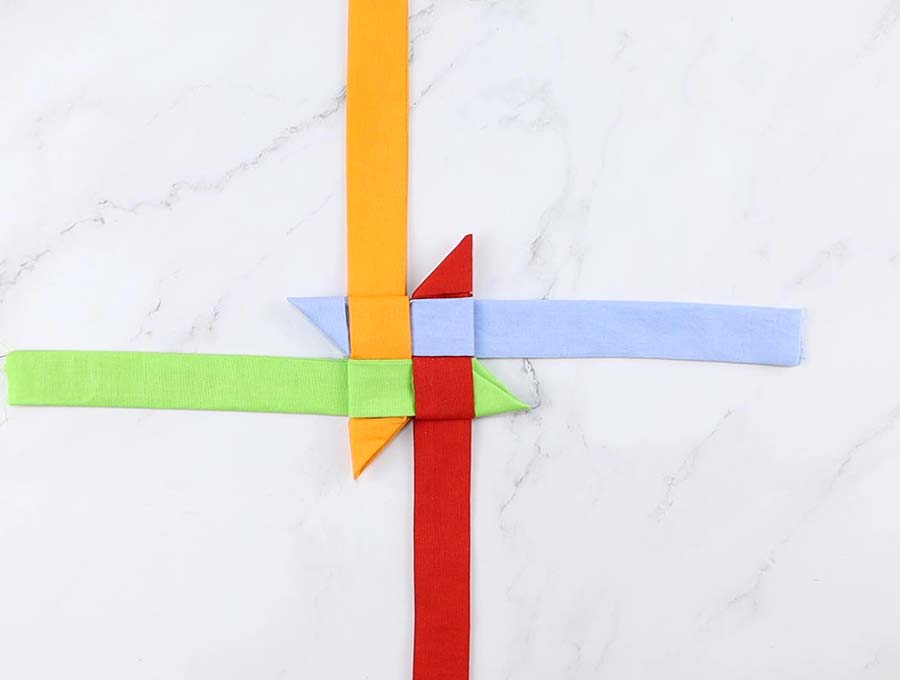
Arrange the strips in a hashtag shape:
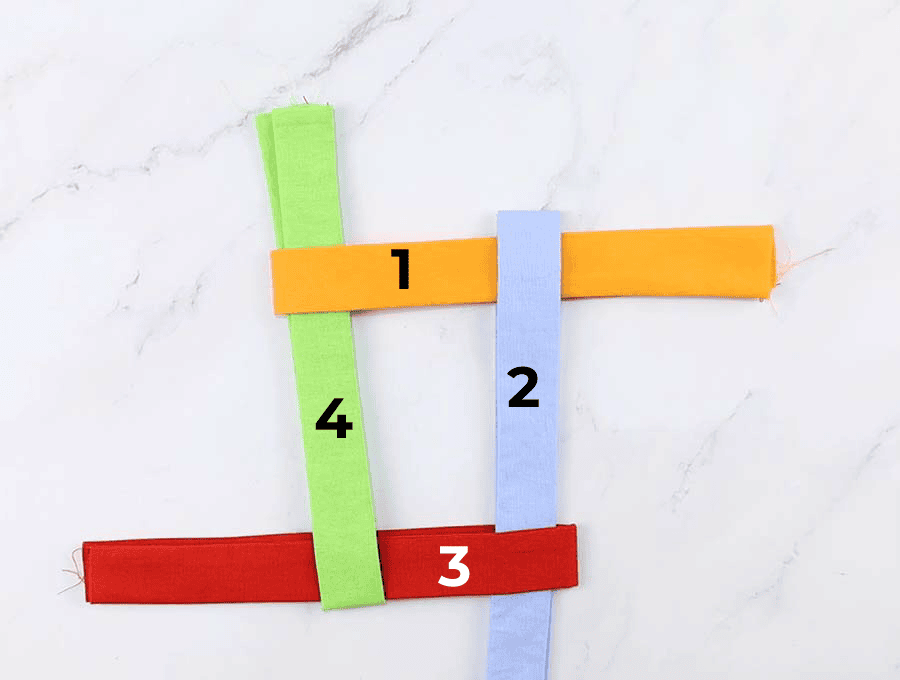
Lay one strip horizontally with the fold facing to the left and the ends pointing to the right.
Lay the next strip one strip’s width (1 inch) upwards from the first strip’s fold, vertically, raw ends facing to the bottom, fold facing the top of the board, tucked over the first horizontal strip.
Now take the third strip, place it with the fold facing to the right, and the ends facing to the left, then slip it over the second strip you placed.
Place the 4th strip with the fold facing the bottom and slip it over to complete the square, but this time taking both raw ends, and tucking them through the loop of the first strip, and neatly tightening up the central square.
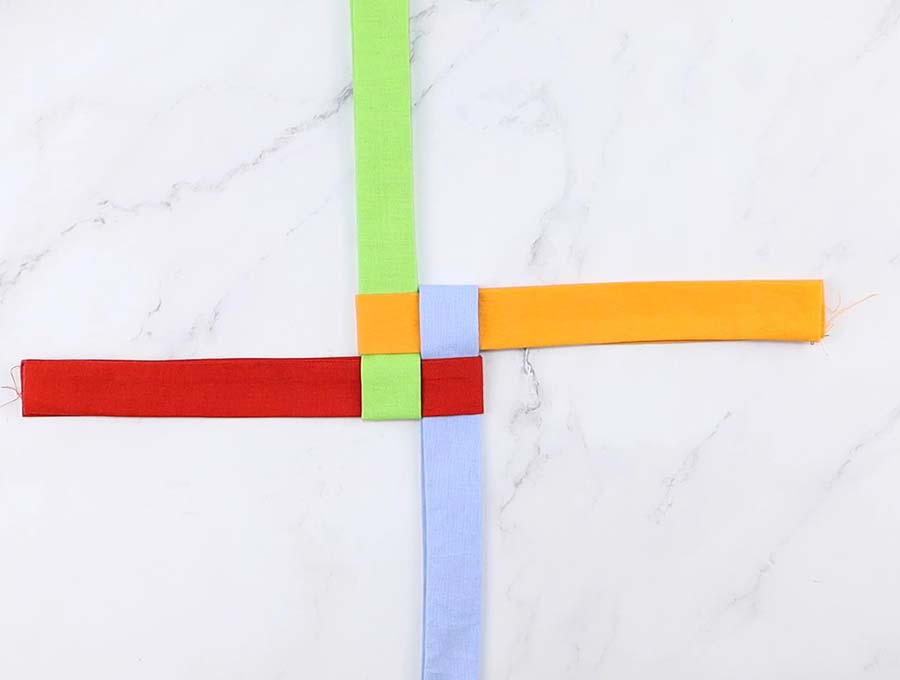
STEP 7: Flip over and press
Fold the first strip across the middle, then flip over the second strip, the third strip and finally with the fourth strip tuck it under the loop formed from the first strip.
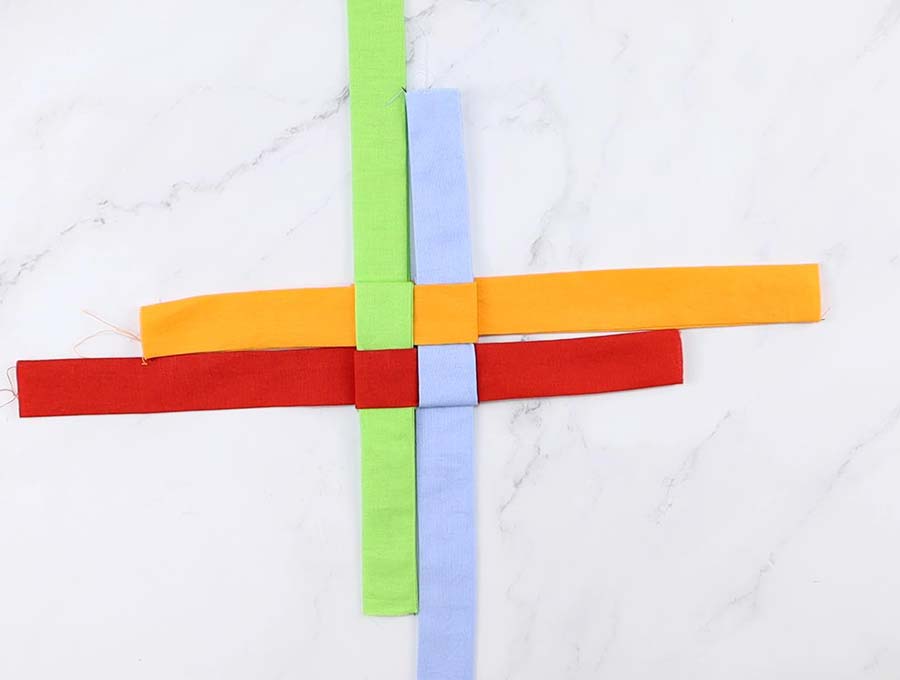
You may want to give the half-finished star a press just to keep the weave in place.
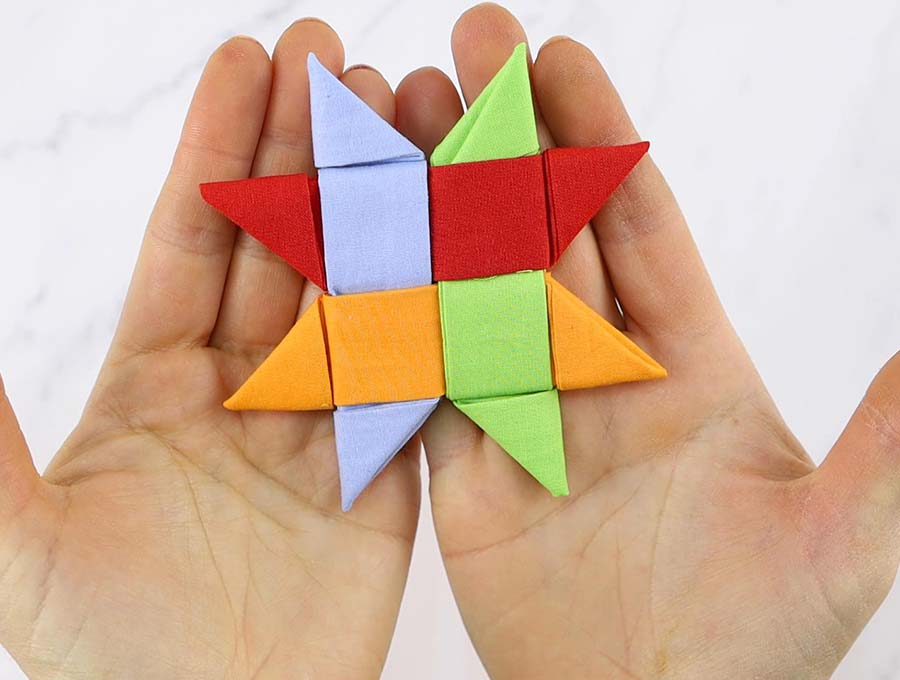
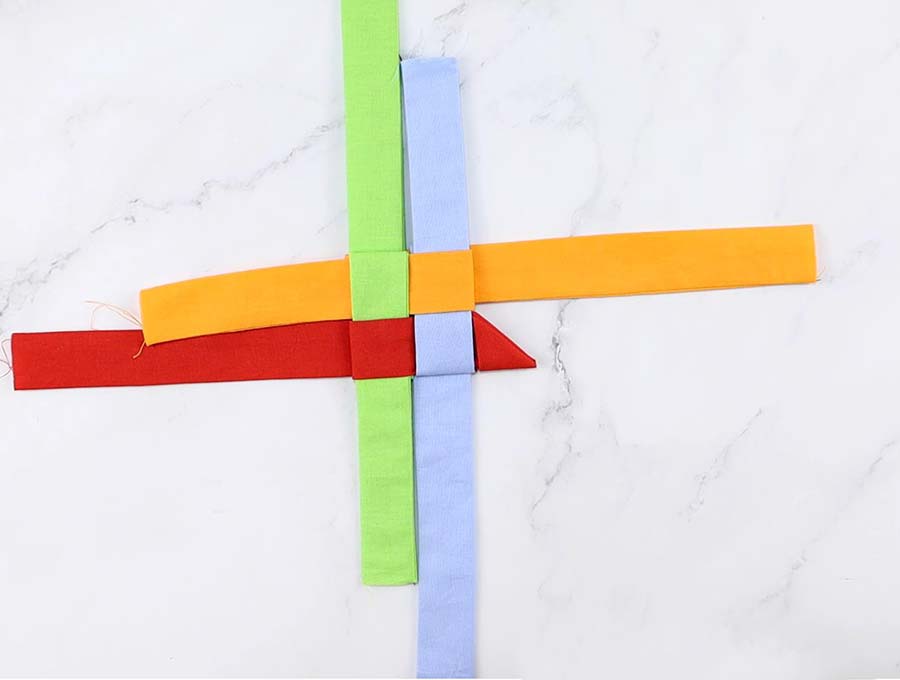
STEP 8: Make the points
Time to make the points of the star. Take one loose end and fold it at a 45-degree angle to meet the square edge of the center of the star, flip the star over, fold another 45-degree angle, then fold the one triangle over the other triangle so it meets the edge of the square.
STEP 9:
Measure the extra bit of the raw edge against the folded part of the center and snip the extra bit of fabric. Using tweezers take the raw edge and tuck it under the fold.
Repeat all the way around the Danish Christmas Star, until you have all four points completed.
Flip the star over and repeat steps 7 to 9.
STEP 10: (Optional) Press
Press the star.
If you prefer you can use an iron to press the points as you make them, to ensure they stay neatly tucked under as you work, but that is up to you.
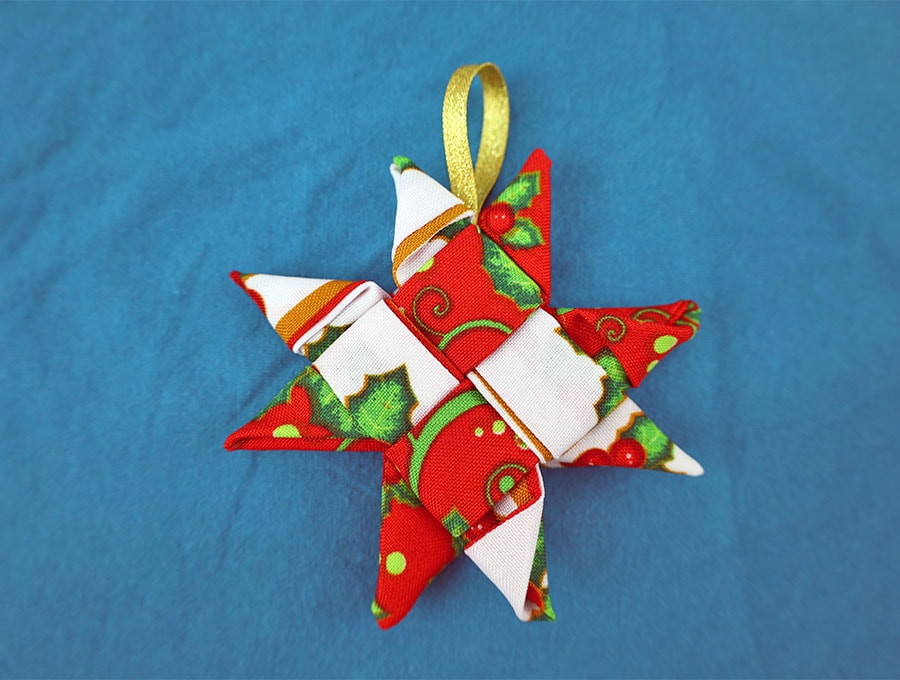
STEP 11: Add a hanging loop
This is where you add a hanging loop to the star, using either a thin piece of ribbon, a piece of fishing line that creates a virtually invisible hanger, or a loop of braid. If using the Danish stars on a wreath you may use a glue gun to attach them.
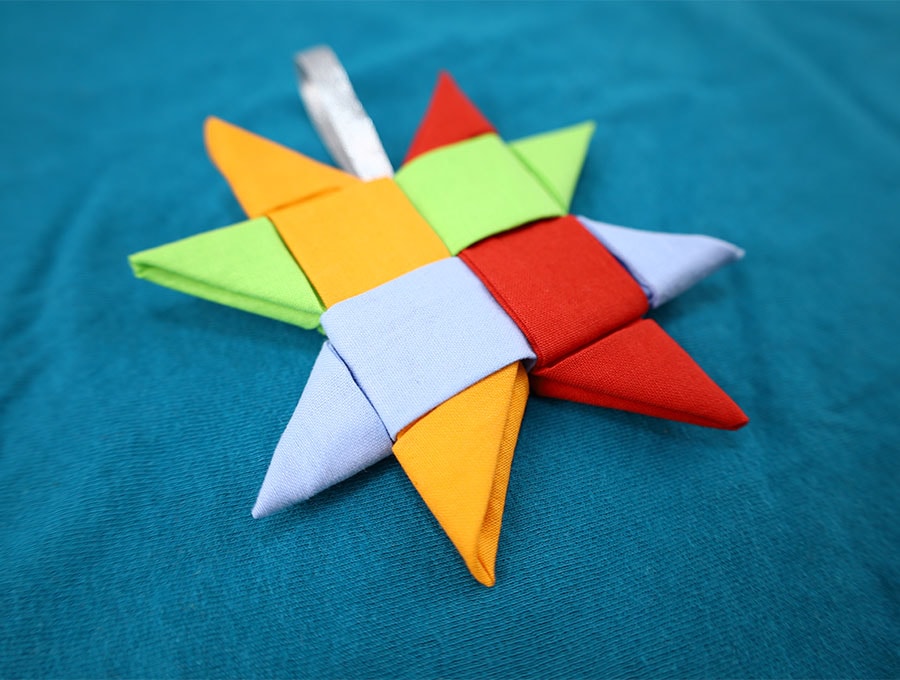
That’s it your Danish star Christmas ornament it ready!
Depending on your Christmas décor these stars can be made with prints, or in a combination of plain colors. I was thinking for a sophisticated dinner of making coasters in black and silver, or brown and gold for a subtly festive look. I’m sure once you start going through your fabric stash with Danish Christmas stars in mind, you’ll come across endless combinations. If you like this tutorial then click the subscribe button for clever Christmas and other ideas delivered straight to your inbox.
Do you like this? Pin for later:
Wanna be friends? Click HERE and follow me on Pinterest
MORE NORDIC INSPIRED DECOR: