
Step-by-Step Guide How to Thread Your Sewing Machine
It is essential that you learn how to properly thread your sewing machine if you want to get it to work properly and achieve optimal results with your sewing projects. By threading it properly, you will ensure that the stitches are attractive, straight and secure, so that your garment or other projects looks well and holds on together well.
Even though each sewing machine is different (just look at the variety of beginner models here: https://hellosewing.com/beginner-sewing-machines/), the principle mechanism used for the stitching is the same – it makes stitches on the fabric by combining the upper needle thread with the lower thread fed by the bobbin.
The majority of the sewing machines have a tension disc on the top left side located near the tension wheel and the take-up lever, and the spool pins as well as the bobbin winder are typically located on the right side.
The hand wheel is usually on the far left side and the stitch dial is commonly found on the lower right part of the machine.
The spool pin can be located either on the side near the bobbin winder or on the back of your machine.
Here are some basic steps which will give you the confidence to get you started with the threading and proper use of your machine.
[social-share-display display=”1587746651″ force=”true”]
Step by Step Sewing Machine Threading:
1.1 Lift the presser foot to an upward position. Place a spool of the recommended type of good quality thread on the spool holder of your machine. Locate the thread guides (there is minimum one on each machine) and insert the thread through it or through them.

1.2 Locate the tension mechanism and bring the thread down to it. Slip it in between the two metal discs of the tension mechanism and then pull it back upwards.

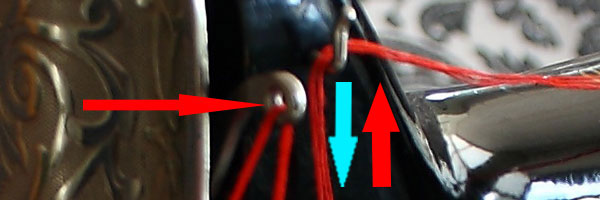
1.3 The next step is to find the take-up mechanism, which is the part in the front of your machine which will move up and down as you turn the hand wheel. Pull the thread through the lever of the take-up mechanism by either pulling it through the hole, or if your machine doesn’t have one – slide it in. This will make the thread go downwards on the left part of the take-up lever.
1.4 Now, find and thread any other thread guides down towards the needle.
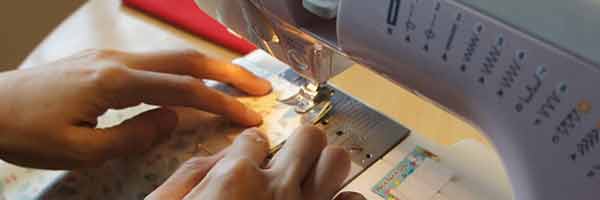
1.5 Finally, thread the needle, then hold the thread in your left hand and use the right one to turn the hand wheel. Watch for any thread which is loosely flapping around. If this is the case, you have probably misses a guide or more.
Tips for threading your sewing machine:
2.1. Make sure you always clean and oil your machine before use.

2.2. Once you are done with the threading, always start sewing slowly in order to test whether you have threaded it properly. Start with a straight simple stitch to monitor for any problems in the stitch. You should use some leftover fabric scraps for these initial tests before proceeding with your actual project.
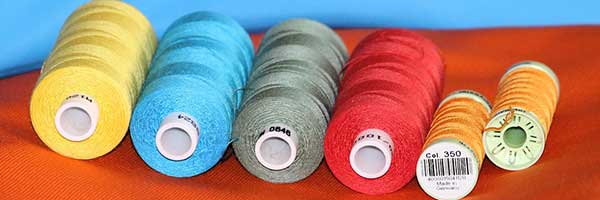
2.3. Always invest in good quality thread of the type recommended by the machine manufacturer. Low quality thread will cause lint to get stuck in the mechanical parts and can clog your machine and ruin your project. Plus, bad quality thread is prone to breaking and knotting which too will stop and mess with your work.
2.4. If you notice, that during the test the stitches seem uneven, then probably you will need to adjust the tension of the thread.
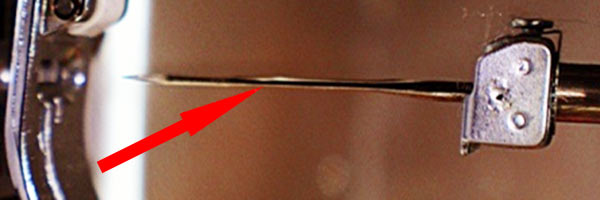
2.5 Make sure you check and replace your needle regularly. Deformed needles can cause machine jamming as well as damage to your fabric and your overall project.
2.6. If you are new seamstress or are getting to know how to work with a new machine, it is recommended you start with a simpler project in order to get used to the speed and functioning of the machine before proceeding with more complicated sewing projects.
2.7. It is a good idea to thread, test and unthread your machine a couple of times when you are first getting familiarized with it. You will find that by doing several repetitions, you will soon learn to make it quickly and properly without any mistakes or hassle. Practice makes perfect!
2.8. Learning how to fill the bobbin, thread it and insert it is equally important, so make sure you follow the instructions of the manufacturer, and to perform several tests of the quality of the threading before proceeding with the sewing project you have planned.

Since stitching machines vary widely, it is impossible to give one single generalized instruction on the proper way to thread your sewing machine. The best and recommended piece of advice is to follow the threading instructions provided by the manufacturer of your specific model. If for one reason or another you don’t have a manual with the machine, you should take the time to look up your model and brand online – it is very likely that there are online instructions and even better videos showing the proper way to thread your sewing machine.