
How to Make T-shirt Yarn Using the Entire Shirt in a Continuous Strand
Making T-shirt yarn is a great way to reuse tshirt fabric. Create all sorts of new items, ranging from rugs to cushion covers, blankets, storage containers, tote bags, pot holders and more. All over the internet you will find articles with suggestions on how to use your tshirt yarn. It’s a great way to get kids involved in learning the basics of knitting, crochet and weaving because the yarn costs you nothing more than a little effort and is easy to work with, especially for those inexperienced with a crochet hook or knitting needles, unlike twisted yards that can split. Our step-by-step instructions show you how to make t shirt yarn using the whole shirt in a continuous strand.
Below you will find my step by step written tutorial with VIDEO instructions for all the visual learners.
We occasionally link to goods offered by vendors to help the reader find relevant products. Some of the links may be affiliate meaning we earn a small commission if an item is purchased.
Table of Contents
How to make t-shirt yarn from an old shirt?

Supplies and tools

- A clean T-shirt that you no longer wear
- A steel ruler and rotary cutter with self-healing cutting board), OR a sharp pair of scissors and a ruler
- (optional) A fabric marking pen
Follow us for free patterns & tutorials! [easy-profiles]
How to Cut T-shirt Yarn with Minimal Wastage
Watch the diy t-shirt yarn video first and then follow the written step by step instructions below.
Please enjoy and don’t forget to Like and SUBSCRIBE over on YouTube to be kept up to date with new videos as they come out.
T-shirt Yarn VIDEO TUTORIAL
Tips for How to Make T Shirt Yarn
Here are a few things to keep in mind when selecting the t-shirt you will use when making t-shirt yarn
- try to use the largest t-shirt you can find – the larger the t-shirt, the more yarn you will yield
- if possible, pick a t shirt without side seams (nice but not necessary) – it will give you a smoother yarn
- try to pick a tshirt without any large prints or logos as you will need to cut around them and you will get less yardage
- avoid really thin t-shirts, t-shirt made out of heavier cotton will get you a nicer yarn
INSTRUCTIONS How to Make your own T-Shirt Yarn:
STEP 1:

Take the clean T-shirt you want to use and lay it out flat with the front of the T-shirt facing upwards on your worktop and remove the labels inside and outside. Smooth out any wrinkles.
STEP 2:
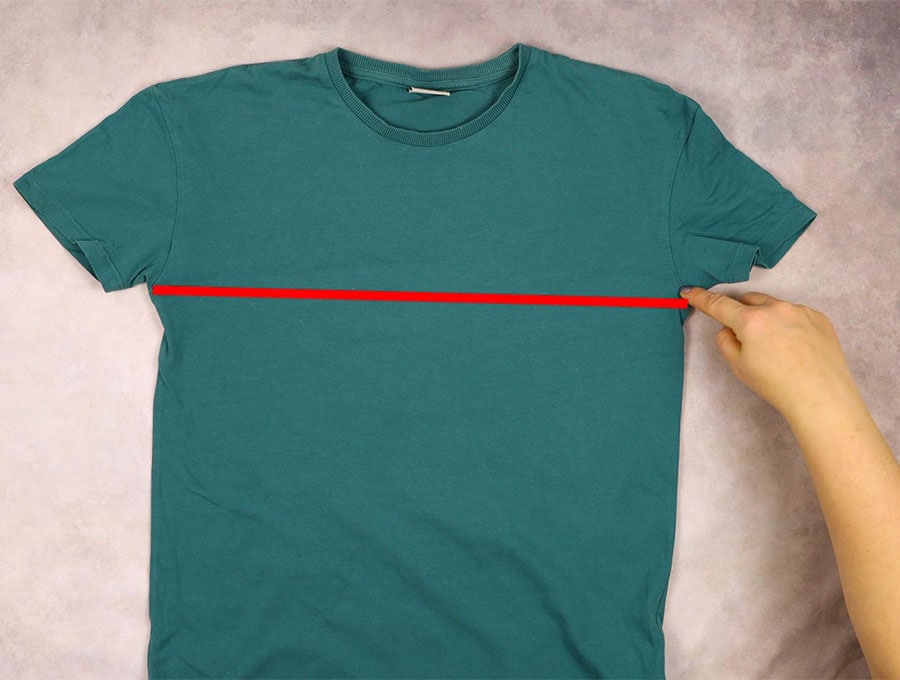
Mark a line from the one underarm to the underarm on the opposite side, using a ruler to ensure you have a straight line, then cut across from the one underarm to the opposite underarm, through the two thicknesses of fabric. Set aside.

PRO tip: you can skip all the marking, if you are confident you can cut in a relatively straight line and you can eyeball the width of the strips.
STEP 3:
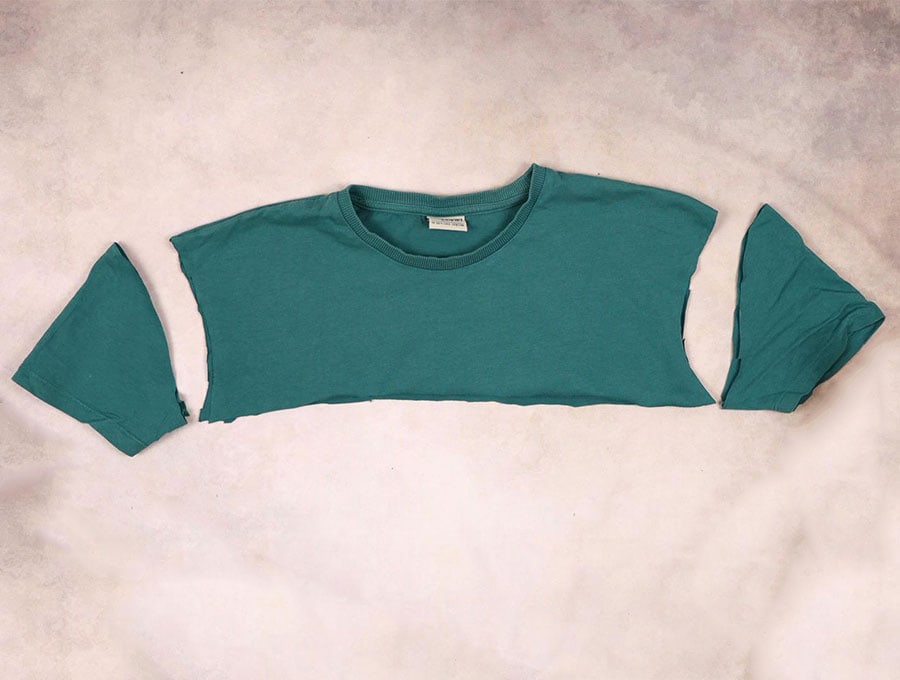
Take the top part of the T-shirt and starting from the underarm remove the sleeve by cutting along the inner or outer edge of the armhole seam – just be consistent whichever way you choose to cut.
Step 4:
Depending where you chose to cut you will need to trim off that thickened part of the seam. Cut close to the edge so you don’t waste any of the fabric – depending where you cut in the previous step you will trim the seams from either the sleeve itself where it joined the main body of the shirt or from the upper part of the body of the shirt. Once you have done that those seams can be discarded.
Step 5:
Take the top part of the shirt and remove the neck facing, cutting carefully just inside the seam that attaches it to the main body of the shirt. If you don’t have a use for the neck facing you can discard it too.
Step 6:

Either cut off the bands of the sleeves or open up the seams on the ends of the sleeves instead – slide your scissors in and snip through the stitching. It may vary on different kinds of T-shirts. If there is a double band of stitching then it’s probably not worth your time trying to unpick it, just snip it off above the seam.
Step 7:
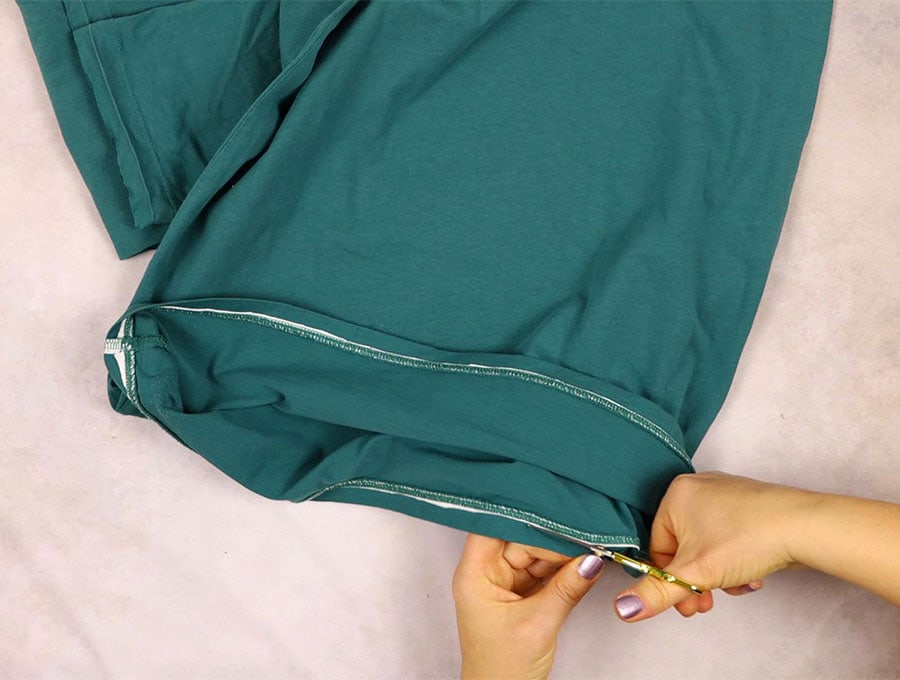
Back to the main body of the T-shirt, slide your scissors under the bottom seam to snip the threads and unpick the seam and smooth it out flat. Again if it is too much trouble with a double seam then simply cut off that seam at the bottom of the T-shirt.
Step 8:
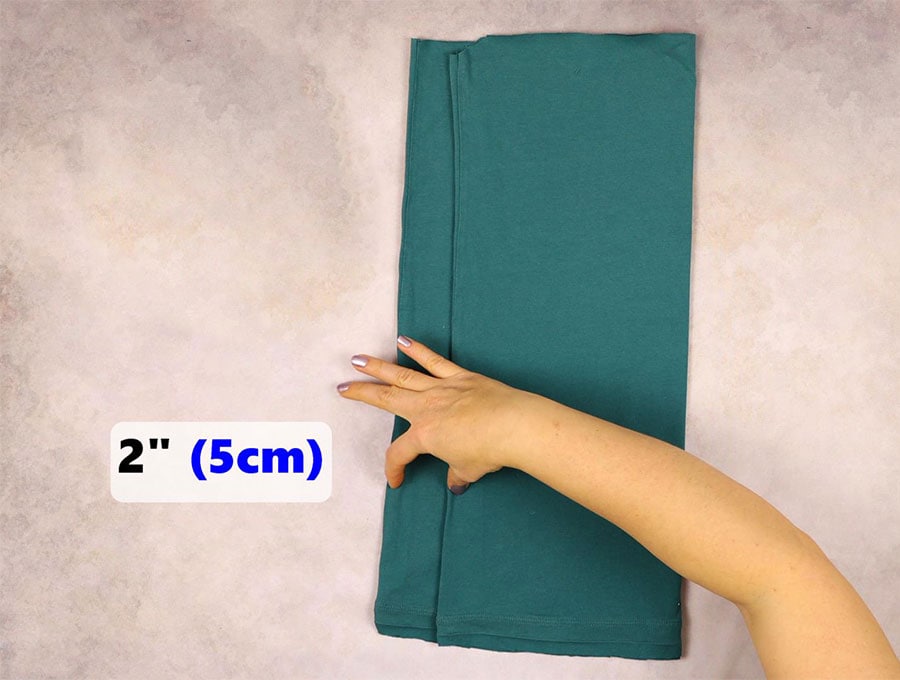
Place the T-shirt torso part with a side seam facing you as you stand at your worktop, then fold it up and away from you to about 2 inches (5 cm) from the opposite edge.
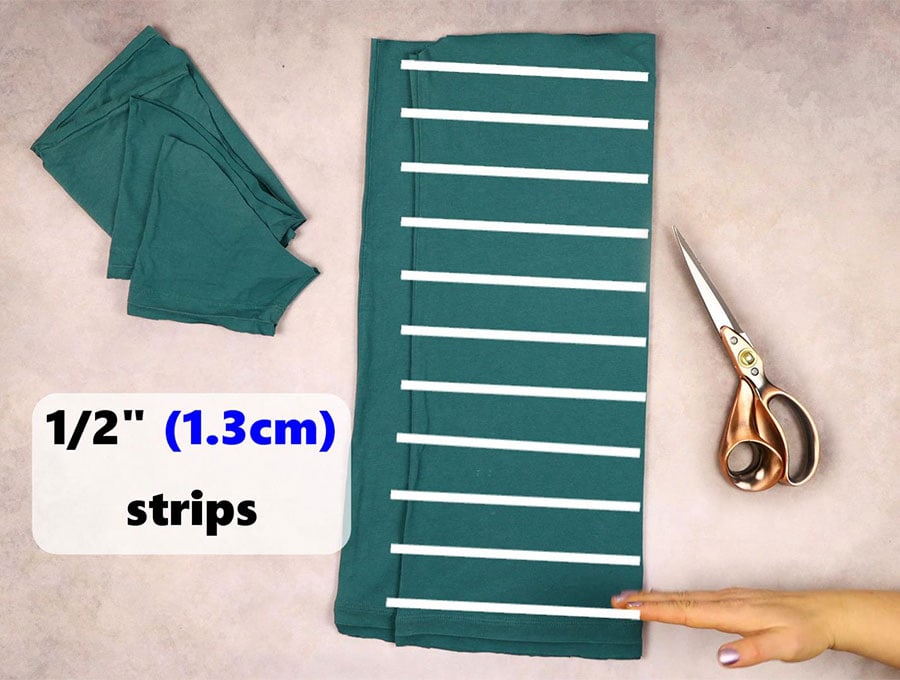
You can either pre-mark strips using your ruler and fabric pen from the folded edge to about 1 inch (2.5cm) from the seamed edge that is furthest away from you, or do it by eye – each strip should be ¾ of an inch (2 cm) wide for the thinner T-shirt fabrics, and ½ an inch (1.3cm) for the heavier T-shirt fabrics.
Step 9:
Cut your strip starting from the bottom fold nearest you on the worktop and up to the top stopping 1 inch (2.5cm) away from the top seam – do not cut right through otherwise you will have strips and not one continuous piece of yarn!


Step 10:

Moving on to the sleeves fold the sleeve up to the side where the bottom of the sleeve originally connected with the body of the shirt. Because the seam is at an angle just line up the end with the inside arm seam – the rest of the arm seam will stick out. This isn’t a problem. Start making the cuts as you did the torso (in step 8), except you will cut to a point where the fabric has fallen away under the fold due to the shape of the sleeve, so open out the sleeve and continue making cuts but not right to the edge. Set this aside.
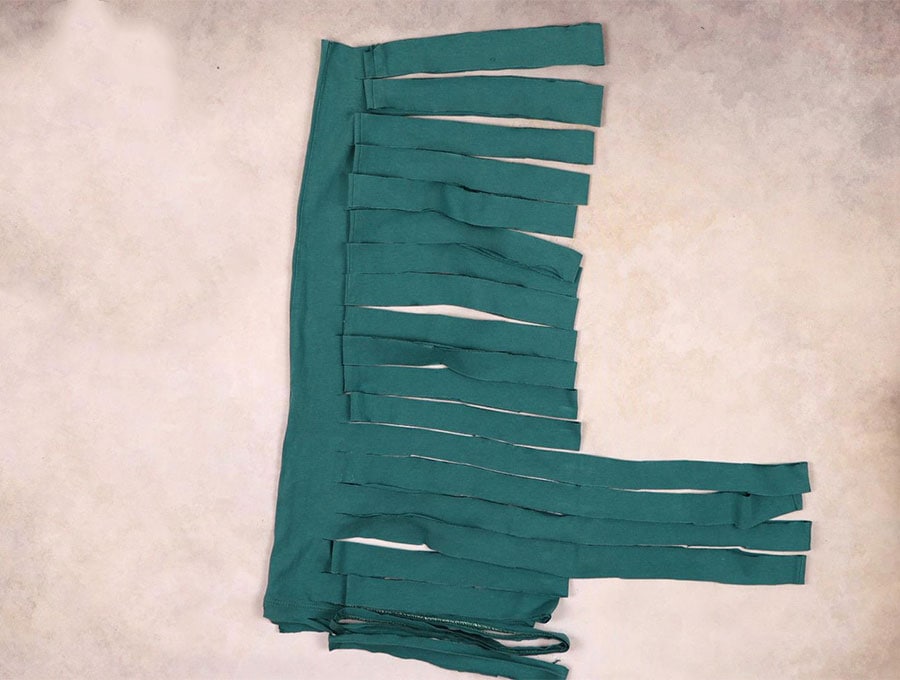
Step 11:
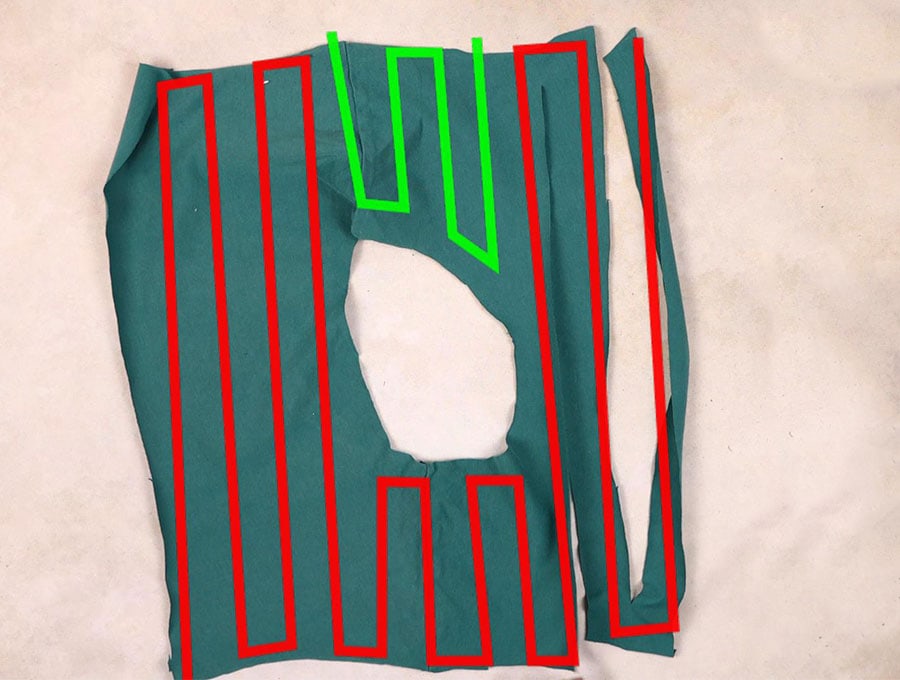
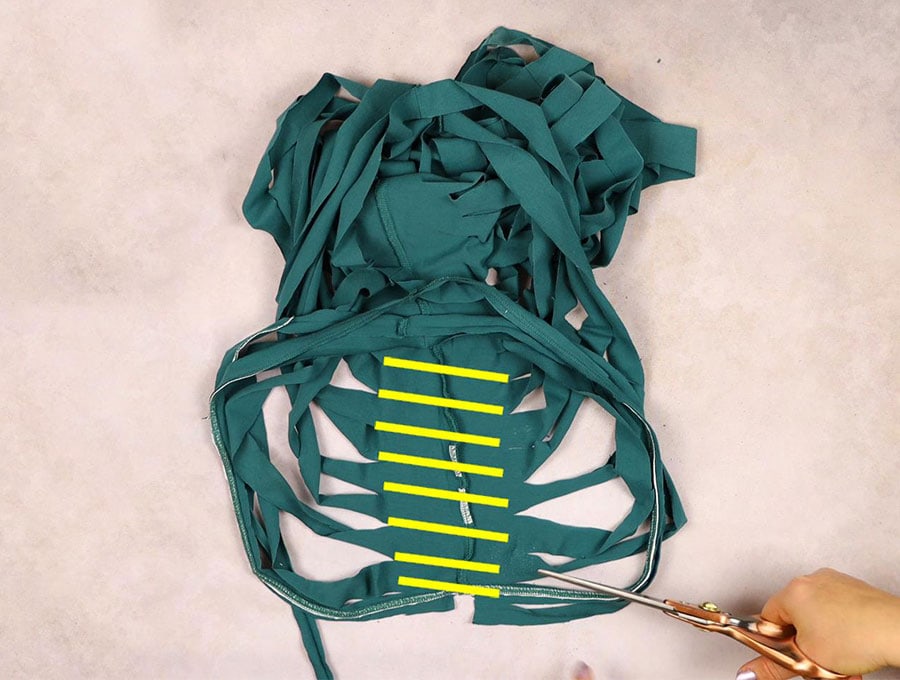
It is time to cut to create your continuous strip of yarn out of the T-shirt top. We start with the neck part section of T-shirt. You are going to cut in a zig zag pattern. So, make a snip to disconnect the first part of the strip, at the end of that strip where it turns do not cut, but make a snip over on the next length – then skipping where it turns at the top again make another snip – this creates a long string of yarn. Think carefully before cutting or mark with a different color fabric pen to help you cut. When you get to the neckline cut along but not to the edge then cut the next piece up but not to the end – continue in this way until you get to the top of the shoulder seam and cut the seam off. Start again on the other side of the neckline, cutting alternate ends so you have a long piece of yarn.
Step 12:
Repeat the same process, snipping alternate rows along the torso of the shirt and with each sleeve to create a continuous piece of yarn.
Step 13:

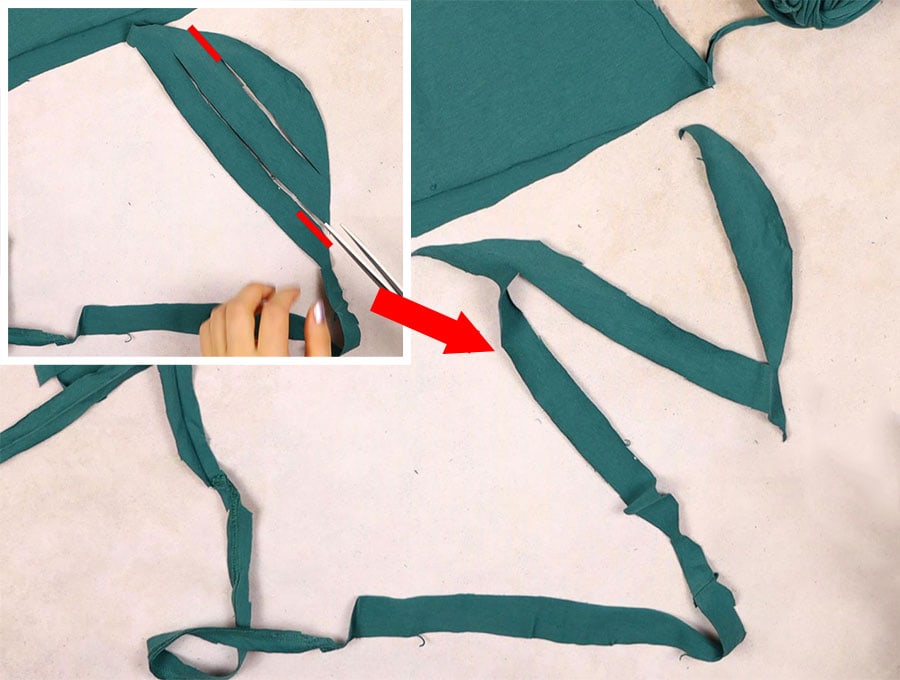
In the interests of a smoother yarn, round off the corners where each cut ends then turns into the next piece – it reduces the bulk of fabric on the turn.
Step 14:
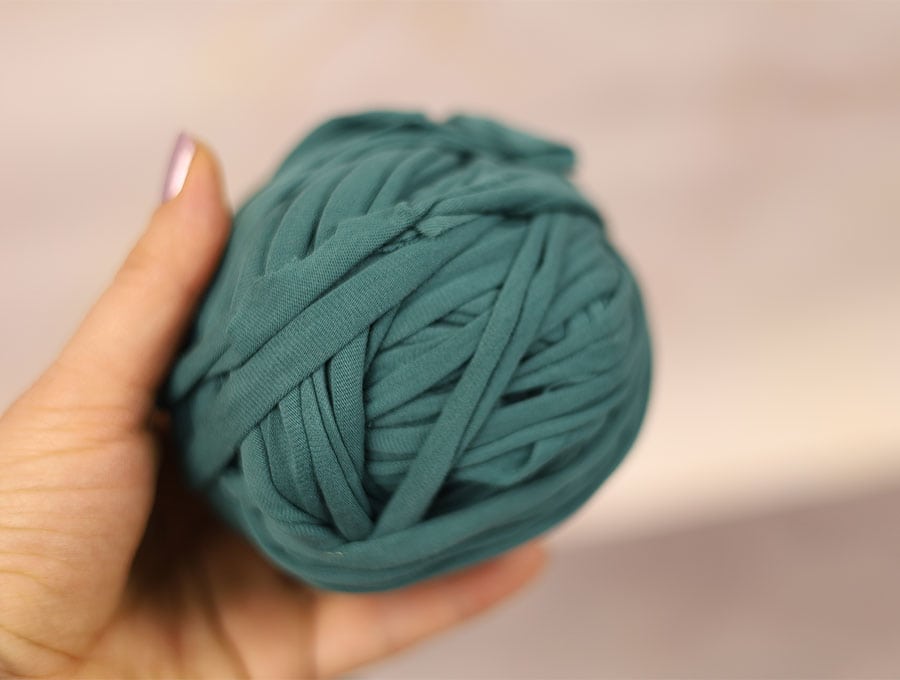
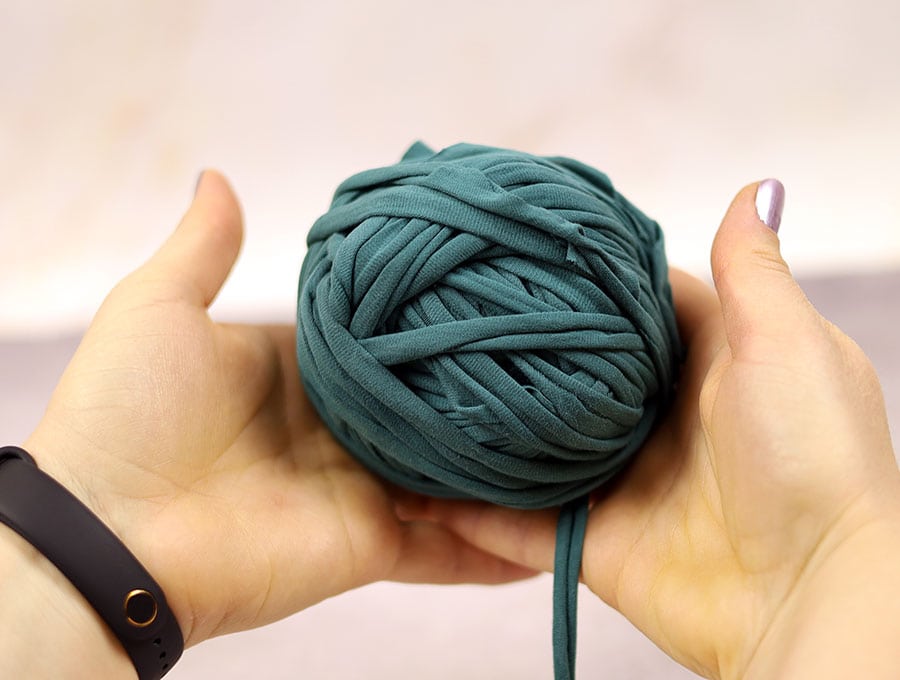
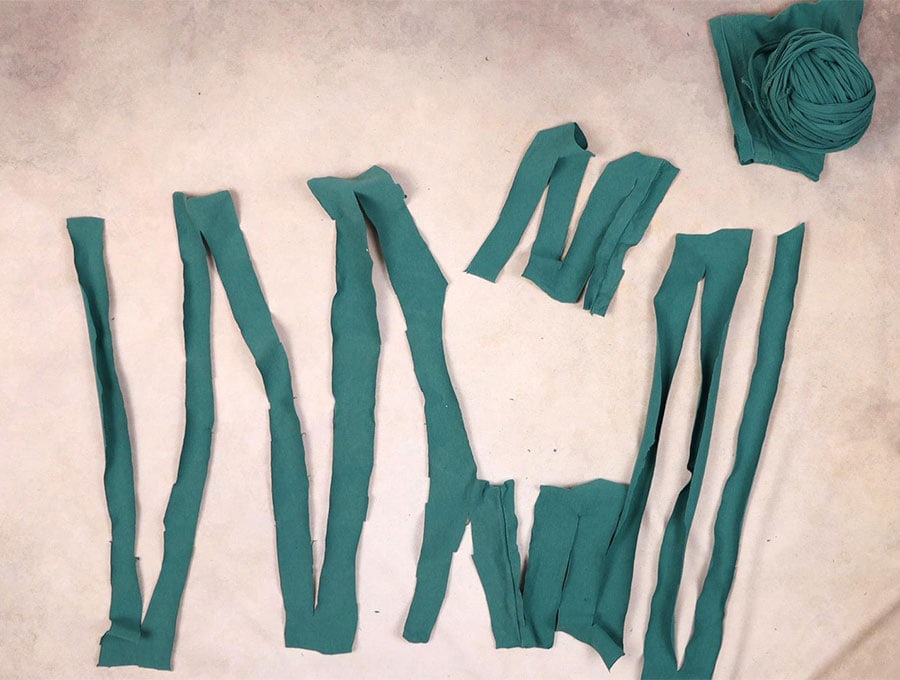
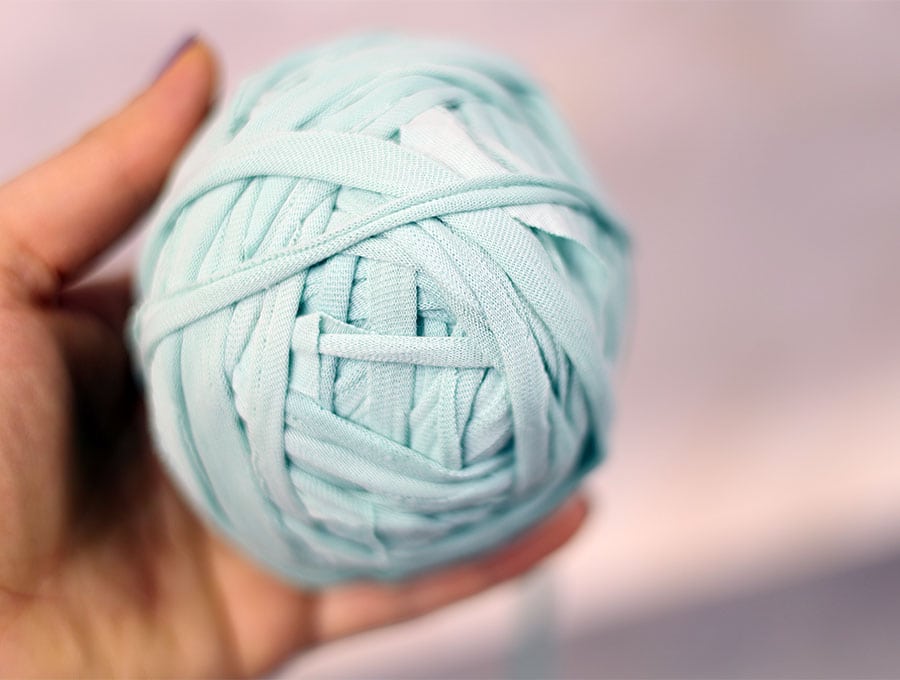
Stretch the pieces so the fabric curls and rolls up then as you stretch roll into a ball. When you come to the sleeves and the top part of the T-shirt there will be less fabric so you will need to make a join. Simply knot the ends together then trim but not too close to the knot. Keep stretching and rolling until the whole T-shirt is wound into yarn balls. You are now ready to use the yarn for any suitable knitting, crocheting, or weaving project.
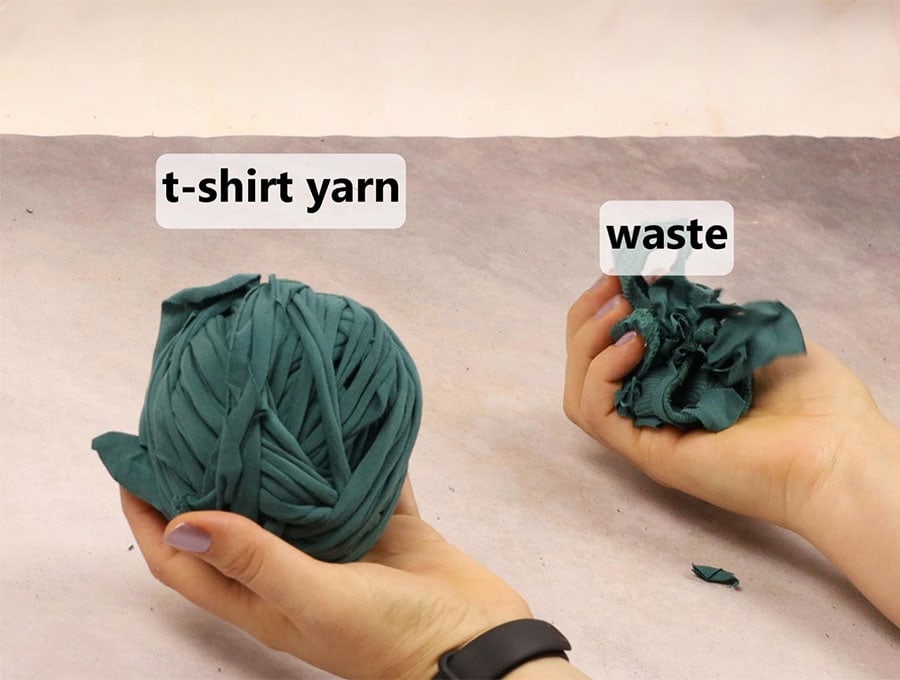
Once you see our visuals and follow along with our easy step-by-step instructions how to make seamless t-shirt yarn you will realize how easy it is to cut a whole used T-shirt into yarn with such minimal waste that it will fit into the palm of your hand. Once the yarn is cut and wound into balls you can then use it on hundreds of different projects around the home. Think blankets for winter, bathroom and bedroom floor rugs, pot holders, textured cushion covers, tote bags, purses and more. Whether you prefer knitting, crocheting or weaving there are hundreds of ways to use T-shirt yarn.
Here at HelloSewing we love to see what our subscribers create, so please do share photos of what you have made using T-shirt yarn. Your creations will inspire others starting out on their sewing and creative journeys. You can easily upload your photos on our social media channels. Please give us a like and share this incredible minimal waste method for cutting T-shirts into yarn with someone you feel will benefit.
T-shirt Yarn FAQs and tips:

Q: How to join t-shirt yarn?
A: Method 1: If you don’t mind knots, simply knot the ends together then trim the ends but not too close to the knot.
Method 2: Alternatively you can sew the ends together right sides out, open out the seam and then pull at the either end to help the seam curl like the rest of the yarn
Method 3: You can simply weave the yarn ends into your project as you would when you do color change
Q: What can you make with t-shirt yarn?
T Shirt Yarn is perfect for larger projects like crocheted and knitted rugs, trivets, coasters, yarn bowls or baskets, tote bags, braided rugs, macrame plant hangers, and wall hangings.
Here’s how to make a t-shirt yarn coaster or trivet. Just use tshirt yarn instead of rope
Q: How much yarn does one t-shirt make?
A: It really depends on the size of the t-shirt and how wide you make the strips, but as a rule of thumb an average sized t-shirt cut into 3/4″ strips will give you roughly 35 meters or 40 yards of yarn.
Using the whole shirt will give you roughly twice as much yarn as compared to using only the torso part.
Q: Can I make t shirt yarn using a t shirt with side seams?
Definitely! We show you how in the video.
Do you like this? Pin for later:
Wanna be friends? Click HERE and follow me on Pinterest
RELATED: