
How to Use Hemming Tape
Hemming tape, aka fusible or fabric tape, is a handy invention that can be used to create hems, especially when you are in a hurry or would prefer not to sew a hem. All you need is the hemming tape with adhesive on both sides and a hot iron. The heat-activated adhesive melts when ironed, bonding the fabric to create a strong and durable hem. I find it perfect for those last-minute fixes when one of the kids is trying to escape out the door on the way to school with a skirt or pants hem that has come undone. Less than five minutes, and you have them sorted!
Below you will find my step by step written tutorial with VIDEO instructions for all the visual learners.
We occasionally link to goods offered by vendors to help the reader find relevant products. Some of the links may be affiliate meaning we earn a small commission if an item is purchased.
Table of Contents
Benefits of Using hemming tape for clothing alterations
- It saves time and effort as it is quick and easier to use than sewing. It eliminates the need for measuring, pinning, and sewing. With hemming tape, you can complete your clothing alterations in a fraction of the time it would take to sew. I find hemming tape perfect when you need to lengthen a skirt, dress, or pants, and the manufacturers haven’t left a very generous hem. It saves on the double fold you usually use for a sewn hem. For silky dress hems, hemming tape allows the fabric to fall and flow without the extra weight of a double hem.
- Applying hemming tape does not require sewing skills, making it accessible to everyone, regardless of their sewing abilities. This makes it an excellent option for beginners or those who need more confidence in their sewing skills.
- Hemming tape is cost-effective as all you need is the tape, iron, and scissors. Investing in a sewing machine and sewing supplies like needles and cotton is expensive if you only want to alter a couple of hems. Hemming tape is a budget-friendly option to save money rather than having a professional seamstress alter hems.
- Hemming tape provides a clean and professional finish when applied correctly, creating a seamless bond between fabric layers.
Follow us for free patterns & tutorials! [easy-profiles]
How to use hemming tape
Decide on the size of the hem, buy the appropriate width of hemming tape, or if you are in a hurry, cut down the hemming tape to the width of the hem you want to create. Just be careful about going too narrow; otherwise, there isn’t enough area for the tape and fabric to bond to create a durable hem.
You will need:
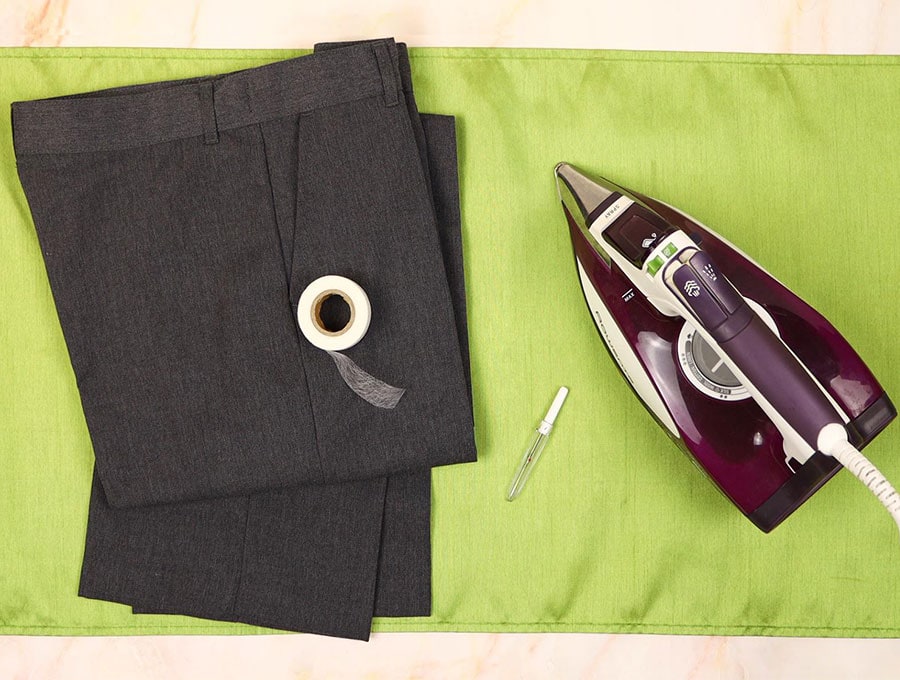
- hemming tape
- iron and ironing board
- measuring tape or a ruler
- the pants that need hemmed
- optional – seam ripper
- If you have made the garment yourself, you will have checked that it is pre-shrunk (the label on the fabric roll will give you this information). If you are altering a hem, start by washing and drying the garment according to the care instructions on the label. This will ensure that any shrinkage occurs before you hem the item. After washing, unpick the existing hem then iron the garment to remove any wrinkles.
- Serge or zig-zag the edge, or cut with a pair of pinking shears, or you can even leave the edge raw.
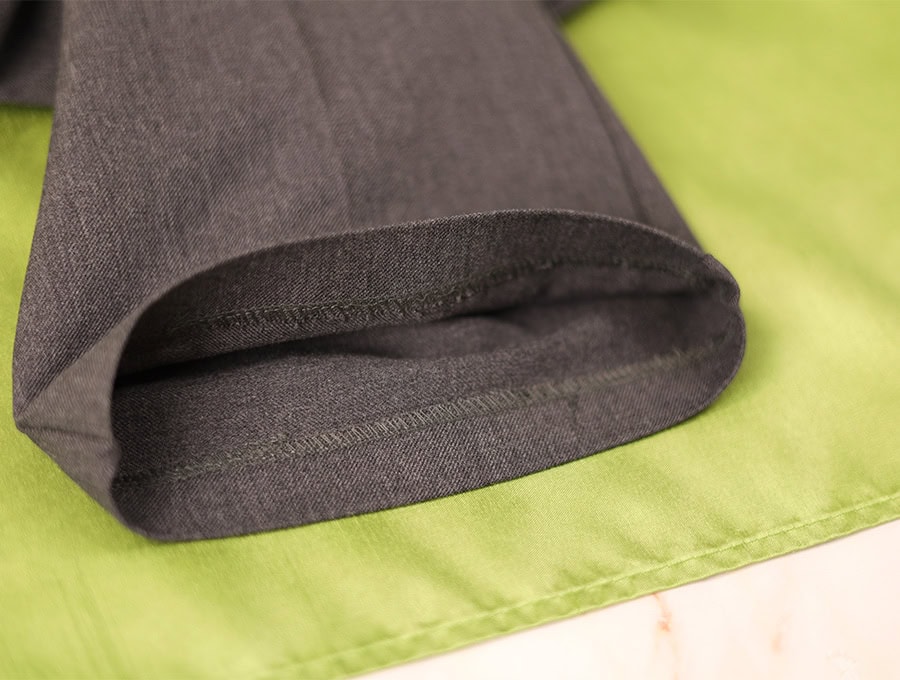
- Turn up the hem just a little more (1/8 inch or 3mm) than the width of the hemming tape, which usually comes in a 1-inch (2.54cm) width roll. Measure carefully to ensure the hem is even all round then iron the single-layer hem in place first.
- Measure and cut the hemming tape – Measure the circumference of the pants leg or dress/skirt hem. Cut a piece of hemming tape to the desired length, allowing an extra inch for overlapping at the finish
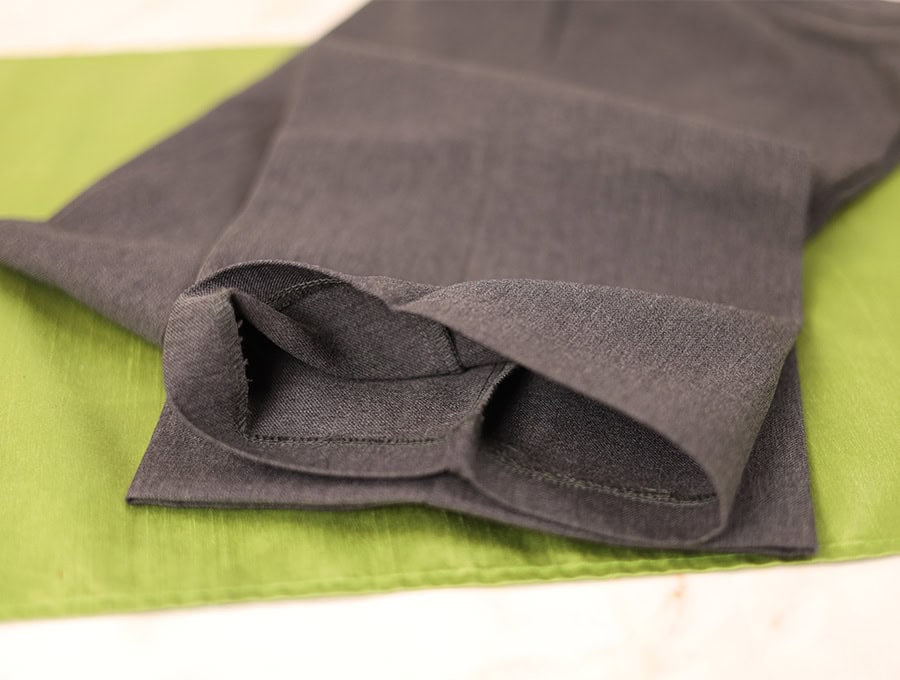
- Open up the hem of the pants and place the hemming tape along the edge of the fold you ironed, placing it between the two layers. It doesn’t matter which side is up of the hemming tape as both sides are adhesive. If the fabric is delicate, use a pressing cloth so you don’t risk ruining the fabric.
- Set your iron to the appropriate temperature for the fabric and press it firmly over the pressing cloth, moving it back and forth for about 10-15 seconds. Make sure to apply even pressure and heat to ensure a strong bond.
- Allow the hem to cool completely before handling or wearing the item.
Tips for Using Hemming Tape on Delicate Fabrics
- Choose the right hemming tape: Look for a tape specifically designed for delicate fabrics or labeled as safe for use on delicate fabrics. These tapes are usually gentler and less likely to damage the fabric.
- Test the hemming tape on a small area: Before applying it to the entire garment, test it on a small, inconspicuous area of the fabric. This will allow you to see how the fabric reacts to the heat and adhesive and ensure it does not cause any damage or discoloration.
- Use a pressing cloth: When applying heat to delicate fabrics, protecting them from direct contact with the iron is crucial. Place a pressing cloth, such as a thin cotton or muslin fabric, over the hemming tape before ironing. This will create a barrier between the fabric and the iron, preventing direct heat damage.
- Avoiding excessive heat: Delicate fabrics can be more sensitive to heat, so using a lower heat setting on your iron is essential. Start with a low heat setting and gradually increase it if necessary. Be cautious not to leave the iron in one spot for too long, as this can damage the fabric.
How to Remove Hemming Tape Residue from Clothing
If the tape comes above the fold of the hem you may be left with some sticky residue to get rid of.
- Use a hot iron: Place a clean cloth or paper towel over the hemming tape residue and apply heat with a hot iron. The heat will soften the adhesive, allowing you to gently scrape it off with a plastic scraper or your fingernail. Be careful not to apply too much heat or pressure, which can damage the fabric.
- Apply rubbing alcohol: Dampen a cloth or cotton ball with rubbing alcohol and gently rub it over the hemming tape residue. The alcohol will dissolve the adhesive, making it easier to remove. Continue rubbing until the residue is completely gone. Rinse the fabric with water to remove any remaining alcohol.
- Use a fabric shaver: If the hemming tape residue is stubborn and cannot be removed with heat or rubbing alcohol, you can try using a fabric shaver. A fabric shaver is a small handheld device that removes pills and fuzz from fabric. Gently run the fabric shaver over the residue to shave it off. Be careful not to press too hard or shave too long in one spot, which can damage the fabric.
Before attempting any of these methods, test them on a small, inconspicuous area of the fabric to ensure they do not cause any damage or discoloration.
Hemming Tape vs. Sewing: Which Method is Best for Your Project?
When deciding between hemming tape and sewing for your project, several factors must be considered. Here are some pros and cons of hemming tape versus sewing:
Hemming Tape:
– Pros: Hemming tape is quick and easy to use, does not require any sewing skills, and provides a clean and professional finish. It is also cost-effective and accessible to anyone, regardless of their sewing abilities.
– Cons: Hemming tape is not suitable for all fabrics and may not be as durable as a sewn hem. It can also leave residue on the fabric, which may need removal.
Sewing:
– Pros: Sewing allows for more customization and precision and can create a stronger and more durable bond between fabric layers. It is also suitable for a wider range of fabrics and can be used for more complex alterations.
– Cons: Sewing requires sewing skills and can be time-consuming. It also involves using a sewing machine or sewing tools, which can be expensive.
When choosing between hemming tape and sewing, consider the fabric type, the desired permanence of the alteration, your sewing skills, and the time and effort you are willing to invest in the project.
Pro tip: Hemming curtains
Use hemming tape to alter the curtains’ length – here’s how to hem curtains. If they are too long, remove the desired amount of fabric, then follow the instructions for applying hemming tape. You can do all this without even taking them off the curtain rods!
Do you like this? Pin for later:
Wanna be friends? Click HERE and follow me on Pinterest
RELATED: