 WITH or WITHOUT Sewing")
How to Hem Curtains (2 ways) WITH or WITHOUT Sewing
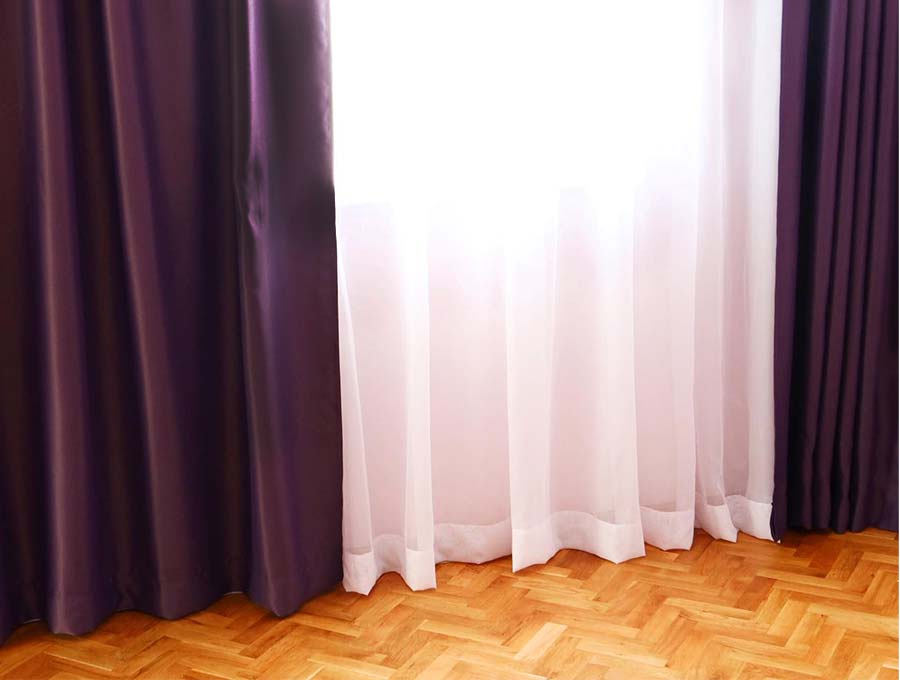
Today’s post is designed to make hemming curtains super simple, with no-sew options, in case you don’t have a sewing machine. For beginners sewists, we’ll show you an easy way to adjust the hems of curtains. When you move into a new place, usually not one curtain you brought from your old place is going to be exactly the right length for your new windows. And if you are buying ready-made curtains very seldom are they exactly the right length. Follow our step-by-step instructions to measure and shorten, or lengthen curtains, or simply make hems for new curtains. Once you have the curtains up and looking like they were custom-made for the windows, then sit back and enjoy your space.
I’ll show you 2 ways how to hem curtains WITHOUT sewing – either by measuring or by hanging the curtains first, and then I will show you how to hem curtains WITH sewing either by hanging them first or simply by measuring. Enjoy!
Below you will find my step by step written tutorial how to hem curtains with VIDEO instructions for all the visual learners.
We occasionally link to goods offered by vendors to help the reader find relevant products. Some of the links may be affiliate meaning we earn a small commission if an item is purchased.
Table of Contents
How to hem curtains at home (Quick and Easy)
Watch the hemming curtains video first and then follow the written step by step instructions below.
Please enjoy and don’t forget to Like and SUBSCRIBE over on YouTube to be kept up to date with new videos as they come out.
Hemming curtains VIDEO TUTORIAL
Follow us for free patterns & tutorials! [easy-profiles]
Method 1: How to hem curtains without sewing
There are two methods you can use:
- Measuring without first hanging the curtains
- Hanging the curtains first, then marking the hems and stitching or ironing on fusing tape right where they are hanging
You can use either of the above methods for both sew and no-sew options when finishing the curtain hems.
Supplies and tools
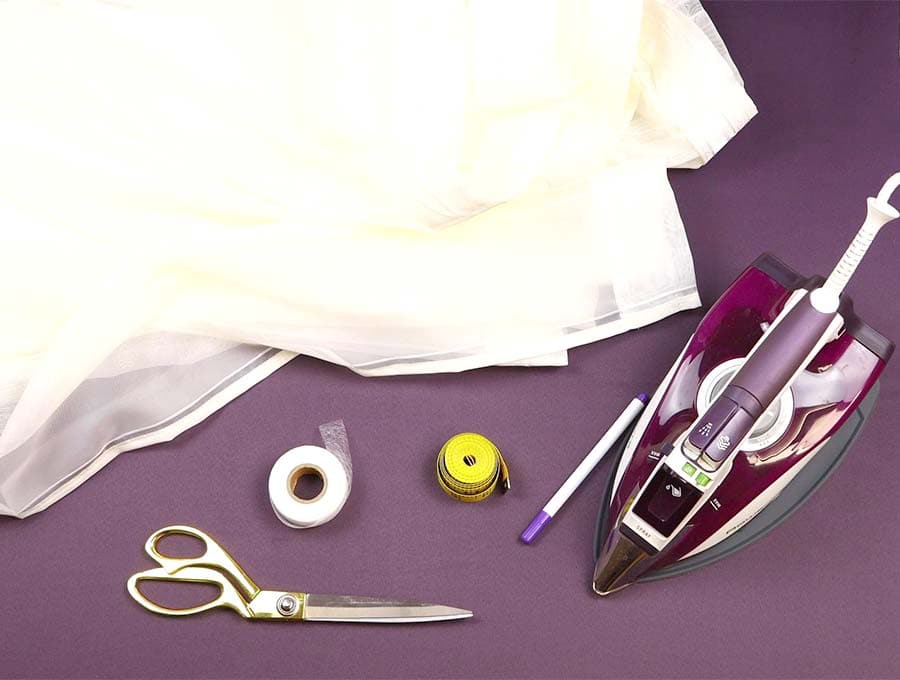
- curtains that need shortening
- iron-on fusible web tape 5/8″ wide (hemming tape)
- scissors (or rotary cutter and a cutting mat)
- ruler or measuring tape
- iron and ironing board
- sewing clips or pins
Option 1: Measuring without hanging for no sew curtains
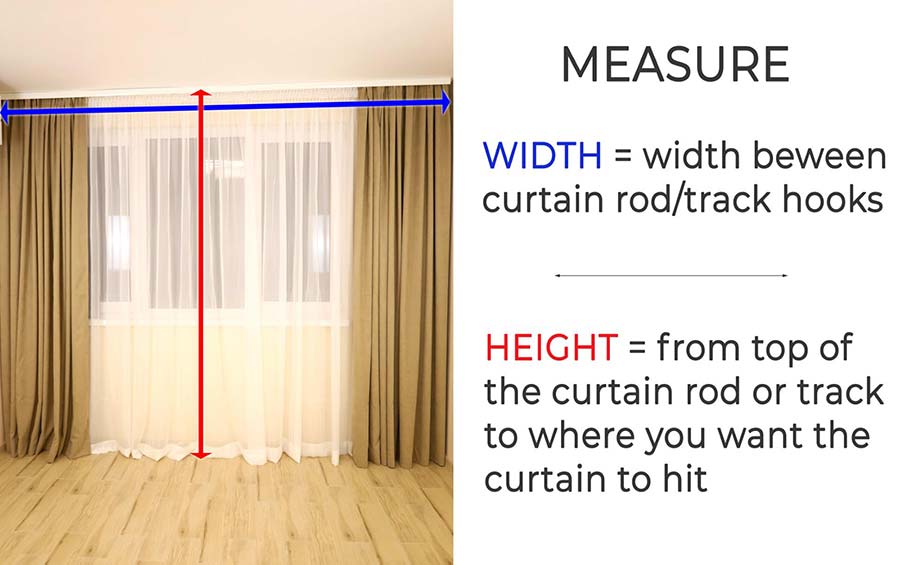
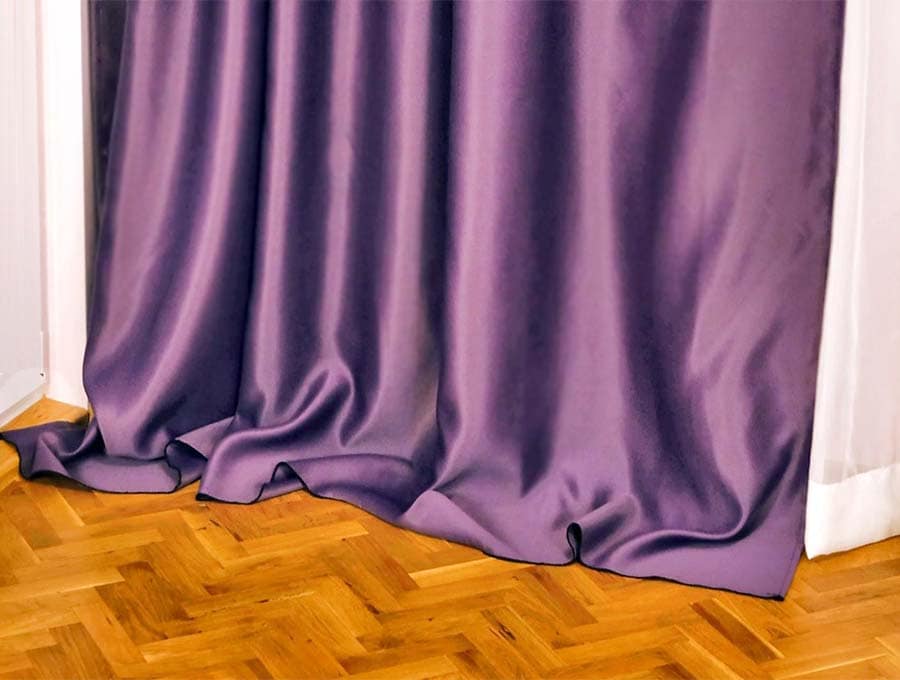
Step 1: Measure from the top of the rod or curtain track to the floor (height). You’ll probably need someone to help you hold the tape measure and make sure that the measurement is accurate. Sometimes you may not want the curtains to go right to the floor – then measure to around six inches belong the windowsill or as far down as you want them to go.
e.g. I decided I want my curtains to just skim the floor and that meant I needed my curtains to be exactly 100 inches (250cm).
Step 2: Do some math: Measure twice, just to make sure you are right – then add an extra 2 inches (5cm) for the hem on the no-sew method.
e.g. If you want your curtains to be 100 inches (250cm) then cut 102 inches or 255cm from the top.
(optional) If the curtain has a lining then unpick where the lining is fastened along the sides to the curtain drop, to around 3 inches above where you intend cutting the main curtain. Check the distance from the hem of the lining to the hem of the curtain – the lining is usually a little bit shorter so that it doesn’t hang out from under the curtain – usually an inch.
Step 3: If the curtains are too long for the window and need to be shortened make sure you allow for the drop and the 2 inches (5cm) for the no-sew method, then lay the curtain out on a table and measure accurately making marks with a fabric marking pen on the wrong side of the curtain. Join up the dots using a ruler, or pull a thread to ensure the line is straight.
RELATED: How to cut fabric straight – 4 methods
(optional) Do the same marking for the lining, as you did for the outer fabric – that is if your curtain has a lining, making sure it is cut one inch (2.5cm) above the actual curtain length.
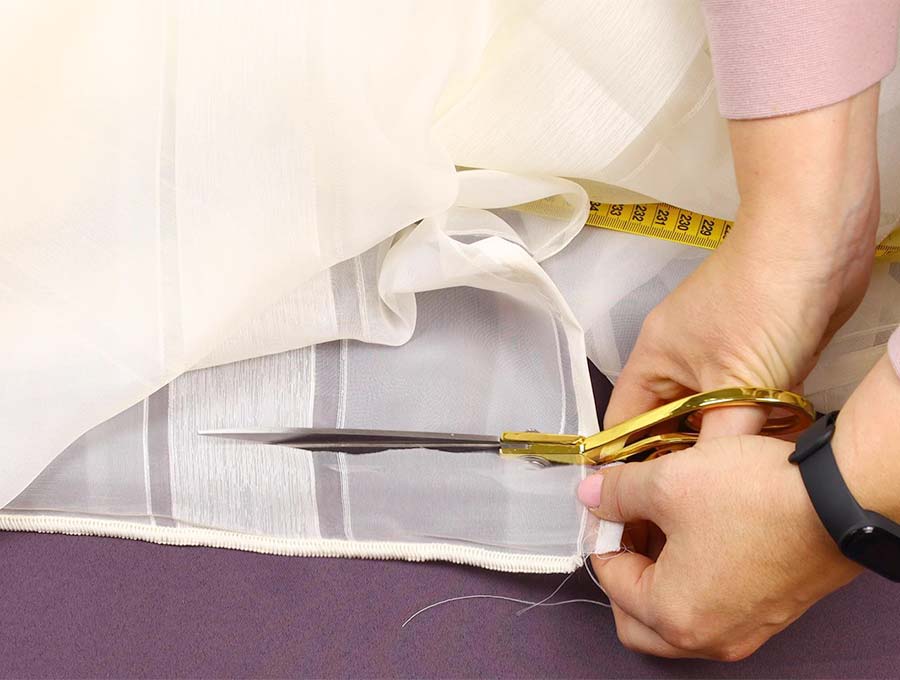
Step 4: Cut along the line you have marked, for the curtain (and the lining).
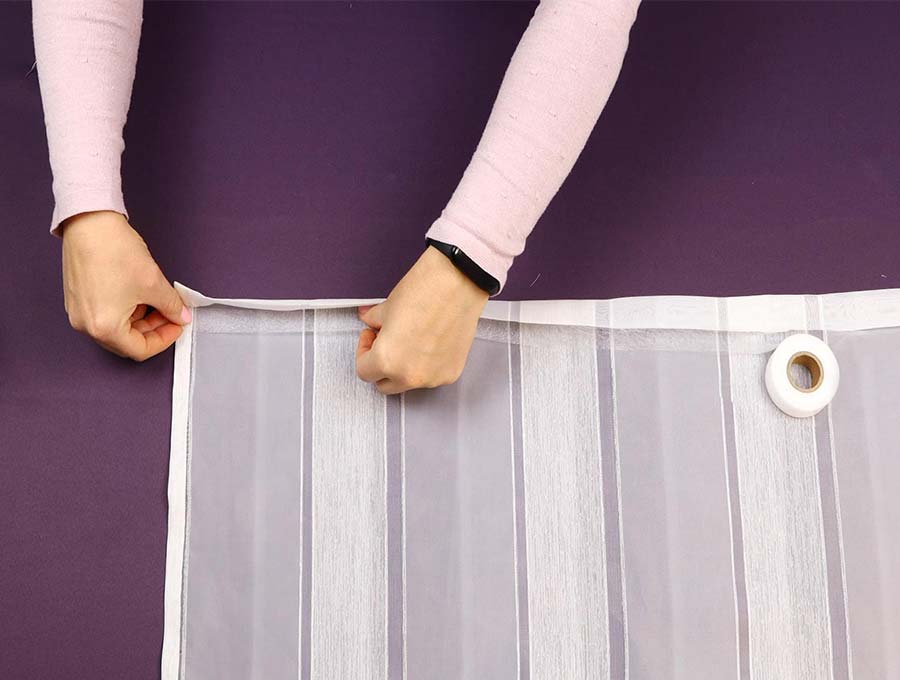
Step 5: Fold up 1 inch(2.5cm) on the raw edge of the hem of the curtain, press then for over another inch (2.5cm) and press again.
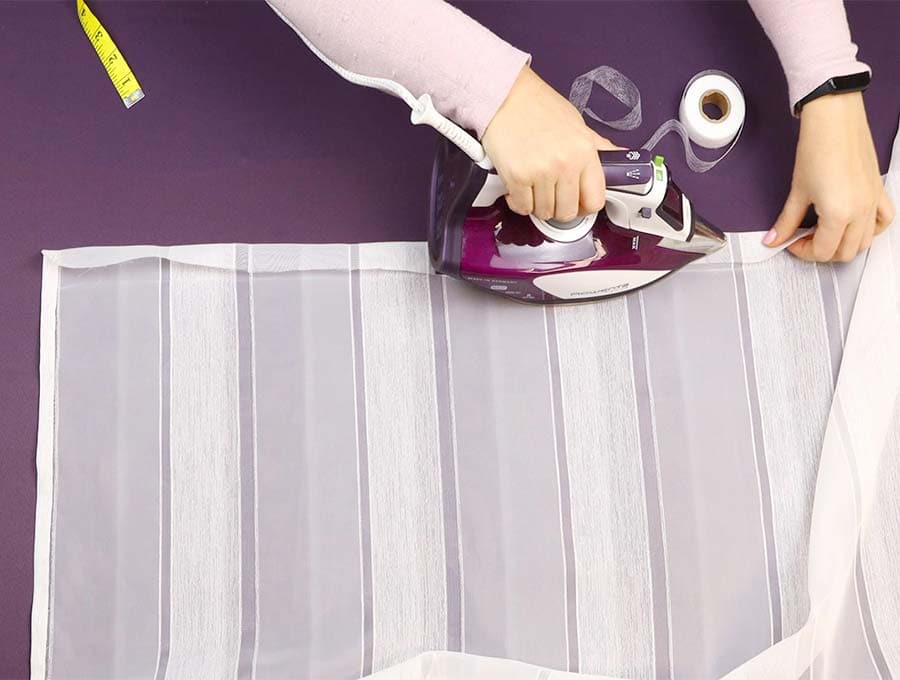
Step 6: Fold out the second turn up you did above so you can see the raw edge. Now apply the fusing tape according to the manufacturer’s instructions. Press well on the heat setting advised to make sure the fusing tape has done its work and the hem is bonded
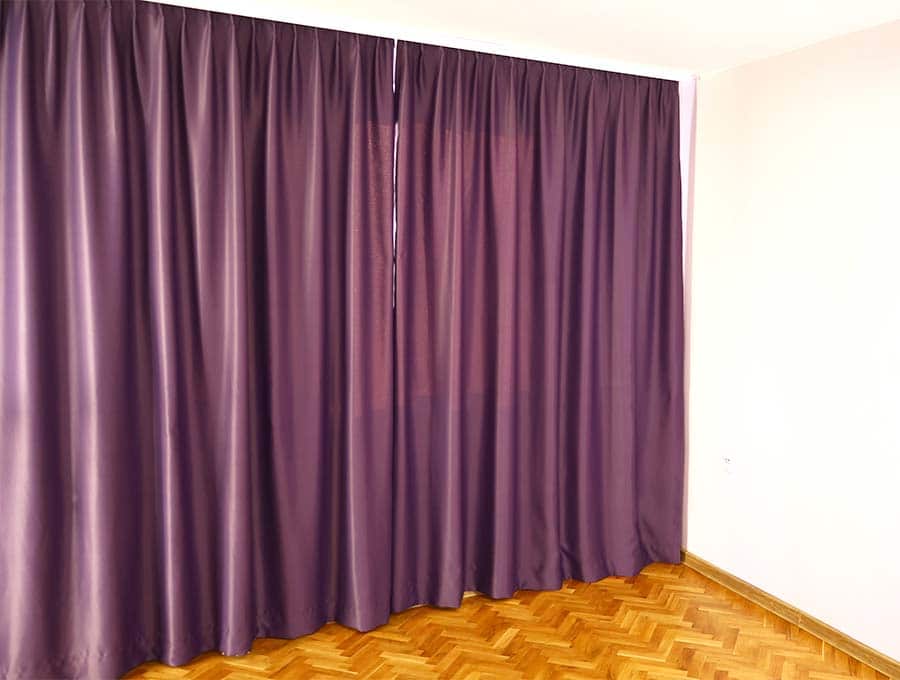
Step 7: Hang up your curtains and enjoy!
Option 2: Hang the curtains and then mark the hems
Personally, I like this method as there can’t really be any mistakes as you can see as you go along how the curtains will finally hang.
Step 1: Hang up the curtains.
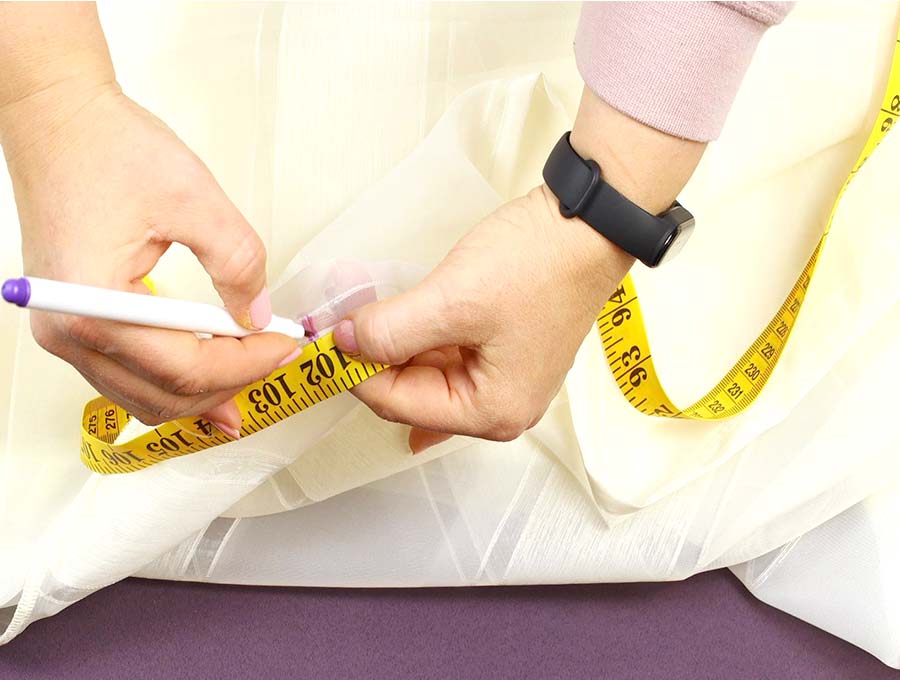
Step 2: Use pins or a marker to indicate where the final hem length should be, marking at around 6 to 8-inch intervals along the base of the curtain. If your floor is relatively level, then you can just need 2 or 3 marks per curtain panel.
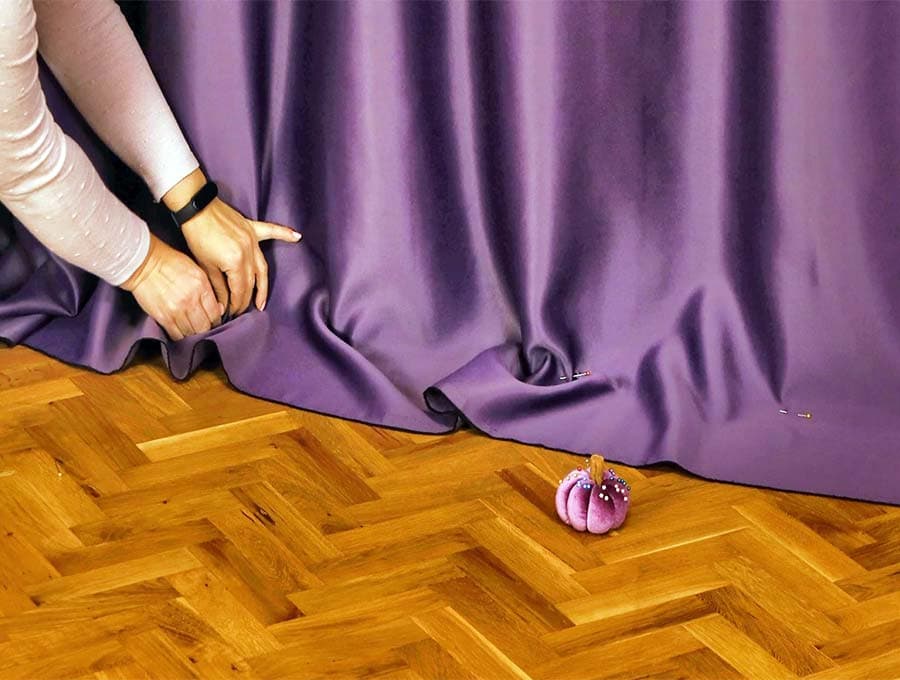
Step 3: Measure 2 inches (5cm) below the marked line of where the finished length of the hem should be, marking at intervals and using a tape measure to ensure the line is exactly 2 inches (5cm) below the first marks or pins, then cut accurately along the marks.
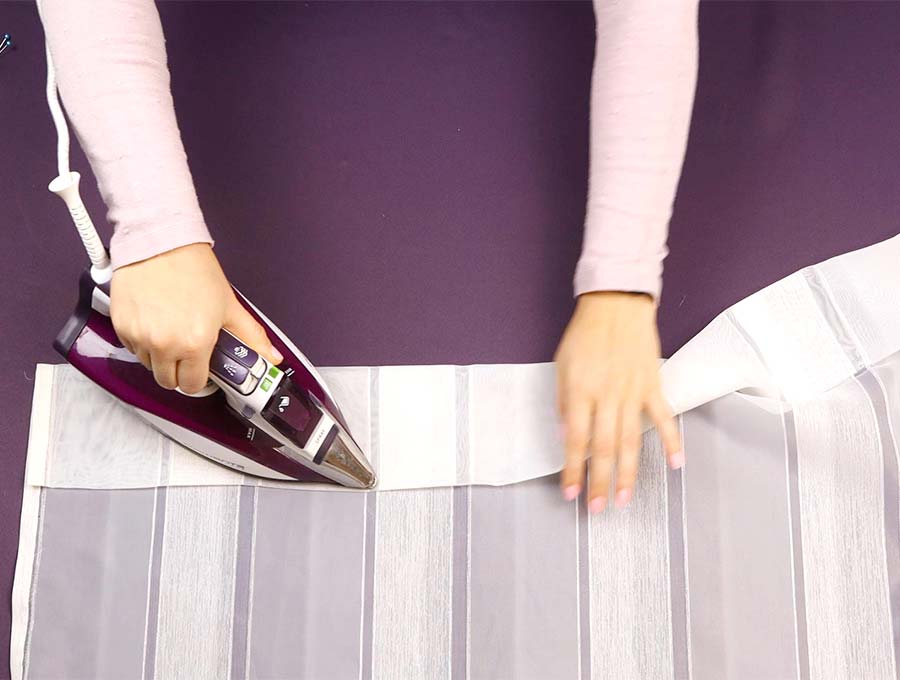
Step 4: Bring your ironing board and iron close to the curtains and create your first one inch (2.5cm)turn over, pressing as you go. Fold up another inch (2.5cm) and press again
Step 5: Insert the fusible tape in the fold you just made. Press the hem with the fusing tape according to the manufacturer’s instructions, making sure the hem is well bonded.
Step 6: Drop the curtain hems from the iron board and admire your handiwork.
METHOD 2: How to hem curtains WITH sewing machine
Supplies and tools
- curtains that need shortening
- scissors (or rotary cutter and a cutting mat)
- ruler or measuring tape
- iron and ironing board
- sewing clips or pins
- matching thread
- sewing machine for the sewing method (these are my top picks for curtains and home decor), or you can handsew
Option 1: Measuring without hanging for sewn curtains hems
Step 1: Measure from the top of the rod or curtain track to the floor. Sometimes you may not want the curtains to go right to the floor – then measure to around six inches belong the windowsill or as far down as you want them to go. Consider whether you have shirring tape, pleating tape, grommets, curtain hooks or tab top curtains, as these can influence the length of the curtain. It is disheartening to find the curtain is just that bit too long or too short when you have finished, as you didn’t consider the hanging method.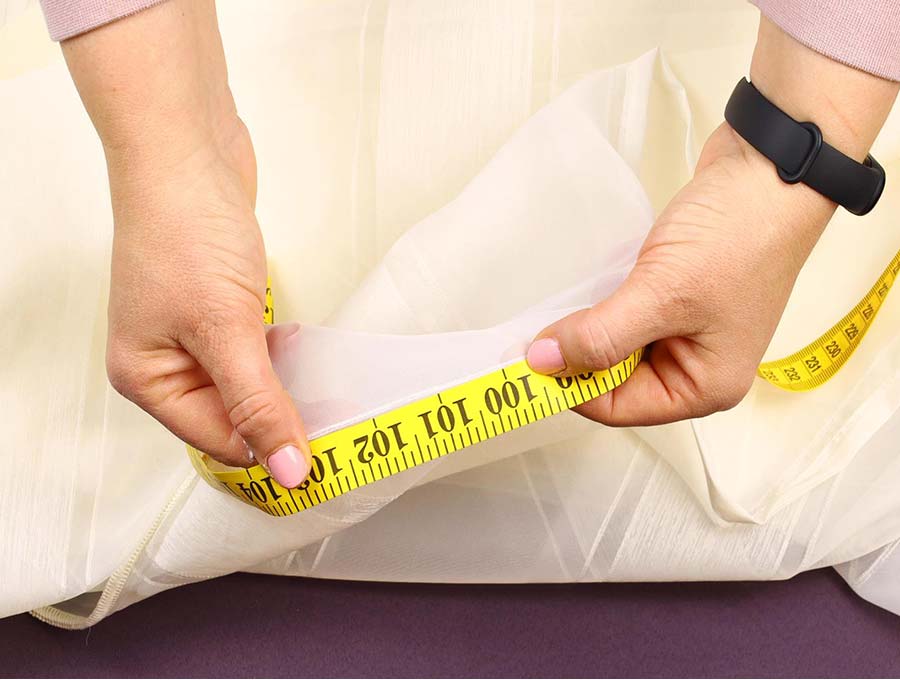
My curtains needed to be 100 inches (250cm)
Step 2: Measure twice, just to make sure you are right, then allow an extra 5 inches (12.5cm) for the hem on the sewn method, unless you specifically want to create a smaller hem or if you want to hem sheer curtains.
Recommended seam allowance for hemming:
- narrow hem (opaque or sheer): 2 inches (5cm)
- wide hem for opaque curtains: 5 inches (12.5cm)
- wide hem for sheer curtains: 8 inches (25cm)
(optional): If the curtain has a lining then unpick where the lining is fastened along the sides to the curtain drop, to around 4 inches (10cm) above where you intend cutting the main curtain. Check the distance from the hem of the lining to the hem of the curtain – the lining is usually a little bit shorter so that it doesn’t hang out from under the curtain – usually an inch (2.5cm).
Step 3: If the curtains are too long for the window and need to be shortened make sure you allow for the drop and the 5 inches (13cm) to make the new wide hem or a minimum of two inches (5cm) if you want a narrower hem, then lay the curtain out on a table and measure accurately making marks with a fabric marking pen on the wrong side of the curtain. Join up the dots using a ruler, or pull a thread to ensure the line is straight.
(optional) Do the same marking for the lining, as you did in Step 3 – that is if your curtain has a lining, making sure it is cut one inch above the actual curtain length.
Step 4: Cut along the lines you have marked, for the curtain (and the lining).
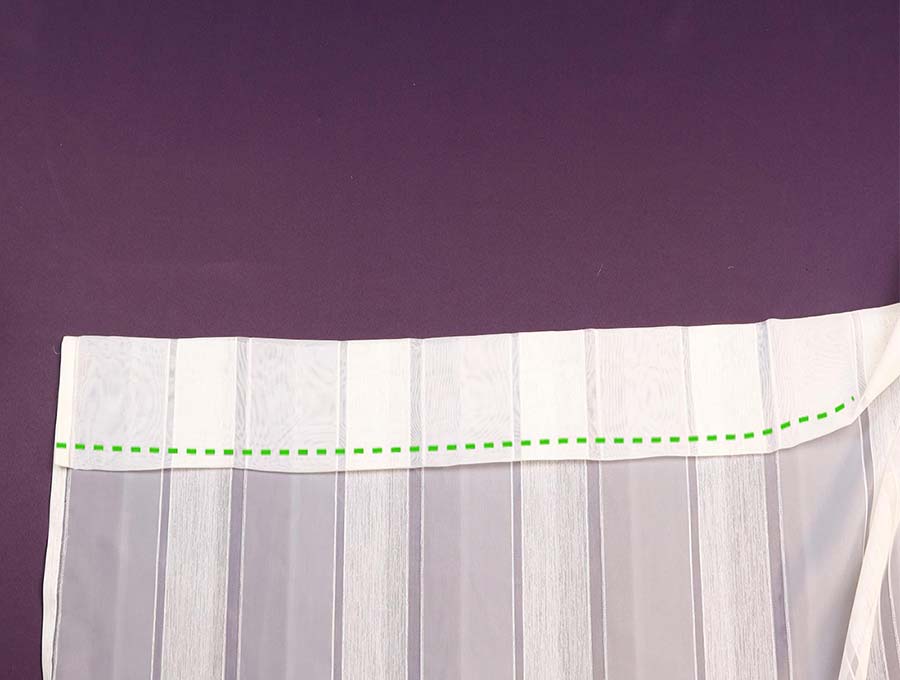
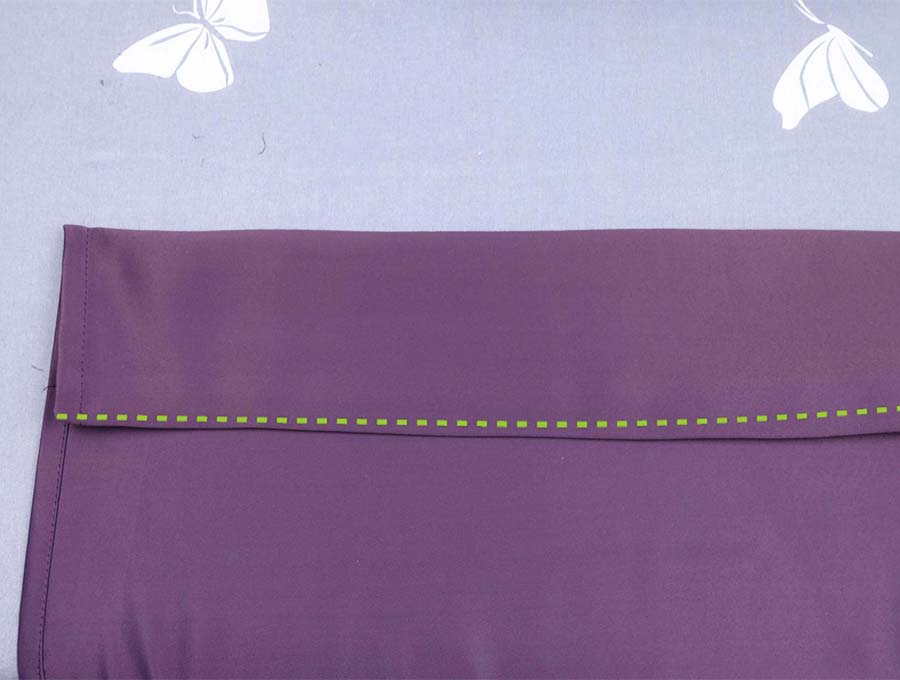
Step 5: Fold up 1 inch (2.5cm) on the raw edge of the hem of the curtain, press, then fold over another 4 inches (10cm or whichever width of seam you have allowed for – between 1 inch and 3 inches / 3 to 8cm) and press again. optional: Repeat with the lining
Step 6: Stitch along the top fold of the hem about 1/8 inch (3mm) from the edge on the wrong side of the curtain. If you prefer not to have visible seams then stitch by hand.
(optional) Repeat with the lining – this can be machine stitched as it does not show. Before hanging your curtains slip stitch or machine stitch the lining to the curtain where you unpicked it to make the new hems.
Step 7: Hang up your curtains.
Option 2: Hang the curtains and then mark the hems before machine or hand stitching
Personally, I like this method as there can’t really be any mistakes as you can see as you go along how the curtains will finally hang. When you hang the curtains first you know exactly where they should hit the floor, or how far below a windowsill they should come. It all depends on the top – whether you have shirring tape, pleating tape, grommets, curtain hooks or tab top curtains, as these can influence the length of the curtain.
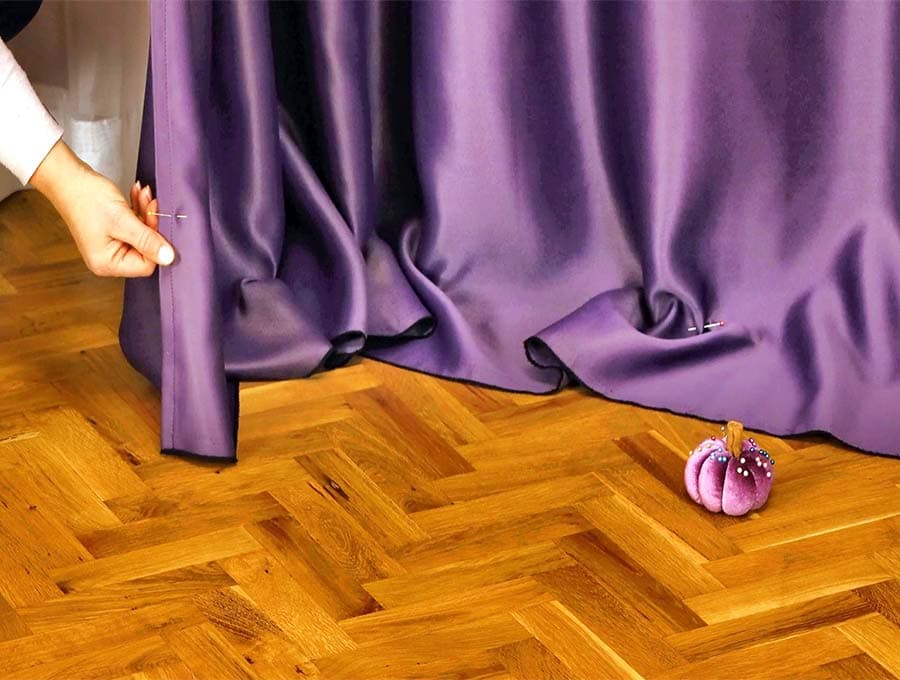
Step 1: Hang up the curtains and close them.
Step 2: Use pins or a marker to indicate where the final hem length should be, marking at around 6 to 8-inch intervals along the base of the curtain. Make sure to straighten the folds so you can take accurate measurements
Step 3: Measure 5 inches (12.5cm) /or a minimum of 2 inches (5cm depending whether you are making just a one inch (2.5cm) hem/ below the marked line of where the finished length of the hem should be, marking at intervals and using a tape measure to ensure the line is exactly the same number of inches/cm below the first marks or pins, then cut accurately along the marks.
Step 4: Bring your ironing board and iron close to the curtains and create your first one-inch (2.5cm) turn over, on the wrong side of the fabric, pressing as you go.
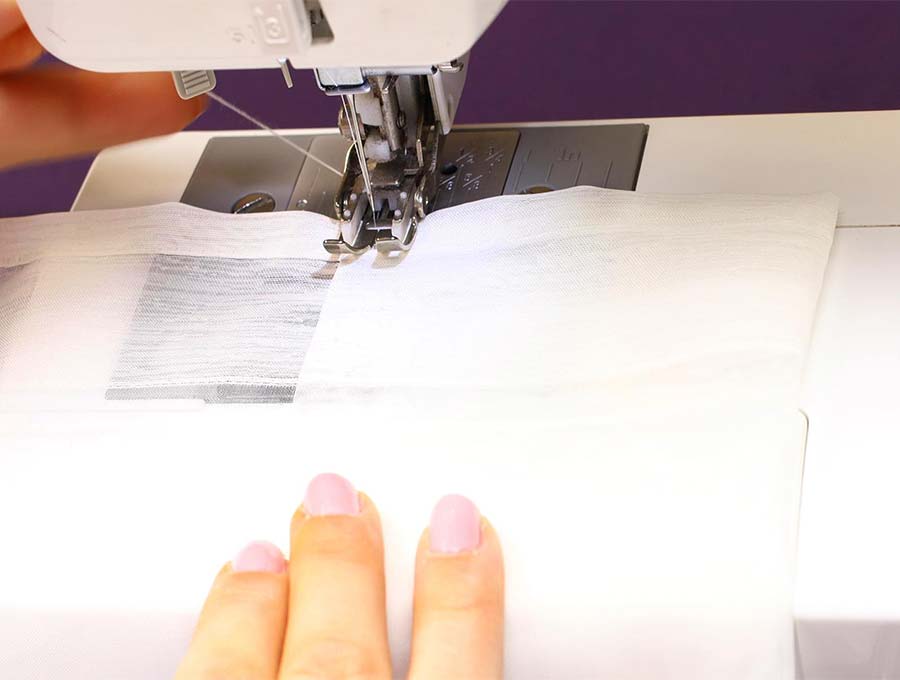
Step 5: Turn over the next 4 inches (10cm) , or whichever number of inches you have chosen for your hem, and press again, ensuring the hem is an even number of inches all along the length. I usually cut a little piece of cardboard to the number of inches I use, which is usually 4 inches (10cm) in length, to use as a marker. It ensures the hem stays level.
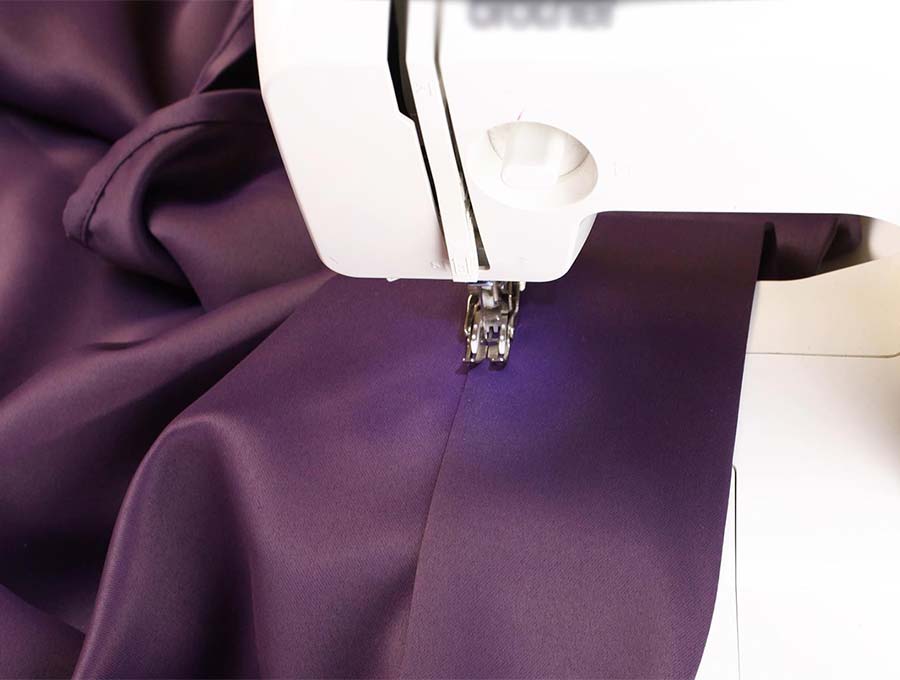
Step 6: Bring your sewing machine table close to the curtains and stitch along the top of the second fold, on the wrong side of the fabric about 1/8 inch (3mm) from the edge. Repeat with the lining if the curtain is lined. You may need to move your sewing machine along as you go. This will work for long curtains as you have enough room, but for curtains that fall just below the windowsill this will be difficult and you should rather take off the curtains again to stitch.
optional: Either stitch the curtain edge to the lining by machine, where it was unpicked, or do it by hand, so the ends are neatly finished off.
Hang the curtains and you are finished!
Hemming curtains at home FAQ:
Q: What if my curtains are too short?
A: If they are 4 inches (10cm) short or less then you can simply unpick the hem, providing it is a nice wide one, wash and press the curtains to get rid of the previous fold lines, then stitch on a plain piece of fabric around 5 inches (12.5cm) wide on the wrong side of the curtain ½ inch (12mm) from the edge making a seam. Then fold up the extra fabric you added, first one inch (2.5cm), then 4 inches inches (10cm), creating a hem where a tiny bit of the original curtain material is turned up so that the plain fabric attached does not peek out. Genius, right!
Q: I hate hemming – what else can I do to shorten curtains? How to hem curtains without cutting?
You can work from the top. You can either use the no-sew or sewn methods.
Non-sewn methods:
- If using grommets, first measure your drop from curtain rod to floor, allowing an extra 5 inches (12.5cm) for a new seam at the top, then cut off the excess. Fold over 1 inch (2.5cm) towards the wrong side, then fold over 4 inches (10cm) and use fusing tape to hold the seam in place. Insert the grommets as per the instructions on the pack of grommets.
- If using clip on curtain rings you’ll measure the distance from where the clip grab the curtain to the floor, and add on the extra five inches before cutting straight across the top of the curtain. Fold over 1 inch (2.5cm) towards the wrong side, then fold over 4 inches (10cm) and use fusing tape to hold the seam in place. Clip the curtain rings onto the new seam at the top taking care to place them equidistantly.
Sewing method:
- Measure your drop from curtain rod to floor, allowing an extra 2 inches (5cm) for a new seam at the top, then cut off the excess. Fold over 1 inch towards the wrong side, then one inch again and stitch a seam on the wrong side of the curtain 1/8 inch from the fold over. Attach new shirring or pleating tape at the top, by sewing it on. It is not advised to work form the top for tab top curtains – the hemming method would actually be quicker.
If you enjoyed our tutorial on exactly how to alter any type of curtain whether it has pleating or shirring tape, tab tops or grommets, then please subscribe to have similar helpful articles delivered straight to your inbox.
Do you like this? Pin for later:
Wanna be friends? Click HERE and follow me on Pinterest
RELATED: