

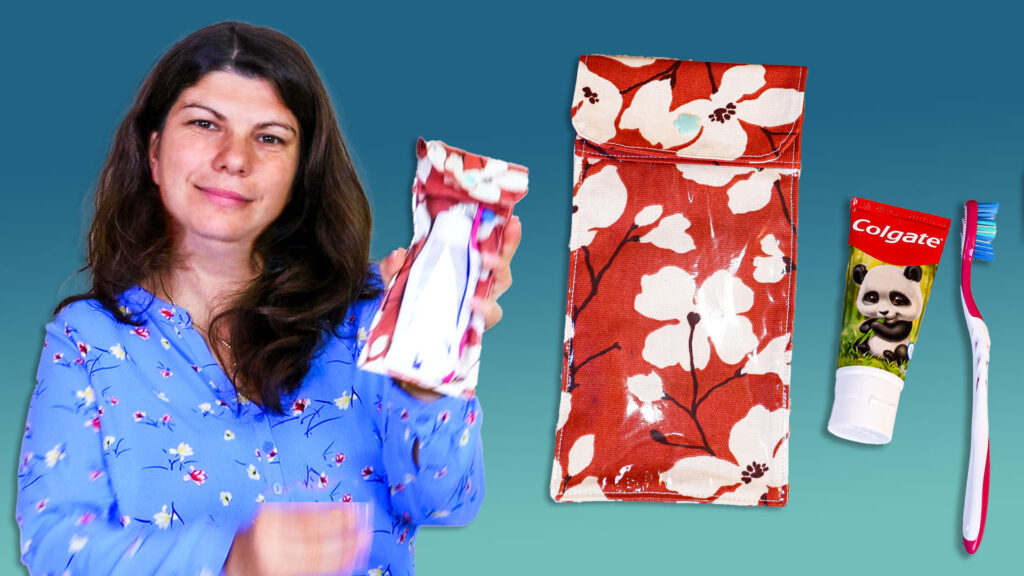
DIY Toothbrush & Toothpaste Travel Pouch / Sewing Pattern + VIDEO
Say goodbye to tossing your toothbrush and toothpaste into an unsightly plastic baggie when you travel! If you’re anything like me and want a prettier, more practical way to pack your toiletries, this easy travel pouch tutorial is exactly what you need. After all who wants to be caught smiling with a piece of spinach or lettuce stuck to your tooth! After travelling in South Korea and Thailand, a friend was impressed with the fact that most people carried their toothbrushes and toothpaste with them when they went out. They brushed teeth thoroughly after meals, ensuring fresh breath and a perfect smile.
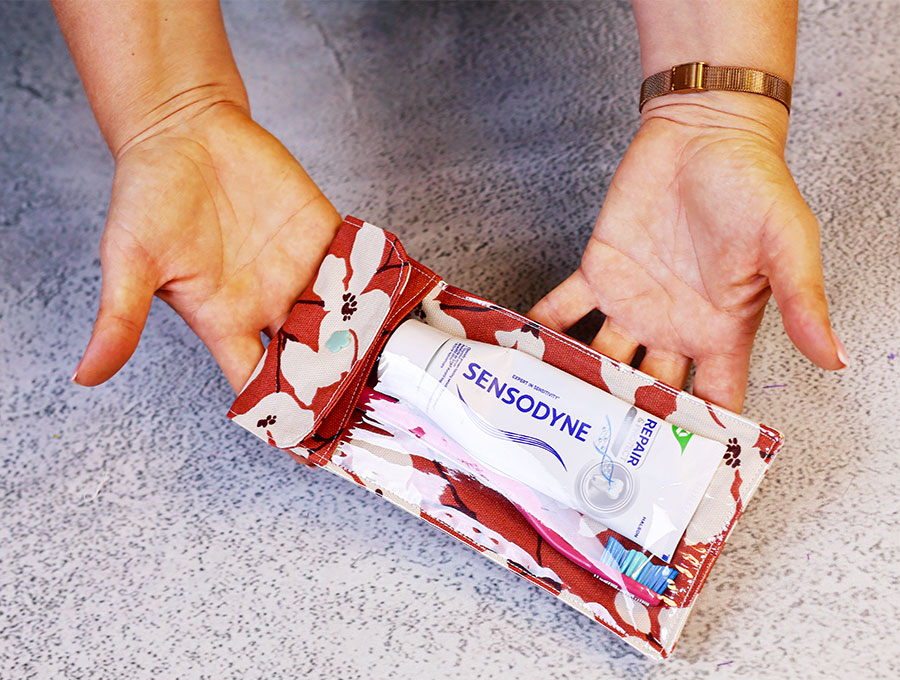
Not only is it a fantastic, quick sew for your own suitcase, but it also makes the perfect little welcome gift for family and friends visiting for the holidays. Grab your favorite fabric scraps and let’s get started—I’ve even included a free pattern so you can sew one up today!
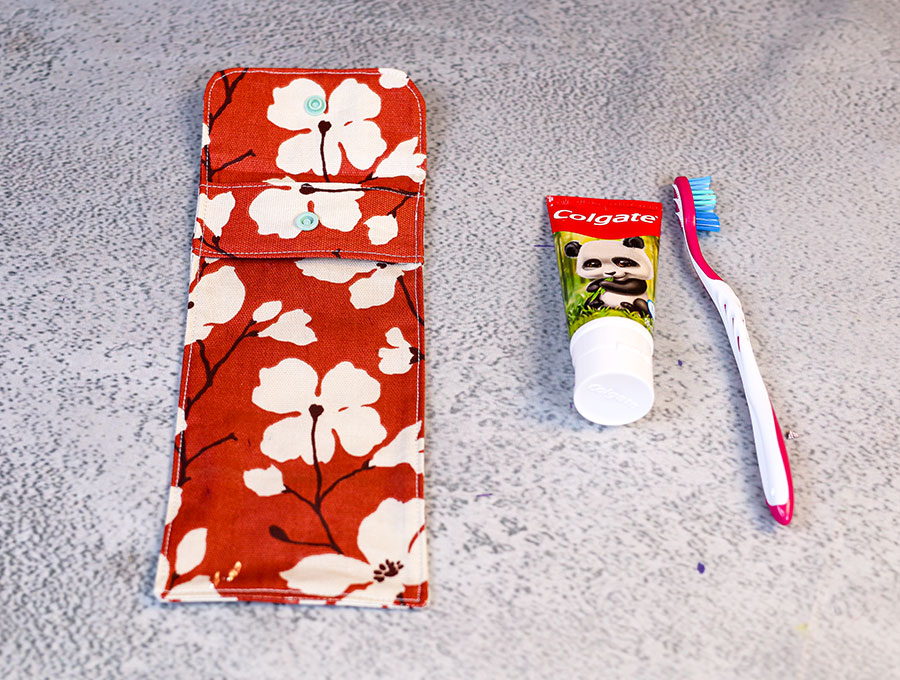
Why not make a few for at home when you have guests sleeping over. It’s amazing how many times people forget their toothbrush! A travel size toothpaste and a new toothbrush still in its packaging left with a note on our stylish pouch in the guest room will make you the host to remember!Below you will find my step by step written tutorial with VIDEO instructions for all the visual learners.
We occasionally link to goods offered by vendors to help the reader find relevant products. Some of the links may be affiliate meaning we earn a small commission if an item is purchased.
How to make the toothbrush and toothpaste travel pouch
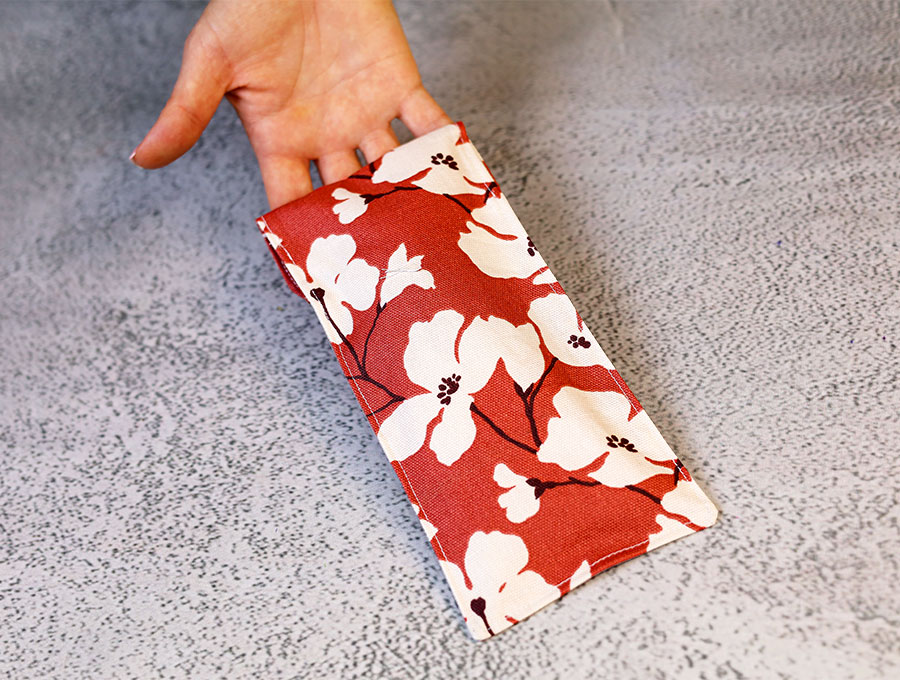
Supplies and tools
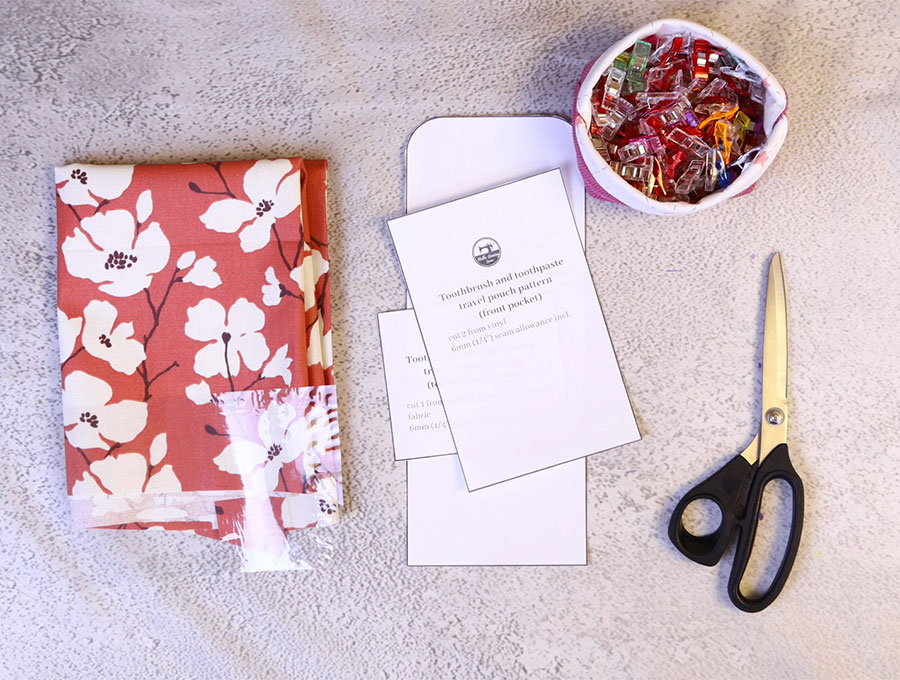
- fabric – cotton duck
- vinyl
- matching thread
- scissors (or rotary cutter and a cutting mat)
- ruler or measuring tape
- iron and ironing board
- sewing clips or pins
- plastic snaps (you will need a sewing awl and snap pliers
- press studs
DOWNLOAD: Toothbrush and toothpaste travel pouch pattern [Free pdf file]
Follow us for free patterns & tutorials! [easy-profiles]
How to Sew a Toothbrush travel pouch
Watch the diy toothbrush and toothpaste holder pouch video first and then follow the written step by step instructions below.
Please enjoy and don’t forget to Like and SUBSCRIBE over on YouTube to be kept up to date with new videos as they come out.
Toothbrush+toothpaste travel bag VIDEO TUTORIAL
INSTRUCTIONS:
STEP 1:
Download the free printable pattern and cut out the pieces.
TIP: If you don’t have a printer, no problem – we give you the dimensions of the pieces in STEP 3 and explain rounding the corners in STEP 4.
STEP 2:
Choose strong cotton fabric remnants to accommodate the pattern pieces.
STEP 3:
Cut yout fabrics:
- Cut 2 x outer fabric for the main body of the pouch of 4 ¾ x 12” (12 x 30 cm)
- Cut 1 piece of vinyl of 4 ¾ x 7 ½” (12 x 19 cm)
- Cut 1 cover piece from outer fabric of 4 ¾ x 4” (12 x 10 cm)
STEP 4:
If you are making your own pattern now is the time to take a piece of paper cut to the dimensions of the outer pieces given in STEP 3 for the outer piece, fold along the long edge and trim a little off top corners to give a rounded edge, then proceed to cut all the pieces to the sizes given in STEP 3.
STEP 5:
Place the front cover piece of 4 ¾ x 4” (12 x 10 cm) on your ironing pad and turn up one of the 4 ¾” sides by ¼” (6 mm) and press. Repeat with the other 4 ¾” side.
STEP 6:
Fold so the pressed edges meet each other and press the center fold.
STEP 7:
Take the piece of vinyl and insert one of the short ends between the pressed cover piece so it sits snug at the top with the center fold and the side edges line up. Clip in place on the edges.
STEP 8:
Run a line of stitching along the top and bottom of the cover piece to hold the vinyl in position. Stitch 1/8” (3 mm) from the pressed folds.
STEP 9:
Place an outer piece right side up, over it clip the vinyl with cover piece, also right side up. Line up the bottom and sides, then clip in place.
STEP 10:
Swap to a Teflon foot on your machine for the vinyl and stitch around three sides, 1/8” ( 6 mm) from the edges, leaving the top open. Start and finish with a backtack.
STEP 11:
Place the stitched piece right side up on your worktop and over it place the second outer body piece, wrong side up, lining up the edges and clipping in position.
STEP 12:
Mark a gap on the left-hand side of around 3” (7.5 cm) using your fabric marking pen.
STEP 13:
Stitch around the edge, starting at one side of the gap with a backtack and finishing on the other side of the gap with a backtack. The seam allowance will be ¼” (6 mm).
STEP 14:
Turn the raw edges of the gap back in line with the seam and finger press. Snip off two small triangles on the bottom corners to reduce bulk. At the top curved edges cut small V notches into the fabric so the curves lie flat when turned. Take care not to cut too close to the stitch line.
STEP 15:
Turn the toothbrush and tooth paste holder the right way out by pulling the fabric gently through the gap. Use a turning tool to make sure the corners are pressed out and that the seams lie flat and that the edges of the gap are turned in in line with the seam.
STEP 16:
Give the item a light press from the back and the front. DO NOT iron directly on the vinyl, but use a cloth over the vinyl so it does not melt.
STEP 17:
Top stitch around the edge of the item 1/8” (3 mm) from the edge, including across the gap to close it.
STEP 18:
Fold the holder in half near the top to find the center. This will be to position your snap fastener correctly. Make a small mark on the back of the top flap piece, using an erasable fabric pen.
STEP 19:
Fold the flap down over the vinyl front piece and measure 5/8” (1.5 cm) up from the top- stitched edge. Make a mark in line with the center point you marked in STEP 18.
STEP 20:
Use an awl to make a hole on the second mark, then use your fabric marking pen to mark though the hole onto the cover piece of the vinyl window to make sure the halves of the snap line up.
STEP 21:
Attach the snap fastener to the cover flap, then its matching side into the fabric of the cover piece for the vinyl window, using your snap fastening tool.
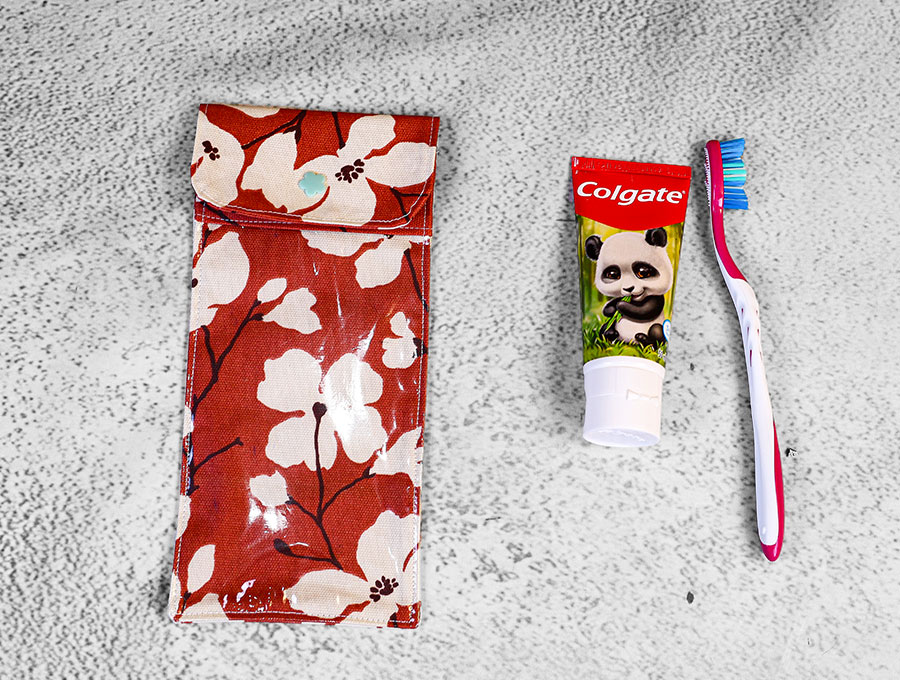
Your holder is now ready to load with a tube of toothpaste and a toothbrush, ready for travel or ready for guests.
Make a few of these handy toothpaste and toothbrush holders to give as practical gifts to travellers or to provide at home in case overnight guests forget their own toothbrush and toothpaste. You’ll know how often this happens, especially with kids and teens. If they are regular visitors they’ll know that the holder and its contents can remain at your place for their next visit! The pattern is free and can be downloaded from HelloSewing.com. It’s also simple enough to make your own pattern as we give you the exact dimensions and show you how. This remarkably useful yet simple-to-sew project can be stitched up quickly – in an hour you can make quite a few to keep on hand as gifts, or for your family members use when you go travelling.
Like and subscribe for more practical projects that use small pieces of fabric from your stash, and do remember to share with a friend who might enjoy this project.
Do you like this? Pin for later:
Wanna be friends? Click HERE and follow me on Pinterest
RELATED: