
Non-slip Foot Pedal Pad // Stay Put Pedal Pad Sewing Pattern in 3 sizes
Still chasing the foot pedal under the table? One of the most annoying things about sewing (save for the seam ripper woes) is having to chase your sewing machine pedal. No matter what I do it never stays in place and I have to sew in all kinds of awkward positions. When I upgraded my sewing machine with a new one – it came with a non-slip pedal and it was a such a relief that I had to come up with something for my old machine and for my serger. Enter the non-slip foot pedal pad. You need just a shelf liner and some fabric to whip this super useful little thing. Get my non-slip foot pedal pad pattern and let’s get sewing!

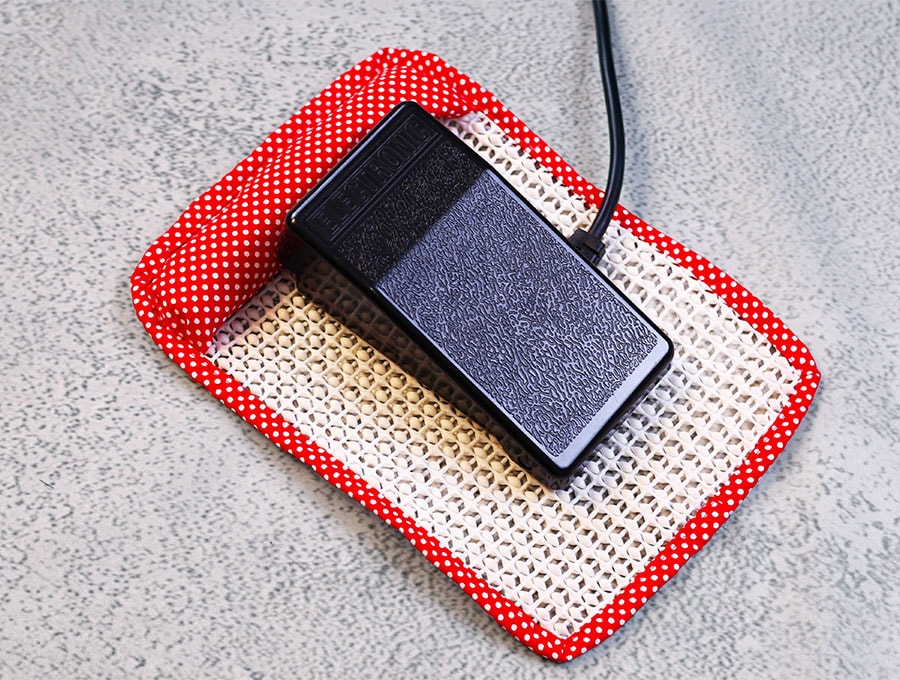
Keep your foot pedal firmly in place with this non-slip foot pedal pad. The no-slip material keeps the foot pedal or your sewing machine or serger in one spot. It works with any flooring surface, including carpet, tile, and wood. The little bumper at the front will keep your pedal from moving but won’t interfere with the operation of the pedal.
Below you will find my step by step written tutorial with VIDEO instructions for all the visual learners.
We occasionally link to goods offered by vendors to help the reader find relevant products. Some of the links may be affiliate meaning we earn a small commission if an item is purchased.
Table of Contents
How to make the non-slip pad for your sewing machine
Supplies and tools
- shelf liner (drawer or cabinet liner) or any other non-slip rubbery material
- fabric – a small piece of cotton fabric for the bumber
- towel or batting to make a bumper
- 6.3 cm (2.5″) wide bias strip – 1m (1 yard) long
- matching thread
- scissors (or rotary cutter and a cutting mat)
- ruler or measuring tape
- iron and ironing board
- sewing clips or pins
DOWNLOAD: Non-slip foot pedal pad for sewing machin or serger [Free pdf file]
Follow us for free patterns & tutorials! [easy-profiles]
How to Sew a non-slip sewing machine foot pedal pad
Watch the diy non-slip pedal pad video first and then follow the written step by step instructions below.
Please enjoy and don’t forget to Like and SUBSCRIBE over on YouTube to be kept up to date with new videos as they come out.
Non-slip foot pedal pad VIDEO TUTORIAL
INSTRUCTIONS:
coming soon!
STEP 1:
Download the pattern, print at 100% (no scaling) and tape the two pages together. Decide which size you are going to make and cut around the outline.
The foot pedal pad pattern comes in 3 sizes to fit all foot pedals and all feet sizes. My advice for most people is to just stick with the middle sized pad, but I also give you the option for a smaller or a larger one!
Finished size:
- small pad – 15.5 x 24cm (6 x 9.5 inches)
- medium pad – 18 x 25 cm (7 x 10 inches)
- large pad – 20.5 x 26.5 cm (8 x 10.5 inches)
In this tutorial I’ll be making the medium sized pad – it is the one I recommend for most people.
STEP 2:
Fold the shelf liner (rubbery material) in half, place the pattern on top and cut around the patern to get 2 rubber body pieces.
STEP 3:
Cut a piece of towel that is 14 cm (5.5″) long. The width should be 2.5cm (1 inch) less than the width of the pattern.
For the medium sized pad cut towel 14 x 16 cm (5.5 x 6 1/4″)
STEP 4:
Grab the long side of the towel and roll it tightly. You need to end up with a roll that should be 2 cm (3/4″) high.
If you towel is thicker or you are using a piece of batting just make a roll that is 2cm (3/4″) thick.
STEP 5:
Pin the cut end in place and make a few running stitches to keep the towel from unfolding. This will be the filler for the bumper.
STEP 6:
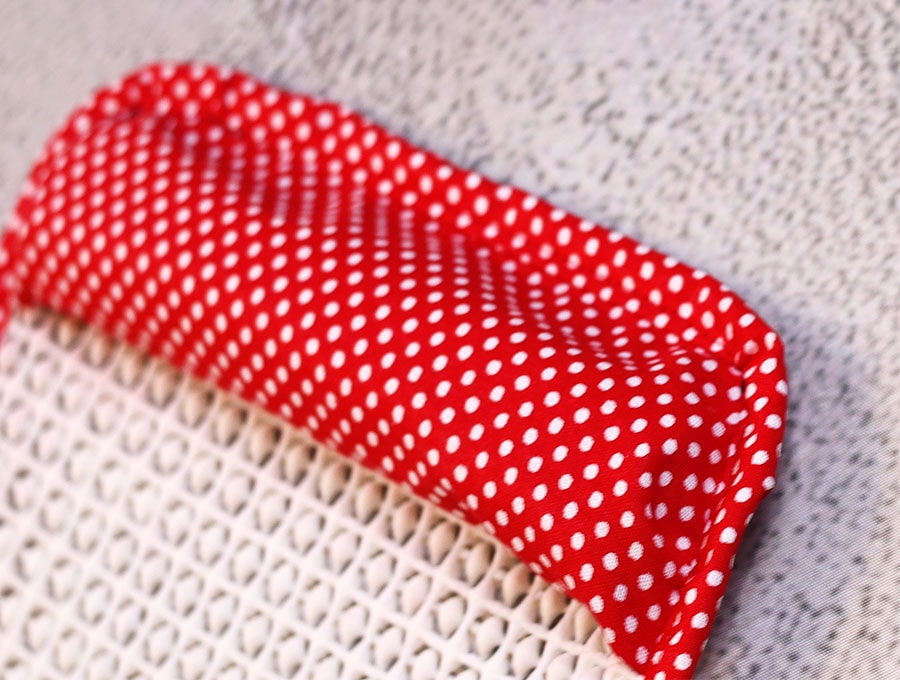
For the bumper outer cut a piece of cotton fabric about 23 x 12 cm (9 x 4 3/4″). Fold it in half, wrong sides together and fingerpress.
STEP 7:
Open up the fabric piece and place the towel roll at the fold. Fold the fabric again.
The fabric should be 4 cm (1.5″) wider than the towel roll – 2 cm (3/4″) on either side. Cut the excess fabric if you have any. Your bumper is ready.
STEP 8:
Place the bumper on top of the shelf liner pieces. Align the long raw edge of the bumper with the short side of the shelf liner as indicated on the pattern. The fold of the bumper is facing the center of the shelf liner. Clip in place.
STEP 9:
Use a zipper foot to sew a quick basting stitch in order to keep the bumper in place. Use 6mm (1/4″) seam allowance. Trim any excess fabric.
STEP 10:
Take your bias strip and fold it in half, wrong sides facing and press.
TIP: you can get away with a straight cut strip if you don’t round the edges of the shelf liners
STEP 11:
Starting at the bottom of the foot pedal pad aling the raw edges of the bias strip with the raw edge of the shelf liner. Pin the bias strip to the shelf liner.
When you get to the end, leave a 2 cm (3/4″) overlap and cut the excess bias strip.
STEP 12:
Stitch the bias strip to the food pedal pad using 1cm (3/8″) seam allowance. When you get near the end, fold in one of the short ends of the bias strip about 6mm (1/4″) and push the other end of the bias strip inside. Stitch all the way around.
STEP 13:
Trim any excess shelf liner or fabric
STEP 14:
Fold the bias strip towards the back of the foot pedal pad and pin all around. Turn the pad around and make sure the bias on the bottom covers completely the bias on the front – this is necessary as we will be sewing from the top side.
STEP 15:
Stitch the bias strip to the food pedal pad. Stitch it from the top of the pad as it is easier to sew around the bumper.
Voila! The food pedal pad is ready!
I hope you loved the handy little non-slip pedal pad for sewing machine – it is super simple make – it consists of rubbery material reinforced with a thick lip to park the pedal. If you want more patterns and tutorials like this please subscribe to my newsletter. You’ll love it!
As always, happy stitching
Do you like this? Pin for later:
Wanna be friends? Click HERE and follow me on Pinterest
RELATED: