
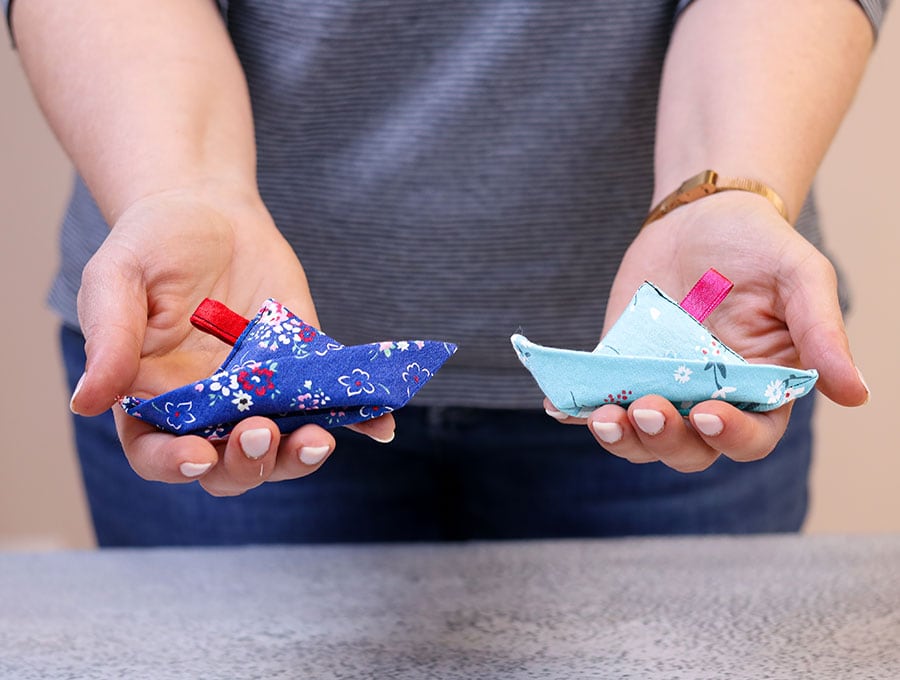
DIY Boat Keychain // Turn Tiny Fabric Scraps into Adorable Fabric Boats
Tiny fabric scraps, your trusty sewing machine, and a pinch of creativity — that’s all it takes! In less than 10 minutes, you’ll sew up an absolutely adorable fabric boat keychain you’ll want to make again and again.
This fabric boat keychain is the perfect beginner-friendly project — no complicated techniques, no special skills, just simple sewing with seriously adorable results.

Whether you’re looking for a quick handmade gift, a fun way to use up those tiny quilting cotton scraps, or just a satisfying afternoon project, this little boat delivers every time. Attach it to your keys, clip it to your bag, or make a whole fleet — trust us, one is never enough!
Below you will find my step by step written tutorial with VIDEO instructions for all the visual learners.
We occasionally link to goods offered by vendors to help the reader find relevant products. Some of the links may be affiliate meaning we earn a small commission if an item is purchased.
Table of Contents
How to make fabric boats
Supplies and tools
- fabric – 2 pieces of quilting cotton (one main, one lining) 10 x 10 cm (4 x 4″)
- fusible interfacing – 10 x 10 cm (4 x 4″)
- loop – either 5 x 4cm (2 x 1.5″) fabric OR 6mm x 5cm ribbon (1/4″ x 2″)
- matching thread
- scissors (or rotary cutter and a cutting mat)
- ruler or measuring tape
- iron and ironing board
- sewing clips or pins
Follow us for free patterns & tutorials! [easy-profiles]
How to Sew a fabric boat keyring
Watch the diy fabric boat video first and then follow the written step by step instructions below.
Please enjoy and don’t forget to Like and SUBSCRIBE over on YouTube to be kept up to date with new videos as they come out.
Fabric Boat Keychain VIDEO TUTORIAL
INSTRUCTIONS:
STEP 1:
Prepare the fabric and interfacing.
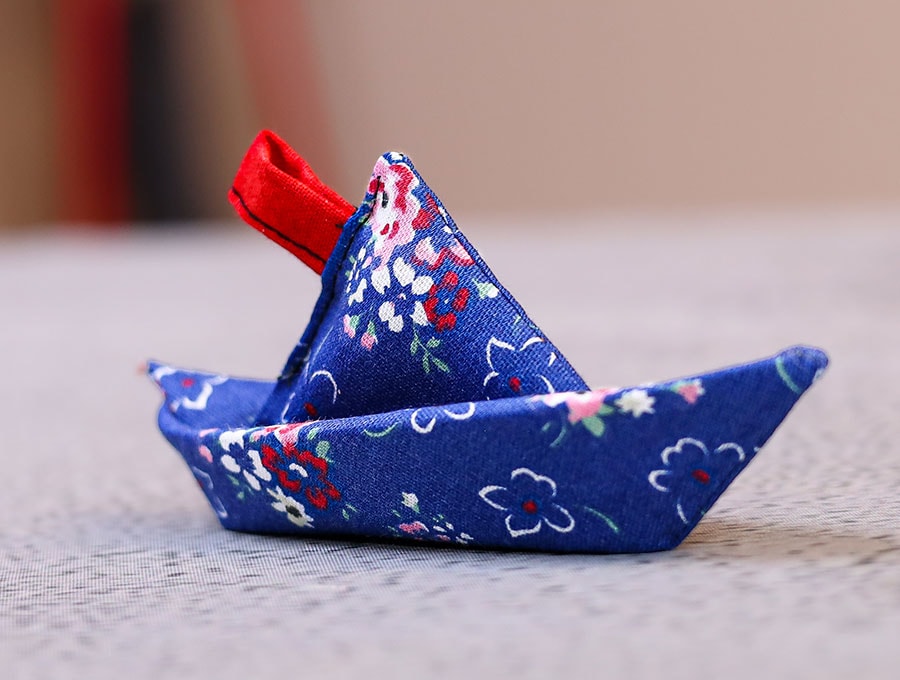
- quilting cotton – (2 pc ) 10 x 10 cm (4 x 4″) for the boat body. If you use the same fabric for both pieces your boat will be in one color only. If you opt to use a different color for the lining – the hull will be in a different color than the rest of the boat.
- fusible interfacing – 10 x 10 cm (4 x 4″)
- loop – either 5 x 4cm (2 x 1.5″) fabric
– OR –
- 6mm x 5cm ribbon (1/4″ x 2″)
STEP 2:
Place the loop piece wrong side up on your worktop. Fold in half and press. Open up and fold each long raw edge to the middle crease. Press again. Fold one last time along the middle crease and pin.
STEP 3:
Place the interfacing glue side down on top of the wrong side of the outer fabric piece and press with an iron to fuse together.
STEP 4:
Place the other fabric piece on top of the interlined piece, right sides together and pin, leaving a 2cm (3/4″) gap approximately 1.3cm (1/2″) from the corner.
STEP 5:
Stitch along the long edge of the loop.
Stitch all around the square using a 6mm (1/4″) seam allowance, leaving a gap for turning. Backstitch at the beginning and the end of your seams.
STEP 6:
Fingerpress the seam allowance on both sides of the gap.
STEP 7:
Clip all corners as close to the seam as possible, without cutting through your stitches
STEP 8:
Turn the square right side out, push out the corners and press with an iron.
STEP 9:
Fold the loop in half and insert the raw edges throgh the gap in the square. At least 1.3 cm (1/2″) of the loop should be stitcking out. Pin or clop in place.
STEP 10:
Stitch the gap as close to the edge as possible, backstitching at the beginning and the end. This will be the top of the boat.
STEP 11:
Grab the middle of both squares and pull apart. Push the bottom corner inside and push it as far as it will go. Straighten the edges of the triangle.
STEP 12:
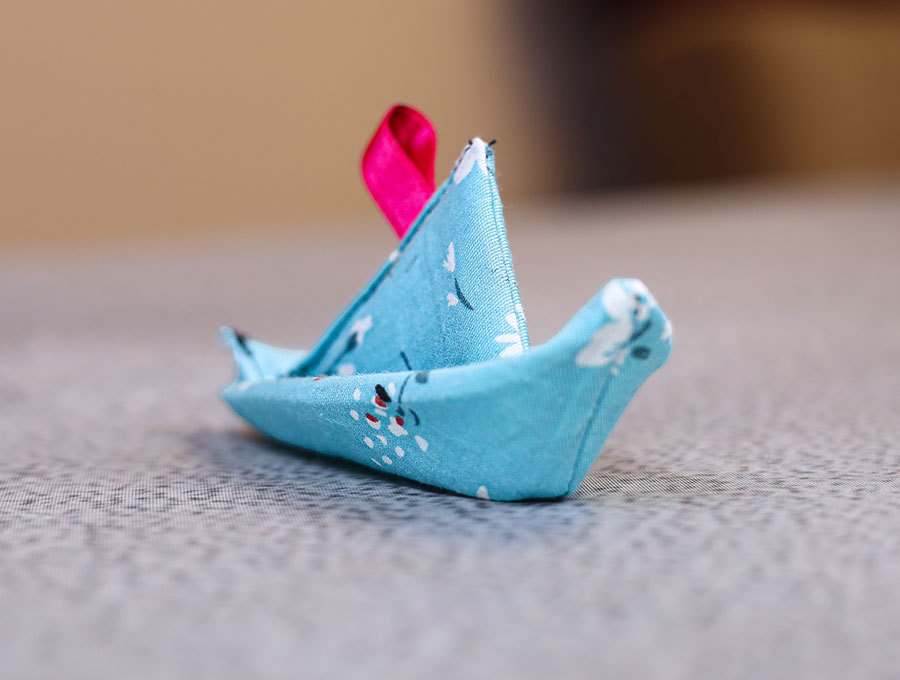
The last thing to do is to fold the bottom 2 corners up about 1/3 of the way to shape the hull of the boat.
That’s it! The fabric boat is ready! Isn’t it adorable.
Attach it to your keychain or clip it your your purse or backpack!
Loved making this little fabric boat? This is just a tiny taste of what we have in store! You’re just One click Away From Your Next Favorite Project! Subscribe to our newsletter and get a boatload (pun absolutely intended! ) of quick, easy sewing projects delivered straight to your inbox — the kind anyone can make, whether you’re a total beginner or a seasoned stitcher looking for a fun, fast make.
No fluff, no fuss — just fresh, beginner-friendly tutorials you’ll actually want to sew!
👉 Sign up here and join our creative community today!
Because life is simply too short for boring keychains. 😄
Do you like this? Pin for later:
Wanna be friends? Click HERE and follow me on Pinterest
RELATED: