

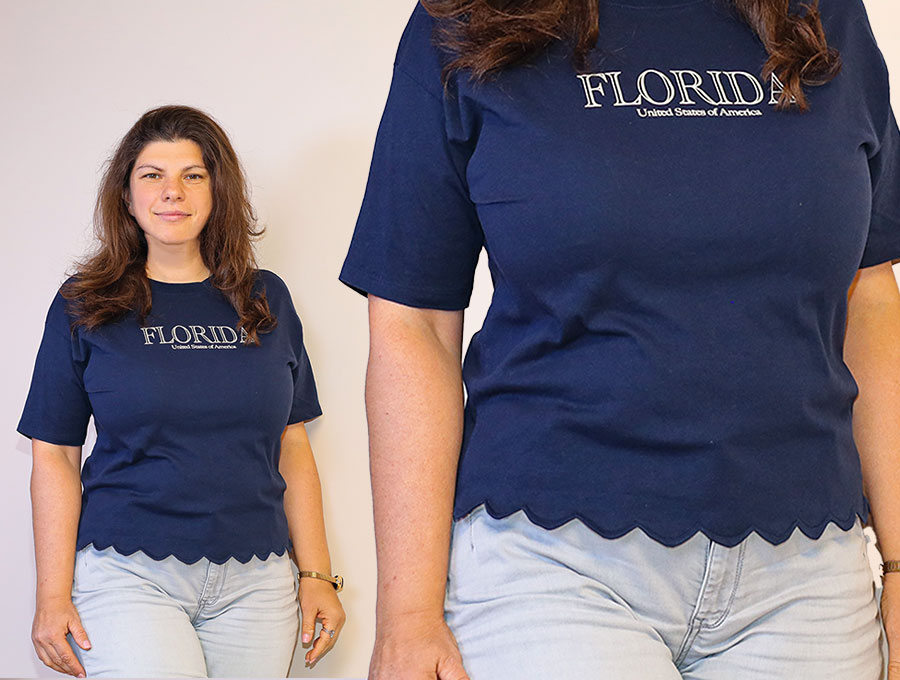
DIY Scallop Tee // Turn a Boring T-shirt into a cute Scalloped Hem Tee
Turn a boring t-shirt into a cute scalloped hem tee.
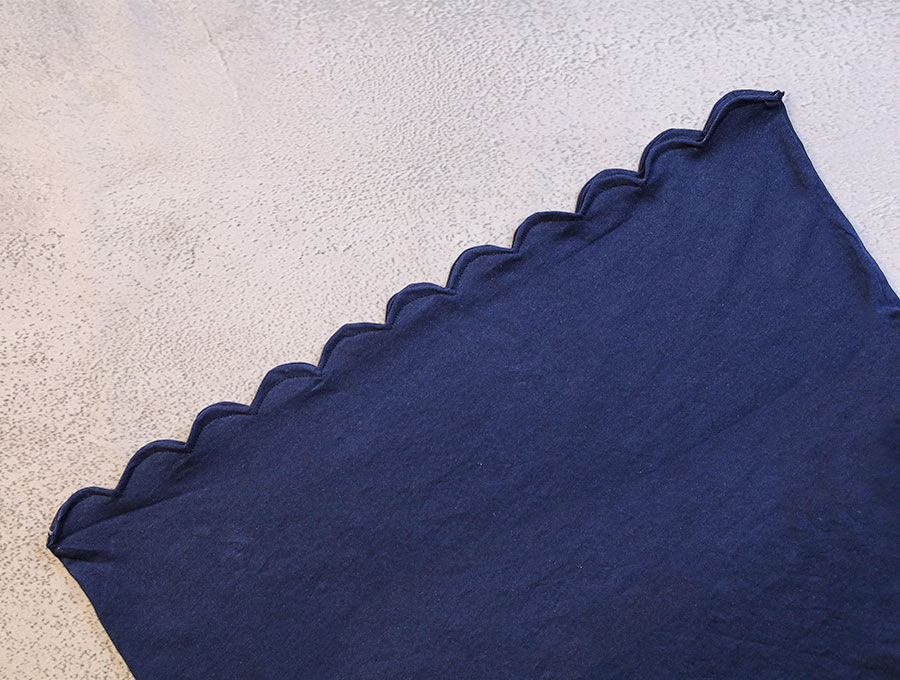
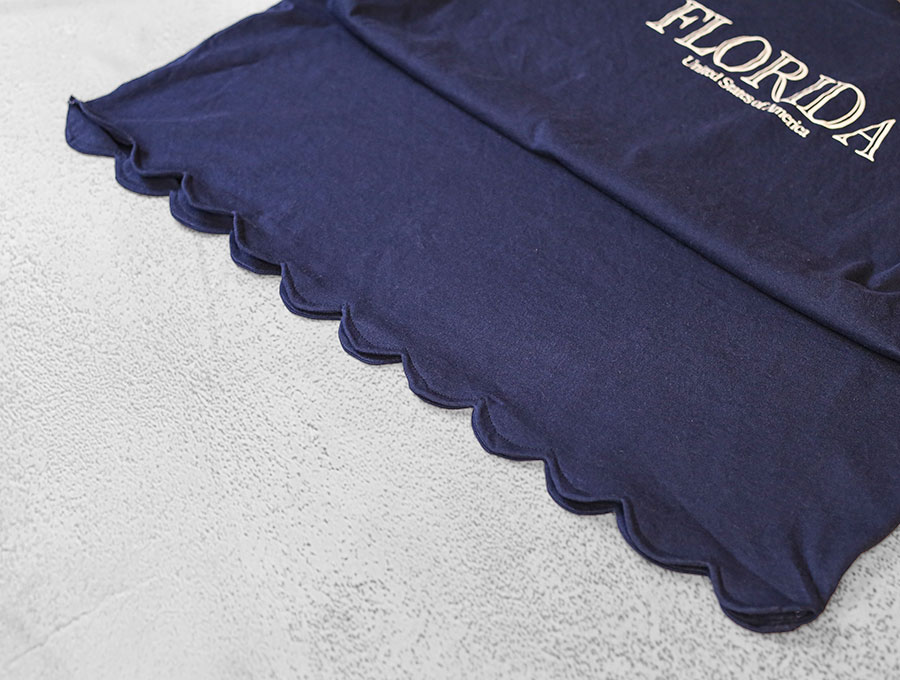
If you have a good t-shirt you avoid using because it is a bit too long – here is a cute idea how to shorten it and make it even prettier!

Below you will find my step by step written tutorial with VIDEO instructions for all the visual learners.
We occasionally link to goods offered by vendors to help the reader find relevant products. Some of the links may be affiliate meaning we earn a small commission if an item is purchased.
How to make the scallop hem tee
Supplies and tools
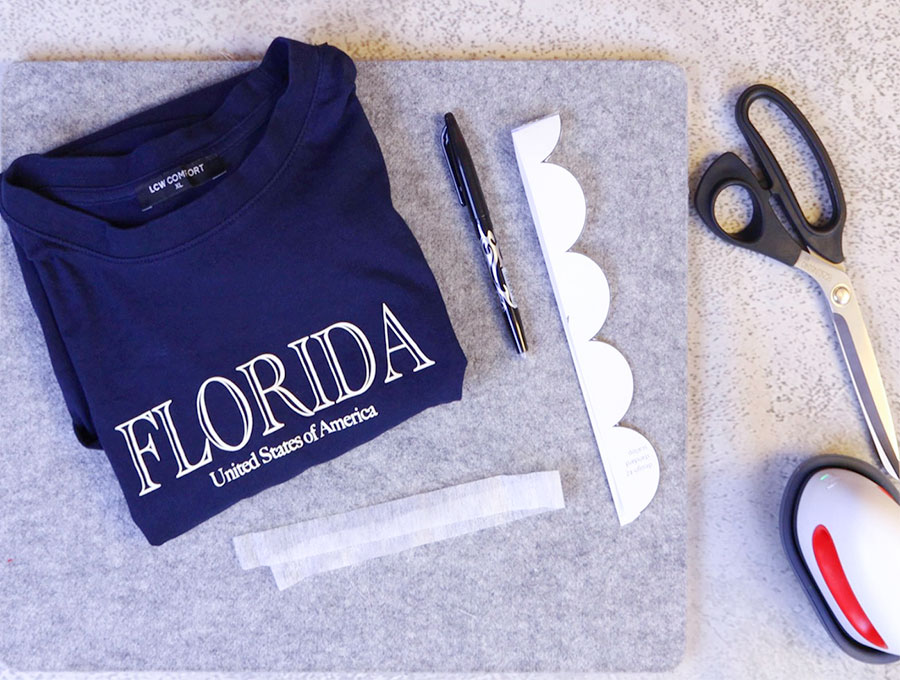
- fusible knit interfacing or tape 2cm (3/4″) wide
- matching thread
- scissors (or rotary cutter and a cutting mat)
- ruler or measuring tape
- iron and ironing board
- sewing clips or pins
DOWNLOAD: Scallop tee pattern [Free pdf file]
Follow us for free patterns & tutorials! [easy-profiles]
How to Sew a Scallop hem tee
Watch the diy scallop tee video first and then follow the written step by step instructions below.
Please enjoy and don’t forget to Like and SUBSCRIBE over on YouTube to be kept up to date with new videos as they come out.
Scallop tee VIDEO TUTORIAL
INSTRUCTIONS:
STEP 1:
Put on the t-shirt, fold up the hem (right sides together) to the desired length.
Make sure to test the new hem: raise your arms up and make sure the new hem does not ride up too high. Adjust if necessary and pin.
STEP 2:
Place the t-shirt on your worktop and fold the hem all around, making sure the hem on both sides is the same length.
If your t-shirt has a straight hem – check that the hem is the same all around the shirt.
If you have a curved hem – the middle will be slightly longer – just use your best judgement.
STEP 3:
Pin the hem in place and press it.
STEP 4:
(optional) Place a fusible knit interfacing or tape at the fold of the hem and press to fuse.
STEP 5:
Download the scallop pattern and trim the design you like – I am using the standard scallop in the video.
STEP 6:
Fold the scallop template and mark the middle of the scallop.
STEP 7:
Grab both sides of the t-shirt and fold it in half. Mark the middle of the front and the back
STEP 8:
Place the scallop templace over the interfacing with the scallops facing the fold. Mark around the scallops leaving just a bit of fabric (3mm/1/8″”) over the curve of the scallop. When moving the template make sure to line up the scallops for a neat look.
You may need to lengthen or shorten the last scallops so they form seamless neat pattern.
STEP 9:
Stitch along the marked scallops using a straight stitch and a ballpoint (jersey) needle size either 70/11 or 80/12.
STEP 10:
Trim as close to the stitch as possible, cut into the points to release the tension but be careful not to cut into your stitches.
STEP 11:
Trim the fabric on the other end of the scallops leaving 1cm (3/8″) from the points.
STEP 12:
Use your fingers to turn around the scallops. Roll the fabric between your fingers to push out the seams.
STEP 13:
Press all scallops.
STEP 14:
Topstitch the scallops about 6mm (1/4″) away from the edge!
Ta-da! Your brand new scallop hem tee is ready for action!
Do you like this? Pin for later:
Wanna be friends? Click HERE and follow me on Pinterest
RELATED: