

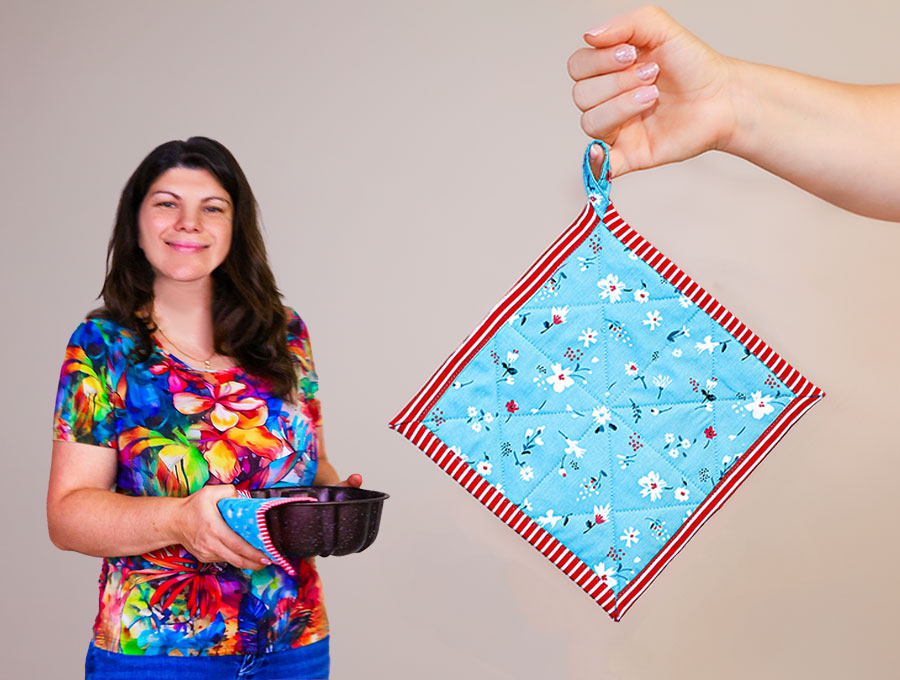
DIY No Binding Potholder // How to Sew a Self-binding Pot holder
Learn how to sew a self binding pot holder – no math involved
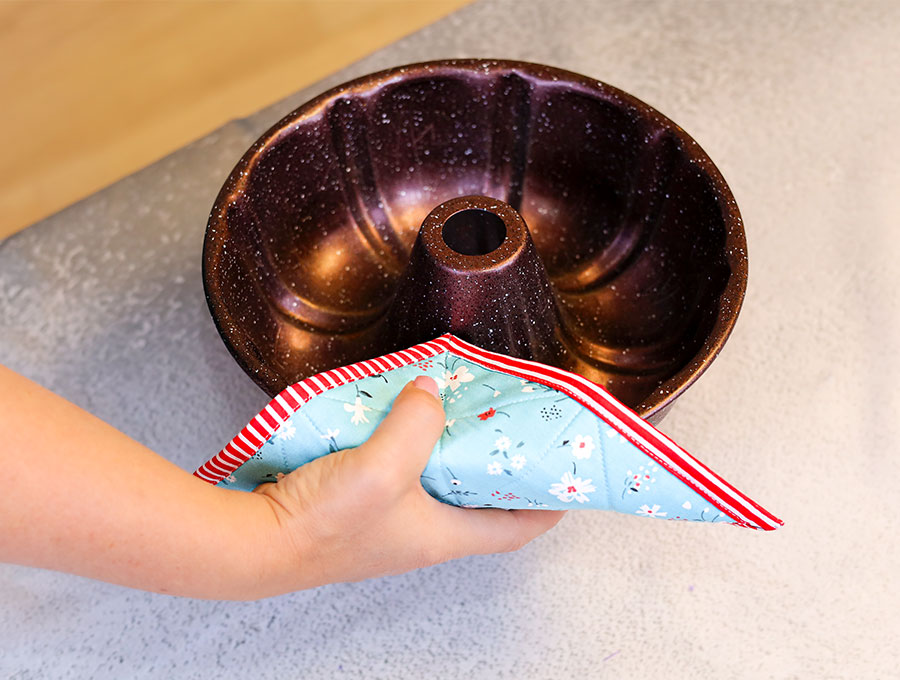
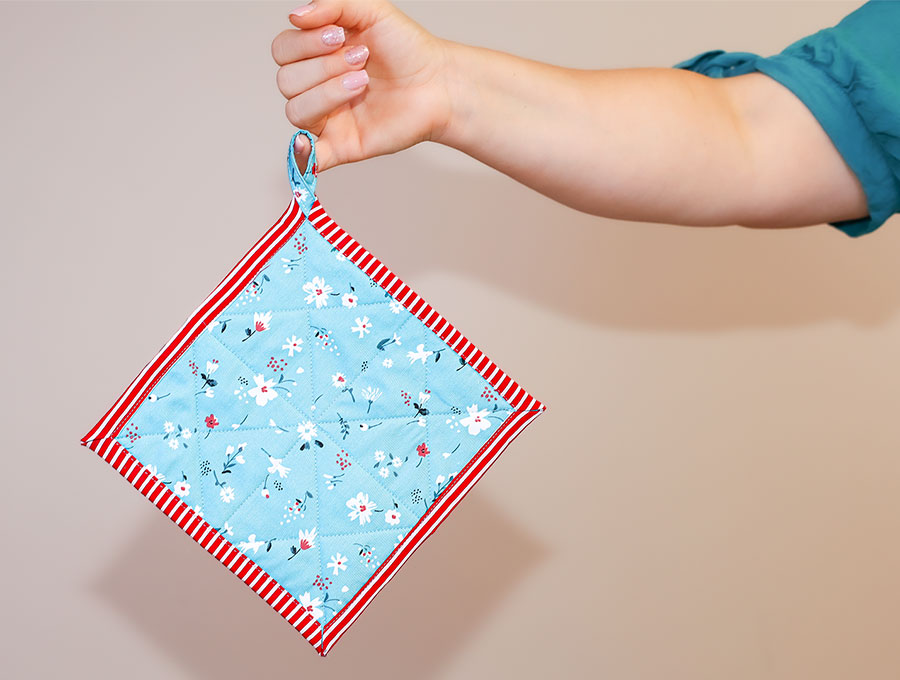
The easiest way to make it! And it looks great both from the front and the back
Below you will find my step by step written tutorial with VIDEO instructions for all the visual learners.
We occasionally link to goods offered by vendors to help the reader find relevant products. Some of the links may be affiliate meaning we earn a small commission if an item is purchased.
How to make the no binding potholder
Supplies and tools
- fabric – woven cotton (one main, one lining)
- batting
- matching thread
- scissors (or rotary cutter and a cutting mat)
- ruler or measuring tape
- iron and ironing board
- sewing clips or pins
DOWNLOAD: No binding pot holder pattern [Free pdf file]
Follow us for free patterns & tutorials! [easy-profiles]
How to Sew a Self-binding pot holder
Watch the diy self binding potholders video first and then follow the written step by step instructions below.
Please enjoy and don’t forget to Like and SUBSCRIBE over on YouTube to be kept up to date with new videos as they come out.
No binding pot holder VIDEO TUTORIAL
INSTRUCTIONS:
STEP 1:
Download the no binding pot holder pattern and cut 1 from the larger template from the back fabric, and 3 total from the smaller template – 1 from the front fabric and 2 pieces of batting.
You can also cut the optional handle.
STEP 2:
Take the back fabric, place face down on your ironing pad and fold it in half horizontally, press. Open up. Fold in half vertically and press again. Open up – you will have two creases running down the middle of the fabric.
STEP 3:
Repeat for the front fabric.
STEP 4:
Start assembling your quilt sandwich:
- place the 2 pieces of batting on top of each other
- place the front fabric on top of the batting with the right side up
Pin the layers together
Take the back fabric with the wrong side up. Center the pinned layers on top of the back, making sure to align the creases on the front and the back.
STEP 5:
Take a ruler and draw a line perpendicular to the diagonal, 1 cm (3/8″) away from the corner.
Repeat for the other 3 corners.
STEP 6:
Cut along the marked lines.
STEP 7:
Fold the back fabric at all 4 corners 1 cm (3/8″) and press.
STEP 8:
Take the bottom raw edge of the back fabric and fold it to meet the top layers (approximately 1/2″). Fold again 1/2″ and pin in place.
STEP 9:
Repeat for the other 3 sides, making sure to match the fabric at the corners so that there is no gap.
STEP 10:
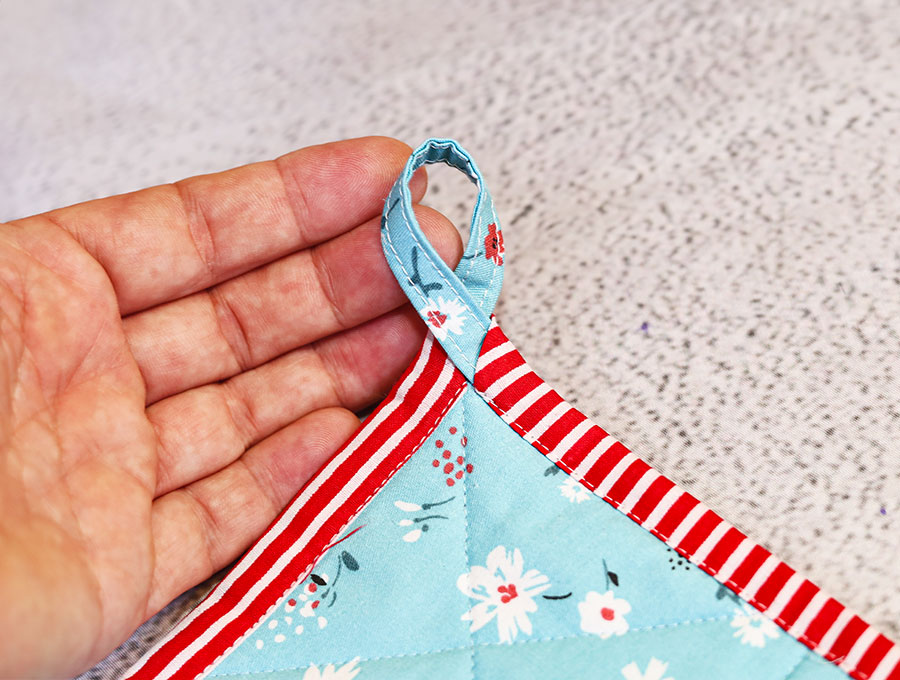
Take the fabric for the handle and place it wrong side up on your worktop. Fold it bias style – fold in half lengthwise. Open up and fold the bottom and the top to meet at the center crease. Press. Fold once again along the middle crease. Pin
STEP 11:
Stitch along the long edge of the handle.
STEP 12:
Fold the handle in half as shown. Remove the pins from one of the corners and tuck each short edge of the handle inside the “binding” you just made. Pin again.
STEP 13:
Stitch all around the potholder, as close to the inner edge of the binding as possible. Make sure to catch the handle too.
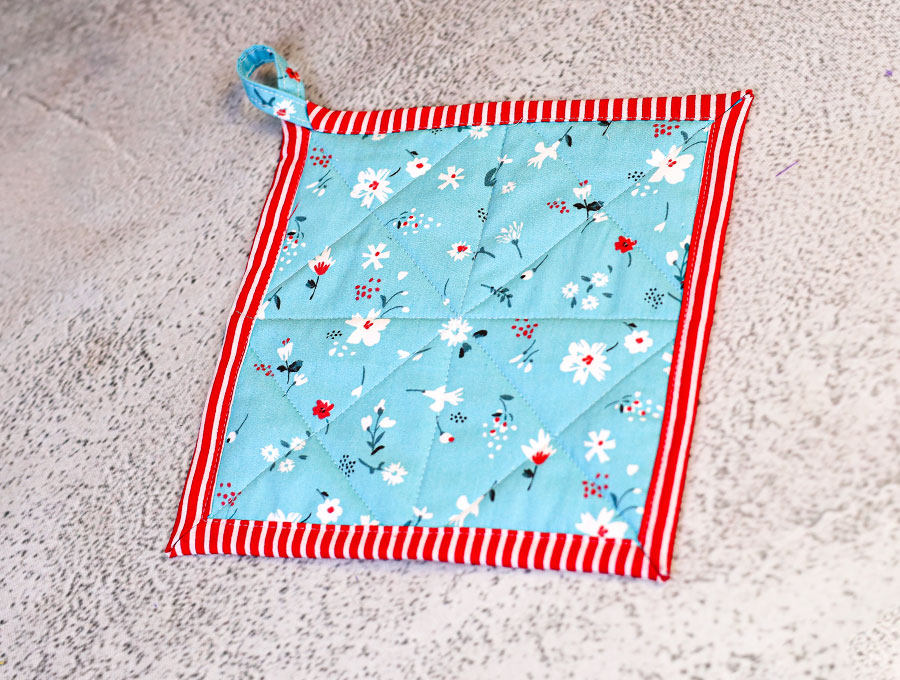
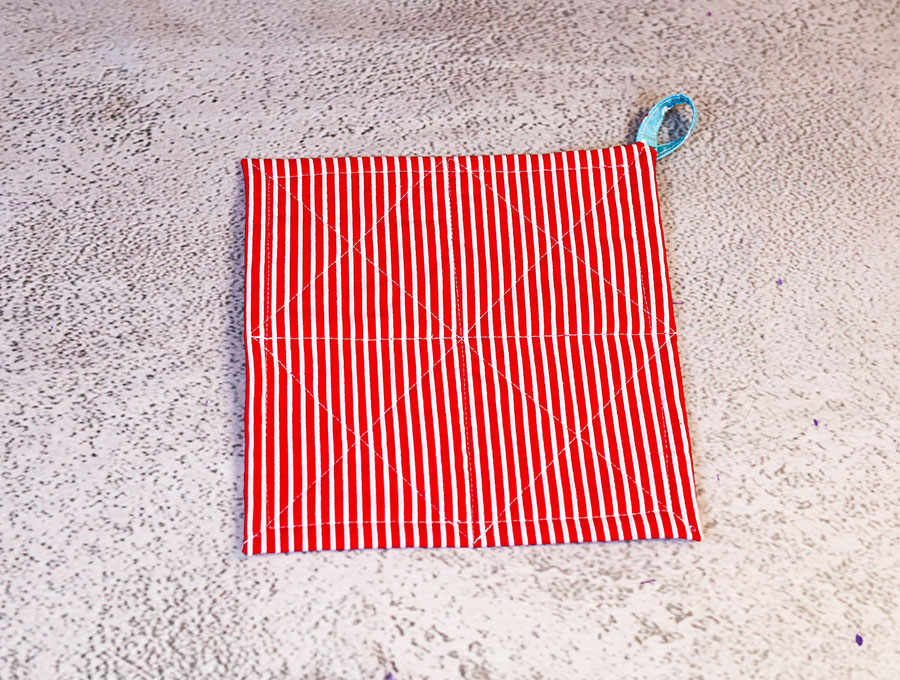
That is all there is to it! Your no binding potholder is ready to use. It looks great from both the front and the back
Do you like this? Pin for later:
Wanna be friends? Click HERE and follow me on Pinterest
RELATED: