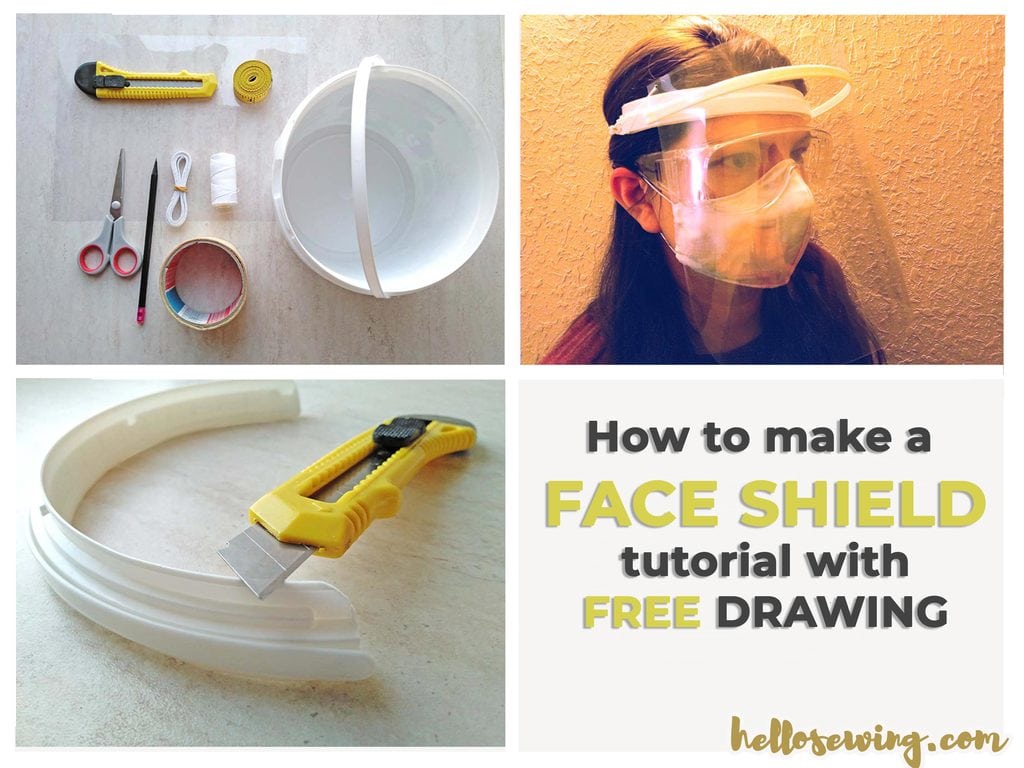
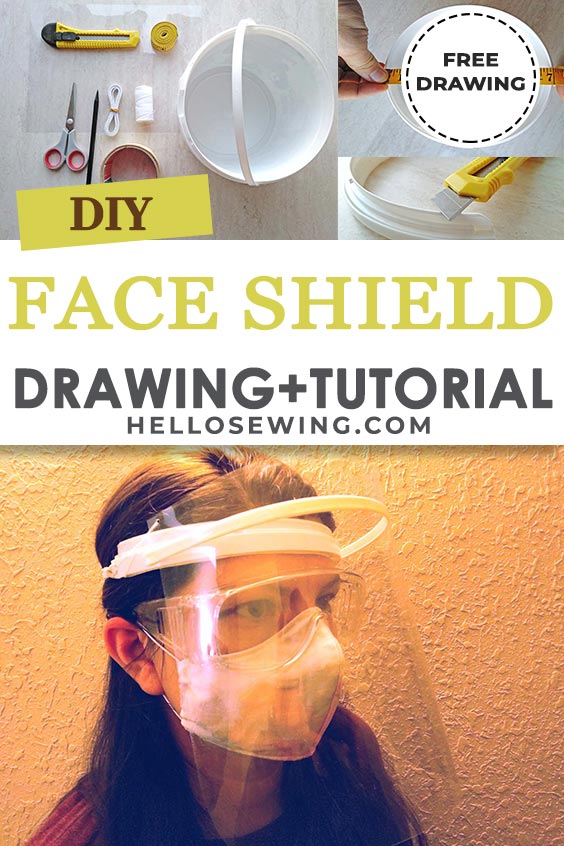
How to Make Plastic Face Shield with Household Materials
 Have you tried making your own face masks? In a time when even hospitals are running low on N95 surgical masks and face shields, it’s possibly the best option for helping to keep much-needed medical supplies in the hands of those helping at the front line.
Better yet, you can help. Hospitals and doctors are reaching out via social media to ask for much-needed help in alleviating the shortage of PPE equipment during the current Coronavirus (COVID-19) pandemic and many people jumped in to help. If you are sitting in your home keeping social distance, you can join some of this amazing initiatives and help fight the shortage of face shields and/or face masks.
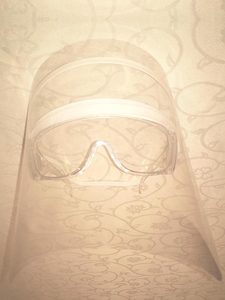
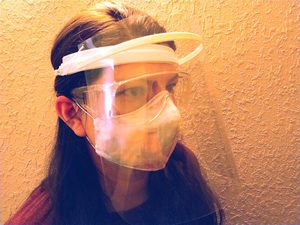
We though we can help our readers as well by improvising solutions and got to work. After coming up with a snug-fit face mask pattern we came up with a DIY face shield with off-the-shelf supplies that is super easy to make. After testing several different prototypes, we present you with the face shield that we developed.
Disclaimer: Use this homemade face shield as a last resort only (when there is severe shortage of equipment) as its capacity to protect is unknown.
We occasionally link to goods offered by vendors to help the reader find relevant products. Some of the links may be affiliate in nature meaning we earn a small commission if an item is purchased. Read full disclosure here
Table of Contents
How to make a DIY Plastic Face Shield with Off-the-shelf Materials
Time: 15min | Difficulty: Easy | Expences: $ or none
Supplies and tools
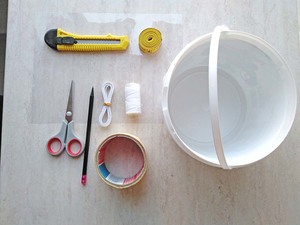
This is a relatively simple project so it doesn’t require a lot of materials and tools to be completed. You need:
- small plastic bucket with handle (~ 7″ diameter)
- No products found. (letter sized, 8,5″ x 11″)
- double sided tape (~ 12″ long x 1/4″)
- 1/4″ flat elastic (~15″ long)
- scissors
- pencil
- thread
- tape measure
- utility knife
- hole punch (optional)
1. Gather the materials.
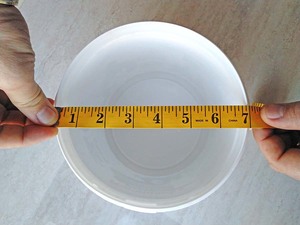
We tried to use materials most people usually have at home. Try to find a small bucket with approximately 7″ opening – I used a small paint bucket that I saved, but anything with a similar size will do.
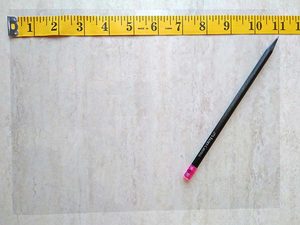
1.2 Clear plastic sheet for the visor
Use clear plastic sheet such as those used for spiral or comb binding of books. Punch two holes in it as shown in the pattern.
2. Cut the top of the bucket
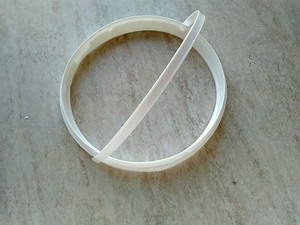
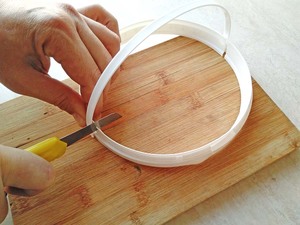
Draw a top cut line parallel to the top opening. With the lid removed, cut the top of the bucket along this line with the utility knife. Make sure the cut is clear and there are no sharp edges. Sand the cut edges smooth, if you have to.
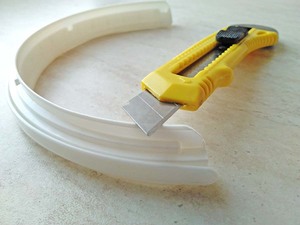
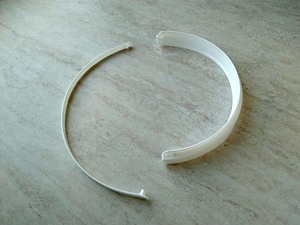
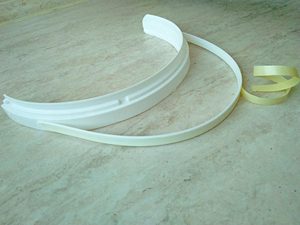
To make the headband cut the top of the bucket in two, leaving the handle on one of the sides.
Round the corners with the utility knife so that the are no sharp edges pressing against your temples.
Carefully remove the handle from the cut part and put aside.
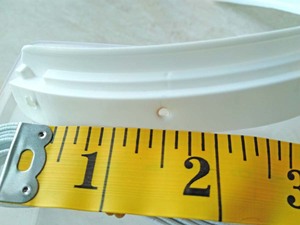
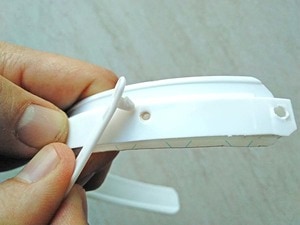
Measure 1 1/2″ in toward center from each of the cut edges and mark the location of the new holes. Punch a 1/8″ hole with a hole punch on each side at the marked locations.
If you don’t have a hole punch you can use a nail and a hammer to make the holes.
Snap the handle in place
Snap the handle into the new holes you’ve just made. The visor will be bonded to the handle, so the new position of the handle moves the visor further away from the forehead. This allows a better fit over larger respirators, glasses and protective goggles.
Apply the double sided tape and place the visor
Apply the double sided tape onto the handle avoiding any contact with the adhesive surface. Apply pressure to the tape using your fingers to make sure it adhered well to the handle. Carefully remove the release liner, again avoiding contact with its surface.
Bond the visor to the handle
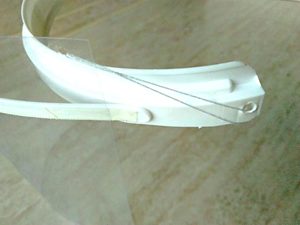
Bond the handle to the shorter edge of the clear plastic sheet, one inch from the top edge of the sheet. Apply pressure on the bond area using your fingers. Make sure it is fixed well.
Cut two pieces of thread, each ~6 inches long. Insert the thread through one of the old handle holes and through the hole on the clear visor. Tie a knot and cut off the ends of the thread. Pull the thread until you hide the knot inside the top part of the face shield. Repeat on the other side.
Assembling the elastic band and final check
Cut a 15″ piece of the 1/4 inch elastic and use a lighter to melt the ends to prevent them from unraveling. Feed the elastic through the old handle holes, adjust the length if needed, and tie it off. Pull the elastic to make sure nothing comes undone. Round the bottom corners wither with scissors.
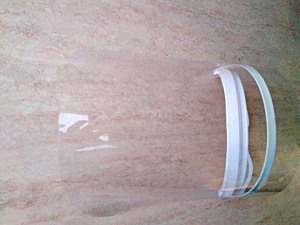
The face shield is now ready. Disinfect it before use.
Recommended for a single use only.
Use it with any of our DIY fabric facemasks:
Our FREE face mask patterns:
Face Shield FAQ
So Who Does Need a Disposable Medical Face Shield?
What PPE do healthcare providers need to deal with COVID-19?
Help fill the shortage of personal protective equipment needed to deal with the expanding coronavirus outbreak. They need face masks and disposable plastic face shields and you can make a difference!
We’d love to hear from you. Did you make the face shield? Do you have an idea for improvement? In case you do, please leave a comment below or drop us an email via the contact form.
Sharing is caring! If you find the tutorial useful please share with your friends on social media
RELATED:
how to make a face mask (with free pattern)

