
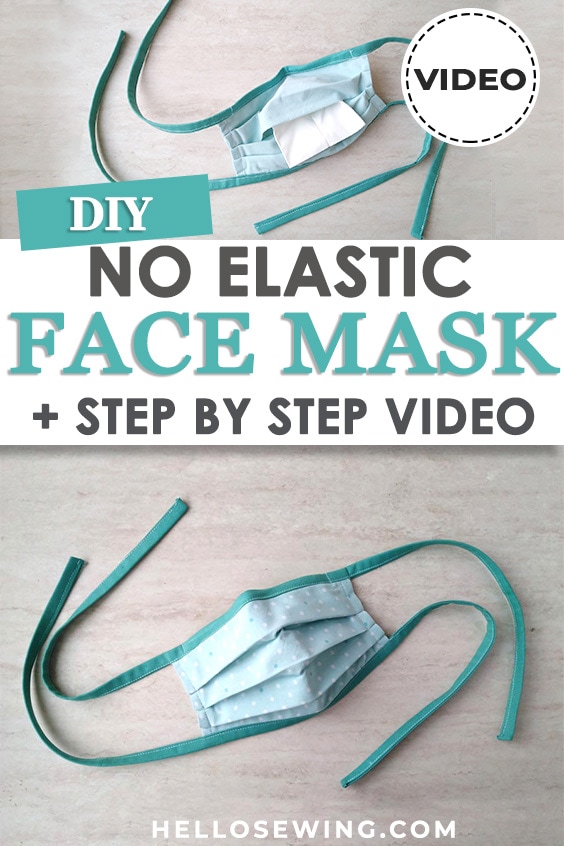
Best DIY Cloth Face Mask – Adjustable Ties, Filter pocket and Flexible Nose Bridge
A great DIY Cloth Face mask with adjustable ties, filter pocket and an optional flexible nose piece. Can be used alone or over N95 respirators to eventually help prolong their use. There’s an option to add a small metal strip/wire at the top — so that it can be bent over the nose to improve the face seal. It is made entirely from fabric which is great as all the large stores are currently out of elastic.
If you are just getting started with sewing, make sure to read to the end as I share few great sewing tips that will help you sew the mask more quickly and easily.
Also note that homemade masks are only a last resort option, are not considered PPE and their ability to protect against virus is unknown.
According to CDC (as of 31 March 2020): HCP (health care providers) use of homemade masks:
In settings where facemasks are not available, HCP might use homemade masks (e.g., bandana, scarf) for care of patients with COVID-19 as a last resort. However, homemade masks are not considered PPE, since their capability to protect HCP is unknown. Caution should be exercised when considering this option. Homemade masks should ideally be used in combination with a face shield that covers the entire front (that extends to the chin or below) and sides of the face.
We occasionally link to goods offered by vendors to help the reader find relevant products. Some of the links may be affiliate meaning we earn a small commission if an item is purchased.
Table of Contents
How to sew the DIY Cloth Facemask
Supplies and tools:
You actually need very little in terms of materials and tools:
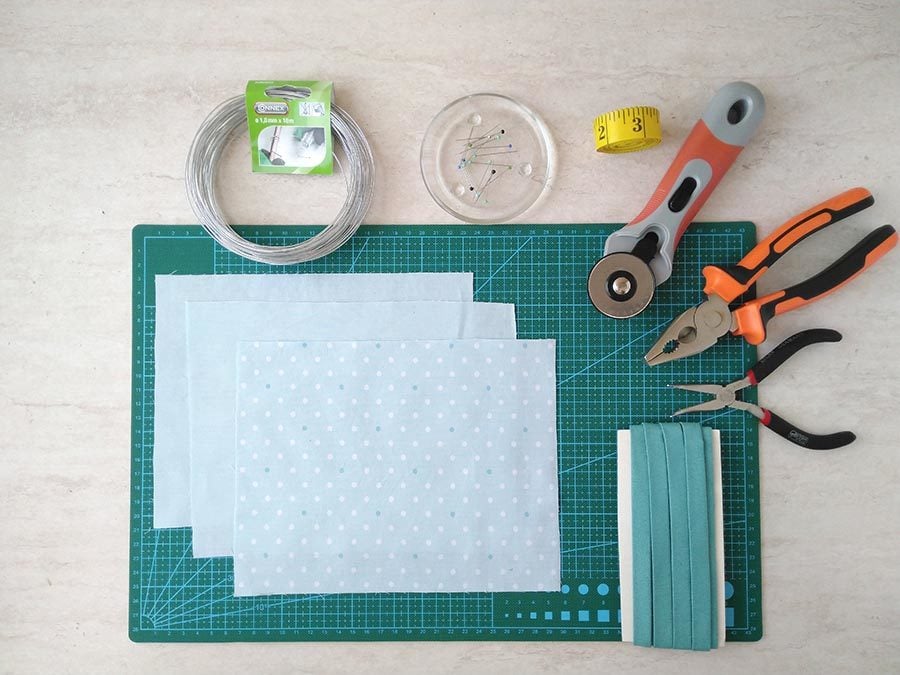
- main fabric – 9″x 7″ cotton (tightly woven, prewashed) – e.g. all white or medical themed
- lining fabric – 2 pieces 9″x 7″ cotton (tightly woven, prewashed)
- bias tape – 1/2 inch double folded – 2 x 40″ long (or make your own bias tape – here’s how)
- filter (optional)
- crafting or floral wire for the nose stay (or some of the other nose wire alternatives we found)
- scissors (or rotary cutter and a cutting mat)
- iron and ironing board
- sewing clips or pins
- sewing machine or sew it by hand
Downloads: Printable instructions for the face mask with adjustable ties, nose stay and filter pocket (PDF)
Follow us for free patterns & tutorials! [easy-profiles]
I saw a nurse wearing a medical themed fabric mask and though that this is a great way to show appreciation to our front-liners. So, I went out to find suitable 100% cotton fabrics that you can buy online. If you stumble across a great design, share it in the comments below!
We occasionally link to goods offered by vendors to help the reader find relevant products. Some of the links may be affiliate in nature meaning we earn a small commission if an item is purchased. Read full disclosure here
How to make a DIY Cloth Facemask with Fabric Ties:
Watch the video first and then follow the written step by step instructions below.
Please enjoy and don’t forget to Like and SUBSCRIBE over on YouTube to be kept up to date with new videos as they come out.
DIY FACE MASK VIDEO TUTORIAL
INSTRUCTIONS:
1. Cut the fabric into rectangles (cut 1 from the main fabric and 2 from the lining fabric if you are making two-colored mask)
(optional – if using the pattern: make sure the pattern is printed at 100% (no scale) on US letter paper. Measure the square test box to ensure the sizing is correct before you cut the fabric)
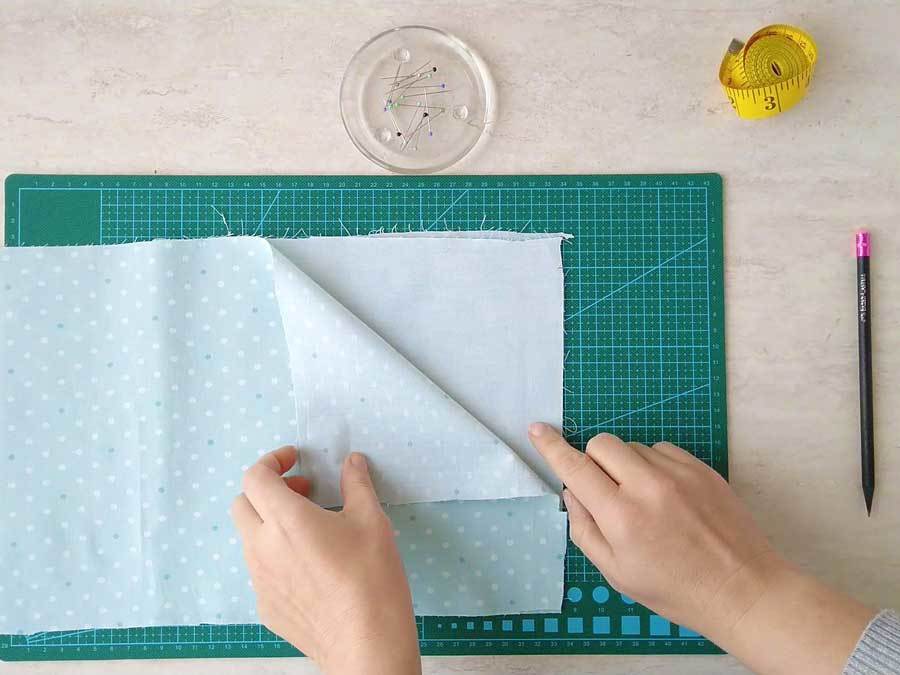
2. Place the lining pieces on a horizontal surface with the pretty sides facing each other and pin the corners
3. Fold the pinned fabrics in half lengthwise and press with your fingers to create a crease in the middle
4. Mark a 2” horizontal line starting from one of the short sides along the crease. (Repeat for the opposite side)
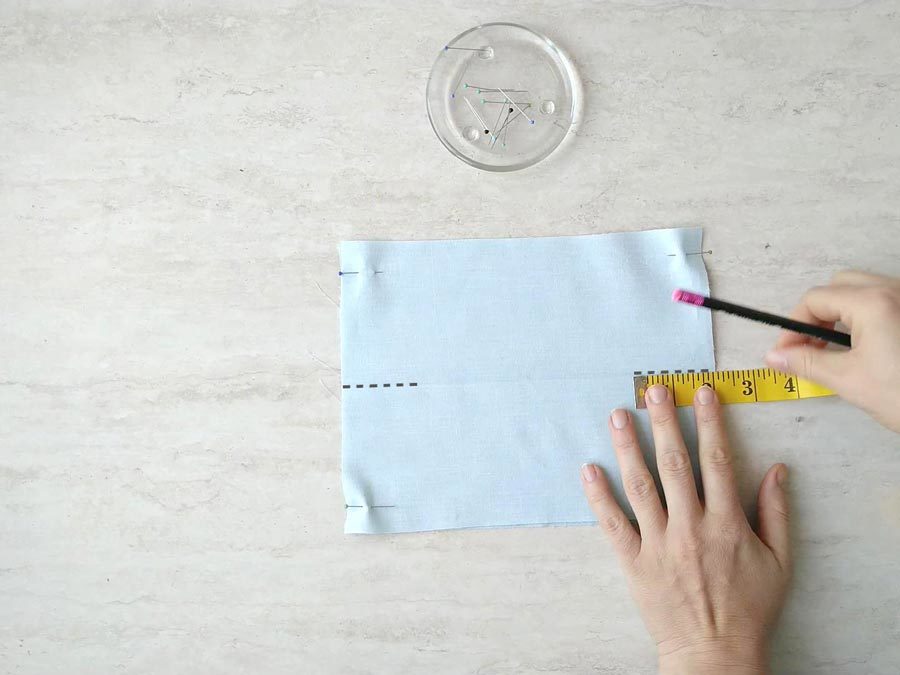
5. Sew along the marks, backstitching at the beginning and the end, leaving the middle unsewn
6. Take both corners of the top fabric and bring them to the bottom. (Repeat for the back fabric) The filter pocket is ready
7. Place the main fabric on top of the filter pocket fabric with the pretty side facing down. Pin the corners
8. Sew the short sides of the mask and turn it inside out
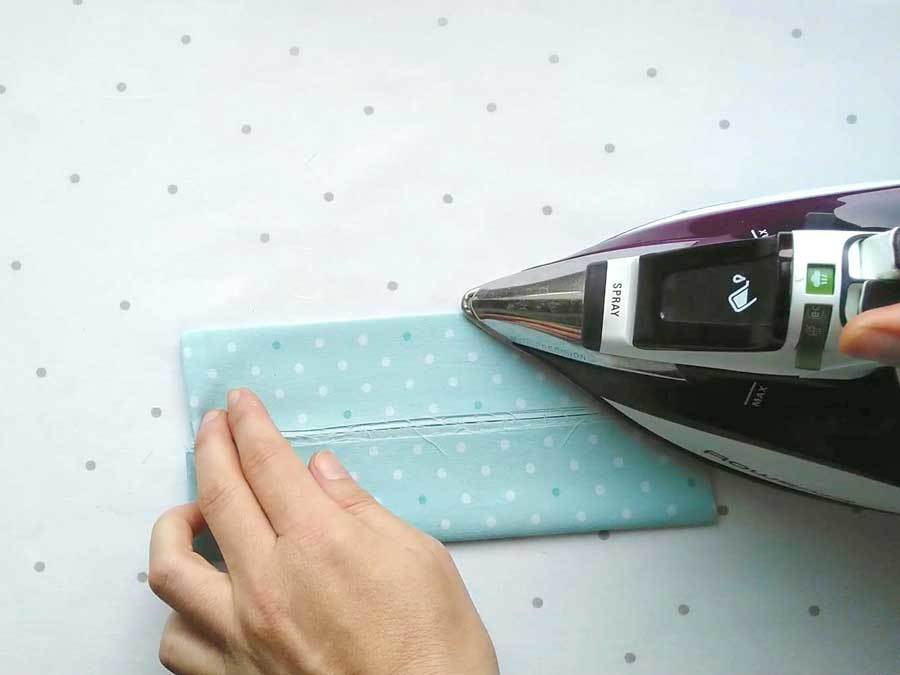
9. Fold in fourths and press to create creases. To do that first press the face mask to smoothen it out. Next, fold it in half and press with a lot of steam. Open it, and bring both edges to the middle, then press again.
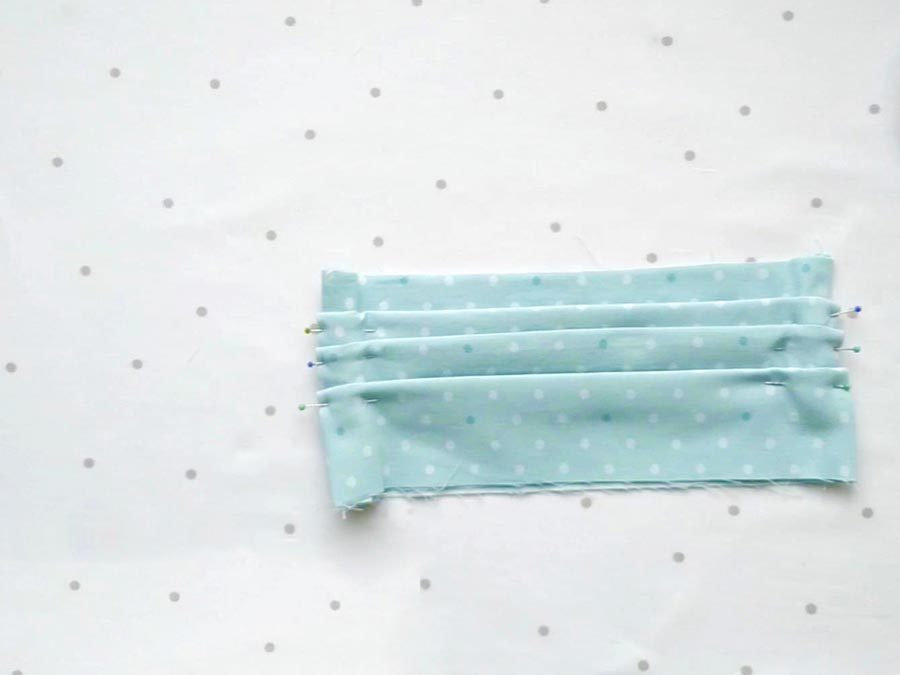
10. Create pleats: Flip the face mask to the other side. Create 1/2 inch folds facing upwards, while pinning the edges until you have 3 pleats. Make sure all pleats are facing the same direction.
11. Sew the bias tape ends: Take one of the bias strips and open one of the ends so that the right sides are touching each other. Sew across the short side as close to the edge as possible. Turn the corner back. (Repeat for the other three ends of the bias tape strips)
TIP: If you have run out of bias tape, you can make your own with any fabric you want and WITHOUT any tools. Check out the fastest way to make bias tape/binding here
12. Fold the bias tape in half and press well with your finger. Fold the mask in half with the short sides touching each other and press with your fingers to create a crease in the middle
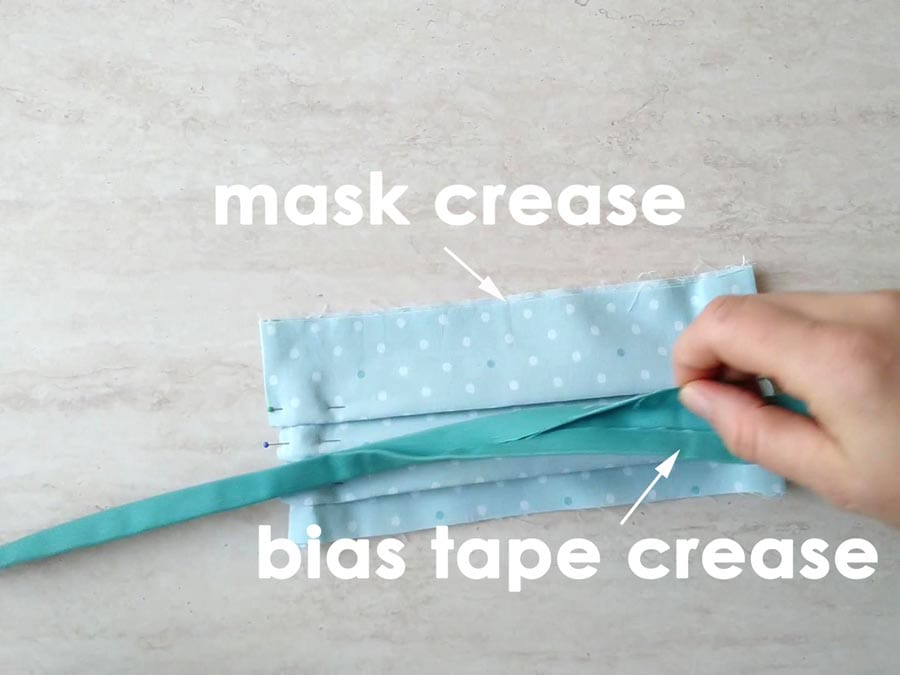
13. Open the middle of the bias tape, find the crease you’ve just created and pin it to the crease in the upper raw edge of the mask. (Repeat for the other side)
14. Sew the bias tape to the mask by sewing along the crease that is positioned closest to the edge. (Repeat for the other side)
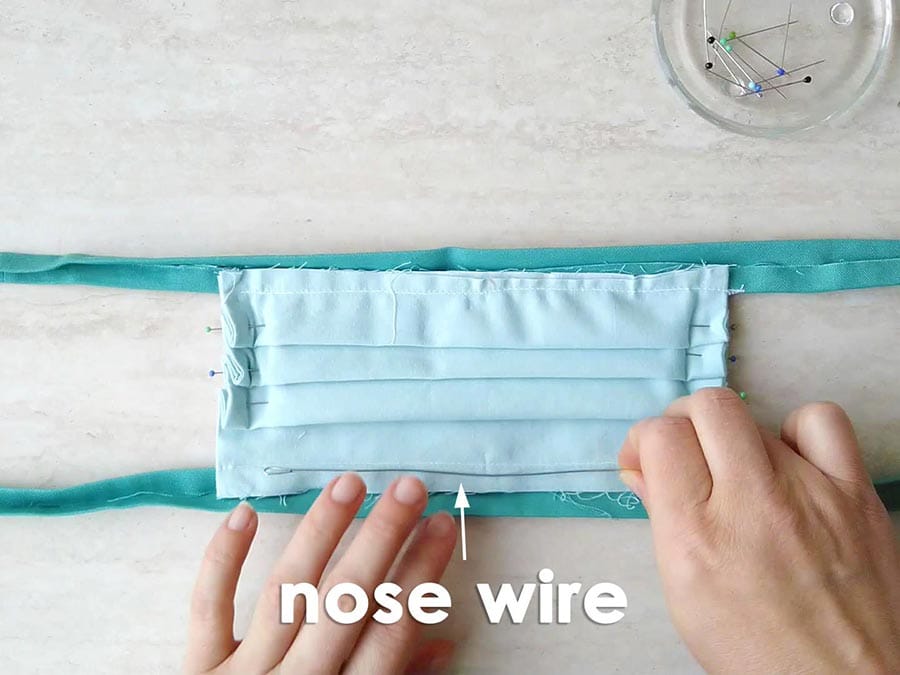
15. (OPTIONAL) To create the nose wire stay: cut a 7” wire and bend its end inwards by half an inch Insert the wire along the top edge.
16. Fold the bias tape along the stitch line, then fold again to enclose the raw edge of the mask and cover the first line of stitches. Pin. Topstitch in place, making sure you catch the bias tape on the back
There are few tools/notions that can help make a bunch of masks faster and easier.
17. (OPTIONAL) Sew on either side of the wire, across the short side of the upper bias tape, to enclose the wire.
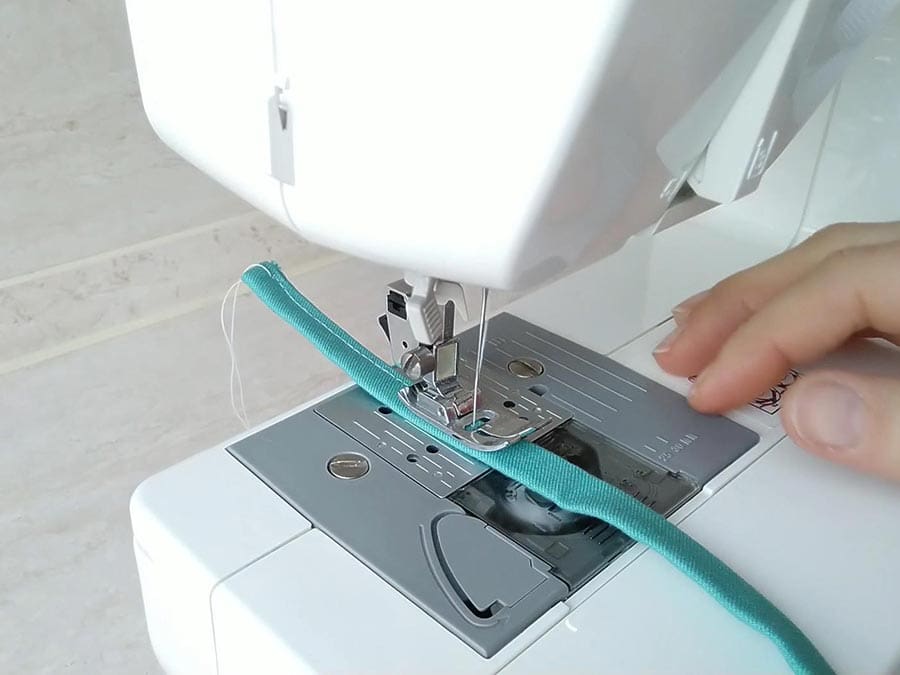
18. Sew along the entire length of the bias tape as close to the edge as possible.
19. Sew along the left and right edge of the mask to secure the pleats in place.
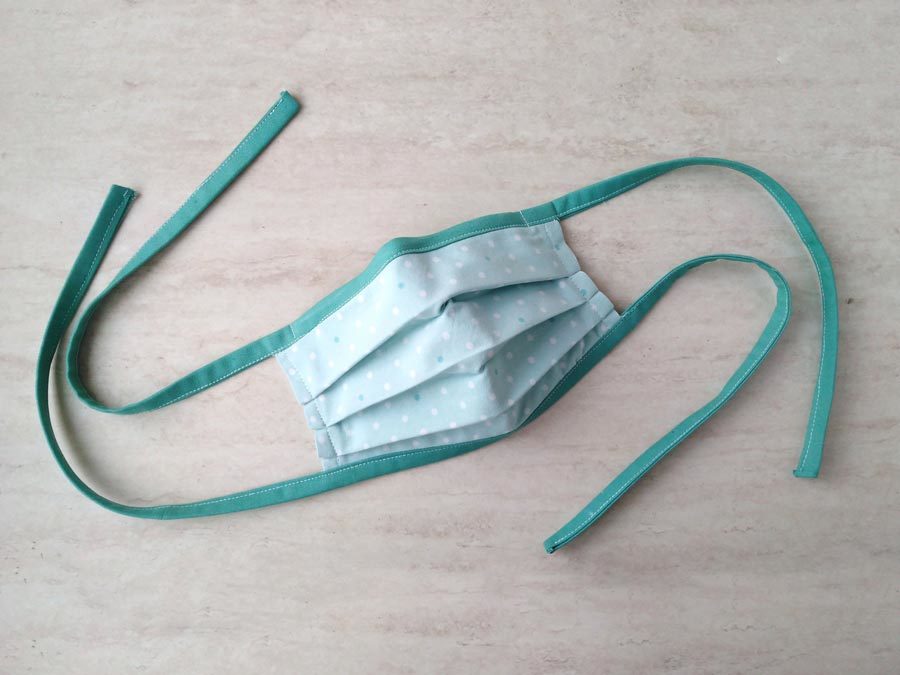
The mask is now ready! Here’s how it looks:
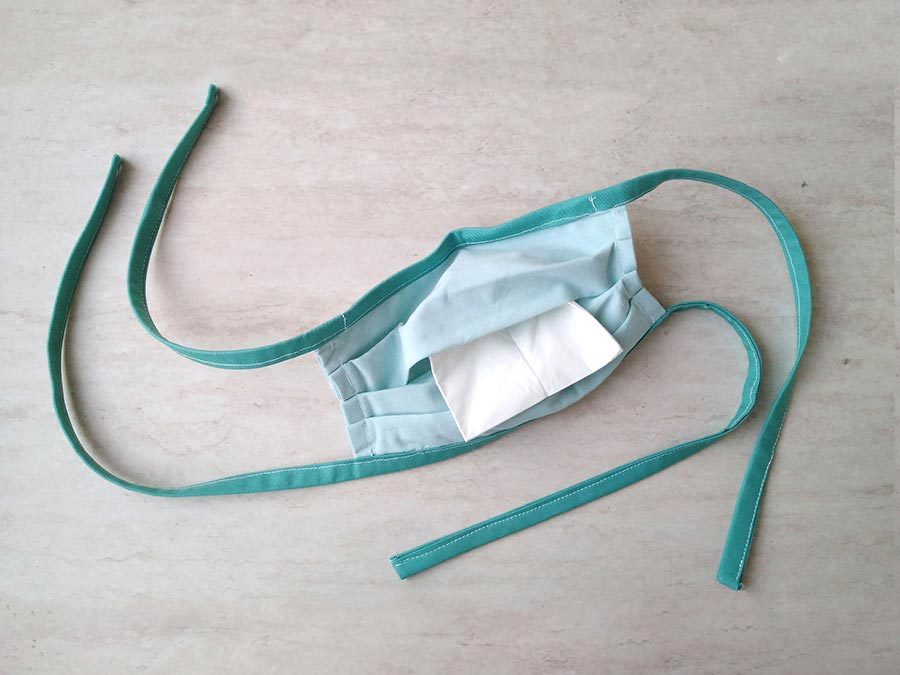
and here’s how you insert the filter in the pocket on the backside:
TIPS:
- Backstitch at the beginning and end of each seam to prevent the stitching from coming undone
- If the thread keeps breaking when you sew over the pleats, go as slow as possible and/or use a walking foot attachment
- Use clips instead of pins – they help you sew faster and you won’t accidentally prick your fingers
Our FREE face mask patterns:
Do you like this? Pin for later:
Wanna be friends? Click HERE and follow me on Pinterest
RELATED:
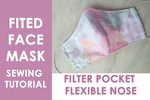
- Fitted face mask with Filter Pocket and Nose Bridge (w. FREE pattern)
- Surgical face mask pattern + VIDEO tutorial
- How to make a Flexible Nose Wire with off-the-shelf materials
- Plastic Face Shield Tutorial with materials you already have at home
- Cute bow tie DIY faceshield
- Scarf face mask
- Best fitting facemask (with calculations for custom fit)
- Breathable mask tutorial
- 3D face mask tutorial
- DIY gaiter face mask
- Kids mask template
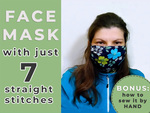
- How to make a face mask WITHOUT sewing machine (Hand stitching Video tutorial)
So, did you make this DIY face mask? How did it come along? Was it easy to sew?
Did you find sewing the pleats difficult? Tell us, we’d love to hear from you!