
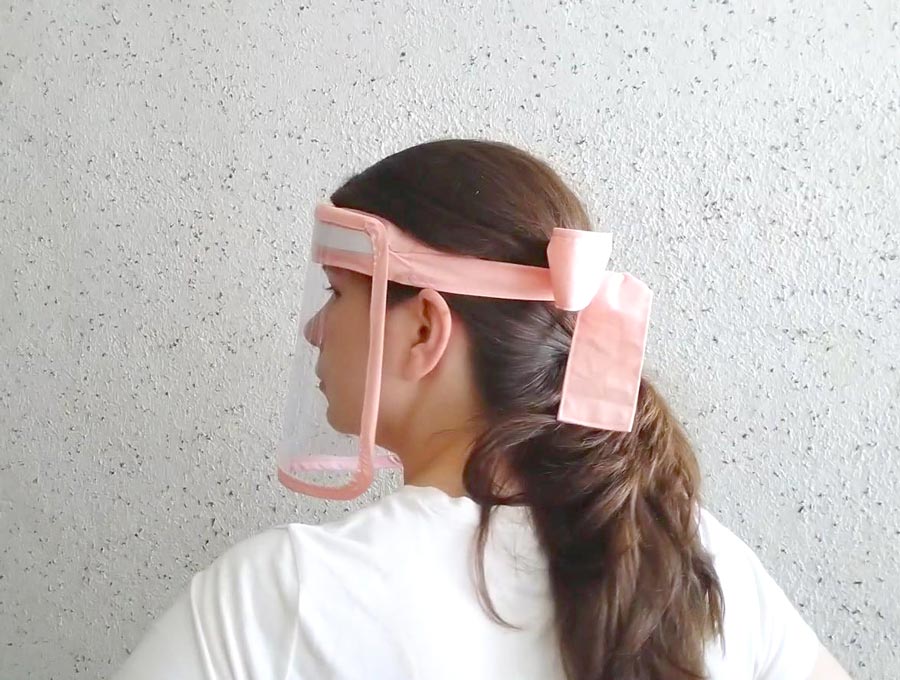
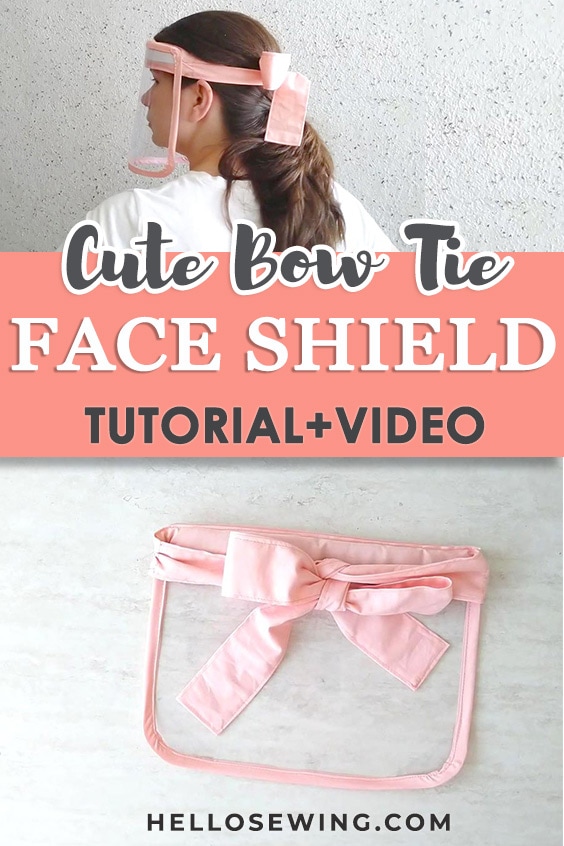
Easy Reusable DIY Face Shield with Cute Bow Headband
Making your DIY face shield mask is a smart move if you need extra protection. Making this easy reusable face shield is a great move if you want to combine protection with style! Why shouldn’t a DIY face shield be cute?
If you want to learn how to make face shield, you’ve come to the right place. Get ready for a fun, but responsible sewing project that’s useful and stylish!
As coronavirus or COVID-19 continues to roam the world, I feel that I need to up our protection as much as possible so I came up with this easy sewing project.
Below you will find my step by step written tutorial with VIDEO instructions for all the visual learners. After making the standard plastic face shield from household materials, it’s time to up the game and add a feminine touch to it!
We occasionally link to goods offered by vendors to help the reader find relevant products. Some of the links may be affiliate meaning we earn a small commission if an item is purchased.
Table of Contents
- 1 How to make the Reusable DIY Faceshield
- 2 Supplies and tools
- 3 How To Sew the Easy DIY Face Shield
- 3.1 Cute / Easy / Reusable Face Shield VIDEO TUTORIAL
- 3.2 INSTRUCTIONS:
- 3.3 STEP 1: Make bias tape
- 3.4 STEP 2: Cut out the visor
- 3.5 STEP 3: Sew bias tape onto the the plastic sheet
- 3.6 STEP 4: Start making the bow headband
- 3.7 STEP 5: Turn the bow headband right side out
- 3.8 STEP 6: Mark the centers
- 3.9 STEP 7: Insert the foam piece
- 3.10 STEP 8: Stitch the headband
- 3.11 STEP 9: Assemble the faceshield
- 3.12 STEP 10: Finish the face shield
How to make the Reusable DIY Faceshield
Supplies and tools
- fabric (bow) 5 x 48″ (tightly woven cotton, similar to the peach cotton fabric I used)
- fabric (bias tape) 1.75 x 40″ (tightly woven cotton)
- foam piece -1 x 11 x 1″
- double-sided tape
- clear plastic sheet (letter sized, 8,5″ x 11″)
- matching thread
- scissors (or rotary cutter and a cutting mat)
- ruler or measuring tape
- sewing machine (even a basic machine or a sewing machine for clothes will do just fine, or you can even hand sew this, although it will take you more time)
- iron and ironing board
- sewing clips or pins
Once you get all that ready, you can start making the face shield.
Follow us for free patterns & tutorials! [easy-profiles]
How To Sew the Easy DIY Face Shield
Watch the diy face shield with a bow tie video first and then follow the written step by step instructions below.
Please enjoy and don’t forget to Like and SUBSCRIBE with a bell over on YouTube to be notified for our latest sewing videos as they come out.
Cute / Easy / Reusable Face Shield VIDEO TUTORIAL
INSTRUCTIONS:
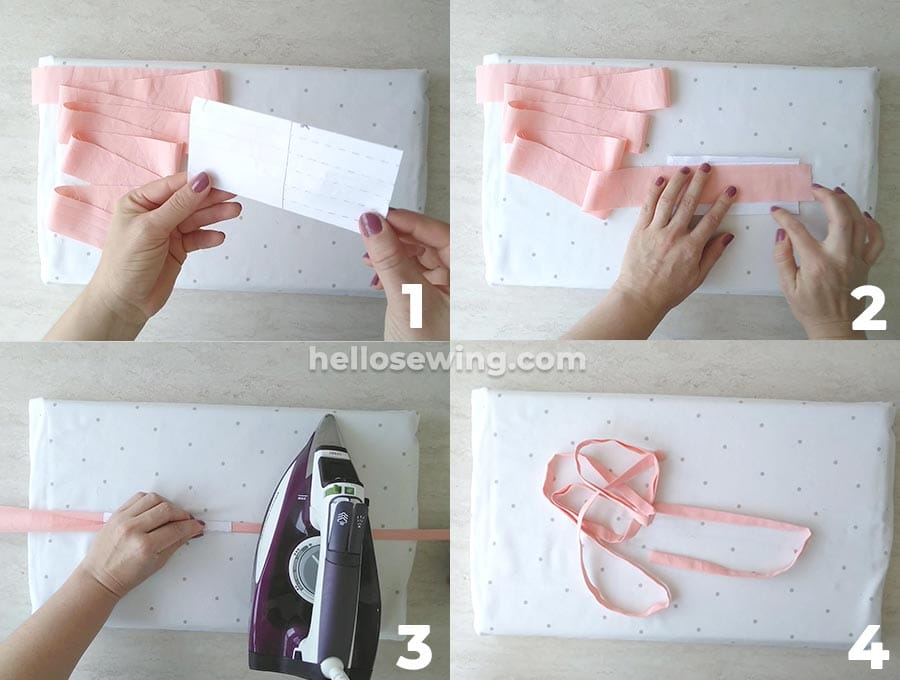
STEP 1: Make bias tape
There are more than one way to make bias tape, but I’ll show you the fastest one ever. Even though I have bias tape makers I struggled with them for years. This is why when I started designing masks ( and making tons of mask ties, that is) I had to come up with a faster method to make bias tape, so I came up with a paper template to speed up the process.
Place the fabric strip on top of our paper bias tape template, fold accordingly and make sure the fabric slides freely through the template. Holding the template with one hand, pull the fabric from the other end and start ironing. Adjust your iron from time to time as it shifts as you pull the fabric. It’s that easy. If you need more details – check my full tutorial HOW TO MAKE BIAS TAPE here.
STEP 2: Cut out the visor
Take the letter sized plastic and using an empty glass as a pattern, round the bottom corners. Now fold the clear plastic in half and round the top corners a bit as well.
Don’t use your sewing scissors for all this cutting because it will dull or damage them. Use a pair you don’t mind blunting.
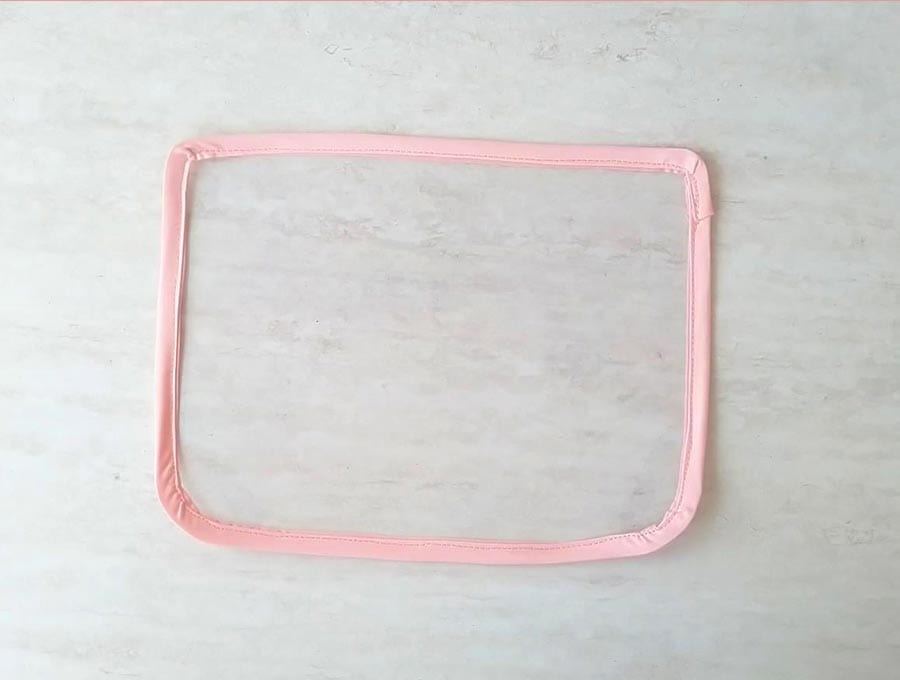
STEP 3: Sew bias tape onto the the plastic sheet
Take the bias tape and put it along the edges of the plastic, so that it goes slightly over the front and the back of the plastic. Stitch it in place. Pull it a bit at the corners as you sew, so that it lays flat around them.
STEP 4: Start making the bow headband
Take the bigger piece of fabric and fold it in half lengthwise, right sides facing on each other. Pin or clip it in place.
Sew the long edge shut so that you get a long tube of fabric.
STEP 5: Turn the bow headband right side out
Use either a tube turner or the blunt end of a pencil to turn the whole thing inside out and press with an iron.
STEP 6: Mark the centers
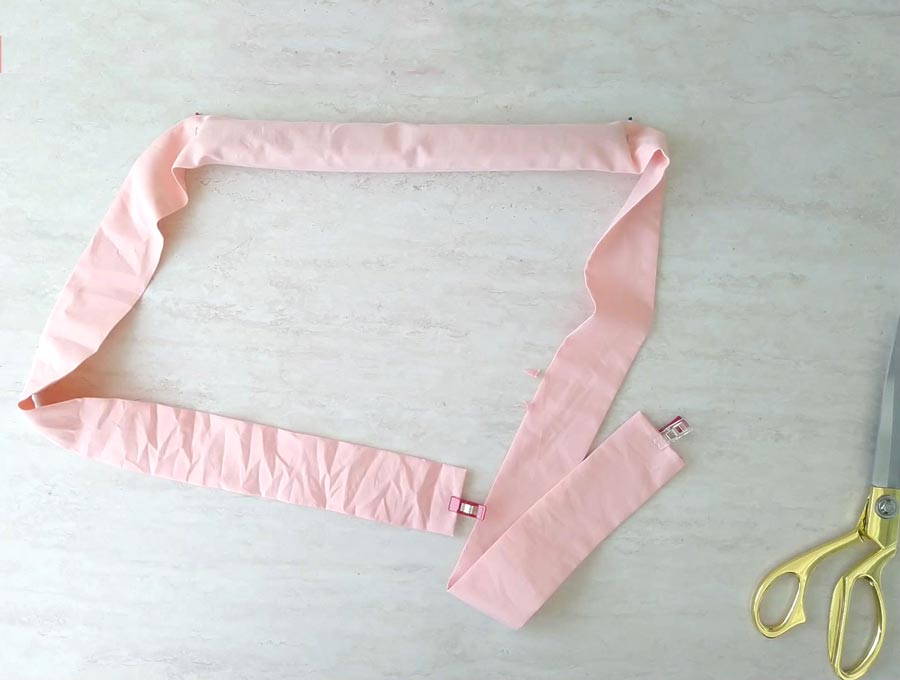
Fold the headband in half so that the short edges meet.
Mark the fold in the middle of the headband with a fabric pen/pencil. You’ll need to match the center of the headband with the center of the foam piece when you insert it in the headband.
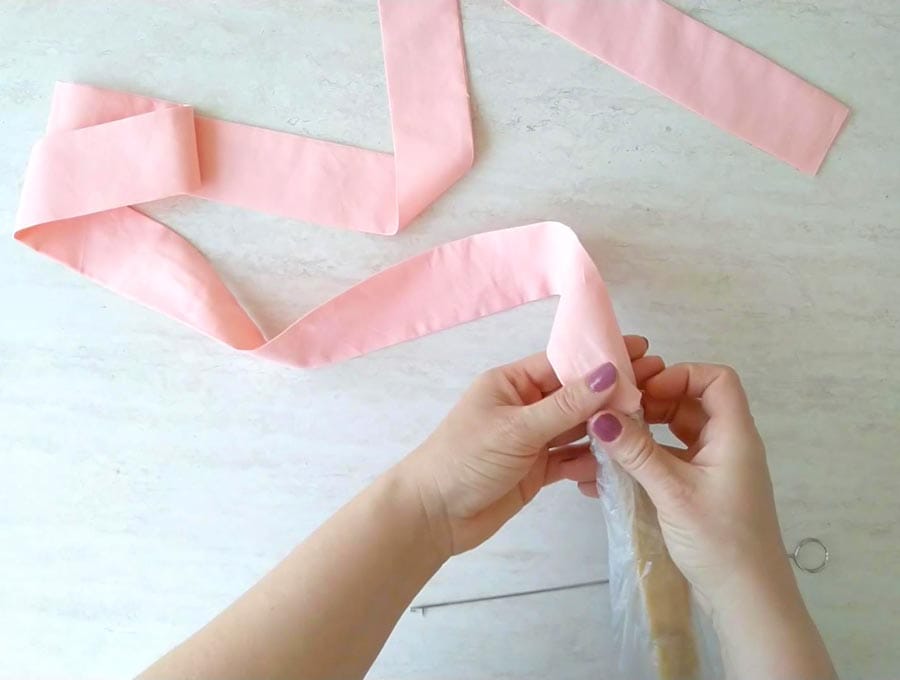
STEP 7: Insert the foam piece
Put the foam inside the headband and push it to the middle. Pin on either side of the foam to keep it in place.
To make things easier, first insert the foam into a plastic bag before you insert it inside the headband. Then use your tube turner to fish the plastic bag out of the headband.
STEP 8: Stitch the headband
Clip the raw edge corners, fold them half of an inch inside, pin and start stitching.
Stitch all around the entire headband, making sure to slow down when you are sewing next to the foam. I’d like to press the foam when I’m sewing next to it to help with sewing.
Then sew across on either side of the foam piece, securing it in place.
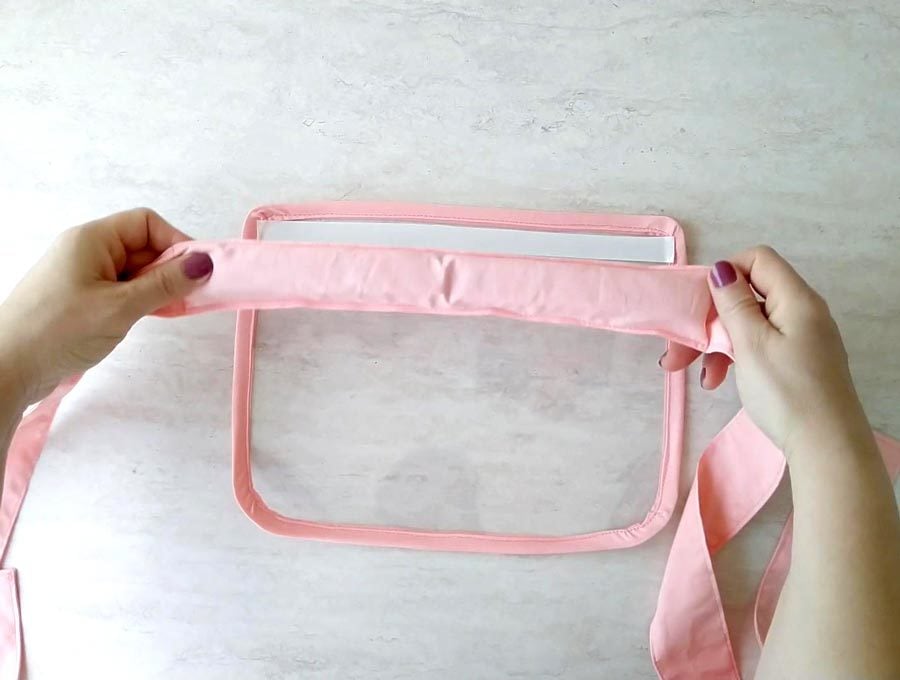
STEP 9: Assemble the faceshield
Apply the double-sided sticky tape along the inside of the longest edge. Stick the headband on it so that the sponge sits on the tape.
STEP 10: Finish the face shield
Sew the two upper corners of the DIY face shield to the headband, securing the headband in place.
Tie the headband into a bow and you’re done!
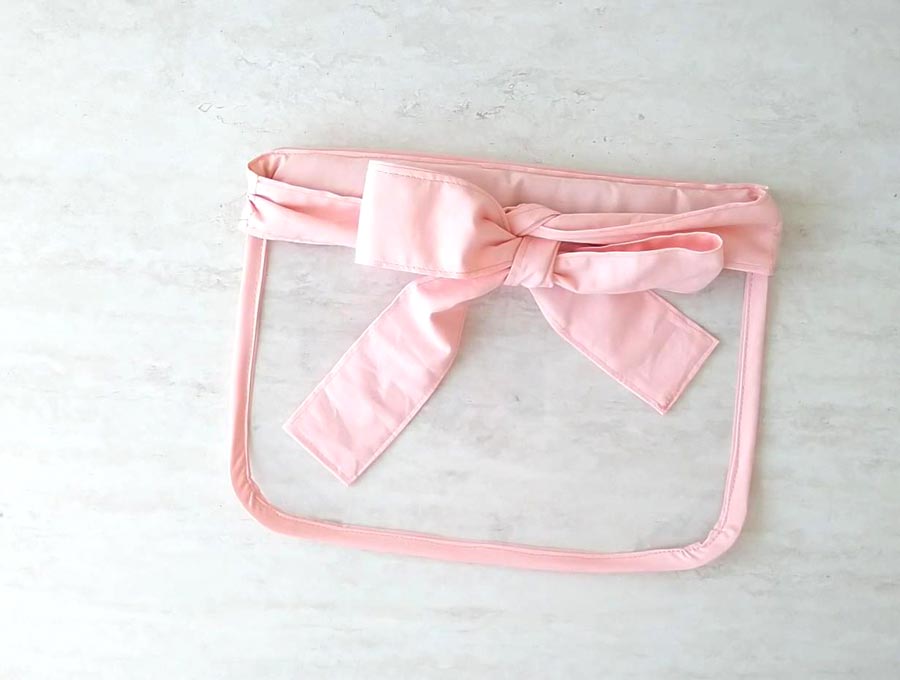
That’s it your bow tie reusable faceshield is all ready!

Did you like this cute version of a DIY face shield? Do you think it is a good idea to combine the protection of a PPE with an extra touch of cuteness? Share your impressions with us in the comment section. Stay safe and healthy!
Do you like this? Pin for later:
Wanna be friends? Click HERE and follow me on Pinterest
RELATED:
Face Mask with Eye Protection DIY
How to make a face shield (standard)
Handmade hand sanitizer holder