")
DIY Ear Saver for Face Masks | Ear Guards for Nurses (+7 addl ear protectors ideas)
Almost all healthcare workers are currently in close contact with persons infected by coronavirus daily. During the entire time at work, they have to wear a face mask with ear loops. Wearing a mask all day can be really tough on the ears and cause terrible irritation. Fortunately, there is a solution for that. Ear guards.
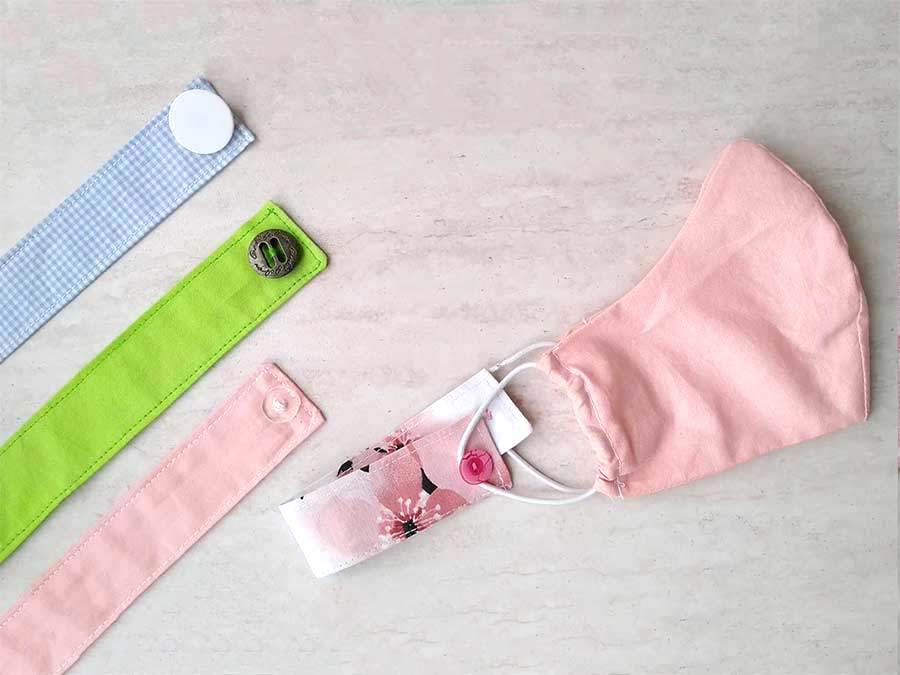
Also called EAR SAVERS, these handy additions to face masks can help your mask stay on without having to put straps on your ears. The best part about them is how easily you can make a whole bunch. I will show you how to make button tab ear guard and how to sew on buttons on a headband or on a scrub cap for a quick ear relief. At the end I’ll give you few more ear saver ideas so you can use most of the materials you already have at home.
Below you will find my step by step written tutorial how to make button tab ear saver with VIDEO instructions for all the visual learners.
We occasionally link to goods offered by vendors to help the reader find relevant products. Some of the links may be affiliate meaning we earn a small commission if an item is purchased.
The essentials for these seven different ear guards are something most sewing enthusiasts have laying around in their sewing supplies.
Table of Contents
I. How to make Behind the Head Ear Guards
Supplies and tools
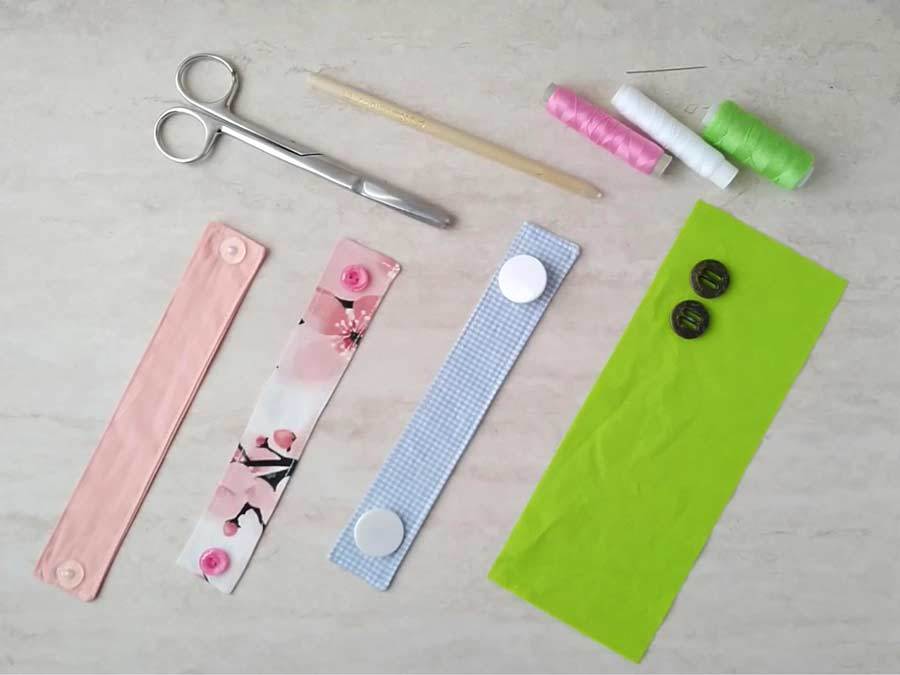
- fabric – 9″ x 3 1/2″ cotton fabric
- matching thread thread
- scissors (or rotary cutter and a cutting mat)
- ruler or measuring tape
- sewing machine (a simple machine will do just fine, or you can even hand sew this, although admittedly it will take you more time)
Follow us for free patterns & tutorials! [easy-profiles]
How To Sew Ear Savers
Watch the ear protector video first and then follow the written step by step instructions below.
Please enjoy and don’t forget to Like and SUBSCRIBE over on YouTube to be kept up to date with new videos as they come out.
Button Tab Ear Saver VIDEO TUTORIAL
INSTRUCTIONS:
STEP 1: Cut fabric
Cut a strip of fabric 9 x 3.5 inches. Use either your fabric scissors or a rotary cutter and a mat
If you prefer to go with your own measurements:
The first thing you need to do is measure out how long you want the tab to be. Put the mask on but don’t set the straps on your ears. Stretch them behind the head to the point where you feel the mask sits the best.
If you have a helper around, ask them to measure out the distance between the straps. If you’re on your own, use sticky tape and connect the ends. Then just take the mask off and measure the sticky tape.
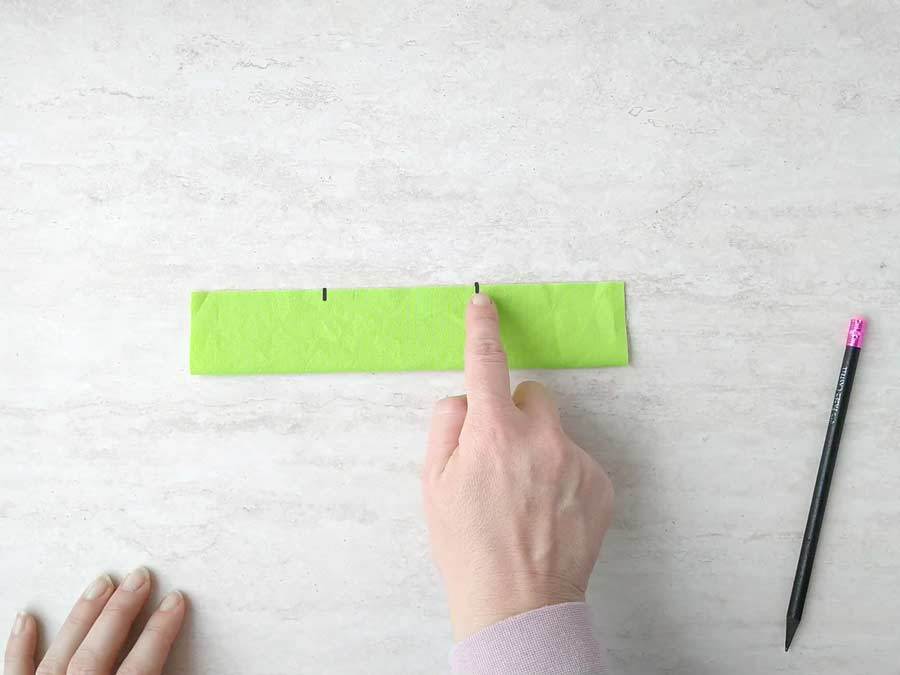
STEP 2: Fold fabric and mark a gap
Fold your fabric in half lengthwise with the good (pretty) sides facing each other. Use a pencil to mark two inch gap along the long side.
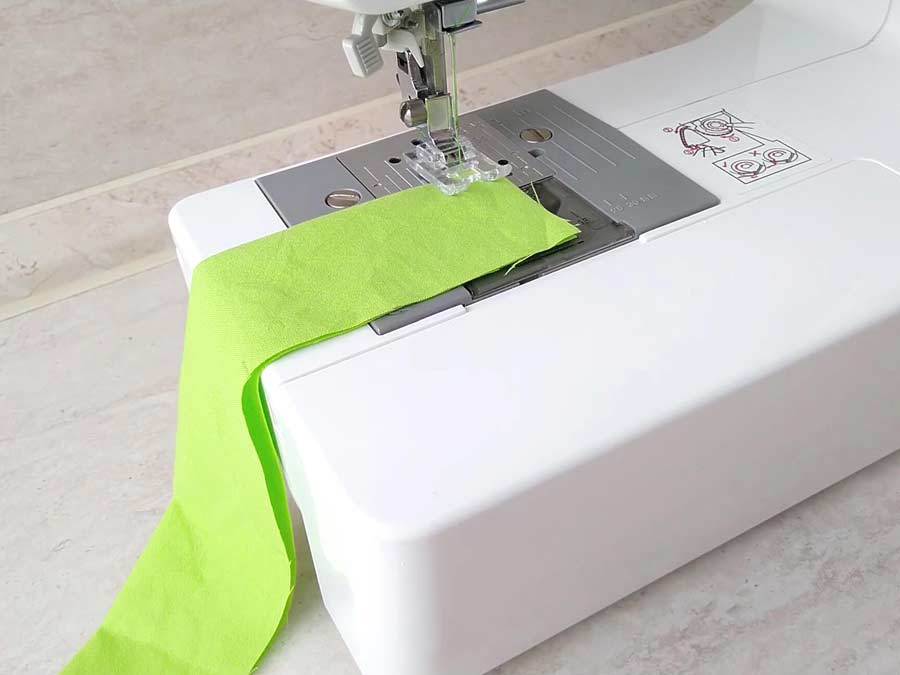
STEP 3: Sew
Sew around the rectangle using a 3/8″ seam allowance and don’t forget to leave the gap for turning. Backstitch at the beginning and the end of each seam.
STEP 4: Trim seam allowances
Trim the seam allowances down to 1/4 inch. Snip the corners as well if you want your corners sharp and crisp. This gives the ear saver more polished look.

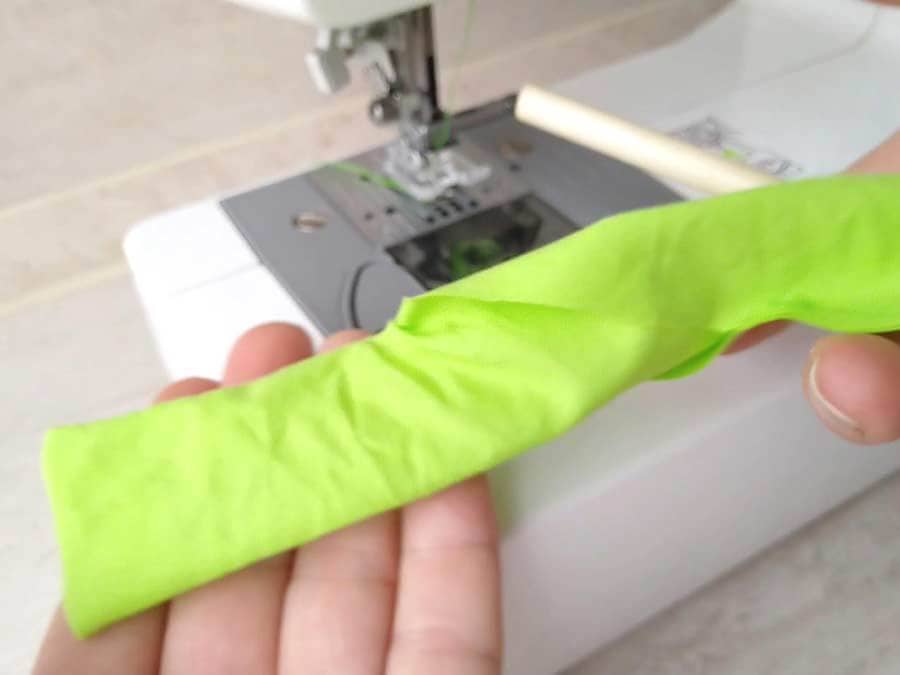
STEP 5: Turn right side out
Turn the button tab around and use a pointy tool (or your scissors, or a pencil) to push the corners out.
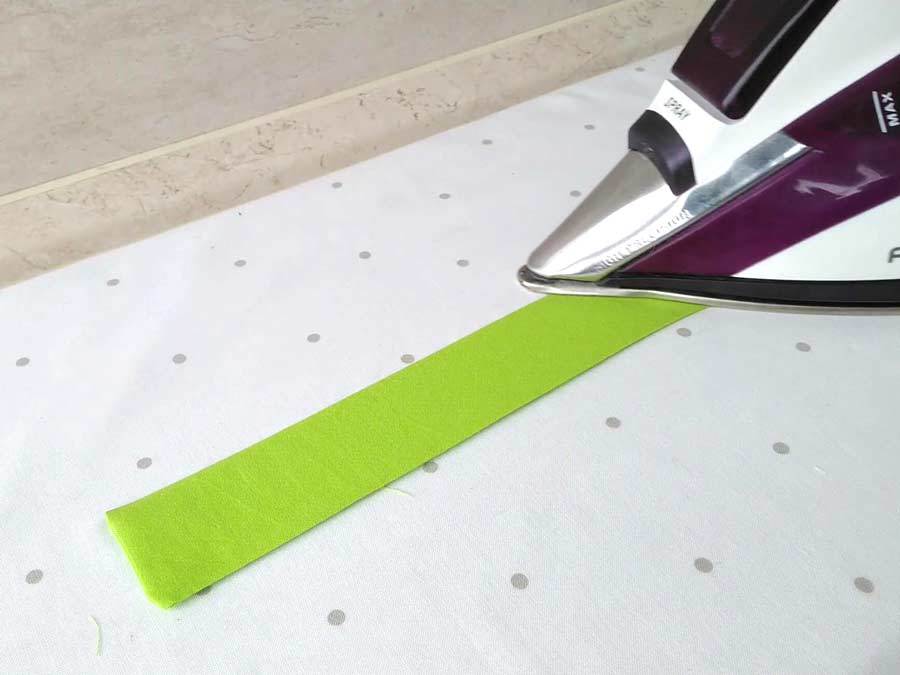
STEP 6: Press
Fold the edges of the gap and give the ear saver a good press with a lot of steam.
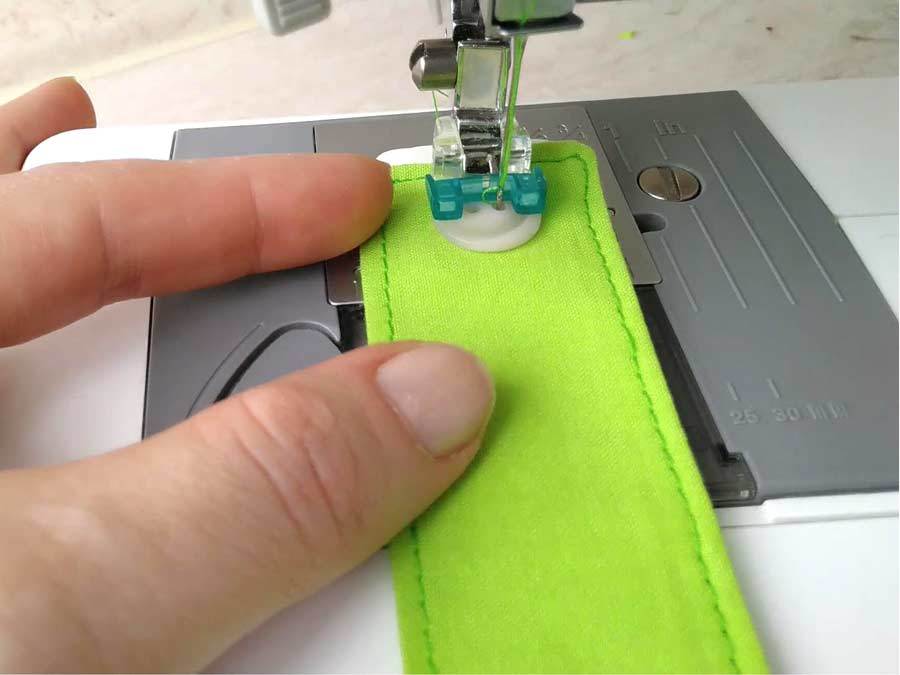
STEP 7: Topstitch
Top-stitch as close to the edge of the ear guard as possible
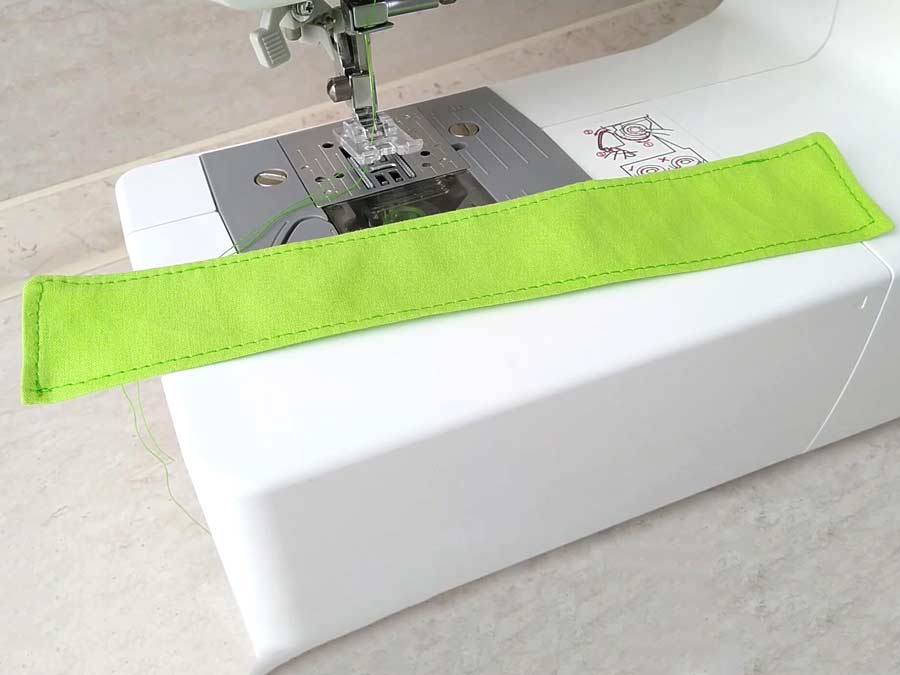
You can do this either by hand or by using your sewing machine. If you are making ear savers for nurses and doctors, you want to donate as much as possible, so you’ll need to make them as fast as possible. It makes sense to sew them using your sewing machine.
However, if you prefer you can sew them on by hand.
I show how it’s done both by hand and with the machine in the video
That’s it your ear protector it ready!
Now go make yourself some and make a few to donate.
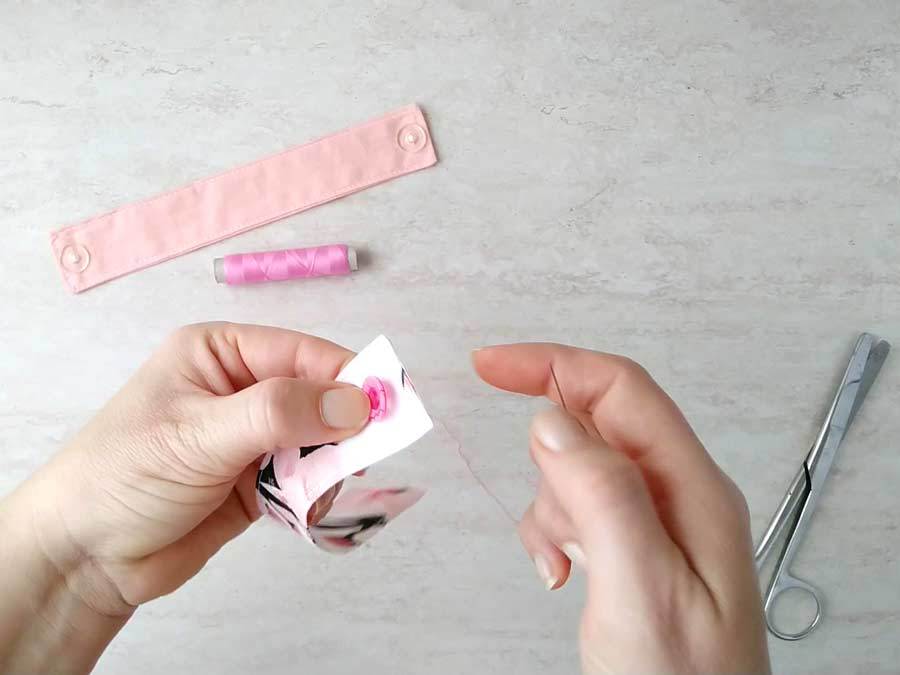
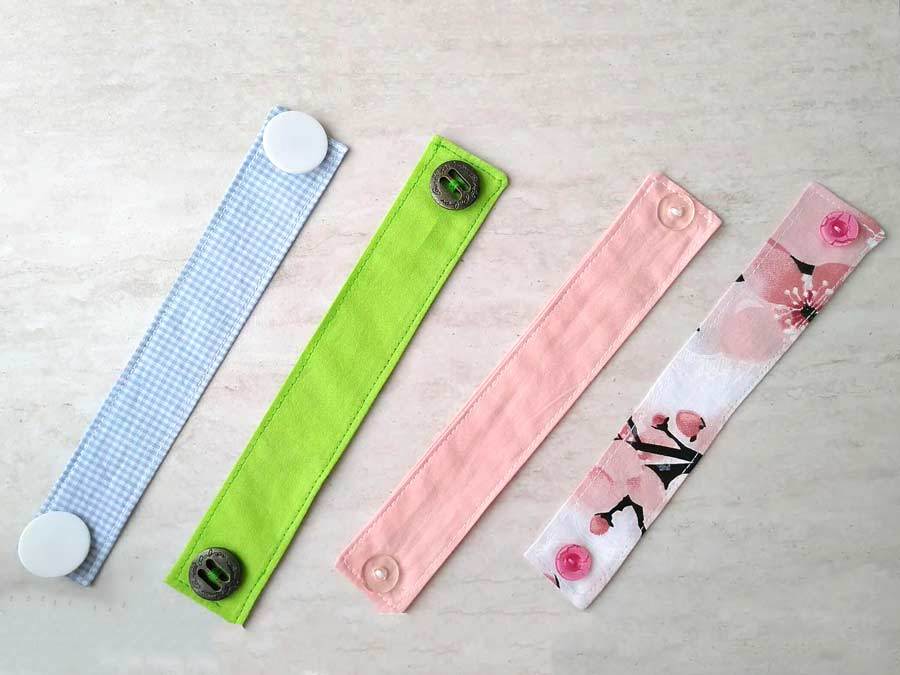
VARIATION 1: Make a snap tab (no sewing on buttons)
Repeat the same steps up to the point where you sew the buttons on. But make the strap longer, about three inches.
Place one snap at the end of the strap. Fold the strap before that though!
Measure about an inch away from it and put its corresponding pair snap there.
Repeat at the other end. Finished!
VARIATION 2: Make a ribbon tab (no sewing of tab)
Instead of steps 1-7 just cut a 9 inches long piece of grosgrain ribbon 1 – 1.5 inches wide and sew on the buttons. Easy peasy!
II. Headbands
If you don’t have a headband, here’s how you can quickly make it.
- Wash the fabric and iron it.
- Cut a piece of fabric 18 x 6 inches.
- Fold it in half lengthwise. Right sides should face inwards.
- Using a zig-zag stitch, sew along the longer edge, leaving an opening close to one end. Reinforce your stitches. The opening is for turning the headband inside-out. The short edges are to stay unstitched.
- Use a safety pin to catch one shorter edge and thread it inwards through the tube. Keep pulling until the short raw edges align with each other. Pin in place. Don’t forget to keep the gap from earlier on the outside of the headband.
- Stitch the two short edges together, on the inside of the tube.
- Turn the headband inside out through the gap. Topstitch the opening shut. The headband is ready.
To attach the buttons:
- Take your headband and put it on your head.
- Mark it near your ears. Use sewist chalk or a washable marker.
- Take it off and sew a button on each marking, at the center of the headband.
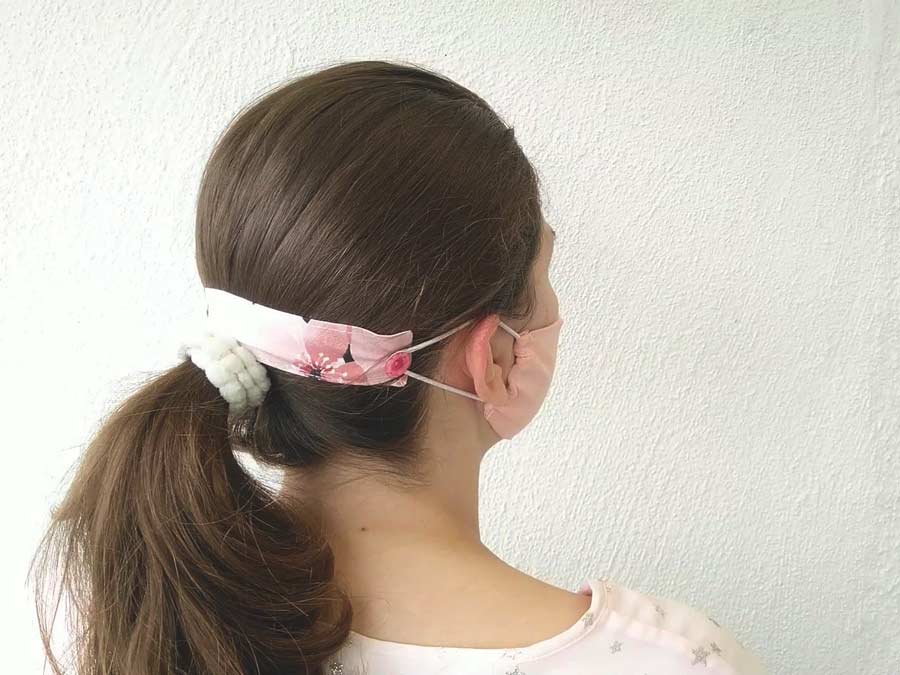
- Now when your headband is on, you can just put the mask ear straps on the buttons instead of putting them on your ears.
If you want one that you tie up, just cut a long strip of fabric and finish the edges.
Variation: Tied headband (no sewing)
There are two different methods of how to use a headband as an ear guard. One is to use a tied headband and the other is to put buttons on a headband. To make the tied headband you just need to cut a long strip of knit fabric and pull it so it curls. Now you can easily use it as a face mask securing accessory.
- Spread your mask and the headband.
- Put each end of the headband through the ear straps, coming from the front.
- Now set your headband on your forehead while putting your mask on as well.
- Tie the headband behind your head, below the hair. Adjust everything if you need to. That’s it.
Other Ear Guard ideas (no sewing!):
If you don’t feel like sewing, here are some options that require zero sewing work.
Ribbon (no sewing)
Cut a long ribbon and loop it through the ear straps behind your head. Tie the ribbon and tighten until the mask sits the best.
Paperclip (no sewing)
Yup, just use a paperclip to connect the straps behind your head. But you will need to connect them before you put the mask on.
Safety Pin (no sewing)
This one can be a bit tricky because you can prick yourself in the back of the head while setting it up. To avoid that, just do as you would with a paperclip in the suggestion above.
Plastic ear guard (no sewing)
Cut out a piece of plastic and make 4 deep notches (two on the top and two on the bottom). Insert the elastic loops of the mask through the said notches and you are done!
Do you like this? Pin for later:
Wanna be friends? Click HERE and follow me on Pinterest
RELATED:
Free face mask pattern (fitted, contoured model)
DIY cloth face mask with fabric ties (pleated)
Surgical face mask with elastic ear loops
Medical face mask (No elastic model, around the head ties – great for medical staff)
Custom fit face mask (with size calculations)
Surgical scrub cap (unisex model with ties)
From now on your ears won’t have to suffer from ear straps! If you know a method we didn’t mention, do tell us! Write them down in the comment section below. And if you can, please stay at home!