
DIY Surgical Scrub Cap Free Sewing Pattern
Coronavirus is causing a lot of troubles for health workers all around the world. Not only do they have to work much more than usual, but they also have to deal with a serious lack of protective equipment. So when our local hospital recently put out a call for surgical caps / scrub hats I knew I had to help. But there is only so much one can sew, so I decided to make this DIY Surgical Cap Sewing Tutorial so that you can join in, too and make an impact! Help fight COVID-19 and show support to all the brave doctors and nurses on the front lines of the pandemic!
Below you will find my step by step written tutorial, printable scrub cap pattern and a VIDEO tutorial for all the visual learners.
We occasionally link to goods offered by vendors to help the reader find relevant products. Some of the links may be affiliate meaning we earn a small commission if an item is purchased.
Table of Contents
- 0.1 How to make a Surgical Scrub Hat
- 0.2 Supplies and tools
- 0.3 How To Sew Surgical Scrub Cap
- 0.3.1 SURGICAL CAP VIDEO TUTORIAL
- 0.3.2 SURGICAL HAT INSTRUCTIONS:
- 0.3.3 STEP 1: Prepare the pattern
- 0.3.4 STEP 2: Cut the fabrics
- 0.3.5 STEP 3: Double fold the cap top
- 0.3.6 STEP 4: Pin both parts together
- 0.3.7 STEP 5: Sew both cap parts together
- 0.3.8 STEP 6: (Optional) Serge/Zig zag the raw curved edge
- 0.3.9 STEP 7: Press seam allowances
- 0.3.10 STEP 8: Pin all folded edges
- 0.3.11 STEP 9: Sew the bottom of the cap
- 0.3.12 STEP 10: (Optional) Add buttons /ear savers
- 0.4 Surgical Cap OPTIONS:
- 0.5 FAQs, Tips and Pattern Troubleshooting:
- 1 Where can we send your free file?
How to make a Surgical Scrub Hat
Supplies and tools
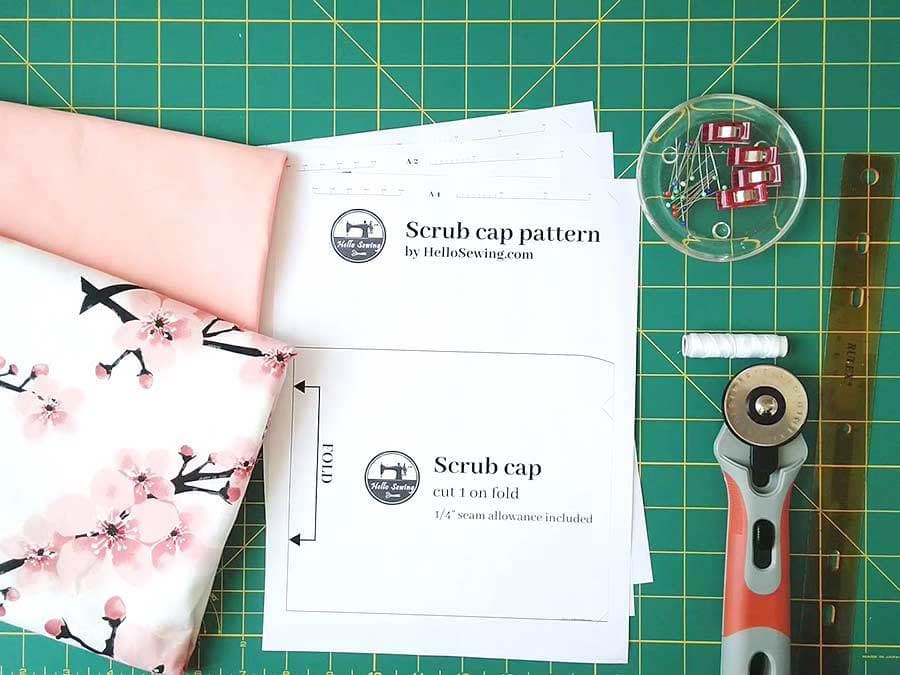
- main fabric – 1/4 yard of 100 % cotton fabric (thickly woven, pre-washed) e.g. this cherry blossom
- secondary fabric – 11″ x 8″ 100% thickly woven cotton peach
- matching thread
- pins or clips
- rotary cutter and a mat(or just scissors)
- iron and ironing board
- sewing machine (entry level machine will do just fine, or you can even hand sew this, although admittedly it will take you more time)
- (OPTIONAL) two buttons (to ease stress on the ears)
Notes: You will need the main fabric as well as lining fabric for this scrub cap. Both should be one hundred percent cotton. A third of a yard should be enough material.
Since you will be using a PDF downloadable pattern for this project, you will need some printing paper and a printer with ink 😉
Some sticky transparent tape (or glue) will be also required because you will need to put the pieces of pattern together before using them.
DOWNLOADS:
Printable surgical cap pattern (free PDF download)
Follow us for free patterns & tutorials! [easy-profiles]
How To Sew Surgical Scrub Cap
Watch the scrub hat video first and then follow the written step by step instructions below.
Please enjoy and don’t forget to Like and SUBSCRIBE over on YouTube to be kept up to date with new videos as they come out.
SURGICAL CAP VIDEO TUTORIAL
SURGICAL HAT INSTRUCTIONS:
Prepare your fabrics – take both of your fabrics, pre-wash them thoroughly and dry. You can iron them to smooth out the wrinkles.
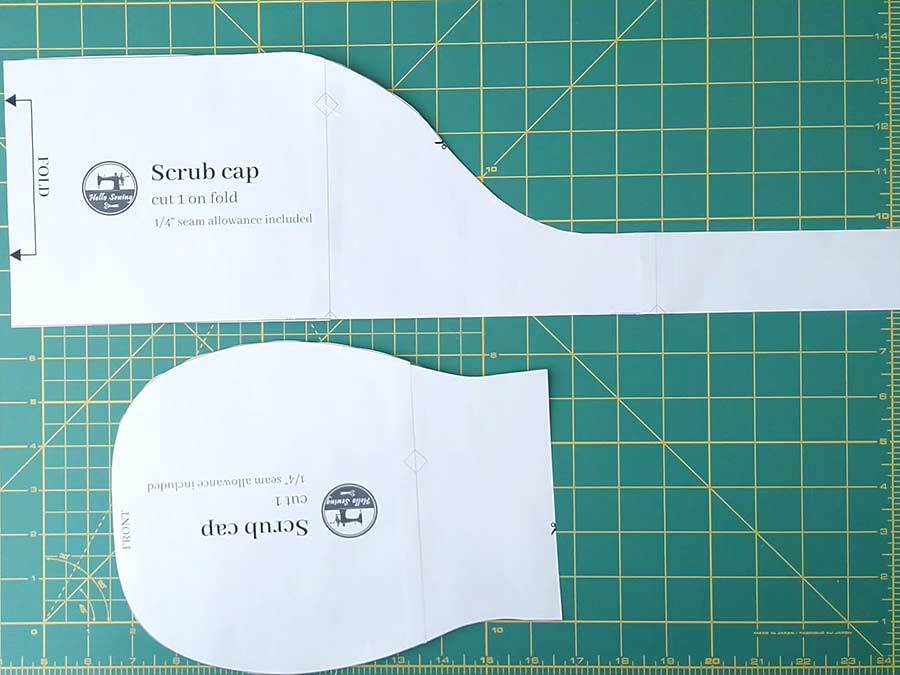
STEP 1: Prepare the pattern
Download the pattern and print it out. Cut the pieces out. Then put the pieces together with some sticky tape.
Make sure the pattern is printed at 100% (no scale) on US letter paper. Measure the test lines to ensure the sizing is correct before you cut your fabric!
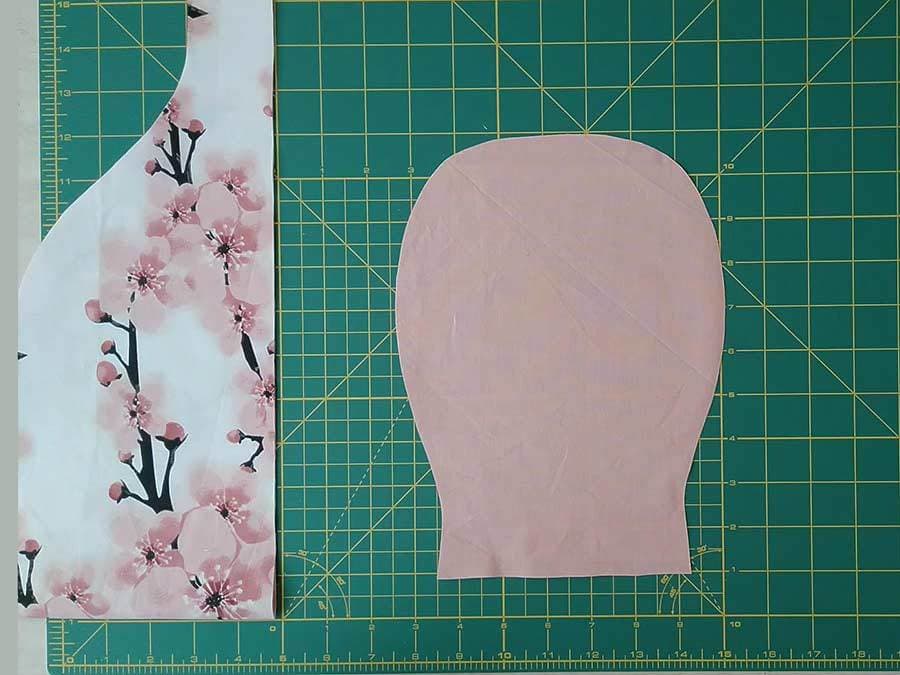
STEP 2: Cut the fabrics
Fold the main fabric in half and align the side pattern piece on top of it. The marked end of the pattern should be placed on the fold of the fabric.
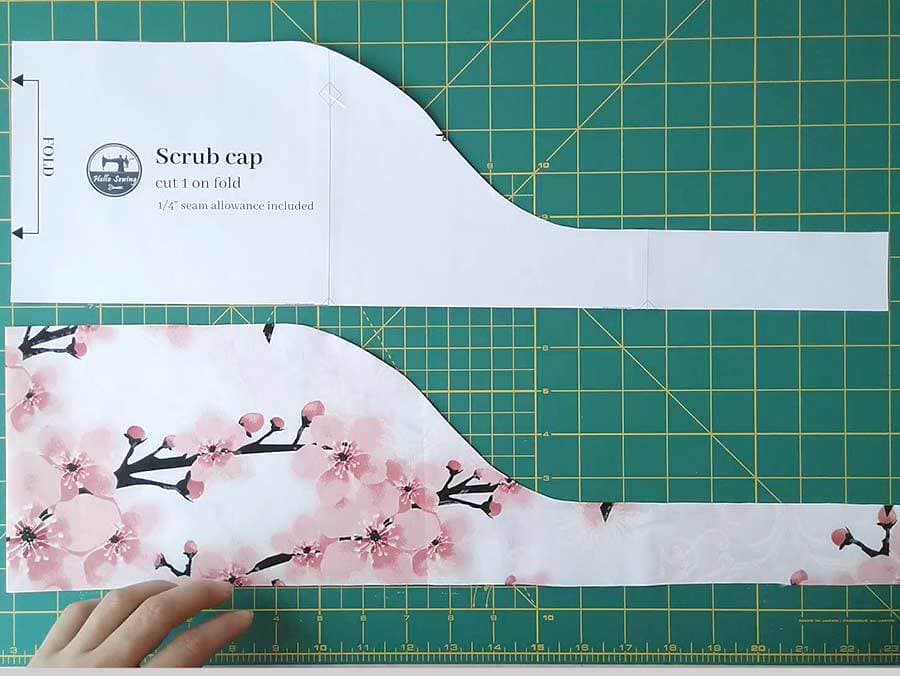
Place the top of cap on the second fabric and cut it out.
STEP 3: Double fold the cap top
Fold the flat side of the cap piece twice and (finger) press. To do that first fold over 1/4″ inch inwards, then fold another 3/8″ and pin.
(optional) If you want to sew in an elastic for a closer, snug fit, feed the elastic though this casing with a small safety pin, then first baste and then sew at either end.
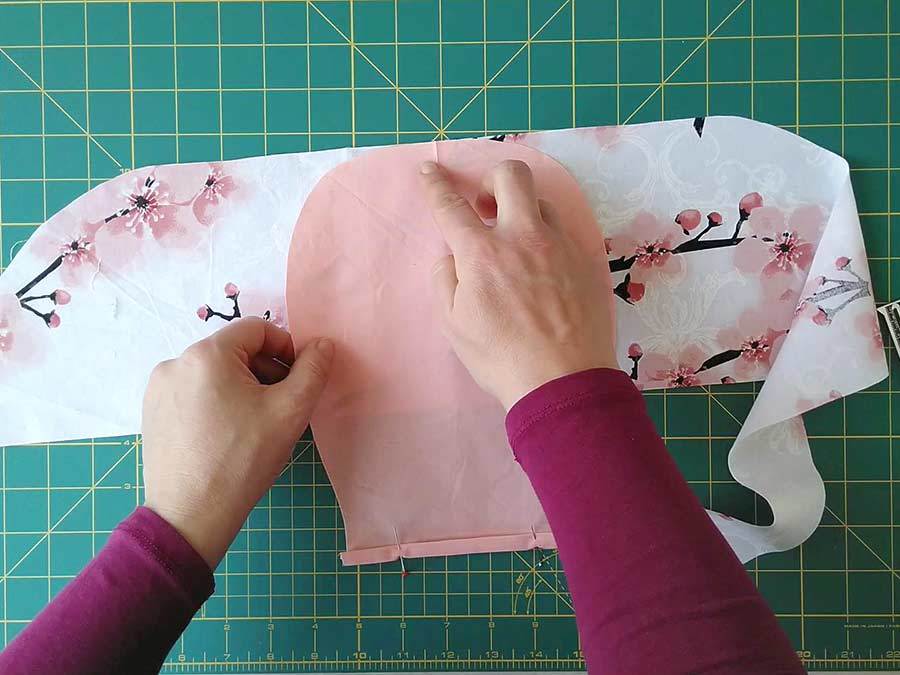
STEP 4: Pin both parts together
Pin cap top to the cap side. To do that first find the middle of each of the pieces by folding them lengthwise and then create a crease by finger pressing the middle. Place the cap top on top of the cap side with right (pretty) sides together and align the creases you’ve just created. Pin in place. Then continue pinning each 1 inch to the right. Return to the middle and pin the left part as well.
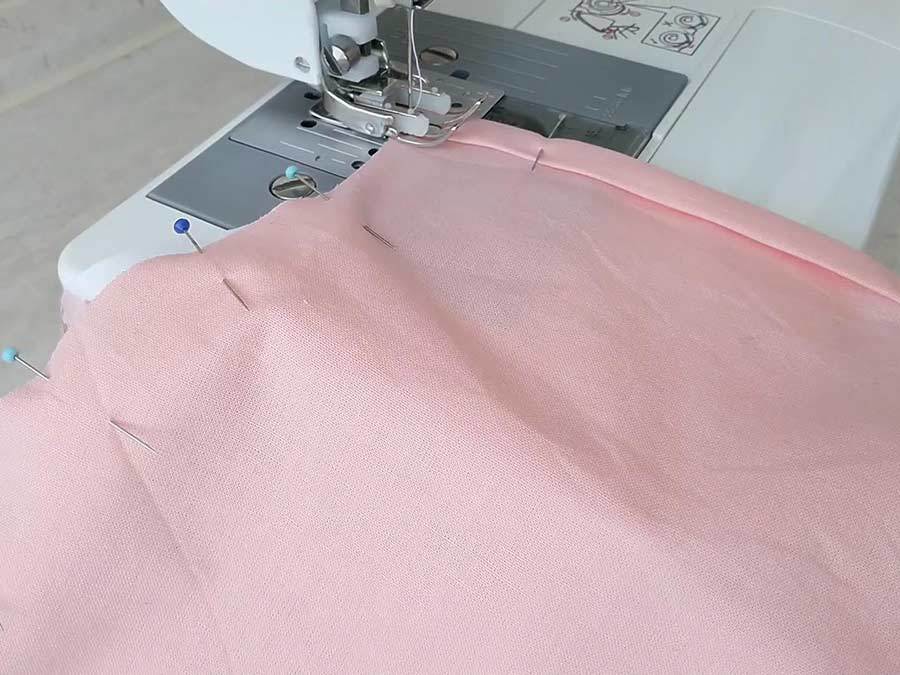
STEP 5: Sew both cap parts together
Using a straight stitch first sew straight edge of the cap top, then sew both pieces together all the way around the curved part. Use 1/4″ seam allowance
TIP: Backstitch at the beginning and the end of each seam to reinforce it and to prevent it from coming undone.
STEP 6: (Optional) Serge/Zig zag the raw curved edge
this step is completely optional but serging/zigzagging the raw edge reinforces it, prevent fraying, and gives it a more professional finish.
to do that start about 2 inches away from the point where both parts meet, zig zag all the way around the curved part and finish 2 inches from the opposite edge
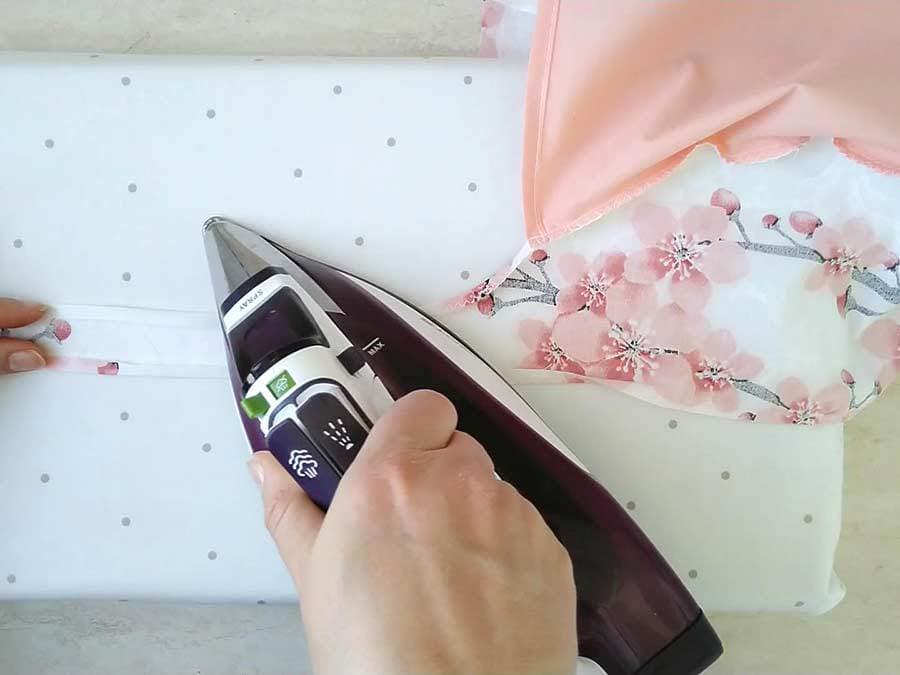
STEP 7: Press seam allowances
Start at the curved top edge, fold over the raw edge 1/4″ inwards and press. Continue folding and pressing the raw edges of the ties, bottom of the cap the the top curved edges.
Now fold the bottom of the ties towards the top, align both edges and press with an iron. Continue folding and pressing all the way around the bottom of cap to the end of the other tie.
STEP 8: Pin all folded edges
Now pin in place everything you’ve just folded

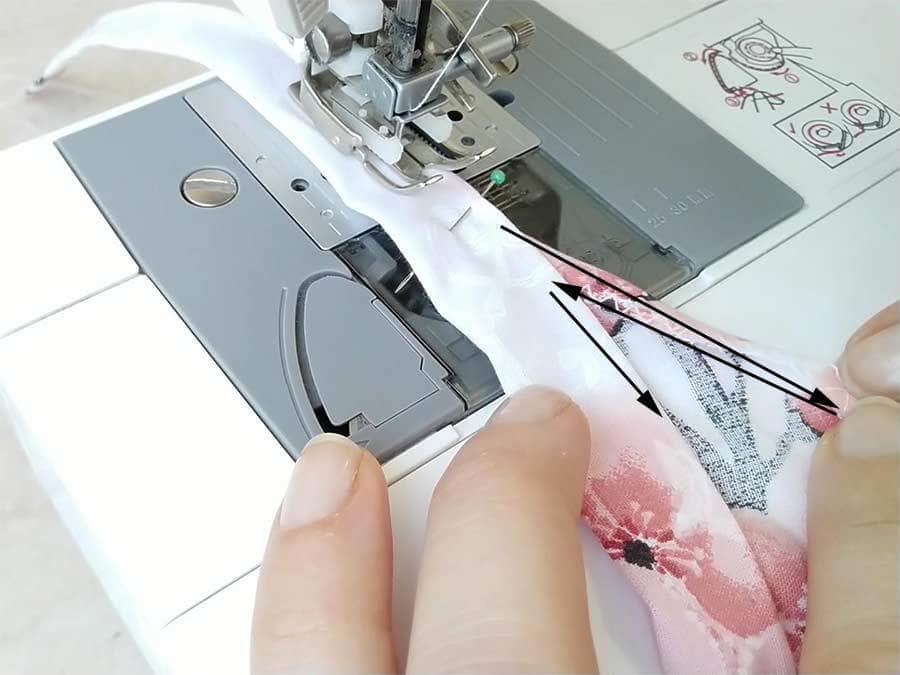
STEP 9: Sew the bottom of the cap
Take one of the ties and start at the end with the open edge facing towards you. Backstitch a couple of times, then continue sewing along the edge of the tie.
When you reach 2 inches from the curved top part stop and veer off to sew up the curve first. Then stop and with the needle down pivot and sew back to your original line of stitching. continue sewing all the way until 2 inches away from the second curved edge and repeat – veer off again, sew the curve, return to original stitch point.
You can add buttons few inches away from the start of the ties on either side of the cap. Handsew them or use your machine with the button-attaching foot on.
If you are machine sewing the buttons make sure your stitch width corresponds to the width between the buttonholes. Handcrank the wheel to determine whether you have set the correct size. Set your stitch length to 0 and sew back and forth 9-10 times. Leave the thread tails longer and hand-tie them to make sure the button stays on.
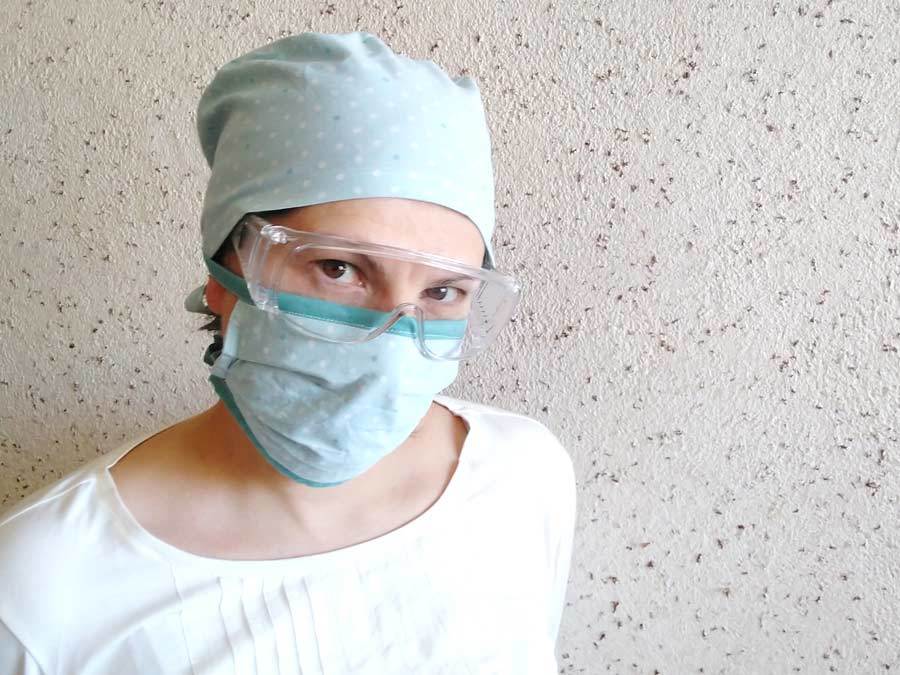
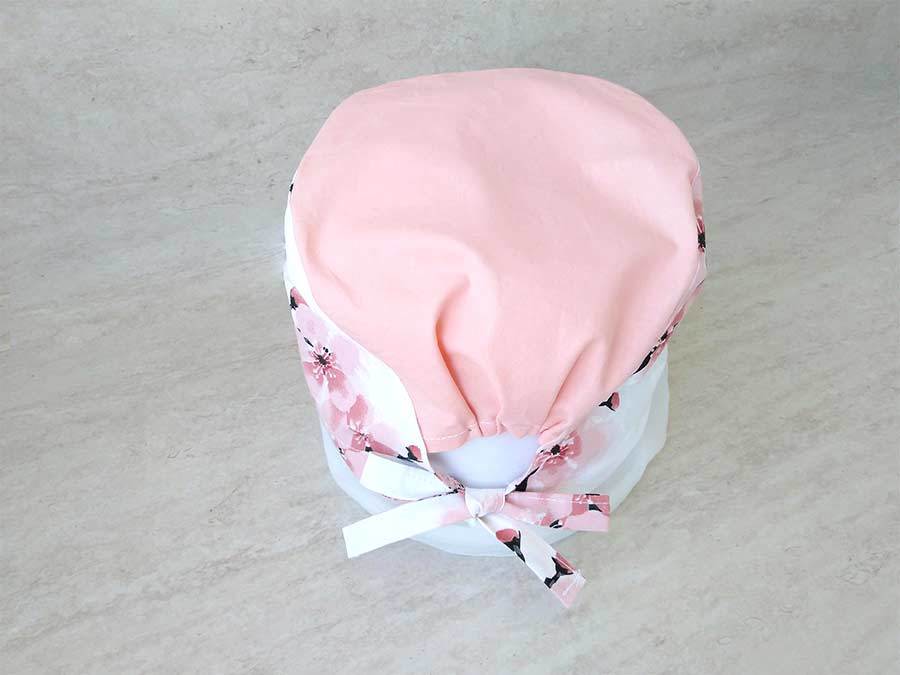
And your cap is ready. Here’s how it looks when worn:


and from the backside
The side view is charming:
Surgical Cap OPTIONS:
- add elastic on the backside for a more snug fit (check step 4 on how to add elastic)
- shorter or longer ties – if you want to make the ties longer
- add buttons ( refer to step 10)
FAQs, Tips and Pattern Troubleshooting:
- Any questions? Let me know and I’ll answer here
Do you like this? Pin for later:
Wanna be friends? Click HERE and follow me on Pinterest
RELATED:
Free face mask pattern (fitted, contoured model)
DIY cloth face mask with fabric ties (pleated)
Surgical face mask with elastic ear loops
Medical face mask (No elastic model, around the head ties – great for medical staff)
Surgical cap pattern (unisex model with ties)
Hope you find this surgical hat tutorial useful. No matter whether you are sewing surgical hats for yourself or you are sewing to donate, thank you from the bottom of my heart for your hard work and serving others.
#StayHome, #staysafe and #sew with #hellosewing.
Don’t forget to circle back for more free patterns, tips and tutorials.
[easy-profiles]
Like and subscribe over the networks of your choice above so you never miss an amazing, easy to sew pattern again!