How to Make Bias Binding Tape
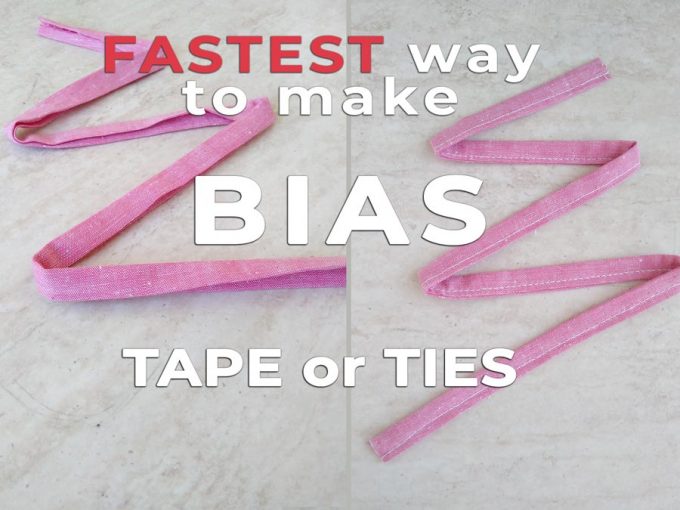
A super quick and efficient way to make bias TAPE or bias BINDING. No tools required!
You can buy bias tape from stores, but usually there is very limited selection of color and pattern. Then why don’t you make your own bias tape or binding with any fabric you want?
Many of our readers who wanted to try our “DIY Surgical Fabric Face Mask with Adjustable Ties” asked how to make their own mask ties as quickly as possible without any special tools.
So, today I’m going to show you how to make a bias tape and how to make bias ties for masks! Make and sew bias ties for masks in just one step without any ironing. A super easy way to make bias ties for MASKS without bias tape maker.
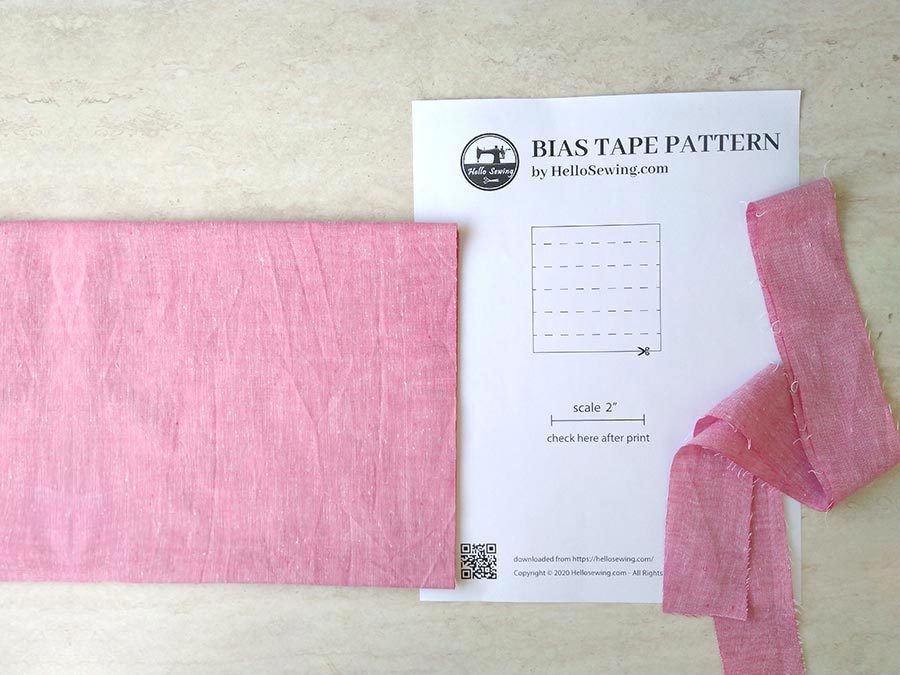
All you need are strips of fabric, paper and your trusted sewing machine. Watch the video, print out the template you can download below and start BATCH making bias tape.
We occasionally link to goods offered by vendors to help the reader find relevant products. Some of the links may be affiliate meaning we earn a small commission if an item is purchased.
Table of Contents
Lightning fast: How to make quick bias tape / binding
Our printable template is for ~1/2 bias tape or bias binding which is the most widely used width. If you need to make diferent width, you will to adjust accordingly.
SUPPLIES AND TOOLS:
for bias TIES
for bias tape/binding
- fabric strips – 1.75″ wide
- printed template
- sewing machine
- fabric strips – 1.75″ wide
- printed template
- sewing machine
- iron and ironing board
OTHER TOOLS:
- scissors (or rotary cutter and a cutting mat)
Enjoy the video and don’t forget to like and subscribe over on YouTube
Now you can make either bias binding OR bias ties to use for face masks. Let me show you both:
1. How to make bias binding
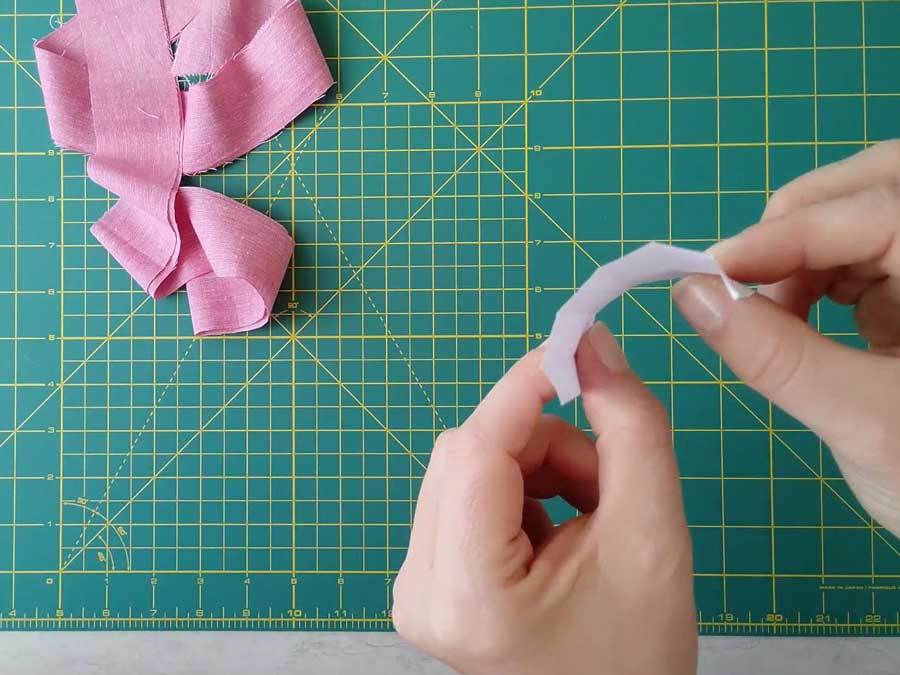
STEP 1: Cut fabric strips 1.75″ inches wide. Cut out the template and make sure the size is correct. Fold the template along the dotted lines. It should look like this:
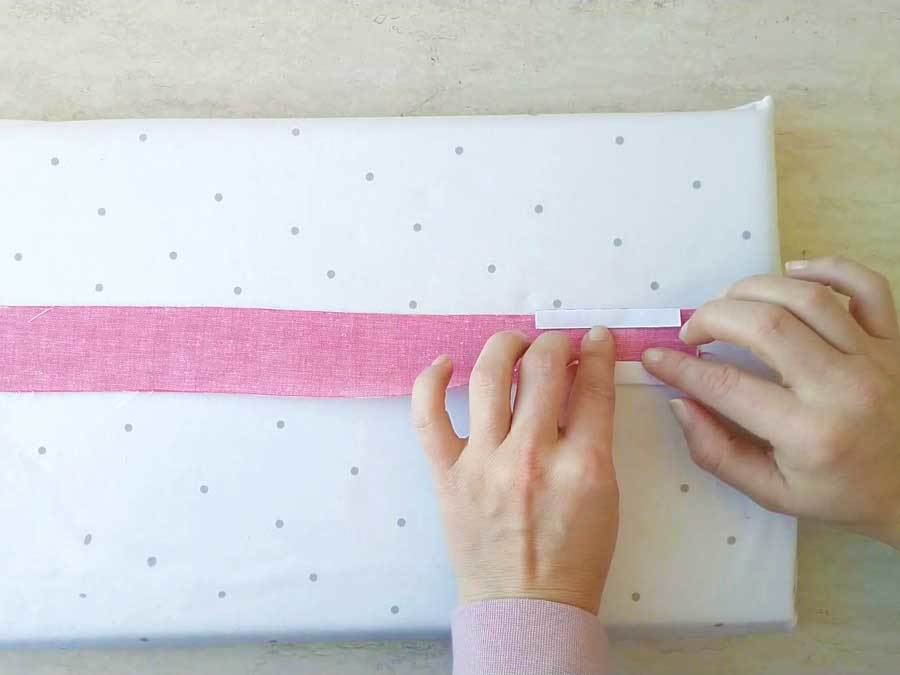
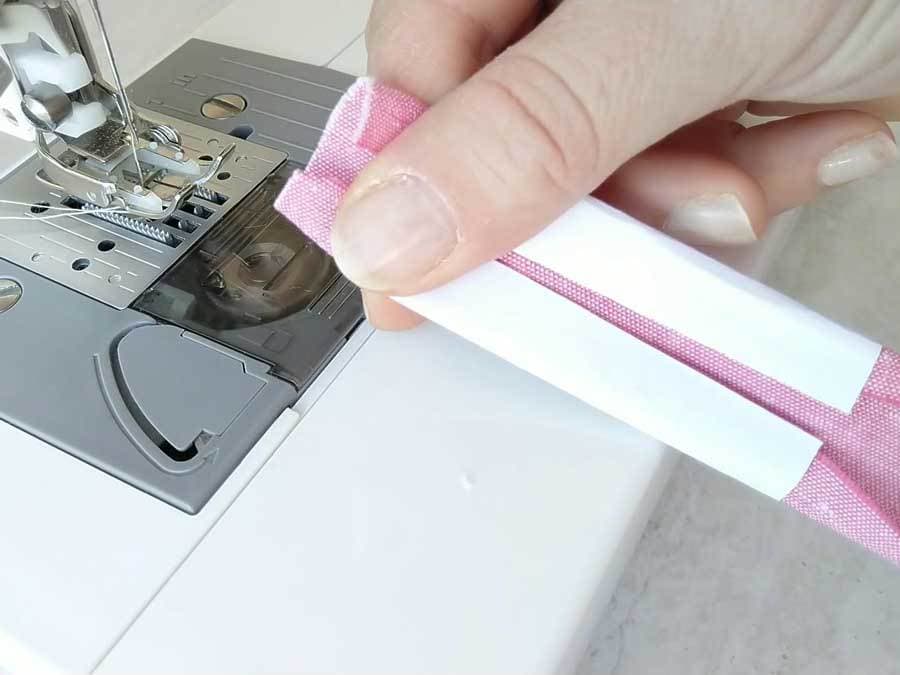
STEP 2: Fold the template around the fabric strip
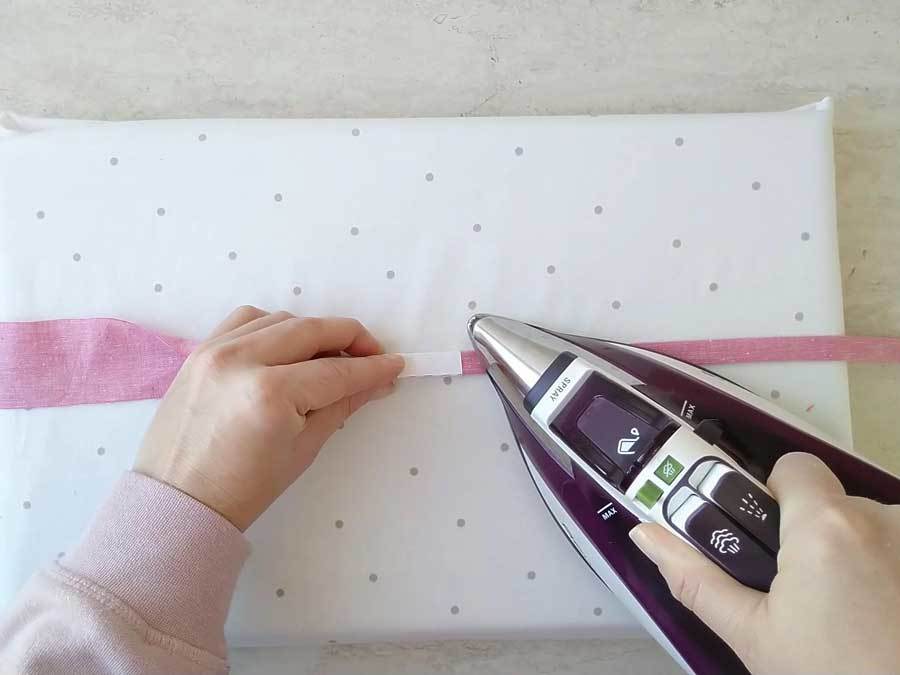
STEP 3: Iron the bias binding
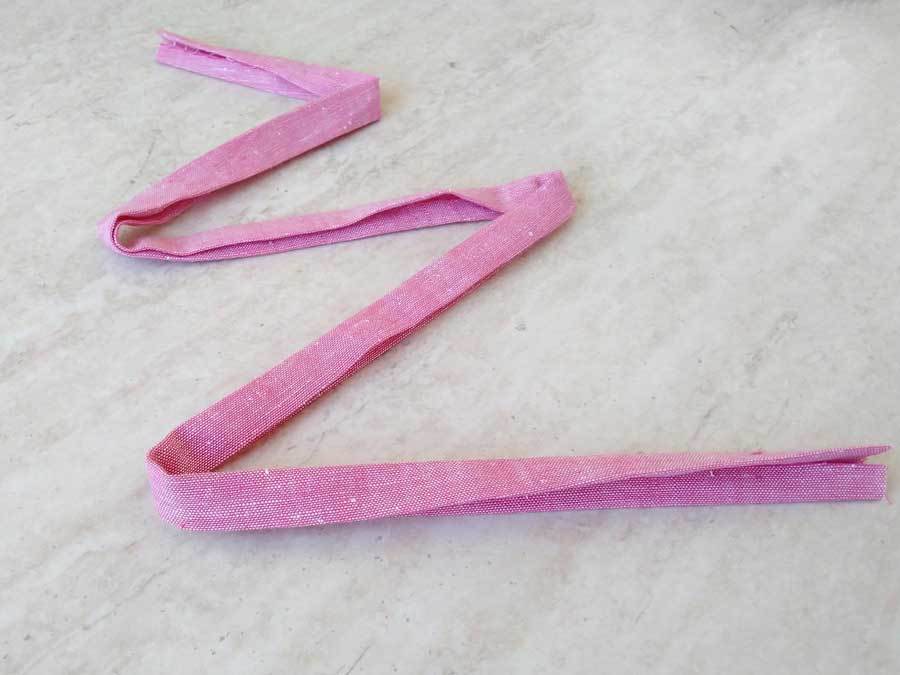
It’s ready!
1. How to Make Bias Ties (Perfect for face masks!)
Get your fabric ties and template ready. If not – repeat step 1 above!
Step 2: Center the fabric in the template. Fold the template twice to wrap the fabric. The fabric should be able to slide freely through the folds. If that’s not the case- refold the template so that there is a little leeway on both sides of the fabric and try again.
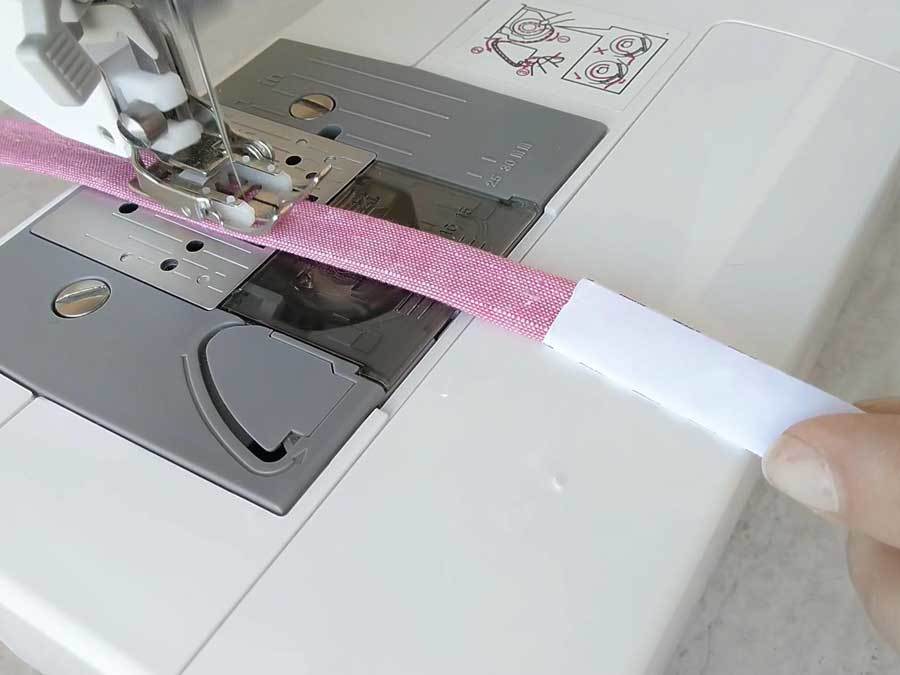
Step 3: Fold the template once more. Pull the front end of the fabric and place it under the presser foot. Lower the presser foot to secure the strip in place.
Now hold the template with your left hand loosely, so that the fabric can slide freely through the paper. Keep pressing the back side of the paper template with your thumb as you sew, so that it opens up like a funnel. This lets the fabric slide with ease. Feed the back end of the fabric so that it forms a C shape before it reaches the template.
That’s it!
Easy.
Simple.
Fast.
And required NO TOOLS!
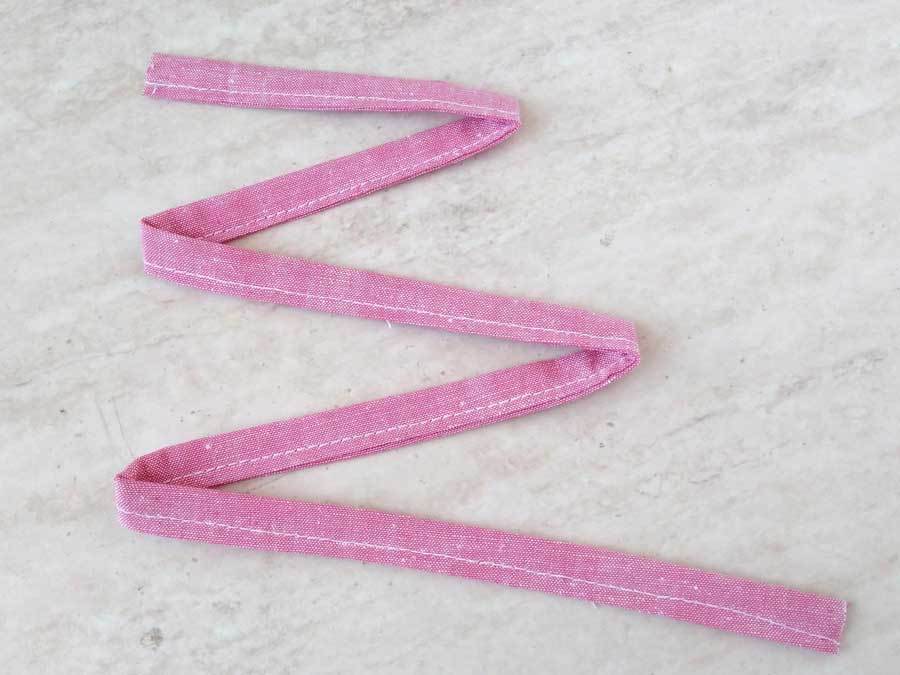
Here’s how the finished mask tie looks like.
It took me more time to write this than it took me to make a bunch of ties!
DOWNLOAD:
Download the bias tape template HERE
Follow us for free patterns & tutorials! [easy-profiles]
**Print at 100% on a US Letter paper (No Scale). Don’t print from the browser, the sizing might not be correct.**
TIPS:
- Don’t put too much pressure on the template or fabric. Hold it LOOSELY or it won’t feed well
- Use a rotary cutter and a cutting mat) to speed up your cutting. Two words – Game Changer! Of course, your trusted scissors will do just fine, but if you are looking to go lightning fast and save a ton of time, use the rotary cutter
- If your machine had problems with sewing over multiple layers of fabric, a walking foot attachment will likely solve your problem
Happy sewing! If you like this – share it with your friends!
Let’s make MORE MASKS!
Our FREE face mask patterns:

