Hanging Fabric Heart Garland Tutorial, Video + FREE Pattern
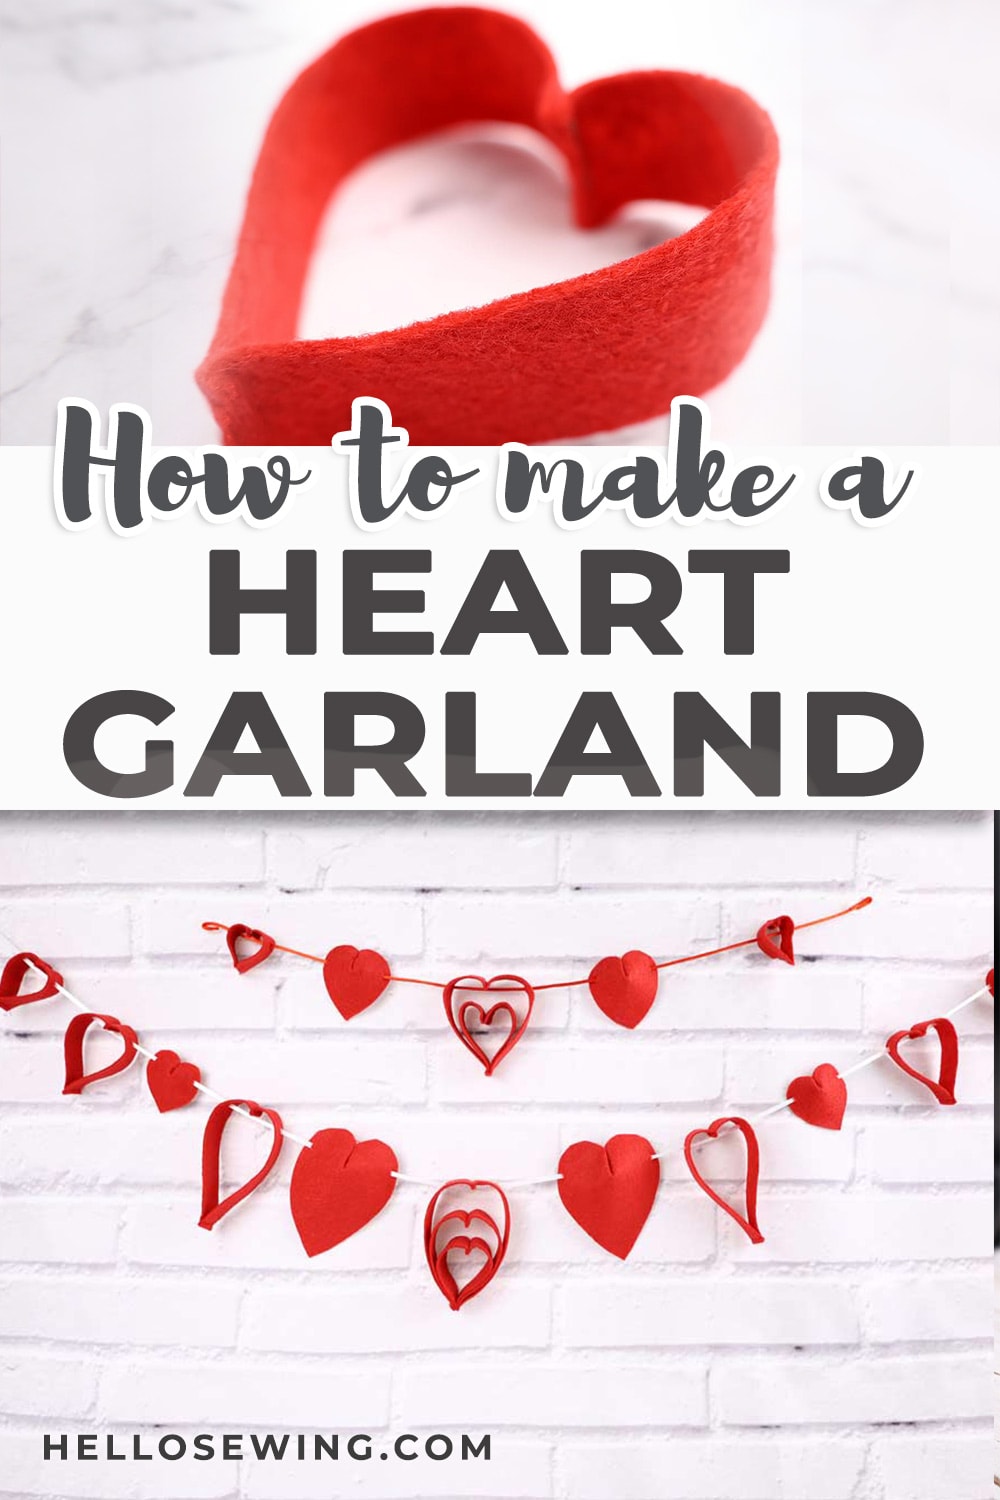
Let me show you how easy it is to make this cute hanging fabric heart garland. Warm up your home design with a romantic flair that is not just for Valentine’s day but also so stylish you can keep it year-round.
Shh.. this stylish felt garland is super easy and super quick to make. You can literally have it in just 10 minutes once you’ve cut your template.
I will show you TWO METHODS how to make heart garland – SEW or NO-SEW.
Make it out of felt, or out of paper. It is just as cute, no matter what material you decide to use. The fabric garland template can be used with a variety of colors, too.
It’s easy. It’s inexpensive. And it’s the perfect Valentine’s Day decor project to add to your home décor. All you need in terms of materials is felt or paper and a ribbon. See how to make this darling Valentine heart garland
Below you will find my step by step hanging hearts garland written tutorial with VIDEO instructions for all the visual learners.
We occasionally link to goods offered by vendors to help the reader find relevant products. Some of the links may be affiliate meaning we earn a small commission if an item is purchased.
Table of Contents
- 1 How to Make a Fabric Heart Garland
- 2 Supplies and tools
- 3 How To Sew Felt Heart Garland (+no-sew method)
- 3.1 Fabric Hearts Bunting VIDEO TUTORIAL
- 3.2 HEART GARLAND INSTRUCTIONS:
- 3.3 STEP 1: Cut out heart garland template
- 3.4 STEP 2: Trace the pattern
- 3.5
- 3.6 STEP 3: Cut the fabric
- 3.7 STEP 4: Transfer the markings
- 3.8 STEP 5: Pin and sew
- 3.9 STEP 6: Unfold the heart shapes
- 3.10 STEP 7: Cut out the strips
- 3.11 STEP 8: Sew the other end
- 3.12 STEP 9: Making the center heart
- 3.13 STEP 10: Pin and sew the center heart
- 3.14 STEP 11: Arrange the garland
- 3.15 STEP 12: Thread the ribbon
- 3.16 STEP 13: Final touches
How to Make a Fabric Heart Garland
I’ll show you two methods how to make it. Both are easy and quick: Sew (neater) or NO-sew (quicker) heart garland
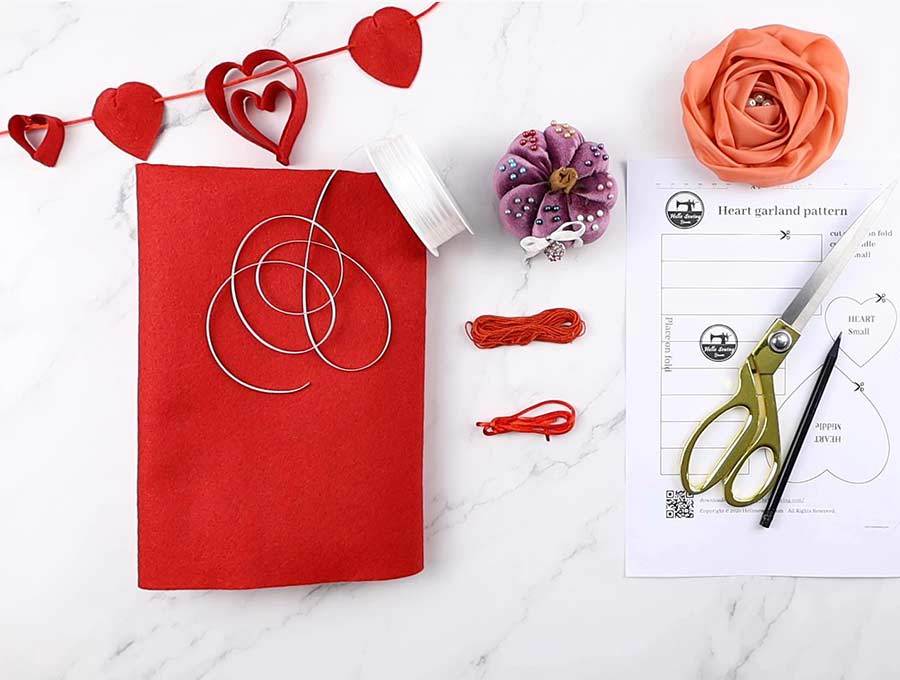
Supplies and tools
- felt or paper (red)
- 2mm white ribbon
For the NO-sew version you’ll need either STAPLER or GLUE
for the SEWN version you’ll also need some standard sewing supplies:
- matching thread
- scissors
- sewing clips or pins
- sewing machine or you can handsew them
DOWNLOAD: heart garland pattern (Free PDF file)
Follow us for free patterns & tutorials! [easy-profiles]
How To Sew Felt Heart Garland (+no-sew method)
Watch the diy hanging heart garland video first and then follow the written step by step instructions below.
Please enjoy and don’t forget to Like and SUBSCRIBE over on YouTube to be kept up to date with new videos as they come out.
Fabric Hearts Bunting VIDEO TUTORIAL
HEART GARLAND INSTRUCTIONS:
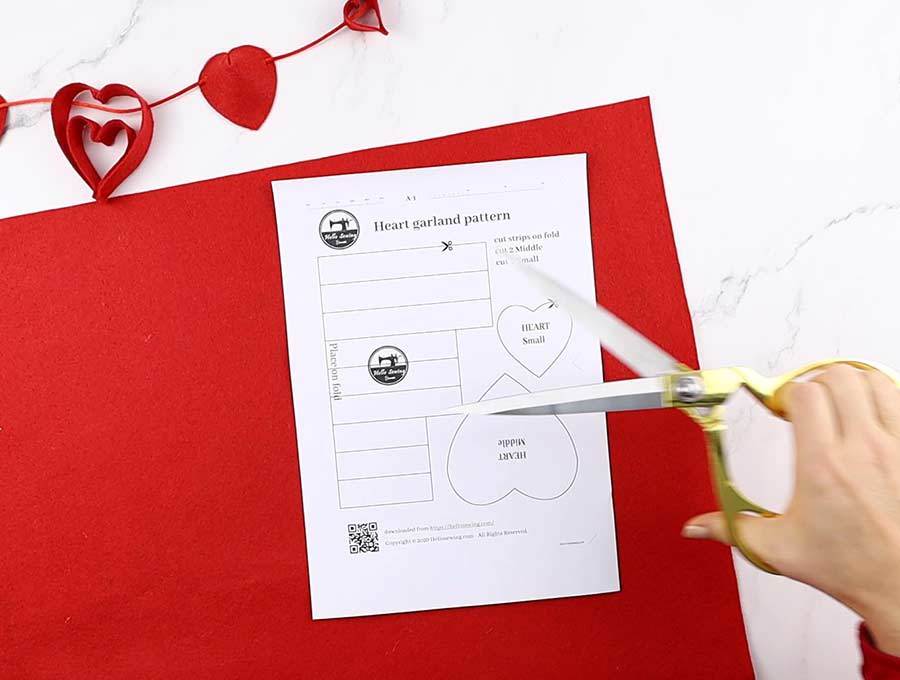
STEP 1: Cut out heart garland template
To make the heart garland you see pictured, download the pattern on your hard drive and print it at 100%. You can print it larger or smaller if you want to mix and match the designs, but I found that this is the perfect size for me.
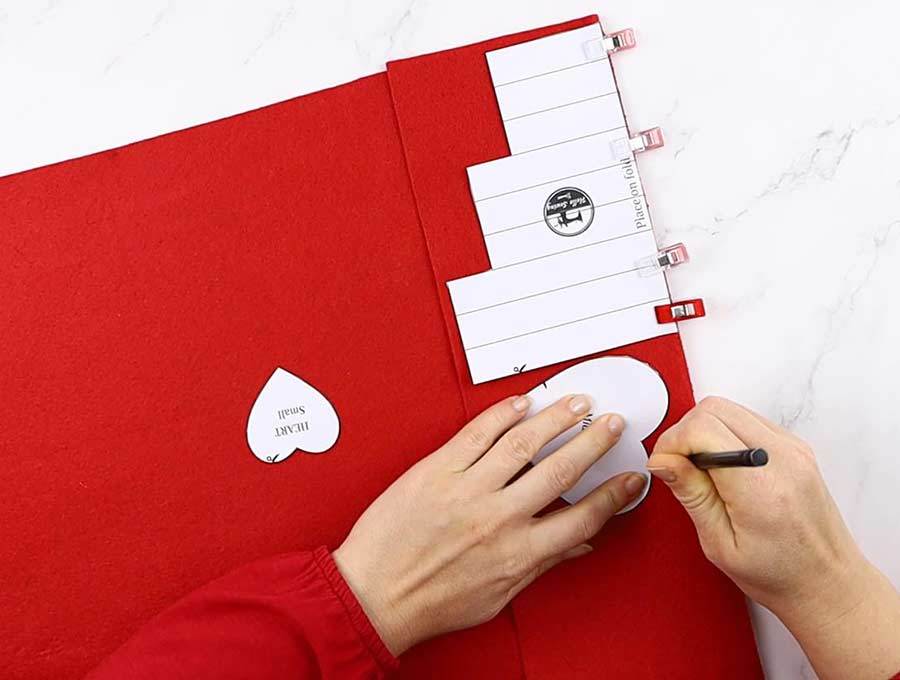
STEP 2: Trace the pattern
Fold felt in half, place heart strips pattern on fold. Place the other two heart shapes around the strips. Pin in place, trace everything.
STEP 3: Cut the fabric
Pin the felt and cut out the heart shapes and the heart strips for the heart outlines.
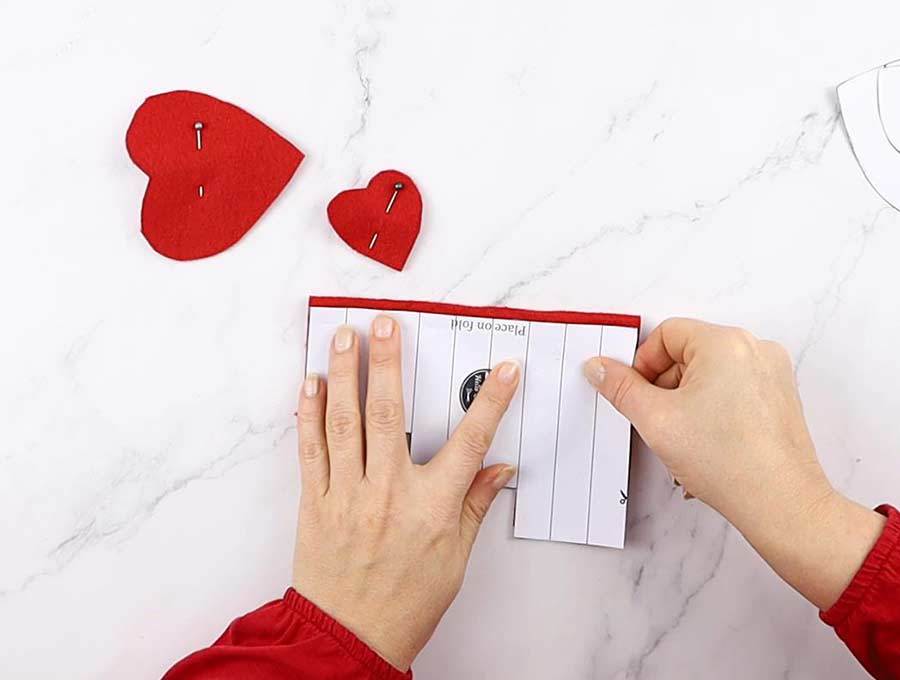
STEP 4: Transfer the markings
Move the pattern slightly down and transfer the lines to the top of the felt. Move the pattern up and transfer the lines on the bottom. You can now draw the full lines if you prefer, but I found that it is really not necessary.
STEP 5: Pin and sew
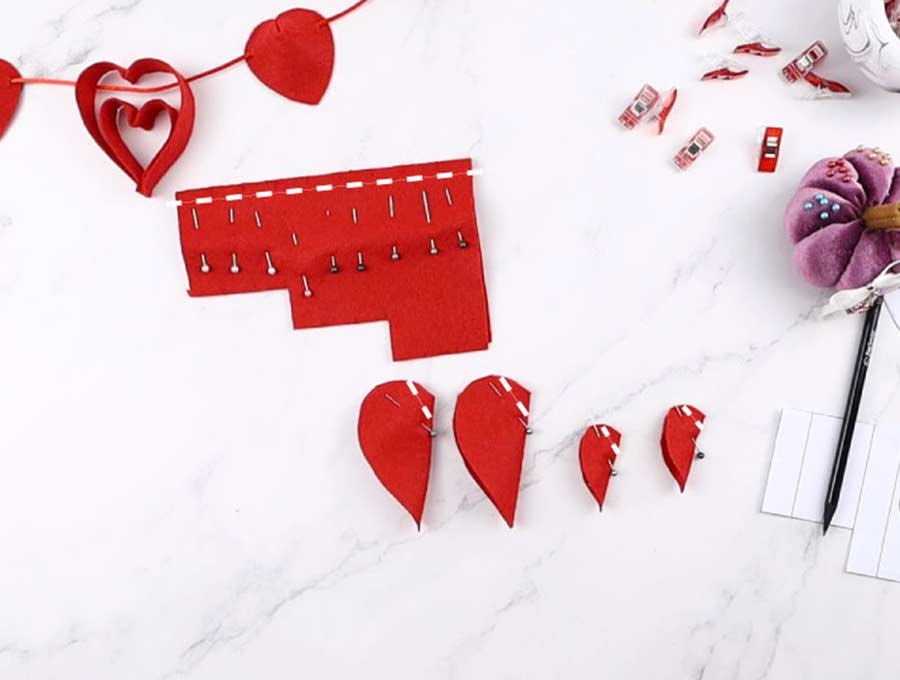
Pin each strip between the marks (this is very important and will make the project come together quickly as intended).
Fold the heart shapes in half vertically and pin right in the middle as shown.
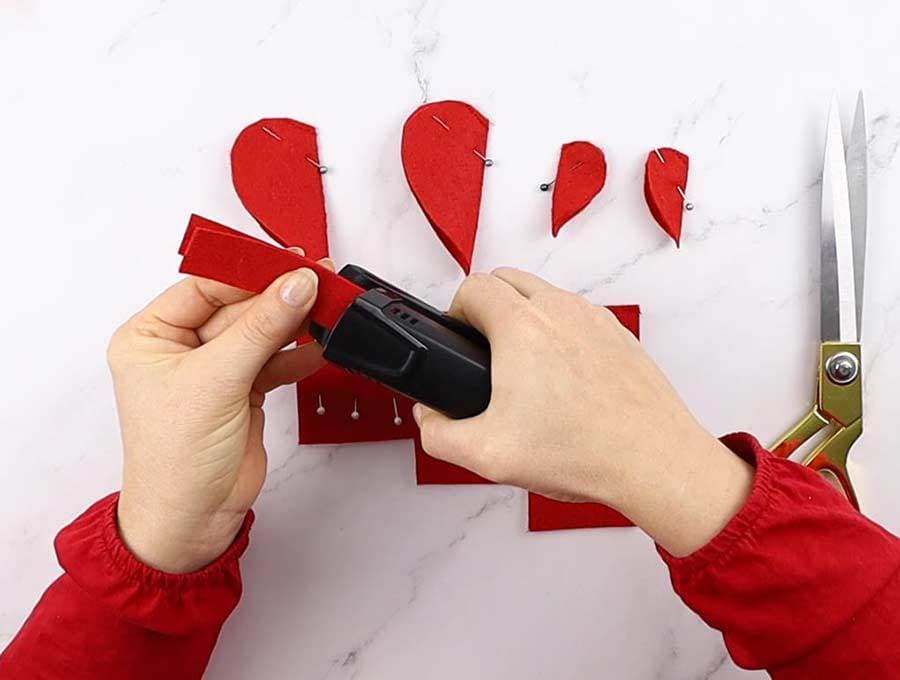
Now sew along the folded edge of the strip and along the pin of the heart shapes.
=======================================
NO-SEW method: Use stapler or fabric glue instead
=======================================
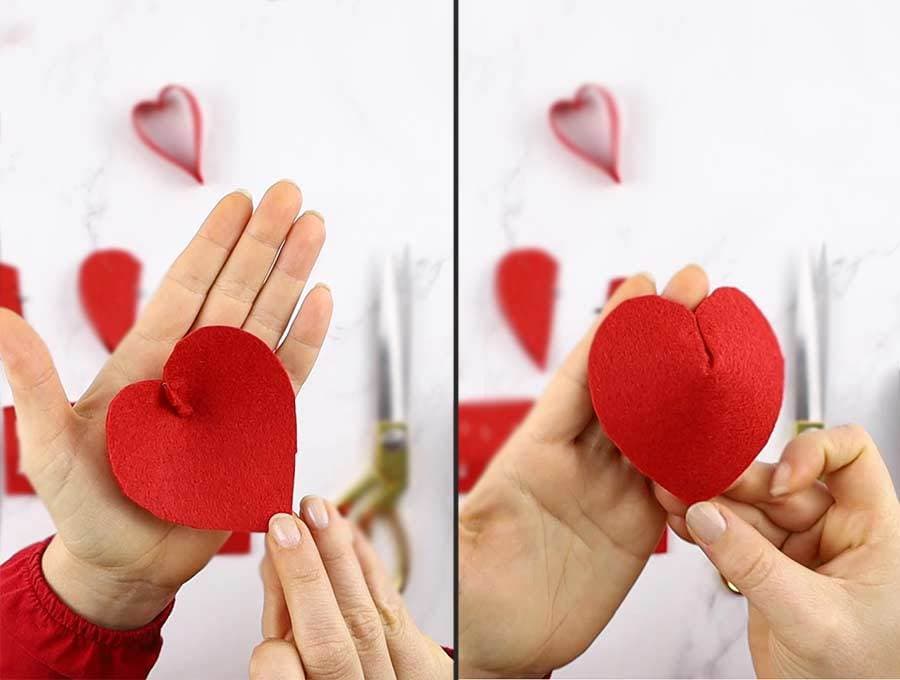
STEP 6: Unfold the heart shapes
You have created the 3D heart shapes
Now let’s continue making the heart outlines
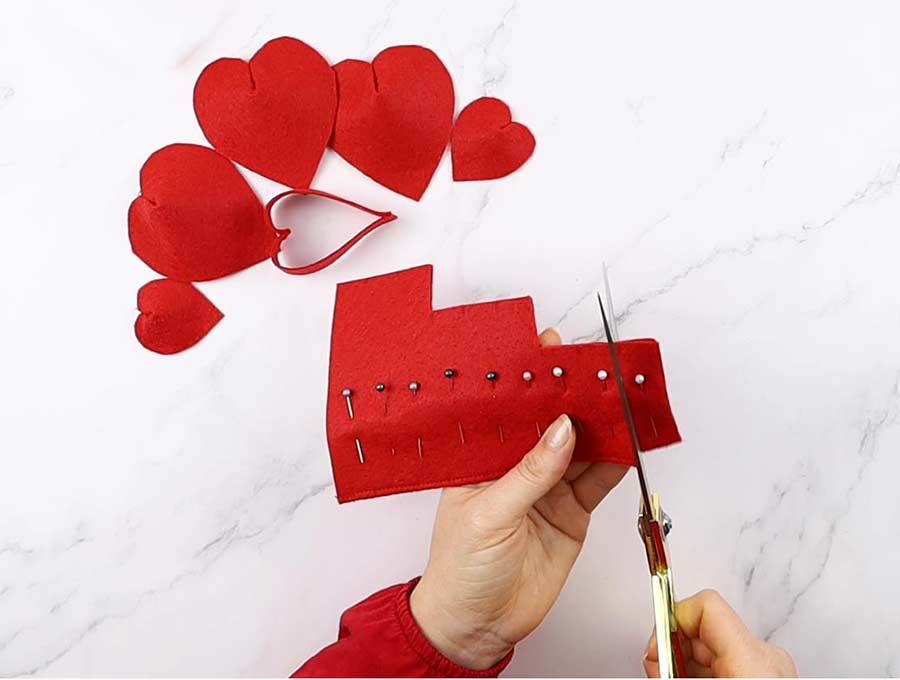
STEP 7: Cut out the strips
Cut at the marking lines.
STEP 8: Sew the other end
Unfold, fold to the other side and pin
Sew all except one strip of each size – we’ll use them to make the center heart. I prefer to chain sew these as it comes together quickly. Just sew the end, backstitch make few stitches and start sewing the next heart without cutting the thread. Sew all and then cut the thread between them.
STEP 9: Making the center heart
Stack strips as shown
Take the smallest strip, unfold it and fold it the other way. It creates a small heart outline. Take the second strip and align one short edge with the edges of the smallest strip. Take the other short edge, move it around the smaller shape and align all short edges. Repeat with the longest strip.
STEP 10: Pin and sew the center heart
Pin all layers in place. It’s thick, so if you have sewing clips, use them instead. Sew along the short edge about 1/8″ from the bottom
TIP: If you have trouble sewing through the thick strip, make a hump jumper by folding a piece of fabric several times to match the thickness of the heart and put it under the back of the presser foot.
STEP 11: Arrange the garland
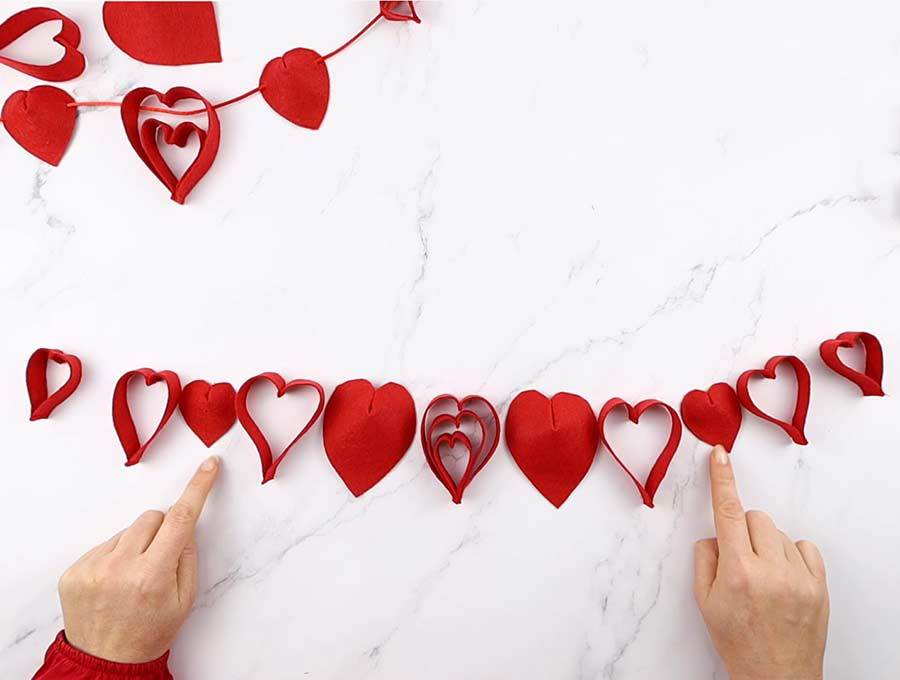
Now for the fun part. Take all hearts and arrange them on a flat surface. You can arrange them as I did or you can get creative and rearrange them in any other way you like. It’s all up to you.
STEP 12: Thread the ribbon
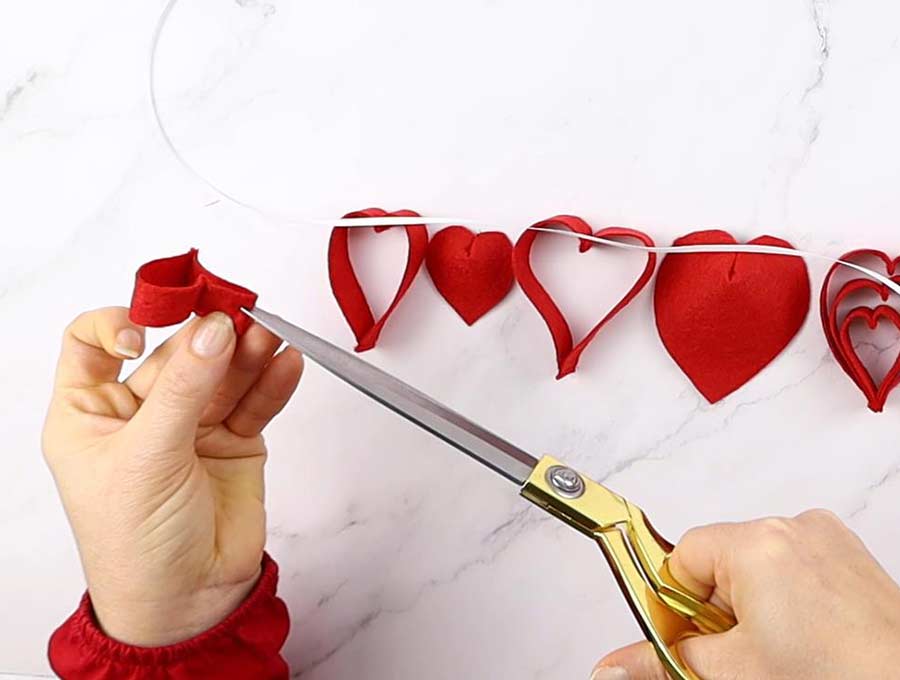
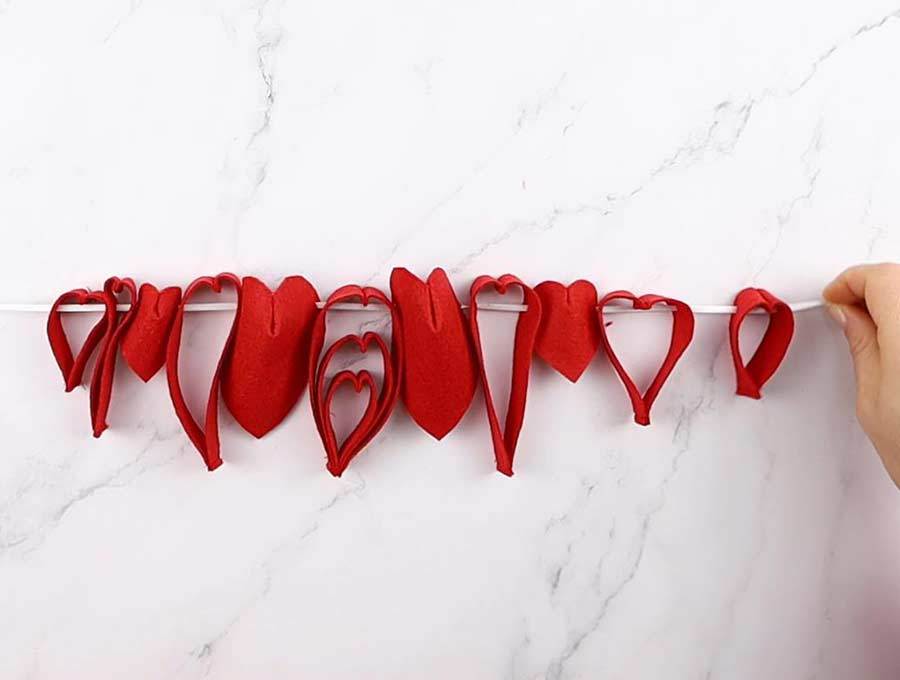
Cut two slits in each shape to allow the ribbon to pass throw each shape. The slits should be about 1/3 of the way from the top. Now thread the ribbon making sure it’s not twisted
If you prefer to hang it vertically thread the ribbon from top to bottom instead from side to side. You can mix and match it – this hanging heart garland pattern is so versatile that is allows a ton of customization without any compromise on style.
STEP 13: Final touches
Arrange hearts 1-2 inches apart or actually any other way you’d like. Rearrange, add or remove elements to fully customize the fabric heart garland.
Hope you enjoyed reading my fabric heart garland tutorial. It is super quick and super easy. If you don’t sew, you can just use stapler or glue to hold the shapes together. Just apply the glue or staple the felt where it says stitch and you’re done!
I love making these cute hearts. You can even make them larger or smaller by simply changing the print size.
That’s it your diy felt heart garland it ready!
Do you like this? Pin for later:
Wanna be friends? Click HERE and follow me on Pinterest
- Heart shaped pillow pattern
- Heart shaped hand warmers diy (+ 3 more shapes to choose from)
- Easy bunting template
- diy throw pillows

