
DIY Bag from 3 Placemats // Placemats tote bag [VIDEO]
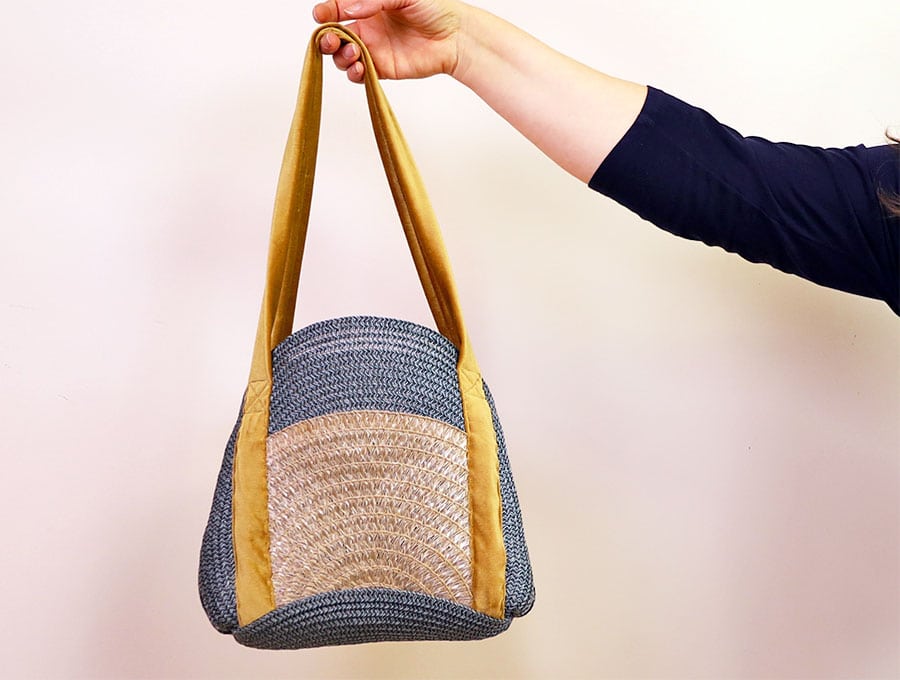
Make yourself a stunning tote bag from three 15 inch (38 cm) woven placemats that will have people wondering where you bought it. All it takes is a few minutes, some clever sewing tricks and you’ll be ready to roll out your new handbag. It’s practical, stylish and quick to make.
Below you will find my step by step written tutorial with VIDEO instructions for all the visual learners.

We occasionally link to goods offered by vendors to help the reader find relevant products. Some of the links may be affiliate meaning we earn a small commission if an item is purchased.
Table of Contents
How to make a Bag using just 3 placemats

Supplies and tools
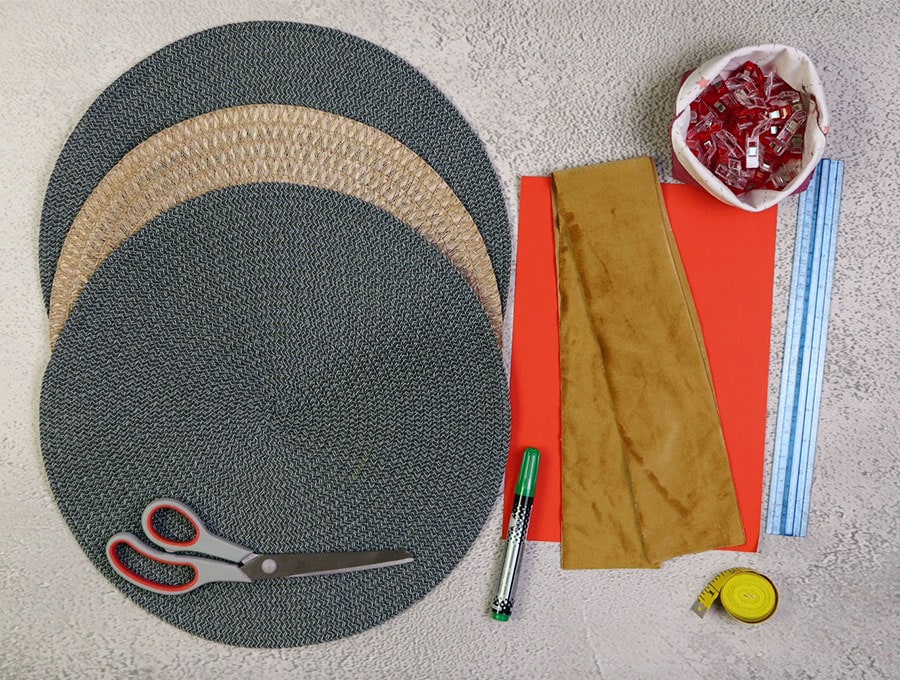
- 2 x matching placemats of 15 inches (38 cm) for the body of the bag
- 1 x contrasting placemat of 15 inches (38 cm) for the 2 pockets
- 2 x fabric strips of 3 ¼ x 45 inches (8 x 115 cm) fo the handles
- matching thread
- scissors (or rotary cutter and a cutting mat)
- ruler or measuring tape
- iron and ironing board
- sewing clips or pins
Follow us for free patterns & tutorials! [easy-profiles]
How to Sew a Bag from 3 placemats
Watch the diy bag from 3 placemats video first and then follow the written step by step instructions below.
Please enjoy and don’t forget to Like and SUBSCRIBE over on YouTube to be kept up to date with new videos as they come out.
Bag from 3 placemats VIDEO TUTORIAL
INSTRUCTIONS:
STEP 1:
Cut a piece of card or firm paper to 8 ½ inches (21 cm) width and 14 inches (35.5 cm). Put the card over the placemat, ensuring the paper is equidistance from the top and bottom curves and draw lines at the top and bottom.
STEP 2:
Draw a line through the center of the placemat to make a 90 degree angle where it meets the lines you drew, then trim off the small semi circles on each side and cut through the middle so you have two equal sized pockets.
STEP 3:
Prepare the straps by laying out the strips of 3 ¼ x 45 inches (8 x 115 cm) right side up on your worktop and folding each one in half along the length. Clip in place.
STEP 4:
Stitch along the length of each strap 3/8 of an inch (1 cm) from the edge.
STEP 5:
Use a turning tool or safety pin to turn the straps the right way out.
STEP 6:
Press the straps with the seam in the middle of the one side.
STEP 7:
Lay the two circular placemats on top of each other – right sides facing inwards.
STEP 8:
Make a mark 3 inches (7.5 cm) up from the bottom of the placemats and then draw a line across using a fabric marking pen.
STEP 9:
Clip the placemats together and stitch along the marked line.
STEP 10:
Open out the placemats and slip the pocket pieces you cut from the contrasting placemat under the semicircle of the opened-up seam, right side up. The flap should cover the base of the placemat and the semi-circular bit should be at the top. If the flap doesn’t cover the base of the pocket for some reason you will need to trim down the sides of the pocket slightly so that the base is contained inside the semicircle of the flap.
STEP 11:
Place the strap to cover the cut sides of the pockets and under the flap, curving up and down the other side of the pocket. Ensure there is no twist in the straps.
STEP 12:
Clip or pin in place, then stitch down the two semicircles of the flaps first, stitching 1/8 of an inch (3 mm) from the edge, backtacking at the start and finish.
STEP 13:
Stitch down one of the four straps that holds the pocket in place. Stitch up the one side of the strap from the flap, make a 90-degree turn at the top, then down the other side.
STEP 14:
Create the cross within the square to ensure a strong strap by starting at the top where you made the turn and stitching the first part of an X shape, then working your way around the square and down the other arm of the X, finishing off with a backtack.
STEP 15:
Repeat Step 14 with the other three strap ends.
STEP 16:
Fold the bag up with the pockets and straps inside and clip.
STEP 17:
Stitch down each side of the bag, starting from where the strap pokes out and down to the bottom, 3/8 of an inch (6 mm) from the edge. Backtack at the start and the base, working carefully as you will have quite a few layers at the base and you don’t want to break a needle..
STEP 18:
Fold the stitched base out at the corners to make a point and measure down into the fabric 1 inch (2.5 cm) then draw a line across. You can stitch the corner by hand or use the sewing machine. There will be quite a few layers so it might be best to do it by hand. Once the boxed corners are stitched, turn the handbag the right way out and you are ready to roll.

This bag with its two outer pockets and roomy interior is a fun use for woven placemats and will give you a trendy item without having to spend top dollar. It’s a quick project delivering an impressive result.
Use woven placemats to create a durable, stylish handbag that will have people wondering where you bought it. All it take is three placemats, some fabric for straps and a few minutes to create this head-turning accessory. With pockets worked into the design that require minimal stitching you’ll want to create more of these practical yet stylish bags as gifts.
Do you like this? Pin for later:
Wanna be friends? Click HERE and follow me on Pinterest
RELATED: