
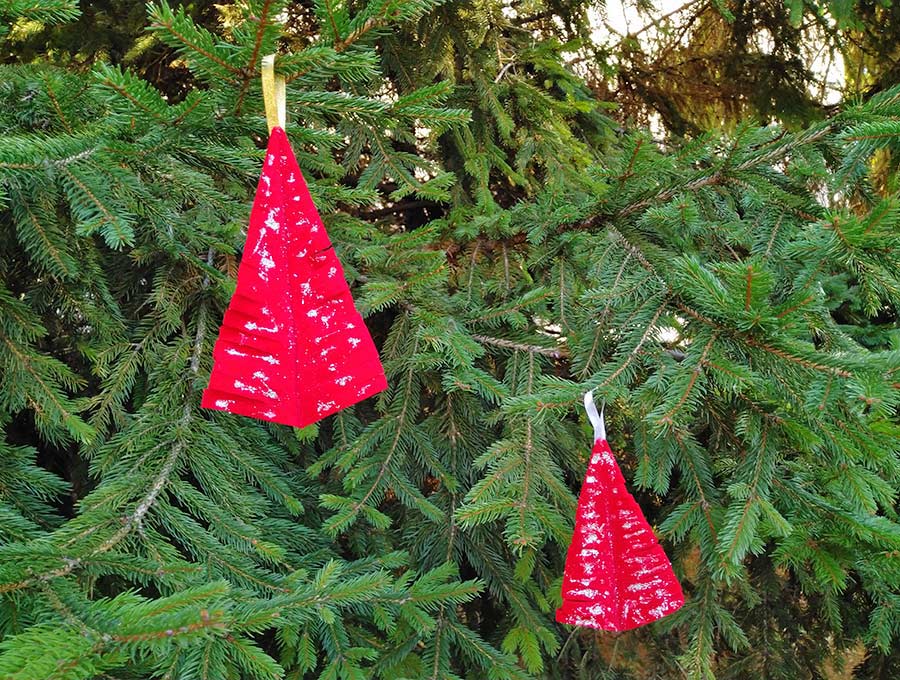
DIY Christmas Tree Ornament for Bright and Happy Holidays
Christmas is just around the corner, and you can hear the festive songs everywhere, so it is definitely time to jazz up our Christmas décor with a bunch of handmade Christmas ornaments. This Christmas tree ornament is super easy and simple to make, you can even get the kids to help.
It has just 2 straight seams, so you can even handsew it. The best thing is that you don’t need much fabric to make this Christmas tree ornament diy, you can even use up your scraps! Turn trash into treasure with this easy step by step tutorial.
Below you will find my step by step written tutorial with VIDEO instructions for all the visual learners.
We occasionally link to goods offered by vendors to help the reader find relevant products. Some of the links may be affiliate meaning we earn a small commission if an item is purchased.
Table of Contents
- 1 How to make a Christmas Tree Ornament
- 2 Supplies and tools
- 3 How To Sew a Christmas Tree Ornament
- 3.1 DIY ORNAMENT TREE VIDEO TUTORIAL
- 3.2 INSTRUCTIONS:
- 3.3 STEP 1: Prepare the Christmas tree ornament template
- 3.4 STEP 2: Cut out the fabric
- 3.5 STEP 3: Layer fabric
- 3.6 STEP 4: Sew
- 3.7 STEP 5: Trim
- 3.8 STEP 6: Fold and pin
- 3.9 STEP 7: Stitch in the ditch
- 3.10 STEP 9: Make the branches
- 3.11 STEP 10: Add the hanging loop
- 3.12 STEP 11: (Optional) Add glitter
How to make a Christmas Tree Ornament
Supplies and tools
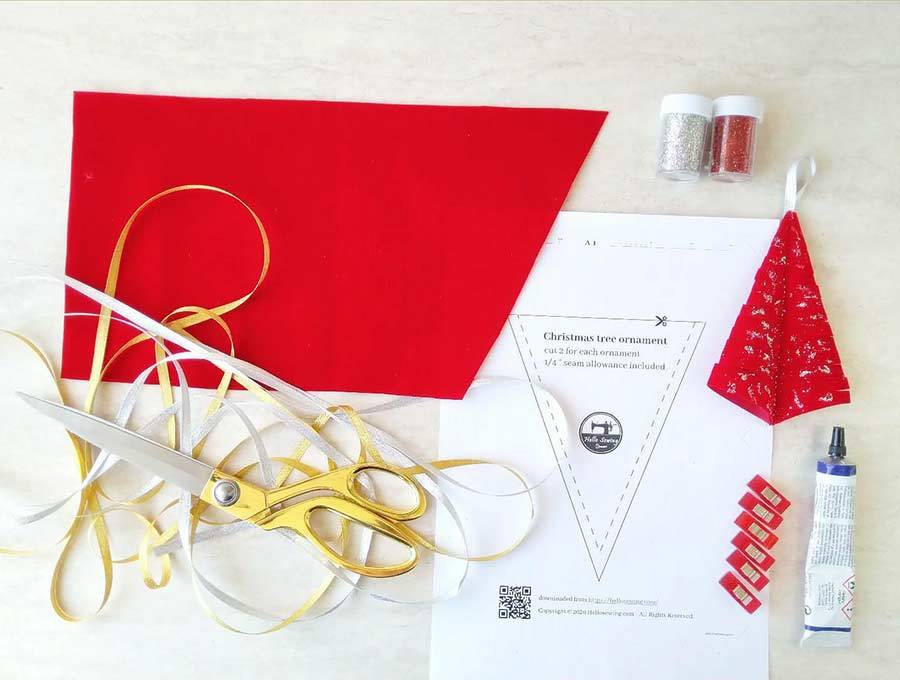
- fabric – red cotton, felt, or velour
- 2mm gold ribbon for the loop
- Gold or silver glitter (optional)
- Fabric glue
- matching thread
- scissors (or rotary cutter
- sewing clips or pins
- sewing machine
DOWNLOAD: Christmas tree ornament template (Free PDF file)
Follow us for free patterns & tutorials! [easy-profiles]
How To Sew a Christmas Tree Ornament
Watch the DIY Christmas tree ornament video first and then follow the written step by step instructions below.
Please enjoy and don’t forget to Like and SUBSCRIBE over on YouTube to be kept up to date with new videos as they come out.
DIY ORNAMENT TREE VIDEO TUTORIAL
INSTRUCTIONS:
STEP 1: Prepare the Christmas tree ornament template
Download and print the Christmas tree ornament pattern. As always make sure that no scaling is set and you print it at 100% on a US letter paper (A4 would work, too). Trim the template
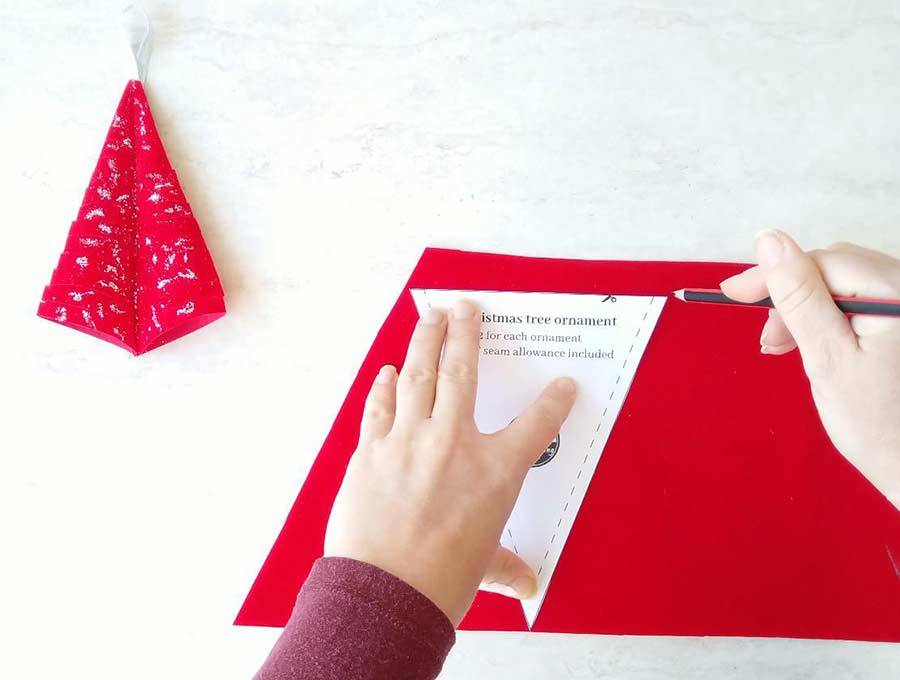
STEP 2: Cut out the fabric
Mark and cut out fabric according to the Christmas tree ornament template for sewing. You’ll need two fabric pieces per ornament.

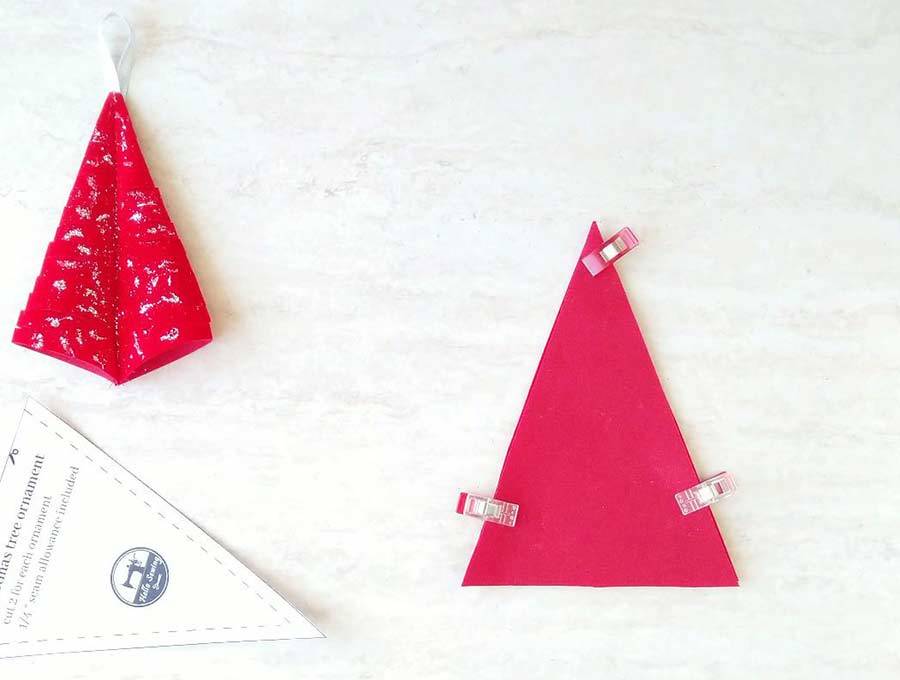
STEP 3: Layer fabric
Place the fabric triangles on top of each other on your working surface. Pin them right sides facing
STEP 4: Sew
Sew along the long sides with ¼” seam allowance, backstitching the beginning and the end of your seam. Leave the short side unsewn
STEP 5: Trim
Trim the corners to allow the ornament to lay flat, and be careful not to cut into your seams. Trim the top point as well. I prefer to trim it a little bit more as I found that this allows for a really sharp, pointed top of my Christmas tree ornament.

Turn the whole thing inside out through the bottom opening and finger press the seams open.
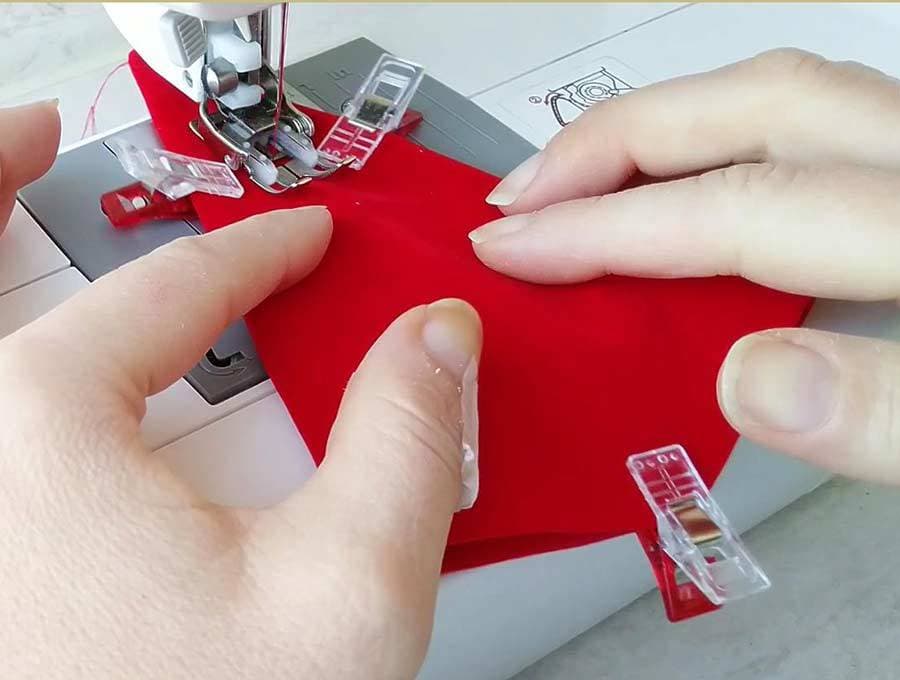
STEP 6: Fold and pin
Fold the ornament in half, aligning the seams you’ve just made. Pin the tree ornament in place using either pins or clips. I definitely prefer to use clips, as it makes the process a bit smoother or faster, but if you don’t have clips on hand, pins will do just fine.

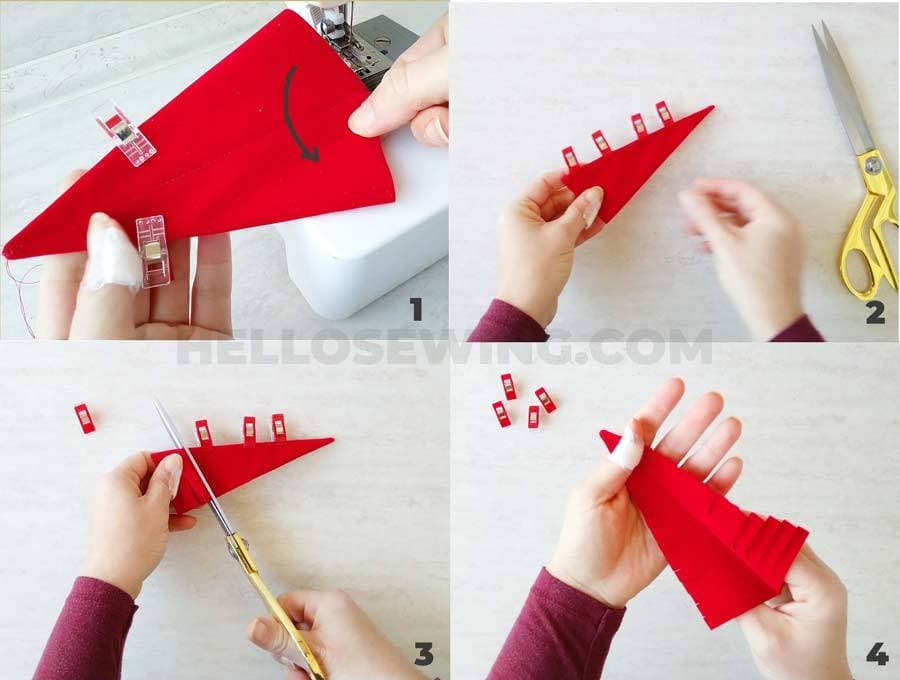
STEP 7: Stitch in the ditch
If you are not a quilter, chances are you have no idea what this means. It simply means you have to stitch along the previous stitching line. Backstitch the beginning and the end of the seam to keep it from coming undone.
STEP 9: Make the branches
Fold the tree in half along the middle stitch line and pin along this line. Starting from the opposite end, cut slits approximately 1/3 inch apart all the way from the bottom to the top. Make sure the slits are parallel to the bottom edge. Remove the pins as you go, unfold the tree and fluff it up a bit.
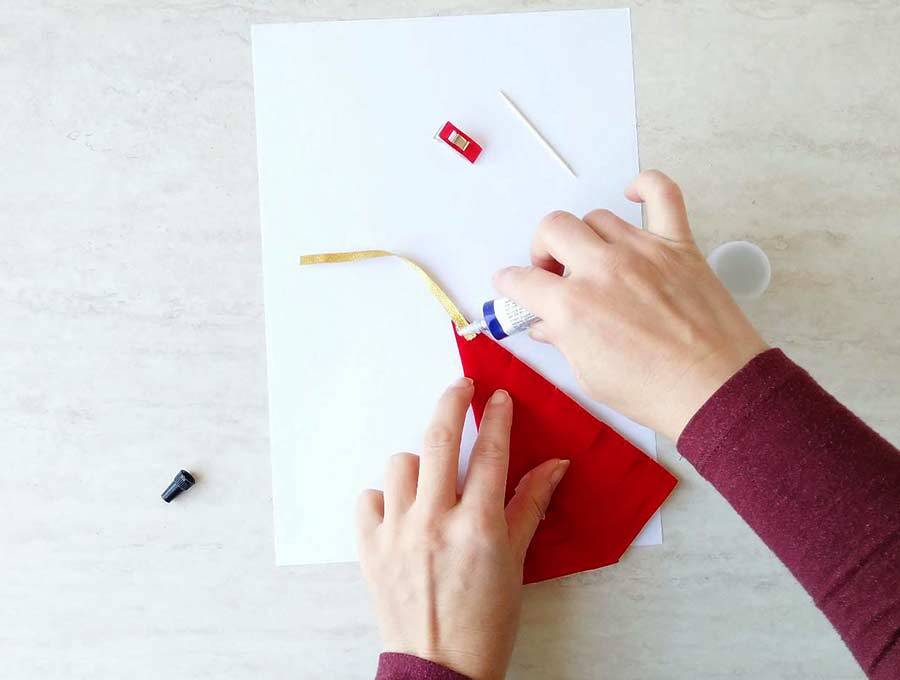
STEP 10: Add the hanging loop
Fold your ribbon in half until the cut edges meet and apply a little dab of glue to keep the ends together. Add glue on the back of the top pointed end of the ornament and press firmly. Use a clip to keep the ribbon in place until the glue dries up. Allow to rest for a few minutes and remove the clip.
STEP 11: (Optional) Add glitter
If you have used Christmas fabric you can definitely skip this part. However, if you were like me and used plain fabric, you definitely want to jazz it up a bit. So without a further ado..
Let the fun begin. Adding bling!
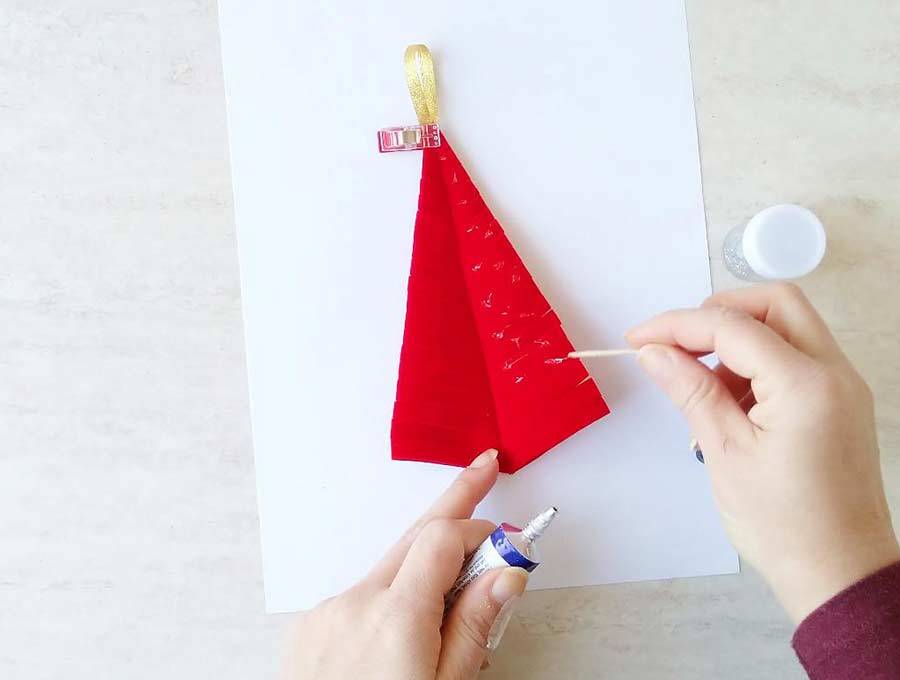
Take a piece of paper (the larger, the better) and place your ornament on top of it to keep the glitter from spreading all over your house.
Use a toothpick to apply dots of the fabric glue on the face part of the ornament. Apply small dots frequently and work fast as fabric glue dries up really quick. Sprinkle a generous amount of glitter on top and press with your fingertips to help it adhere better.
Leave it to dry up and then *CAREFULLY* shake the Christmas tree ornament to remove the excess glitter. Believe me you want to be extra careful at this point as glitter tends to stick everywhere.
Repeat shaking it couple of times and TA-DA your diy Christmas ornament is ready.

Making handmade Christmas ornaments is one of my favorite crafting activities. Plus, it is a fun way to get the little ones immersed in the magical spirit of the holidays and get into holiday mood.
Holidays aside, you can use up this template to make cute decoration for your pillows, table runners or even mini quilts. Use the last stitching to attach the tree ornament to the quilt. It looks adorable.
These are just a few ideas, and I’m quite sure you can come up with even more ways to incorporate this element into other things. If this is the case, make sure to pop into the comments section and let us all know what you came up with. I love hearing about your creative ideas!
Better yet, show us what you did with this pattern. Pop over on Pinterest, Facebook or Instagram and tag me @hellosewing or use #hellosewing hashtag so I can see your wonderful makes!
Do you like this? Pin for later:

Wanna be friends? Click HERE and follow me on Pinterest
RELATED:
Quilted ornaments – kaleidoscope star tutorial
folded fabric christmas ornaments