
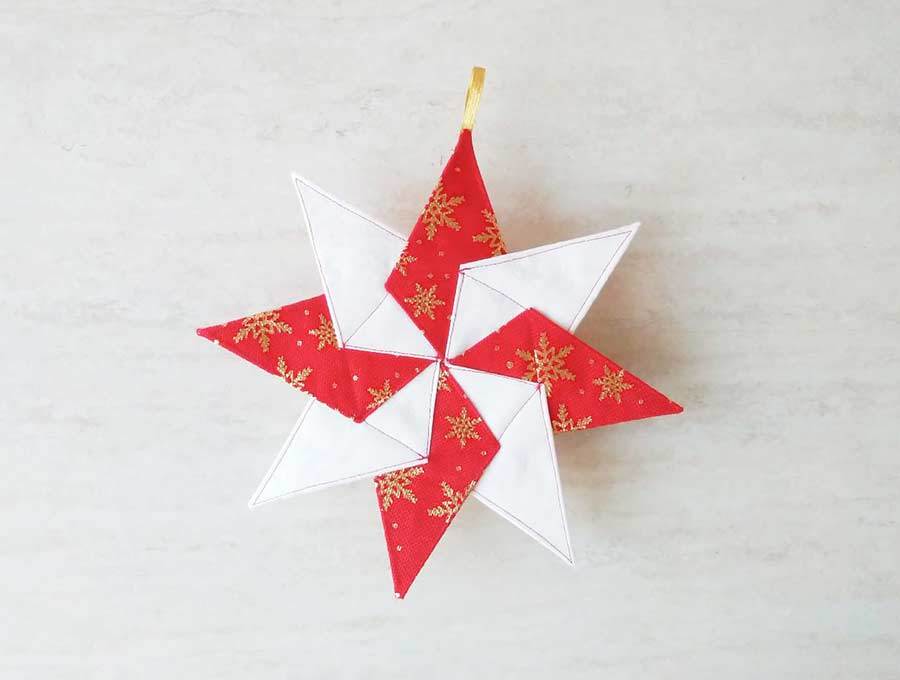
Kaleidoscope Star Quilted Christmas Ornament Pattern
Jazz up your Christmas tree with this stunning Kaleidoscope star quilted star ornament. Add personality and charm to your home décor by making quilted Christmas ornaments.
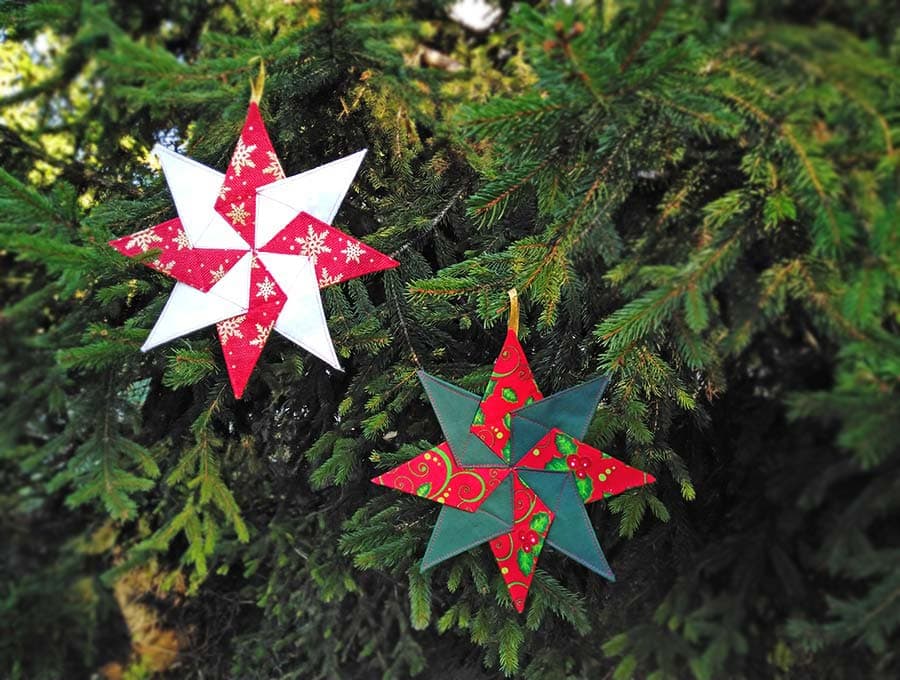
Use glittery fabrics for a shimmery look of your handmade ornament, and it will draw the attention no matter where you decide to place it. Make your holiday season even more festive with this adorable quilted Christmas ornament.
Although it is a little more involved, these Christmas star quilted ornaments make breathtaking holiday decoration and are worth each second of your precious time. The best thing is that you can even get the kids involved in the making of the Kaleidoscope star. If you want something to whip up quickly, we’ve got you covered – here are the folded fabric Christmas ornament, the sparkly Christmas tree ornament and of course the Christmas tree napkins – all three are really quick to make!
Let me show you how to make your very own Christmas star ornament – step by step tutorial with VIDEO!
We occasionally link to goods offered by vendors to help the reader find relevant products. Some of the links may be affiliate meaning we earn a small commission if an item is purchased.
Table of Contents
- 1 How to make quilted ornaments
- 2 Supplies and tools
- 3 How To Sew quilted star ornament
- 3.1 Quilted star ornament VIDEO TUTORIAL
- 3.2 QUILTED ORNAMENTS INSTRUCTIONS:
- 3.3 STEP 1: Prepare the kaleidoscope star pattern
- 3.4 STEP 2: Cut out the fabric
- 3.5 STEP 3: Apply interfacing
- 3.6 STEP 4: Make a kite shape
- 3.7 STEP 5: Topstitch
- 3.8 STEP 6: Assembling the kaleidoscope star
- 3.9 STEP 7: Adding the loop to the Christmas Quilted Ornament
How to make quilted ornaments
Supplies and tools
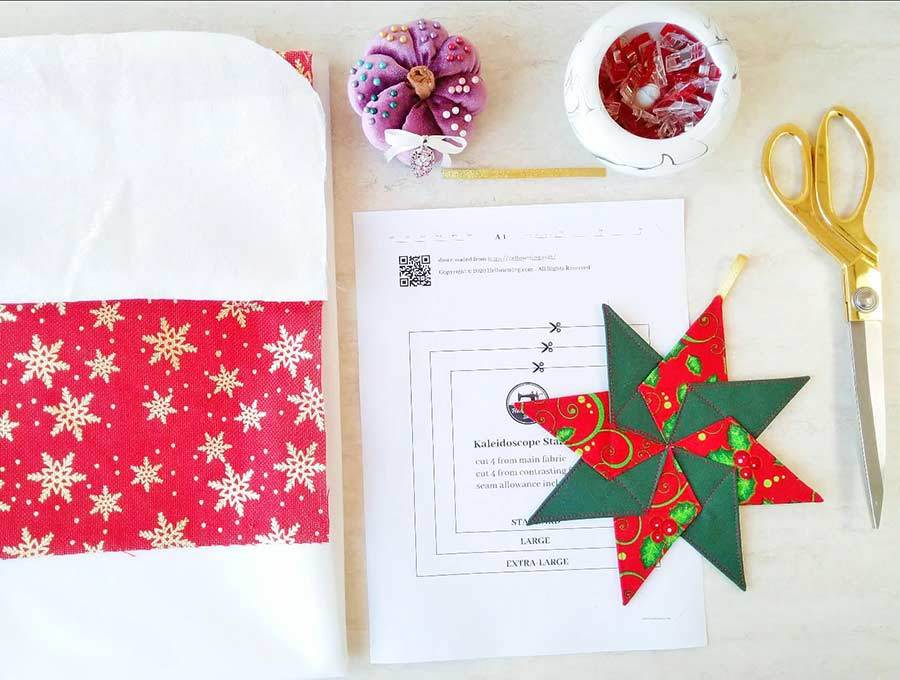
- fabric 2 coordinating Christmas fabrics (avoid slippery fabrics)
- Lightweight fusible interfacing
- Gold or silver ribbon 3mm wide – 4” for the loop
- Matching thread thread
- scissors (or rotary cutter and a cutting mat)
- ruler or measuring tape
- iron and ironing board
- sewing clips or pins
- sewing machine with 1/4inch foot
DOWNLOAD: Kaledoscope star quilted ornament pattern (Free PDF file)
Follow us for free patterns & tutorials! [easy-profiles]
How To Sew quilted star ornament
Watch the diy Kaleidoscope quilted star ornament video first and then follow the written step by step instructions below.
Please enjoy and don’t forget to Like and SUBSCRIBE over on YouTube to be kept up to date with new videos as they come out.
Quilted star ornament VIDEO TUTORIAL
QUILTED ORNAMENTS INSTRUCTIONS:
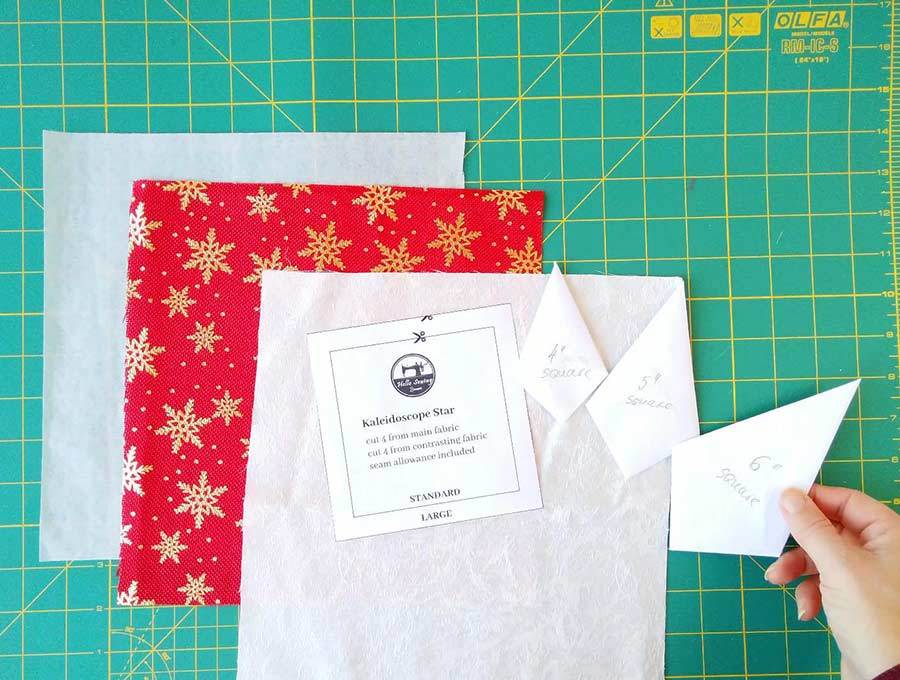
STEP 1: Prepare the kaleidoscope star pattern
Download and print the kaileidoscope star block pattern. As always print at 100% (no scaling at all) and cut out the star pattern. For a Christmas ornament use the standard size, if you are looking for a larger wall décor ornament go with the large or extra-large size.
The seam allowance use in this project is ¼” (6mm) and is already accounted for in the pattern.
STEP 2: Cut out the fabric
The star can be made using only one color of fabric, if you prefer so. I’d like to use two different color as I think it adds interest to the final product.
You will need a total of 8 fabric pieces – 4 squares from main fabric and 4 squares from the coordinating fabric, as well as 8 pieces of fusible interfacing.
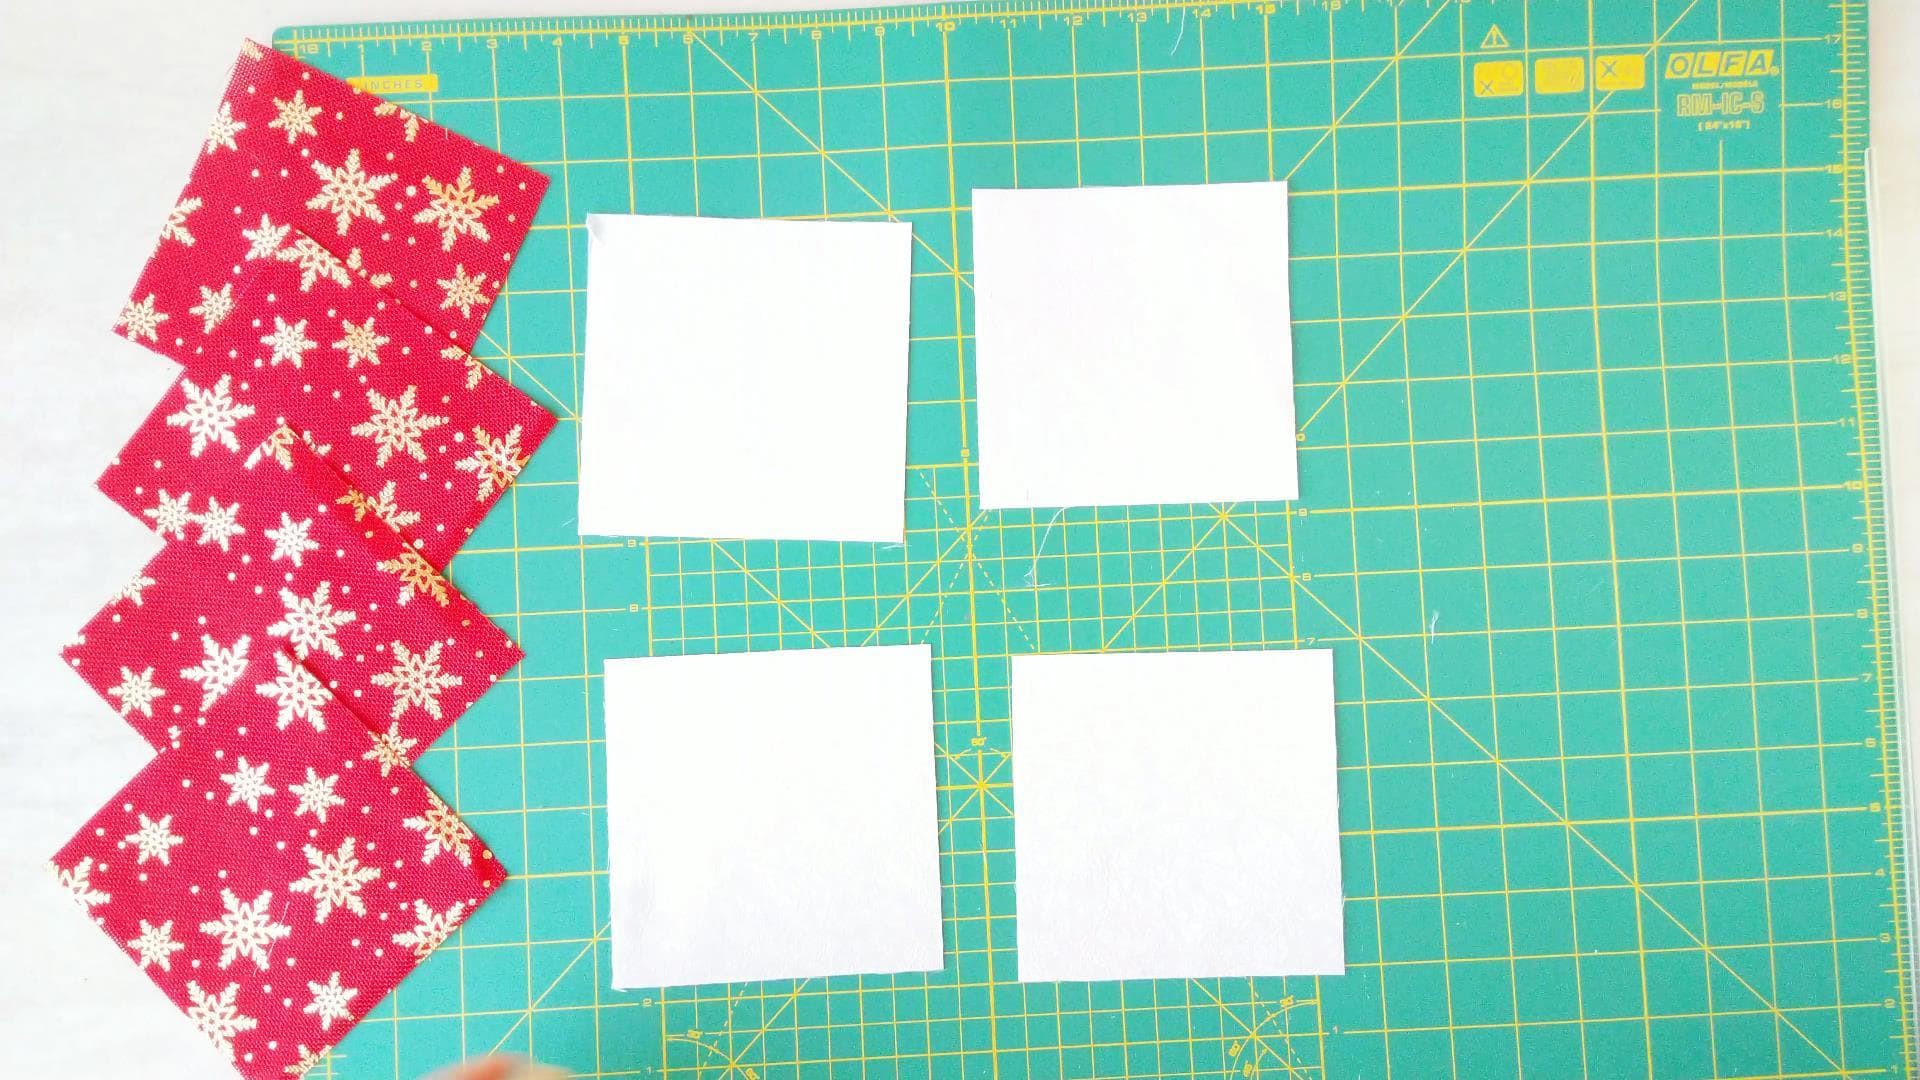
TIP: To speed up the things a little bit, I’d like to cut out a piece of fabric large enough to cut out all 4 squares, apply the fusible interfacing and then cut out the individual pieces. Then I repeat with the second piece of fabric. However, if your fabric is oddly shaped or you’d like to use scraps, you can totally cut out the individual pieces first and then apply the interfacing. It’s all up to you. Now onto the Christmas kaleidoscope star tutorial.
STEP 3: Apply interfacing
Apply the fusible interfacing to the wrong side of each fabric piece.
STEP 4: Make a kite shape
This is the trickiest part of the whole project. Folding the star the right way will ensure you have a really stunning star.
First fold the square in half diagonally and finger press.
Unfold and fold along the other diagonal, then finger press again. Unfold.
Mark the center of the square (where both diagonal folds meet) with a pencil.
Now take each corner and press it so it touches the middle mark. Do it for all four corners. Make sure to align the edges and that all corners look good. Press with an iron to help the fabric hold its shape. Use a lot of steam, if your fabric does not want to cooperate.
Now your fabric piece will look like this:
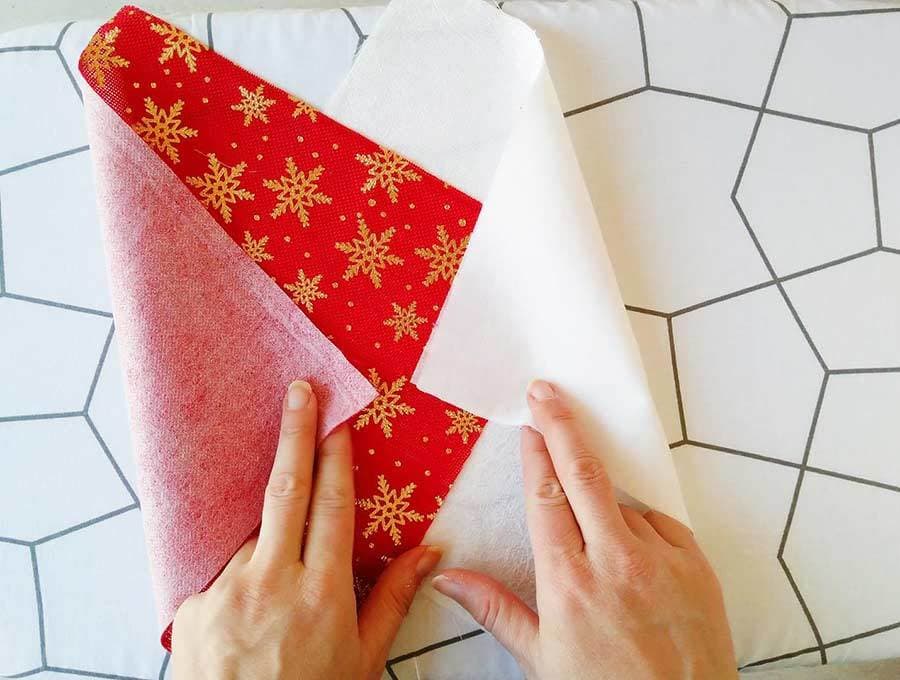
To make a kite shape, fold both top left and right corners to the middle line, aligning the edges with the middle line. Press with the iron, using a lot of steam and pin in place as shown.
Pinning the kite exactly as shown is meant to help speed up the construction a little bit as it both holds the kit flaps in place and the pin is not placed along the topstitching line.
Do this for all eight fabric squares to make 8 fabric kites.
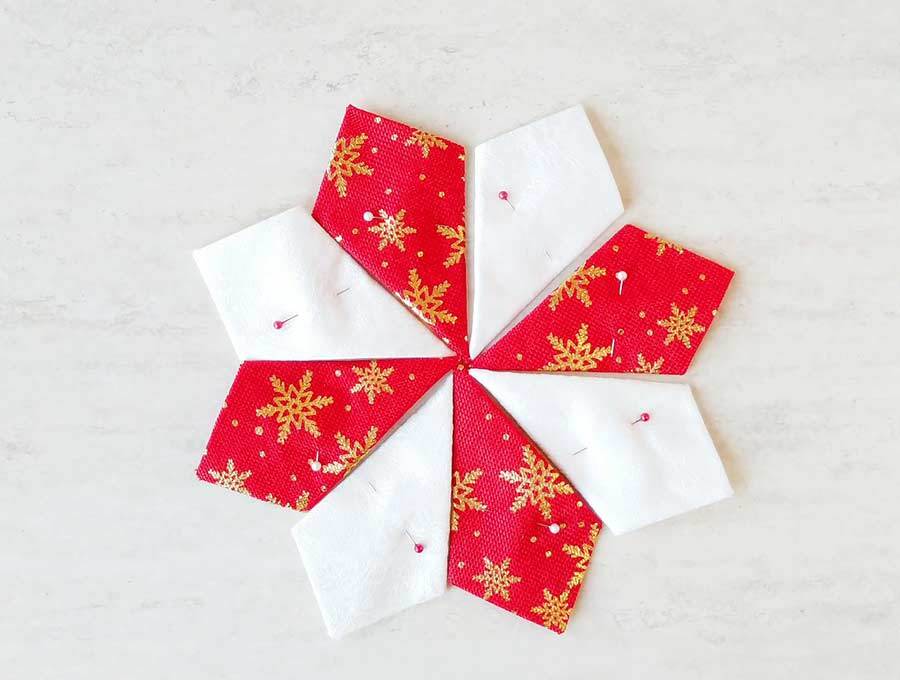
STEP 5: Topstitch
Place the kite shape, right side up on your working surface with the short point facing up. Topstitch each kite piece (about 1/8” from the edge) starting from the top corner, along the left short side and both long sides. Repeat for all kite shapes to make 8 complete kites.
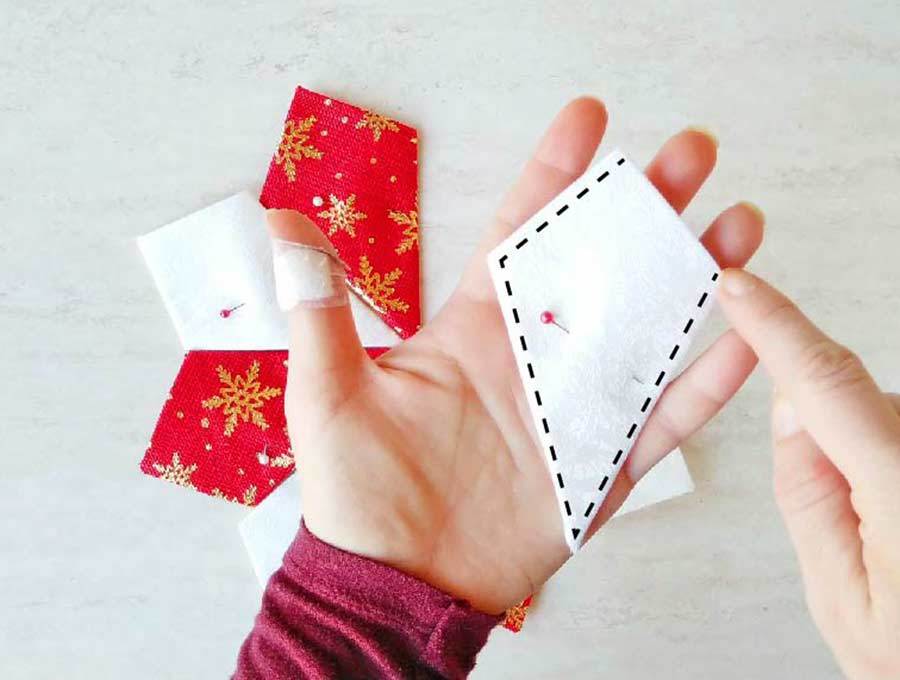
TIP: If you have a ¼ inch foot for your sewing machine, now it is the perfect time to use it, as it will help make your stitch line even. If you don’t have the ¼” foot, you can use your standard machine foot and just eyeball the distance. Both will work.
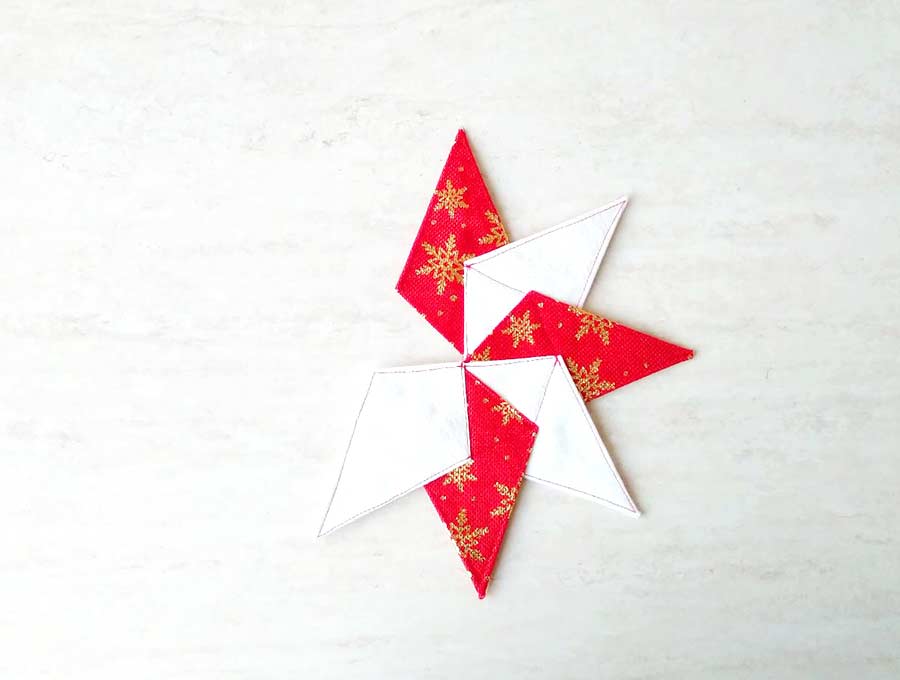
STEP 6: Assembling the kaleidoscope star
To assemble the star, we will add kites one by one and sew them together, alternating the fabrics. To start the assembly, take one of the darker kites and place it on your work surface with long point facing up.
Take one kite from the coordinating fabric and place it on top of the first piece with the unstitched edge aligned with the center of the first piece. Make sure the short tips on the bottom side align and pin. Stitch both kite shapes together by stitching along the middle line. Remove the pin.
Place the next kite piece on top of the second, aligning its raw edge with the center line of the previous kite piece. Pin in it place. Topstitch from the center, along the middle line to the point and then stitch across the kite shape from that point to the next. Repeat for all remaining kite pieces.
To add the last kite piece, place it on top of the previous kite as we did previously, then lift the first piece, slip the last one under it and pin everything so it won’t shuffle. Stitch in place, making sure there are not unstitched gaps in the center of the star.
STEP 7: Adding the loop to the Christmas Quilted Ornament
Now when the star is ready, all you need to add is the loop hanger.
Cut a 4 inches long piece of the 3mm gold ribbon, and fold it in half, aligning the cut ends. Now you can either glue it or stitch it to the back of one star point.
Ta-Da! Your kaleidoscope star Christmas ornament is ready. Hang it on the tree and take a moment to enjoy your handmade ornament.
Now you can even get the kids involved in the making. Depending on their age they can help you with picking coordinating fabrics, to cutting the pattern and/or fabrics, or even pinning or ironing, or at the very least placing the handmade star on the tree. You’ll spend precious time together crafting, and I’m sure they will cherish these moments forever.
These handmade quilted Christmas ornaments also make the perfect handmade gifts!
Do you like this? Pin for later:

Wanna be friends? Click HERE and follow me on Pinterest
MORE CHRISTMAS SEWING PROJECTS: