
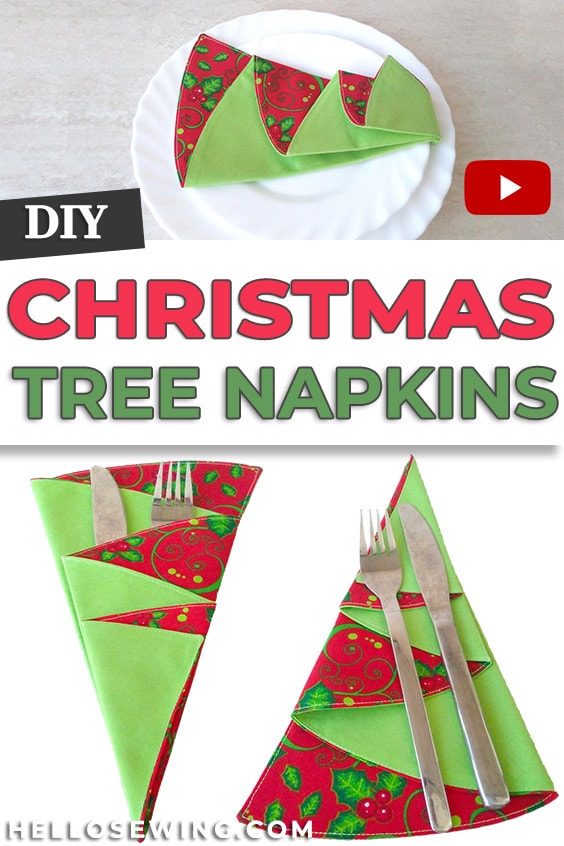
DIY Christmas Tree Napkins Tutorial and FREE Pattern
Christmas is the time of year when your most loved ones are coming over to spend some time with you. So you need to be a great host, which means that your dinner table should look as best as possible.
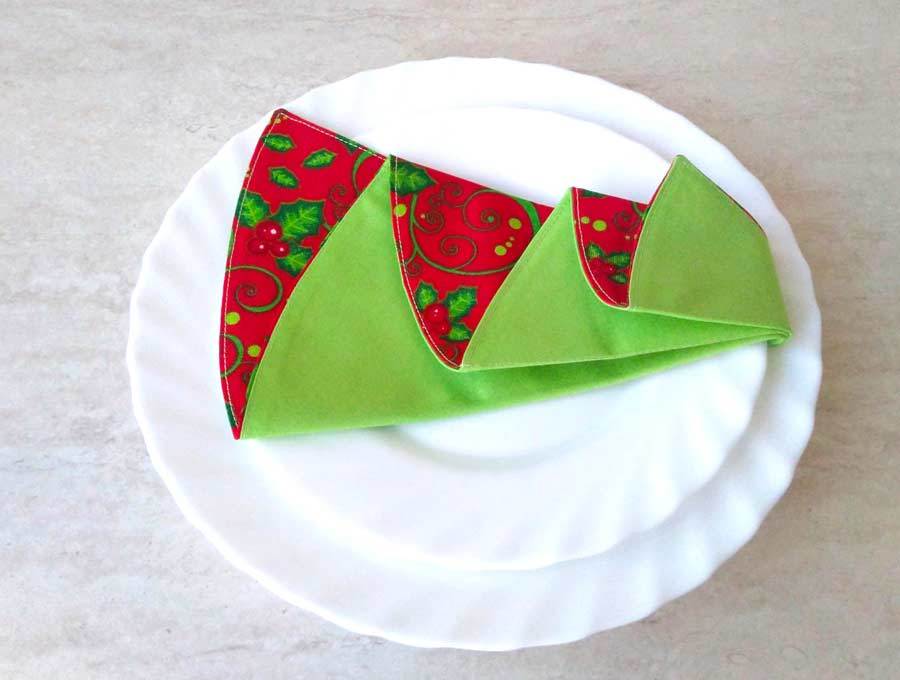
These DIY Christmas tree napkins are meant to help you with just that!
Nothing says Christmas better than a Christmas tree, so why not put them next to your plate? This Christmas tree napkin tutorial will show you how to make unique and creative napkins that everyone will love as soon as they see them.
By the way, just between the two of us, since they are easy to sew and you can finish them in no time, they can even act as a great last-minute Christmas present! Now let’s make some Christmas tree napkins, shall we?
Below you will find my step by step tree shaped napkin written tutorial with VIDEO instructions for all the visual learners.
We occasionally link to goods offered by vendors to help the reader find relevant products. Some of the links may be affiliate meaning we earn a small commission if an item is purchased.
Table of Contents
- 1 How to make Christmas Tree Napkins
- 2 Supplies and tools
- 3 Christmas Tree Napkin Tutorial and Pattern
- 3.1 Christmas Tree Napkins VIDEO TUTORIAL
- 3.2 INSTRUCTIONS:
- 3.3 STEP 1: Prepare the pattern
- 3.4 STEP 2: Cut the fabric
- 3.5 STEP 3: Pin fabrics together
- 3.6 STEP 4: Clip and snip
- 3.7 STEP 5: Turn inside out
- 3.8 STEP 6: Mark the folding / stitching line
- 3.9 STEP 7: Topstitch
- 3.10 STEP 8: How to fold a Christmas tree napkin
- 3.11
- 3.12 (Optional) Make stems
How to make Christmas Tree Napkins
Supplies and tools
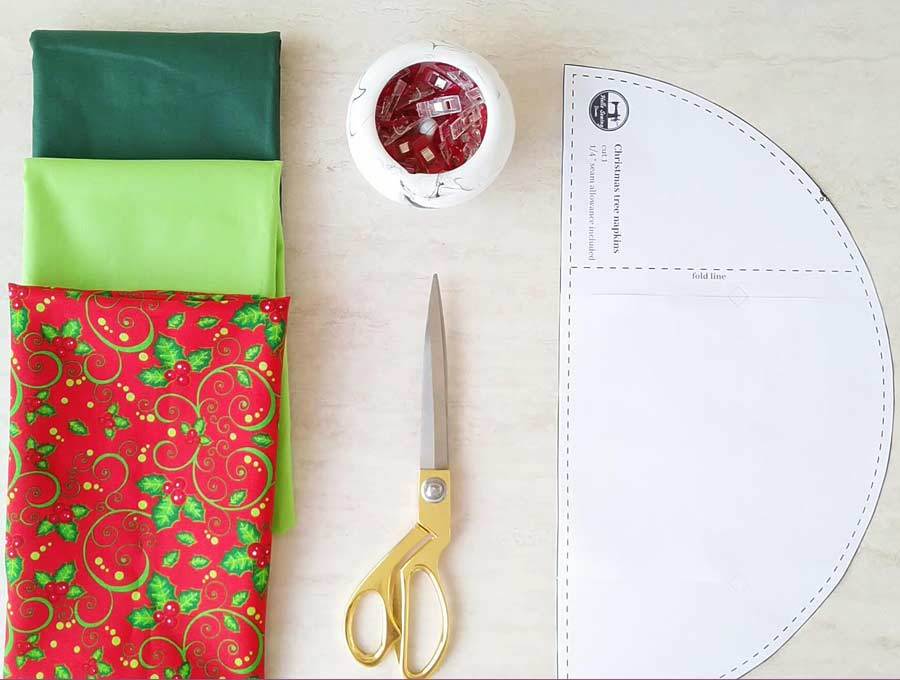
- fabric – 2 pieces of cotton (one main, one coordinating) or other fabrics suitable for napkins
- matching thread
- scissors (or rotary cutter and a cutting mat)
- ruler or measuring tape
- iron and ironing board
- sewing clips or pins
- sewing machine (if you need a new one – all these beginner ones are an excellent choice)
DOWNLOAD: Christmas tree napkin pattern (Free PDF file)
Follow us for free patterns & tutorials! [easy-profiles]
Christmas Tree Napkin Tutorial and Pattern
Watch the diy christmas tree napkin video first and then follow the written step by step instructions below.
Please enjoy and don’t forget to Like and SUBSCRIBE over on YouTube to be kept up to date with new videos as they come out.
Christmas Tree Napkins VIDEO TUTORIAL
INSTRUCTIONS:
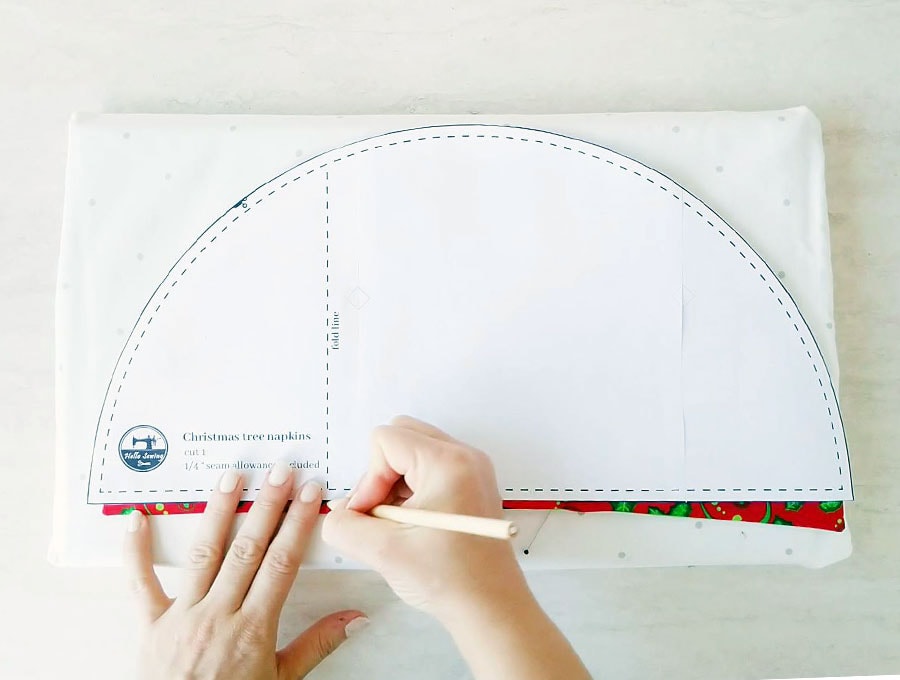
STEP 1: Prepare the pattern
Download and print the pattern (don’t scale it in any way, print at 100% US letter paper). Using our free Christmas tree napkin pattern will make the things easier.
If you don’t have a printer however, you can also manage without it. Read how in step 2.
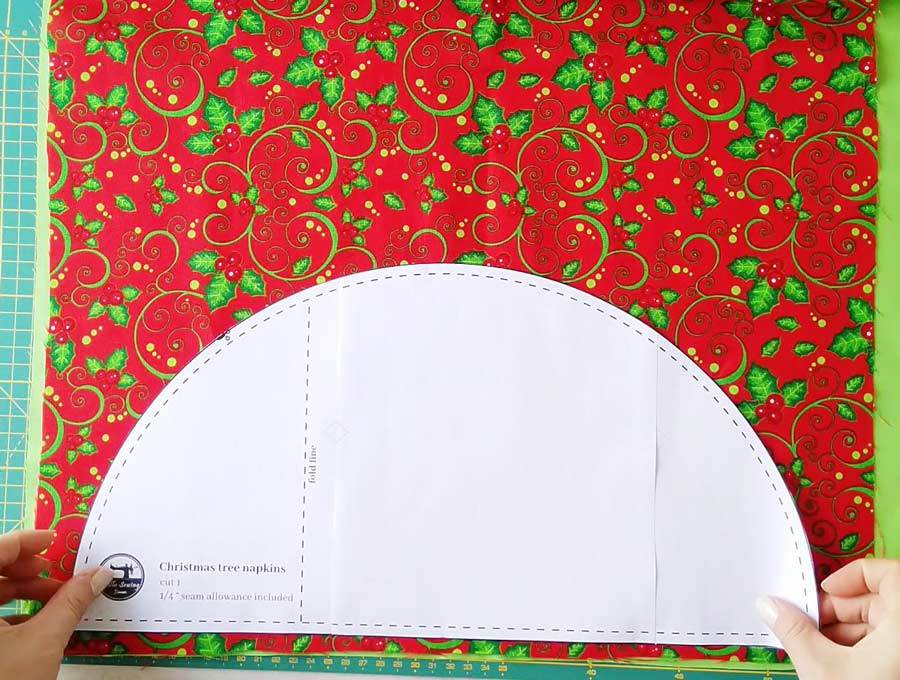
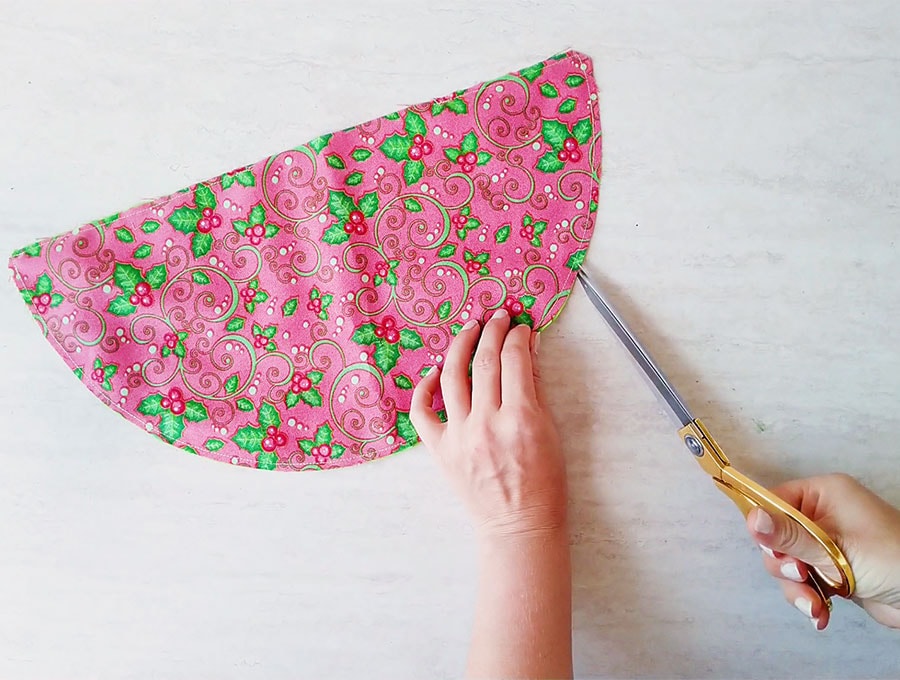
STEP 2: Cut the fabric
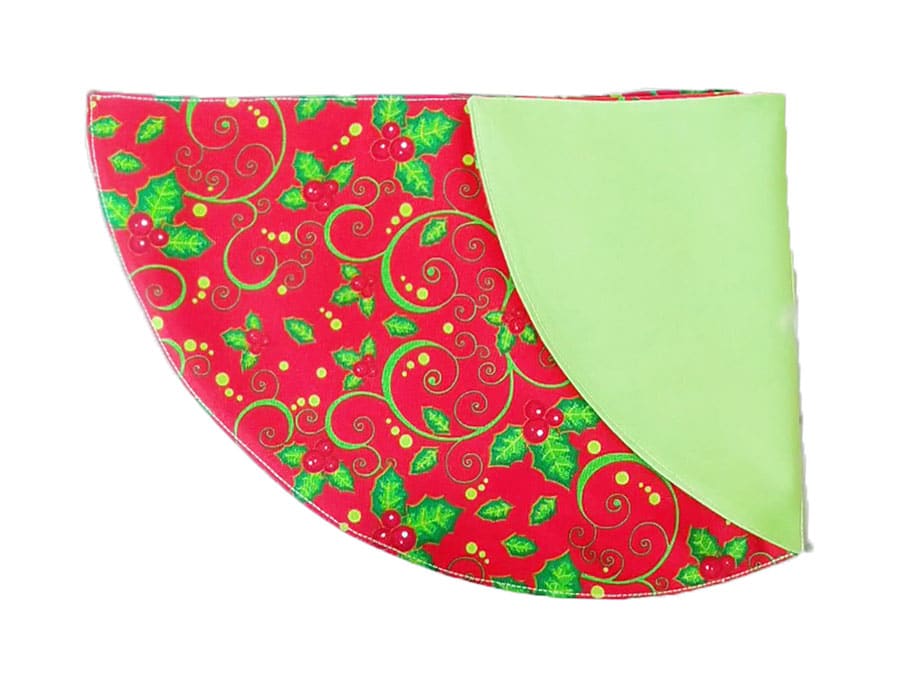
Take two of your fabrics, place them on each other and align the bottom edges. Place the paper pattern on top and cut according to the pattern. You need 2 semi-circles in different colors for one napkin.
If you don’t have a printer, follow the instructions below how to make your own pattern.
Take a fabric pencil, pin and a piece of thread. Knot the end of the thread the pin it to the bottom center edge of the fabrics. Wrap the thread around the pencil several times until it is 8.5 inches (21.5cm). Draw a semi-circle around the pin and cut it out.
If you are making a bunch of napkins, make a paper pattern or use one of the cut fabrics as a pattern to cut the next set of fabric sheets.
TIP: Don’t forget to wash and iron the fabric well before you start doing anything with it.
STEP 3: Pin fabrics together
Take one fabric semicircle and place it right side up. Take a semicircle from the second main fabric and place it over the first one, with its right side down. Align the edges and pin everything.
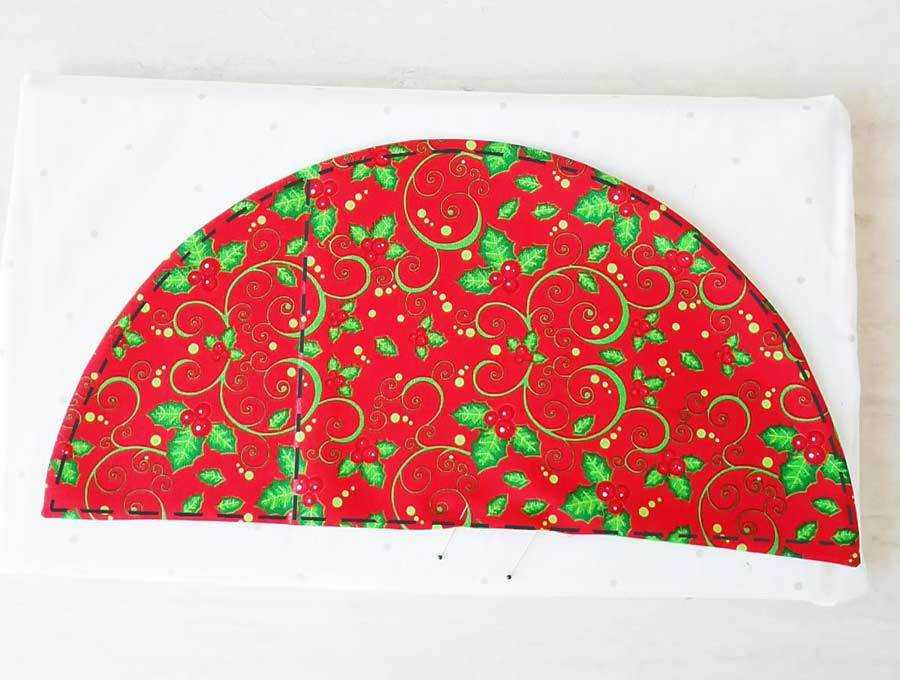
Sew all around. Leave a 3 inch (7 cm) opening unstitched on the straight edge so that you can turn the whole thing around.
STEP 4: Clip and snip
Clip the curve of the napkin and snip the bottom corners to allow it to lay flat. You can skip this step, but I highly recommend it, as it really gives the napkins a professional look.
STEP 5: Turn inside out
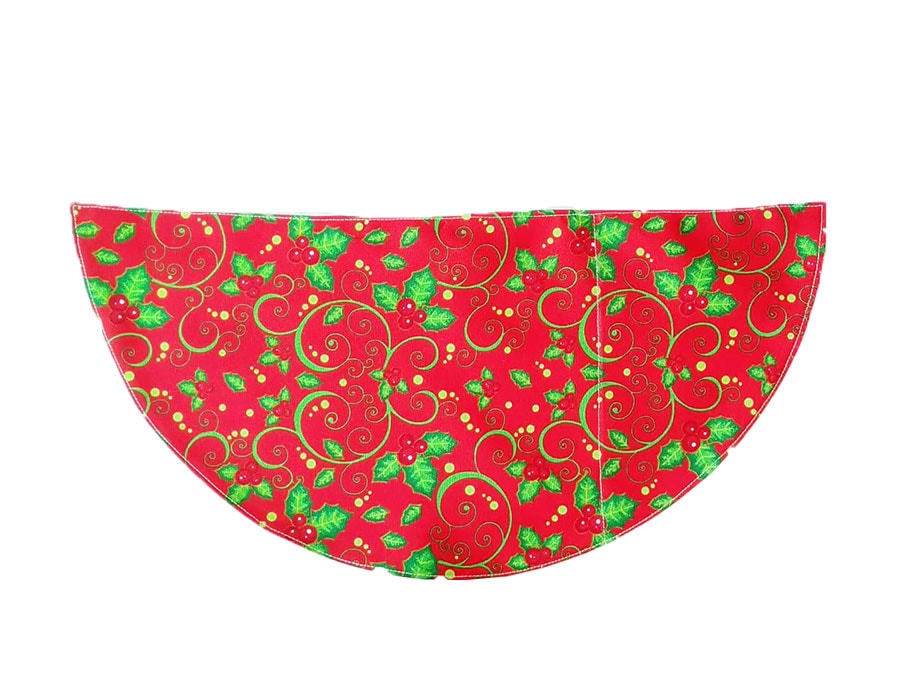
Turn the fabric right side out and push out the edges. Then use your iron to press everything flat.
Tuck in the raw edges of the gap inwards about quarter of an inch. Press it flat and pin in place.
STEP 6: Mark the folding / stitching line
Using your paper pattern as a guide match the beginning of the dashed line with the bottom corner of the napkin. Mark the start of the fold line. Remove the pattern and using a ruler draw a line perpendicular to the straight bottom edge.
If not using the pattern, measure 5 inches (13cm) from the bottom corner and then draw the perpendicular line.
STEP 7: Topstitch

Topstitch all around the napkin using a scant 1/8 inch (3mm) seam allowance. Start on the straight edge, just before the fold line you marked, stitch all around the napkin.
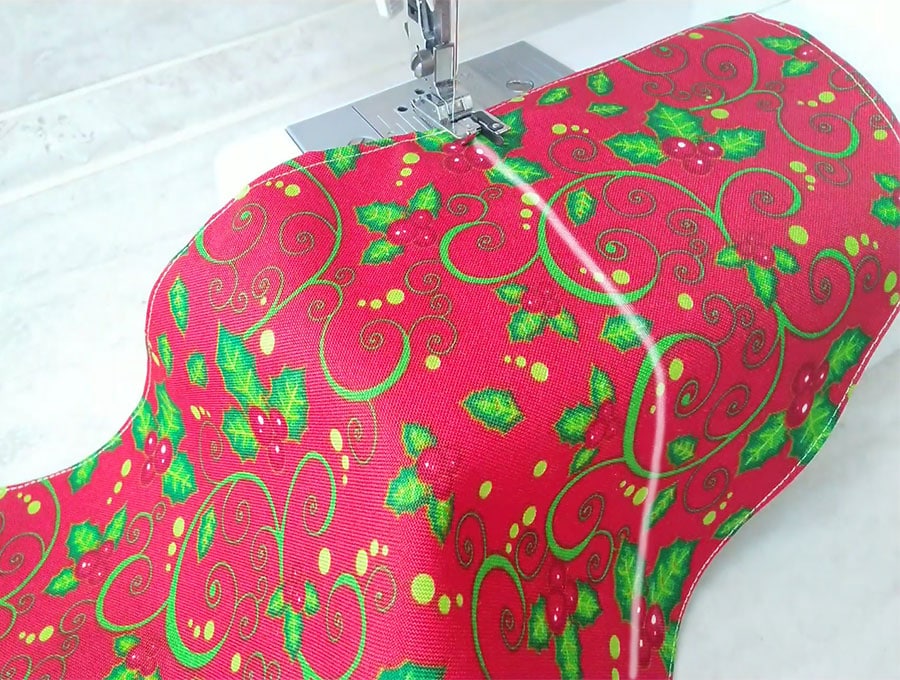
Stop at the fold line, put your needle down, raise the presser foot and pivot. Stitch along the fold line.
Reinforce the beginning and the end of this seam with backstitching.
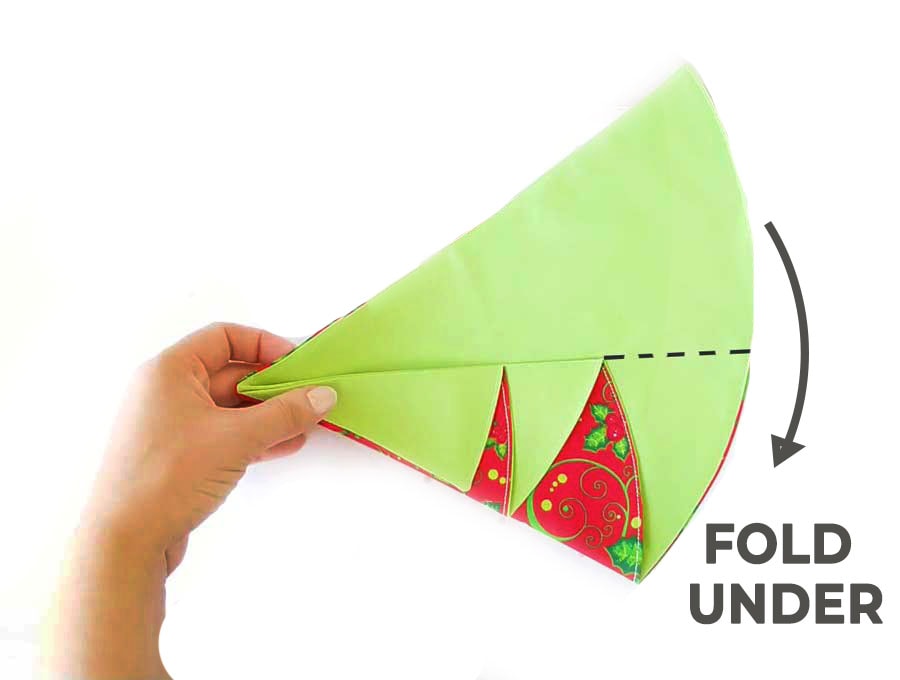
STEP 8: How to fold a Christmas tree napkin
It a bit tricky, but the fold line we stitched earlier will definitely make the folding part much easier.
8.1. Fold the napkin over the stitch you made earlier. Press with the iron.
8.2. You will need to fold this flap into thirds, similar to a fan. Grab the corner of the flap and while you’re pressing the corner on the straight edge of the napkin with your finger, pull the flap backward to fold it towards the other side.
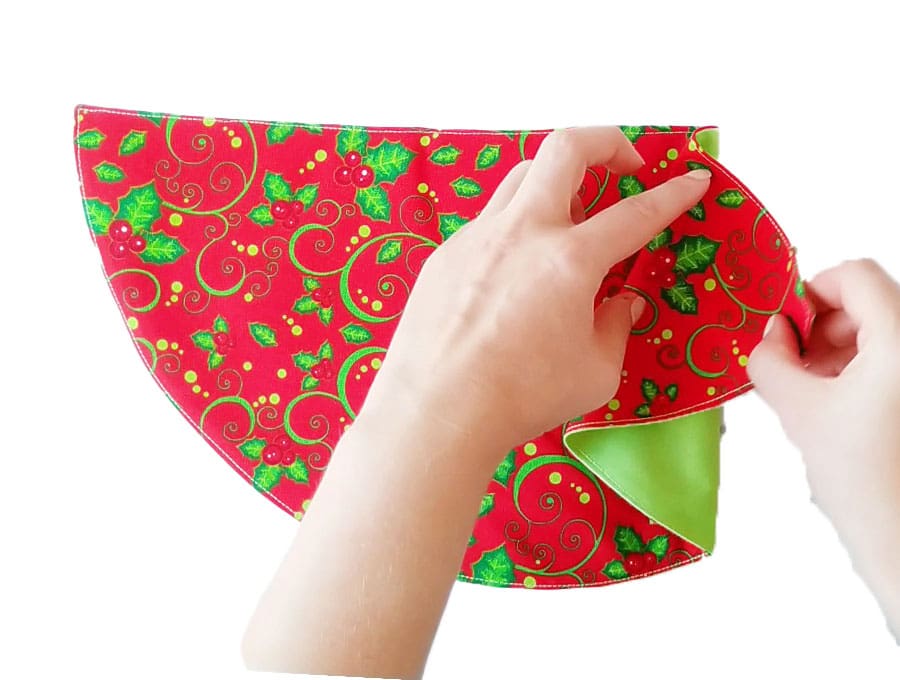
Keep pulling until the curve becomes parallel to the long straight edge of the napkin. Then stop and fold it towards the back, just like a fan, until you align the edge with the previous fold. Make sure that the folds are aligned with each other. Press everything flat.
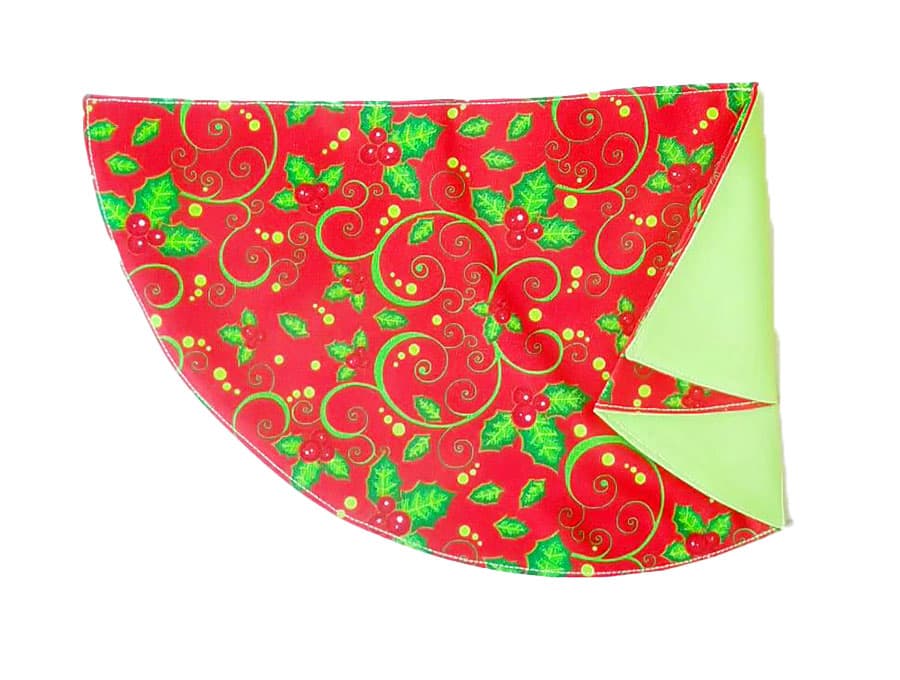
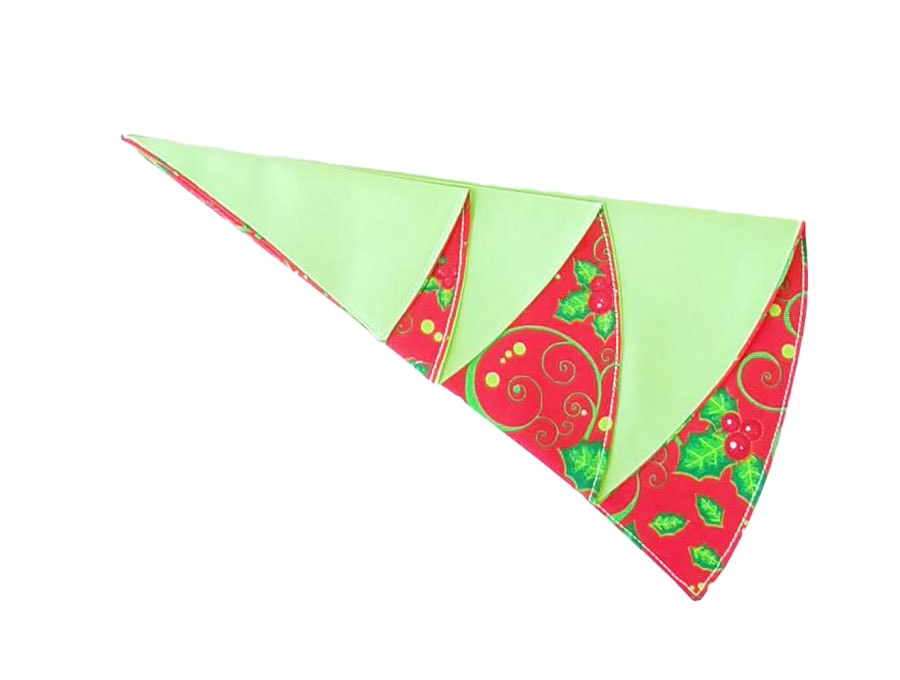
8.3. Flip the napkin over and grab the bottom corner. Fold it until its crease aligns with the back fold you made in the previous step.
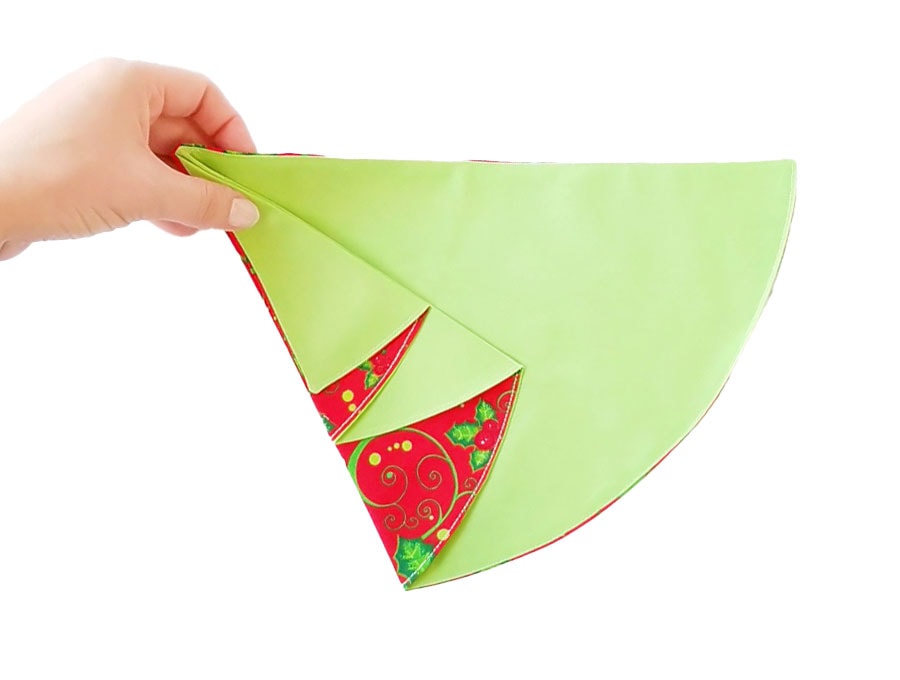
8.4. Then do just one more fan fold so that the last edge is aligned with the previous fold.
8.5. Press everything well with your iron and you’re done! Your first christmas tree napkin is ready!
Repeat the steps with your remaining fabric and your set will be complete.

(Optional) Make stems
Place two fabric rectangles on each other, right sides in, and align their edges. Use a quarter-inch seam allowance and sew around three sides of the rectangle. You can use a contrasting thread if you want to add more flair to the napkins.
Clip the corners and turn the whole thing inside-out. Poke the corners out with chopsticks or with the back of a pencil.
Topstitch around the three sewn edges. Go as close to the edge as you can.
Just before you sew the main fabrics together in step 3, place the stems on the curved edge about 2 inches from the right bottom corner, aligning the raw edge with the raw edges of the main fabrics then sew.
Did you like the Christmas tree napkin tutorial? Don’t forget to make a few of these unique napkins for your loved ones as well! If you think of a suggestion for improving this project, let us know. Have a wonderful Christmas!
Do you like this? Pin for later:
Wanna be friends? Click HERE and follow me on Pinterest
RELATED:
Other handmade home décor items:
- How to make fabric pumpkins
- How to make fabric rose for a stunning decoration
- Book pillow tutorial and pattern
- Phone holder pillow tutorial
- Fabric buntings to brighten up your space or liven up your party
- Free table runner patterns