

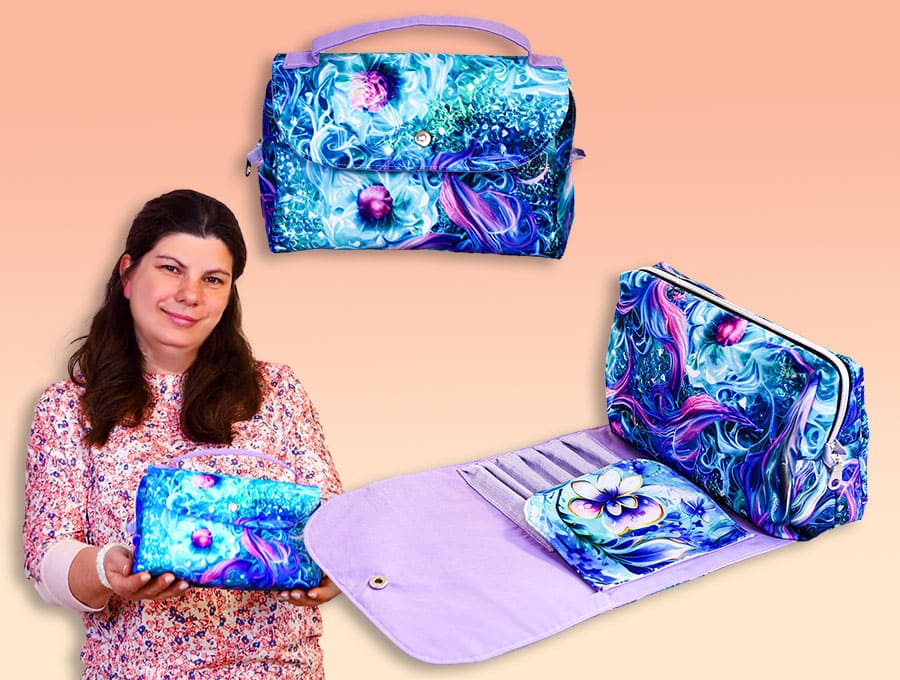
DIY Cosmetic Bag with Brush Holder // VIDEO + Sewing pattern
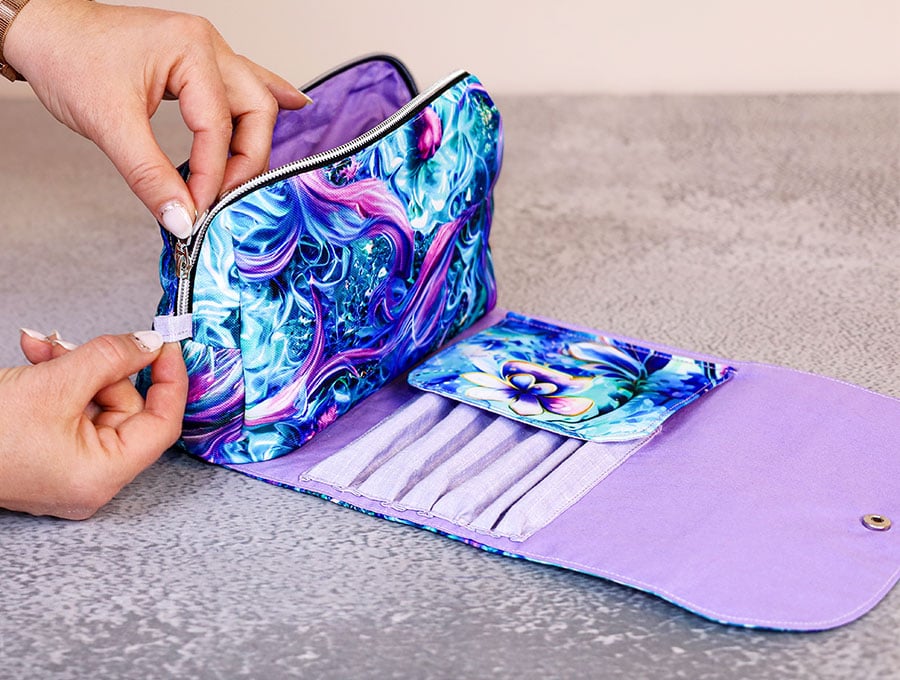
Sew this lovely cosmetic bag with zippered inner pocket and brushes compartment. Perfect for anything from cosmetics and makeup brushes to knitting/crochet needles
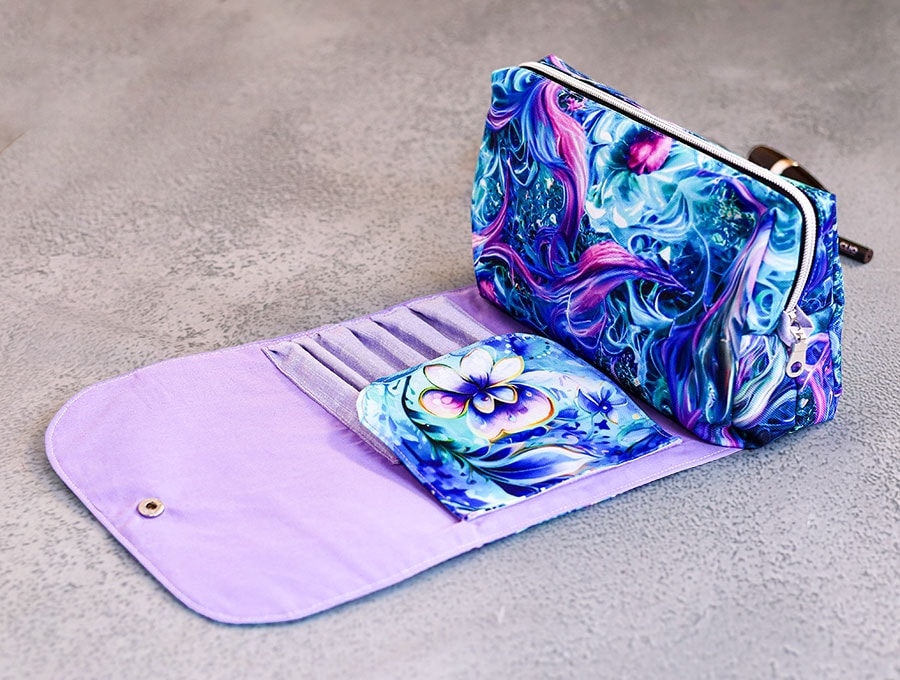
This compact bag with a roll out brush holder will keep all you need for a professional make up session in one place – perfect when you’re on the go and need to look super glamorous. I’m thinking taking your day time look to evening chic at a fancy restaurant or club; posing for photos on holiday where you want to look your best before posting photos to social media. It has a convenient carry handle and side tab. It’s a great travel companion that will fit all your little travel essentials
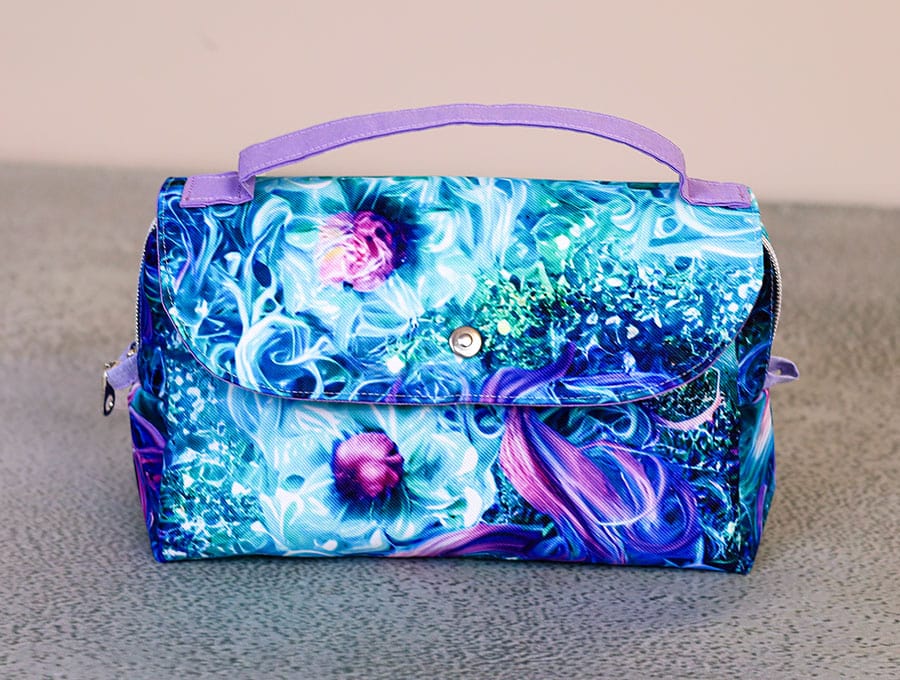
Make this for yourself or as a gift for a friend or daughter, using our free makeup bag printable pattern. Below you will find my step by step written tutorial with VIDEO instructions for all the visual learners.
We occasionally link to goods offered by vendors to help the reader find relevant products. Some of the links may be affiliate meaning we earn a small commission if an item is purchased.
How to make the makeup bag with brush compartment
Supplies and tools
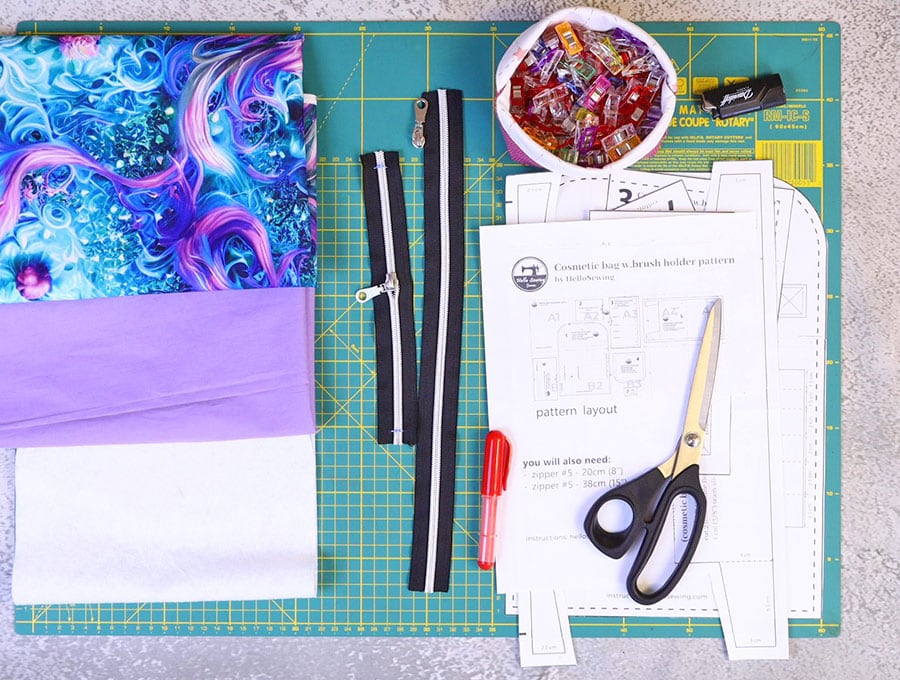
- fabric – 2 pieces of 100% tightly woven cotton (one main, one lining)
- fusible interfacing
- fusible batting
- zippers (size #5) – 38 cm (15″) and 20 cm (8″) long
- matching thread
- scissors (or rotary cutter and a cutting mat)
- ruler or measuring tape
- iron and ironing board
- sewing clips or pins
- plastic snaps (you will need a sewing awl and snap pliers
- press studs
DOWNLOAD: Cosmetic bag with brush holder pattern [Free pdf file]
Link not working? Try this ALTERNATIVE link instead
Follow us for free patterns & tutorials! [easy-profiles]
How to Sew a cosmetic bag with brush holder
Watch the diy wrap around cosmetic bag video first and then follow the written step by step instructions below.
Please enjoy and don’t forget to Like and SUBSCRIBE over on YouTube to be kept up to date with new videos as they come out.
Cosmetic bag with brush holder VIDEO TUTORIAL
INSTRUCTIONS:
STEP 1:
Download and print out the pattern pieces – there are 7, then cut them out. Remember that the batting is all cut on the dashed lines of the pattern piece. A tip is to print out two of every pattern piece that needs batting, so you can cut 1 down to size and retain the other pattern piece at original size if you are planning on making a number of these cosmetic bags.
STEP 2:
Cut the fabric for the pattern pieces (PP) as follows
- PP 1 – wrap around flap, cut 1 outer, 1 lining and one fusible batting
- PP 2 – handle, cut 1 on fold
- PP 3 – brush holder pocket A, cut 1 on fold
- PP 4 – brush holder flap, cut 1 x outer, 1 x lining and 1 x fusible batting
- PP 5 – cosmetic bag body, cut 2 outer, 2 lining, 2 fusible batting
- PP 6 – brush holder pocket B, cut 1 on fold
- PP 7 – tab, cut 2
STEP 3:
Take the fabric for the flap over (PP 1) , place wrong side up on your ironing pad and over it place the fusible batting, fusible side down. The batting will be slightly smaller than the outer piece. Place equidistant from the edges, flip over the piece and fuse by ironing on the front of the outer fabric.
STEP 4:
Prepare the handle (PP 2) by laying the fabric wrong side up, lengthwise, on your ironing pad. Fold long edge to long edge and press the center fold. Open out and press each long side in to meet the center fold. Fold again so the folded edges meet up and press. Then clip along the middle section.
STEP 5:
Turn the short ends up ¼” (6 mm) and press, then open out the short ends and stitch down each long side of the handle 1/8” (3 mm) from the edge.
STEP 6:
Mark the position for the handle with a fabric marking pen on the outer fabric (PP 1), transferring the marks from the pattern piece.
STEP 7:
Fold the previously pressed ends of the handle under and pin the handle in position as indicated by the marks.
STEP 8:
Use a fabric marking pen to draw a square at each end of the handle, and then an x through the square.
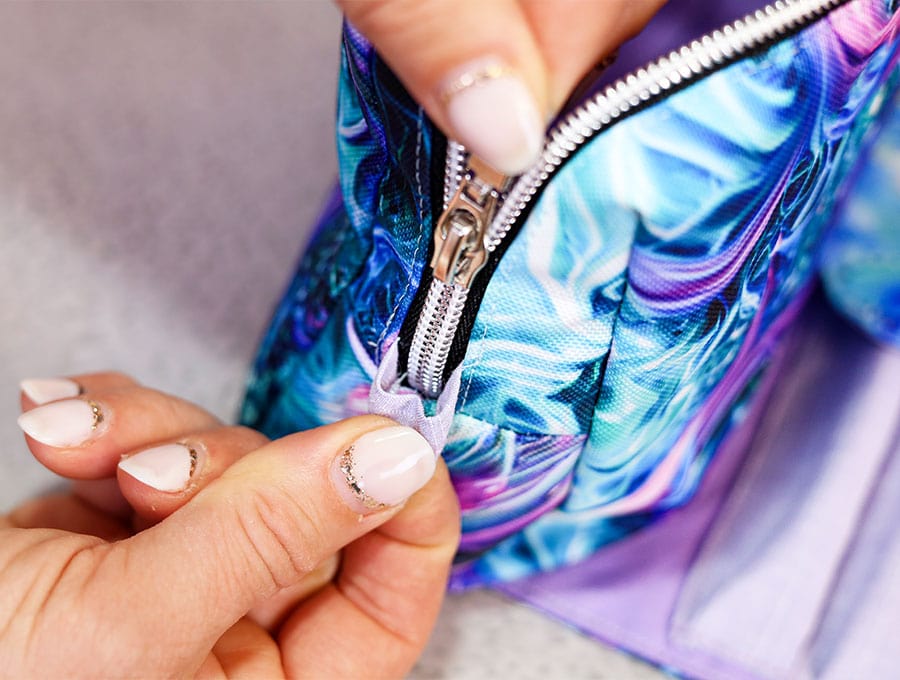
STEP 9:
Stitch around each square and stitch an x through the middle of each to ensure the handle is firmly attached.
STEP 10:
Take the brush holder flap, PP 4, and place the outer fabric wrong side up on your ironing pad. Place the batting sticky side down, then flip over and iron on the right side to fuse.
STEP 11:
With PP 4 right side up place lining right side down and clip in place. Mark a gap of 3” (7.5 cm) with fabric pen near the middle on the straight side that has no curves.
STEP 12:
Stitch around the edge using a 3/8” (1 cm) seam allowance, starting from one side of the gap and ending on the other side of the gap. Backtack at the start and finish.
STEP 13:
Cut V-notches around the curved sides and trim a small triangle off the corners. Turn back the raw edges of the fabric across the gap in line with the seam and finger press.
STEP 14:
Turn the right way out by pulling the fabric through the gap, pressing out the seam and curves with a turning tool. Turn in the gap edges in line with the seam. Give a press and clip or pin across the gap.
STEP 15:
Top stitch all the way around the flap 1/8” (3 mm) from the edge.
STEP 16:
Take PP 3 and ensure the right sides are facing each other. Clip, then stitch around the edge 3/8” (1 cm) from the edge leaving a gap of 2” (5 cm)in the middle of the long side opposite the fold.
STEP 17:
Clip a small triangle off each corner to reduce bulk, finger press the edges of the gap in line with the seam.
STEP 18:
Turn the right way out, pressing the corners out carefully. Turn raw edges in line with the seam and press, then clip.
STEP 19:
Stitch along the whole length, to close the gap, 1/8” (3 mm) from the edge.
STEP 20:
Transfer the measurements from PP 3 to the fabric. Pin the left-hand side of PP 3 to the left-hand side of the fabric, fold will be at the bottom. Then, working from the right-hand side, fold back each line and mark with an erasable fabric marking pen on the fabric.
STEP 21:
Take the wrap around flap lining (PP 1) and fold at the top of the brush holder markings, place over the lining piece, right side up, and transfer each mark to the fabric by marking top and bottom and joining the marks with a ruler.
STEP 22:
Transfer the markings, to position the brush holder flap, from PP 1 onto the lining fabric.
STEP 23:
Take the pocket piece (PP 3) and place, topstitched side at the top, and place the right-hand side on the marking for the brush holder that’s on the right, lining up with the top and bottom of the ruled line and pin along that line.
STEP 24:
On the left-hand side, pin the left-hand side of the pocket piece, to line up with the first ruled line on the left. You will have a loose flap of pocket in the middle.
STEP 25:
Working from left to right line up the markings on the pocket with the markings on the lining and pin in place.
STEP 26:
Stitch down each of the lines backtacking at the start and finish, then stitch across the bottom of the pocket, making a small pleat in each brush holder section.
STEP 27:
Take the brush holder flap and position the straight edge on the brush holder flap line, then stitch across the top 1/8” (3 mm) from the edge to attach – backtacking at the start and finish.
STEP 28:
Take the wrap around flap with the handle attached ( PP 1) and place right side down over the lining piece, matching up the edges, then pin and stitch ¼” (6 mm) from the edge, leaving the straight side open.
STEP 29:
Trim the curved edges with pinking shears. Turn the flap the right way out, turning out the curves and flattening the seam. Press.
STEP 30:
Top stitch around 3 sides 1/8” (3 mm) from the edge, leaving the straight side open.
STEP 31:
Take the lining for PP 5, the main body of the bag. Fold pattern in half and mark the center position for the pocket on the open piece of lining with a marking pen. Take the pocket fabric , (PP 6) and place on your worktop, wrong side up. Fold the actual pattern where the indication is near the top to cut a narrow rectangle with scissors
STEP 32:
Place the pattern piece on top of the pocket fabric, which will be right side up and pin. Use a fabric marking pen to draw around the inner edge of the rectangle. Remove pattern, fold pocket piece and mark the center at the top above the rectangle.
STEP 33:
Pin center of pocket piece to the center mark of the body you made in Step 31.
STEP 34:
Stitch around the edge of the rectangle you marked.
STEP 35:
Use a ruler to draw a line through the middle of the length of the rectangle, then angle two lines out to meet the corners on each side. Fold the fabric to make the first snip with your scissors, then carefully cut along the line and towards the corners on the marked lines.
STEP 36:
Push the pocket piece through the slit you have created, turn out the fabric so it lies flat and give a press.
STEP 37:
Position the zipper with the zipper teeth in the center of the open rectangle, pin and top stitch around the edge of the zipper after changing to a zipper foot so you can get close to the zipper teeth.
STEP 38:
Flip over and pin the bottom half of the pocket up to cover the zipper and line up with the top of the pocket fabric. Pin on the sides.
STEP 39:
Stitch down each side of the pocket, and across the top of the pocket where the raw edges meet, keeping the lining fabric out of the way.
STEP 40:
Take the two outer layers for the body of the bag (PP 5) and place, wrong side up, on your worktop – over each one fit a piece of fusible batting cut to the dashed lines on PP 5.
Flip over and iron to fuse.
STEP 41:
Place the two fused body fabrics with the top sections next to each. Take the zipper and remove the zipper pull. Place each side of the zipper right side facing right side of fabric and pin or clip edge of the zipper tape to the raw edge of the fabric.
STEP 42:
Over these place the corresponding lining pieces, matching up the shapes. And adjust the clips to include the lining.
STEP 43:
Stitch as close as possible to the zipper teeth starting 3/4” (2 cm) in from the start and finishing 3/4” (2 cm) from the end on each side.
STEP 44:
Fold each half of the body of the bag so the zipper teeth are exposed, then once lying flat, give the fabric a press.
STEP 45:
Top stitch down each side of the zipper close to the teeth, again leaving the ¾” (2 cm) gaps at each end.
STEP 46:
Using a fork in a glass, with the back of the fork facing you, slip the zipper pull between two tines of the fork, the back of the zipper pull facing you, then thread on the halves of the body of the bag, lining side facing you. Pull the zipper ¾ of the way closed.
STEP 47:
Take the 2 tab pieces (PP 7), place wrong side up on your ironing pad and fold in half, long side to long side. Press. Open out and still with the wrong side up, fold each side in to the center crease. Press, fold again so folded edge meets folded edge, press and clip.
STEP 48:
Top stitch along the open folded edges, 1/8” (3 mm) in, for both pieces.
STEP 49:
Place a tab at one end of the zipper, lining up the ends with the zipper tape, under the outer fabric. Pin in place – the extra fabric from the tab will form a small loop. Repeat with the other end of the zipper.
STEP 50:
Continue the top stitching from where you stopped to include the tab end, backtack at the start and finish, do all 4 ends.
STEP 51:
Fold the main body of the bag that has the inner pocket on its lining side, in half and make a small V notch in the outer fabric to indicate the center. Take the wrap around flap with the brush holder pocket and line up the center with the notch. The body fabric will be right side up and the flap piece will be over it also right side up. Clip then stitch ¼” (6 mm) in from the edge along the length of the flap – do not stitch the lining – move it out of the way before stitching.
STEP 52:
Open out so the lining sides face each other and the outer sides are right side to right side.
Clip along the 2 edges. Mark a gap in the lining through which to pull the fabric – it should be around 4 inches (10 cm).
STEP 53:
Stitch using a 3/8” (1 cm) seam allowance along the 2 edges, backtacking at the start and finish and backtacking on either side of the gap.
STEP 54:
Finger press the raw edges of the gap open, then open the bag so you can place the lining , and the outer fabric corner fabric on top of each other – pin. Do the same for the other side of the bag.
STEP 55:
Stitch through the layers 3/8” (1 cm) from the edge.
STEP 56:
Flatten the sides so the fabric is equally distributed on either side of the layer you just stitched, then stitch across with the same seam allowance.
STEP 57:
Pull the fabric through the gap so the whole bag is the right way out.
STEP 58:
Fit the snap fastener by folding the wrap around flap in half and deciding how far down to place the snap. Use an awl to make a hole, then insert the snap and use the snap fastening tool.
STEP 59:
I would advise loading with a few brushes before deciding where to place the other side of the snap. It will be inside the pouch, so open the zipper and test to find the best position once the cosmetic bag with brush holder is loaded. Mark where the other side of the snap should be with a marking pen, then use the awl and fasten the other side of the snap.
STEP 60:
All that remain is to pull up the lining from inside the pouch and clip along the edge of the gap making sure the raw edges are turned in, in line with the seam, and stitch as close to the edge as possible.
STEP 61:
Push the lining back into the pouch, pushing it into the corners so it sits well, zip up the bag, swing around the flap with the brush holder and it is ready to use or to gift.
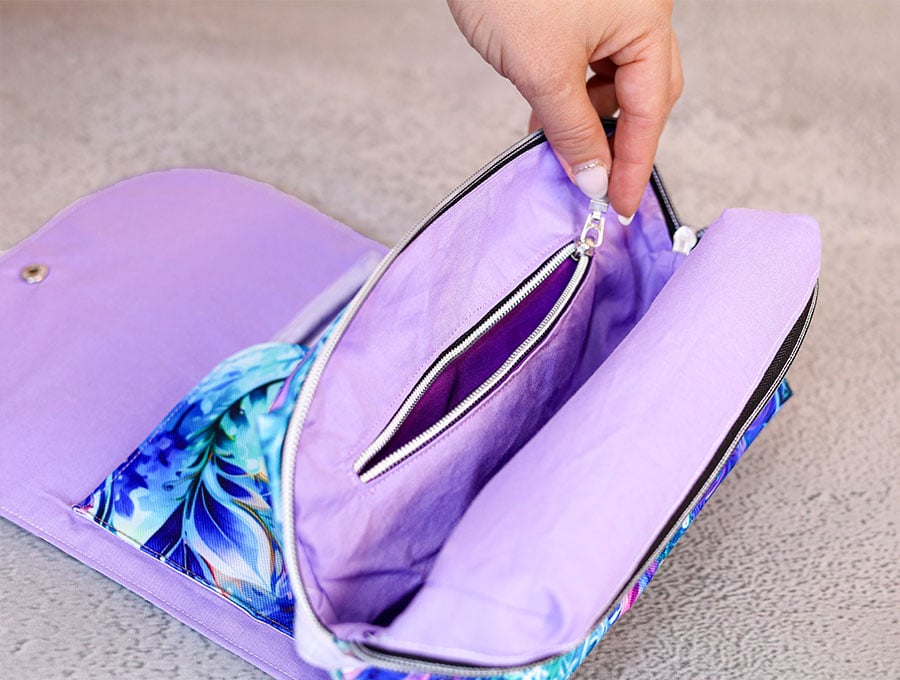
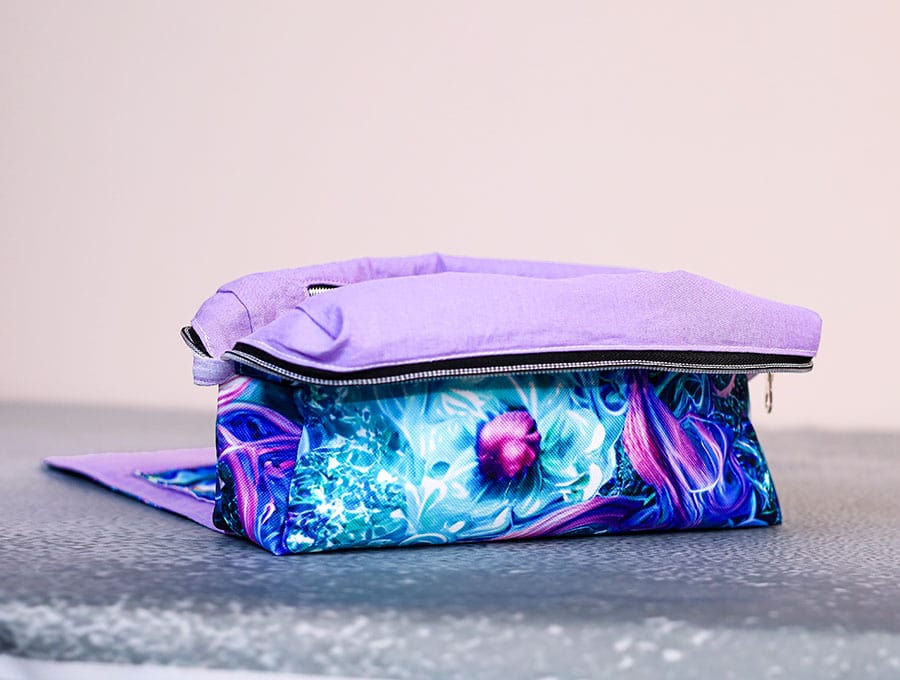
This cosmetic bag with brush holder may look complicated but with our free printable pattern it all comes together beautifully. If you would like a professional looking bag then this is your chance. It will make a great gift too!
If you enjoyed this rather more complicated pattern then give us a like and subscribe as we try to deliver the projects you will enjoy sewing.
Do you like this? Pin for later:
Wanna be friends? Click HERE and follow me on Pinterest
RELATED: